Tired of playing steak roulette, hoping for that perfect medium-rare while battling flare-ups? Say hello to the reverse sear method – your foolproof ticket to steakhouse-quality results right in your own kitchen.
Forget everything you thought you knew about cooking steak recipes. The reverse sear flips the script, giving you unprecedented control over doneness and delivering a crust that’ll make your mouth water.
Worried about overcooking that expensive steak? This method’s low-and-slow start ensures edge-to-edge perfection every time. Frustrated by cold centers or dried-out exteriors? Those concerns are history with our step-by-step guide.
Whether you’re working with a thick ribeye or a leaner cut like sirloin, the reverse sear method has got you covered. We’ll walk you through each stage, from selecting the right steak to achieving that Instagram-worthy final sear.
Best of all, this technique is more forgiving than the traditional method, allowing you to pause between steps if timing gets tricky. Get ready to impress your dinner guests (or just treat yourself) with steaks that rival the best steakhouses. Once you master the reverse sear, you’ll wonder how you ever cooked steak any other way.
Selecting the right steak for a reverse sear
Reverse searing can be done with almost any type of steak, whether it’s an expensive filet or a cheaper cut of meat like a top sirloin. However, it’s best with thick-cut steaks that are well-marbled (higher in fat) rather than leaner cuts of beef.
When buying steaks to reverse sear, look for a cut with a minimum thickness of 1 ½ to 2 inches. You can usually find great steaks at the grocery store, but if not, you can always find a more in-depth selection when buying meat online.
The best Steaks for Reverse Searing:
- Ribeye, Cowboy, or Tomahawk Steaks
- Filet mignon
- New York Strip Steak
- Tri-tip
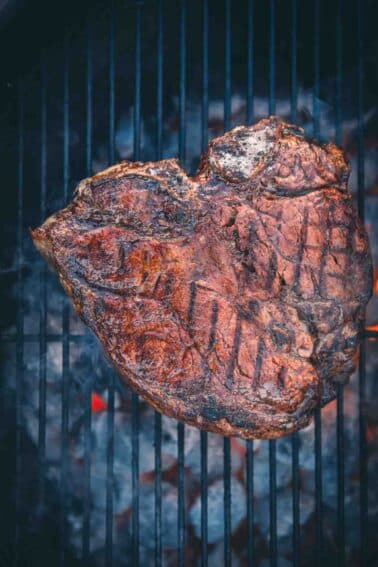
- T-bone or Porterhouse Steak
The options aren’t limited to just steak, however. Reverse searing also works exceptionally well with beef roasts like beef tenderloin, or a hearty prime rib and eye of round roast.
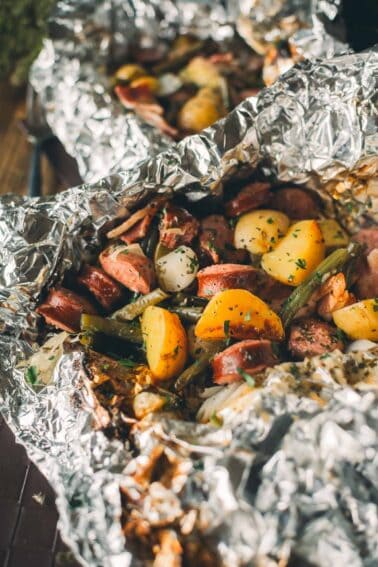
While thinner cuts of steak could theoretically be reverse seared, there’s a higher potential to overcook them, and it’s not worth the time involved. Save those steaks for the grill or quick and easy stir-fries. Sheet pan steak and shrimp fajitas are perfect for those thin steaks.
How to Reverse Sear a Steak
To prepare the steak for the reverse sear method, we start with a simple dry brine. Pat the steak dry and then season it liberally on all sides with kosher salt.
Place the steak on top of a wire rack set on a rimmed baking sheet and let it rest uncovered in the refrigerator for at least half an hour up to overnight. The resting period helps to draw out moisture creating a better crust on the steak in the end.
With normal grilling, a steak would be placed on a preheated grill, and the sear would happen first while the inside of the steak cooks secondarily. With the reverse searing method, the opposite occurs.
There are two parts to the reverse sear process:
- Slow cooking
- Finishing with a sear
Start by Slow cooking the steak
The slow cooking part of the process can be done either in the oven (most common) or on either a gas or grill with a two-zone fire.
However, you can use the sous vide method as well. This method cooks the steak in a temperature-controlled water bath at a very low temperature to slowly cook the steak. After it’s done cooking, you can use the reverse sear method to get a good sear on the exterior of the steak, producing a mouthwatering crust. We’ve used this method in many of our sous vide recipes, like sous vide ribeye steak and sous vide Denver steak.
For steaks over 1 1/2″ thick: Slow roast in the oven or on the grill, preheat to anywhere between 225 F to 275 F. Transfer the seasoned steak on the wire rack and baking sheet into the preheated oven on the middle rack. Cook the steak until the internal temperature of the steak reaches 10 F to 15 F below the desired temperature.
For example, a medium-rare steak’s final temperature should be 130 F. Therefore, when reverse searing a steak to medium-rare, it should be pulled from the slow cooking process at 115 F to 120 F.
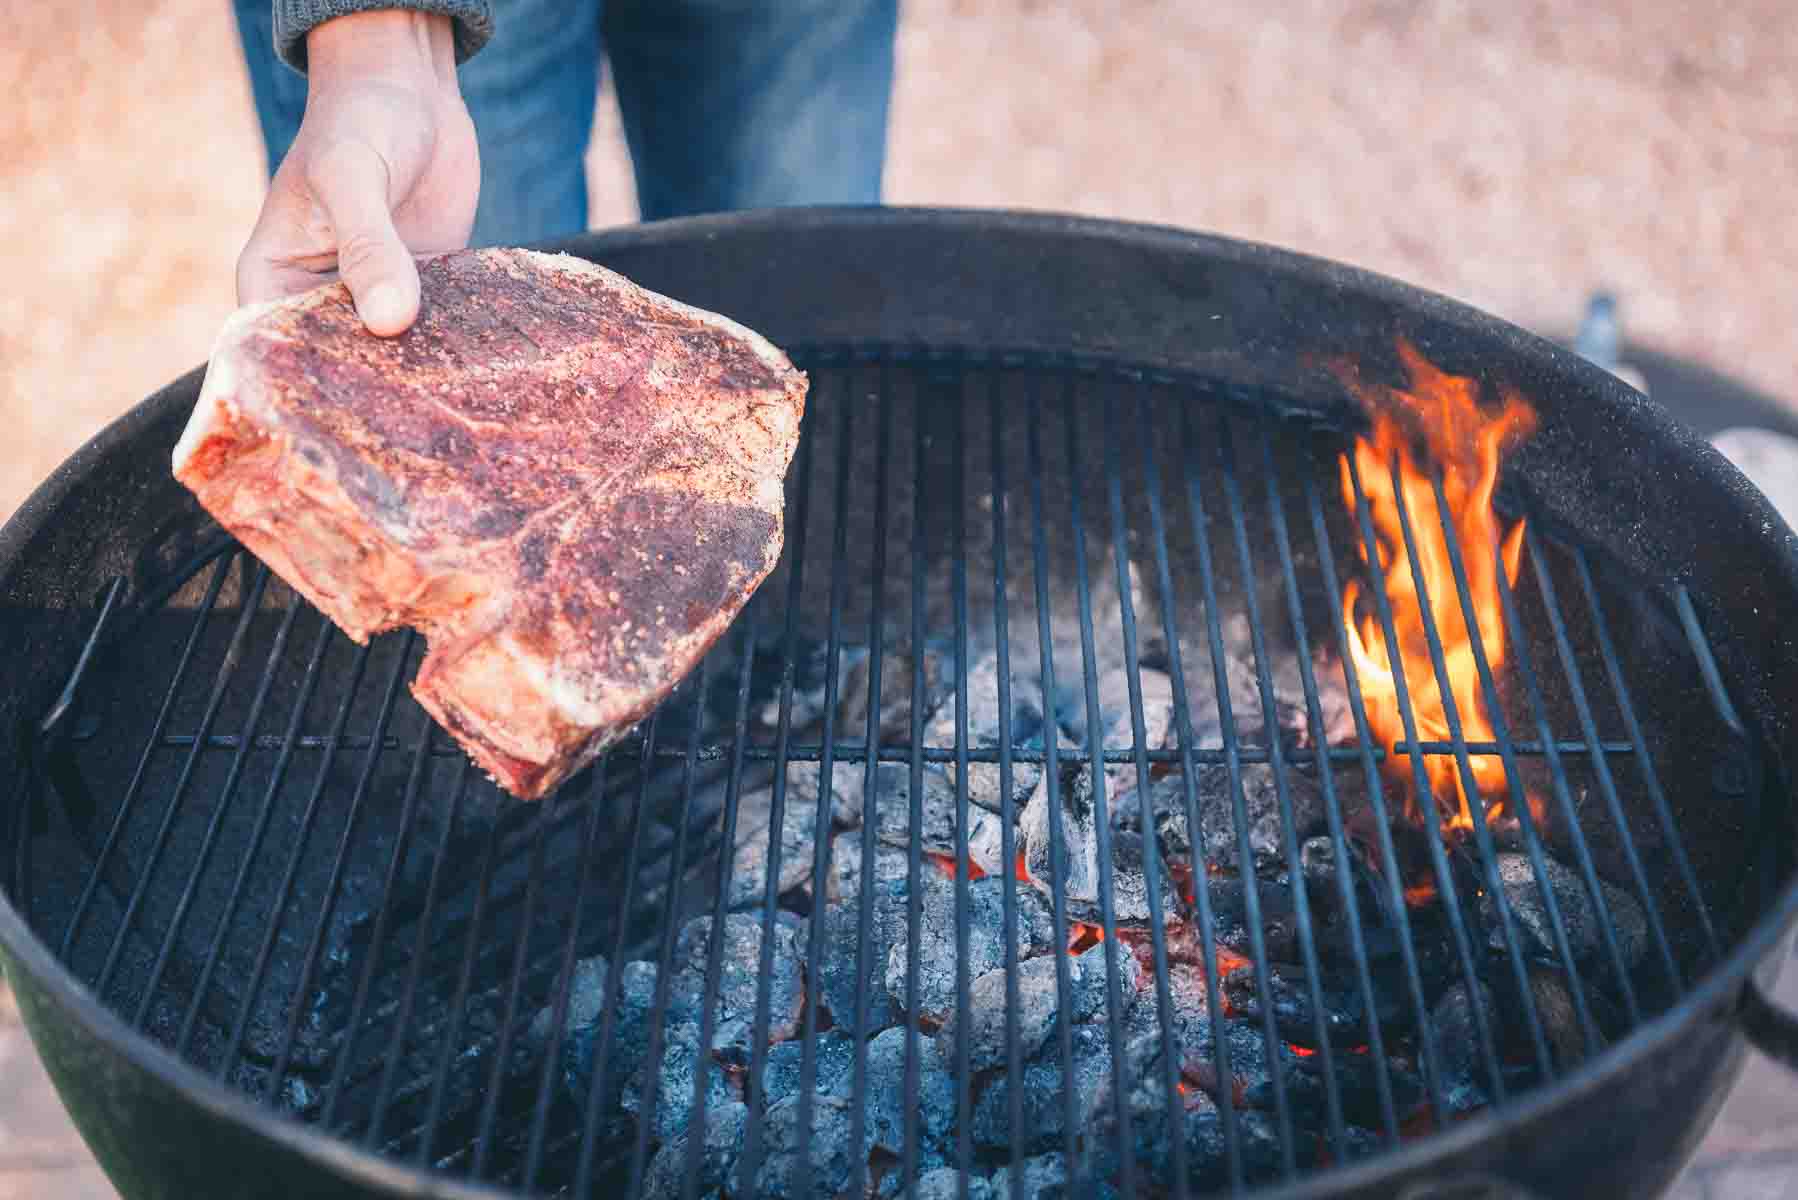
The same process should be followed when slow cooking the steak on a grill instead of in the oven.
The grill must be set up for indirect cooking. When grilling a steak on a gas grill, half the burners should be turned off, and the steak placed on the side without the flame. For a charcoal grill, the charcoal would be pushed to one side and the steak placed on the opposite.
Pro tip: The key to a successful slow cook is having an instant-read meat thermometer handy. The process will take a bit longer than traditional grilling since the steak is cooked at such a low temperature. For 1 ½-inch steaks, start checking the temperature around the 25-minute mark.
Finish it by Searing off the steak
When the steak is 10 F to 15 F below the desired level of doneness and just pulled from the oven, it will likely look pretty gray and unappetizing. This is the point where the reverse sear method shines. This method helps increase the effects of the Maillard reaction, the process that gives food that delicious browned and flavorful crust when it’s cooked.
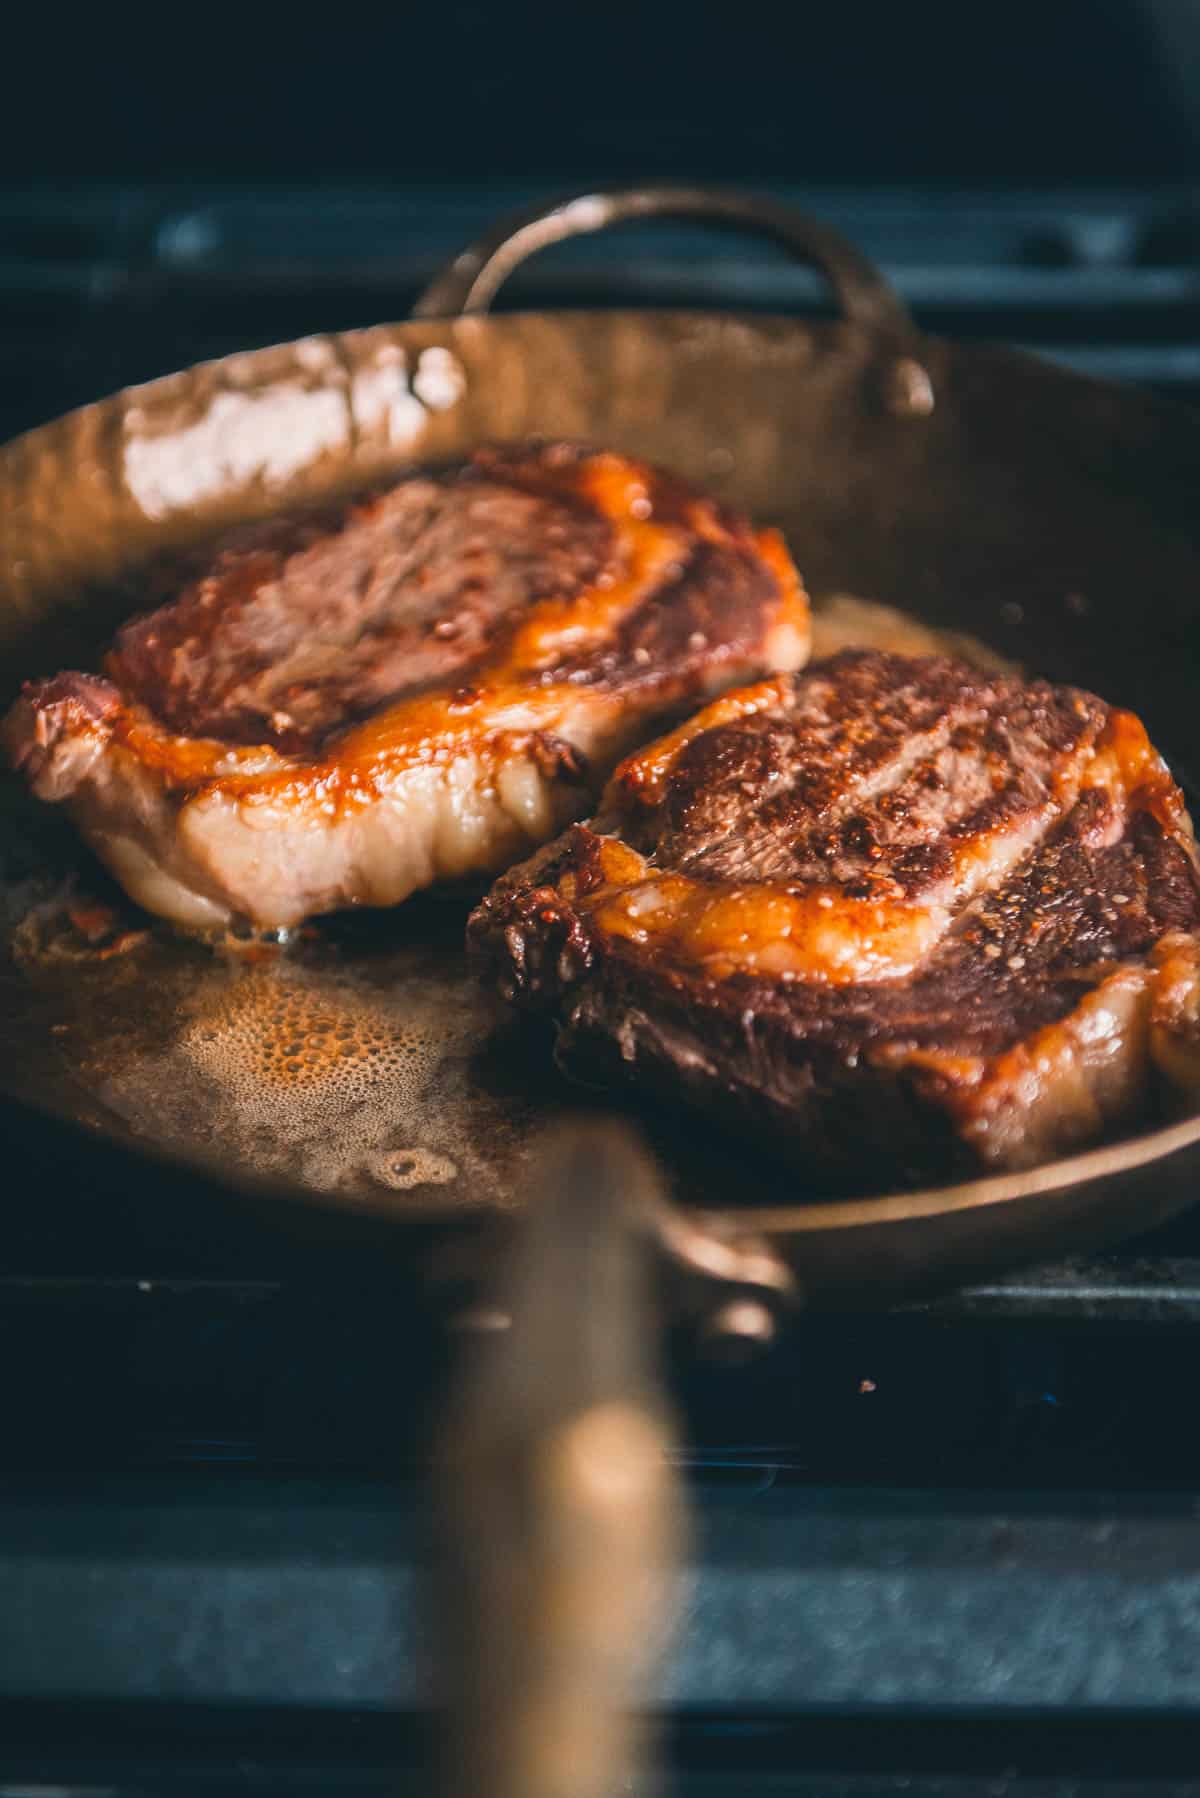
Like the slow cooking process, the finishing reverse sear can be done either on the stovetop in a cast iron skillet or on the grill over direct heat.
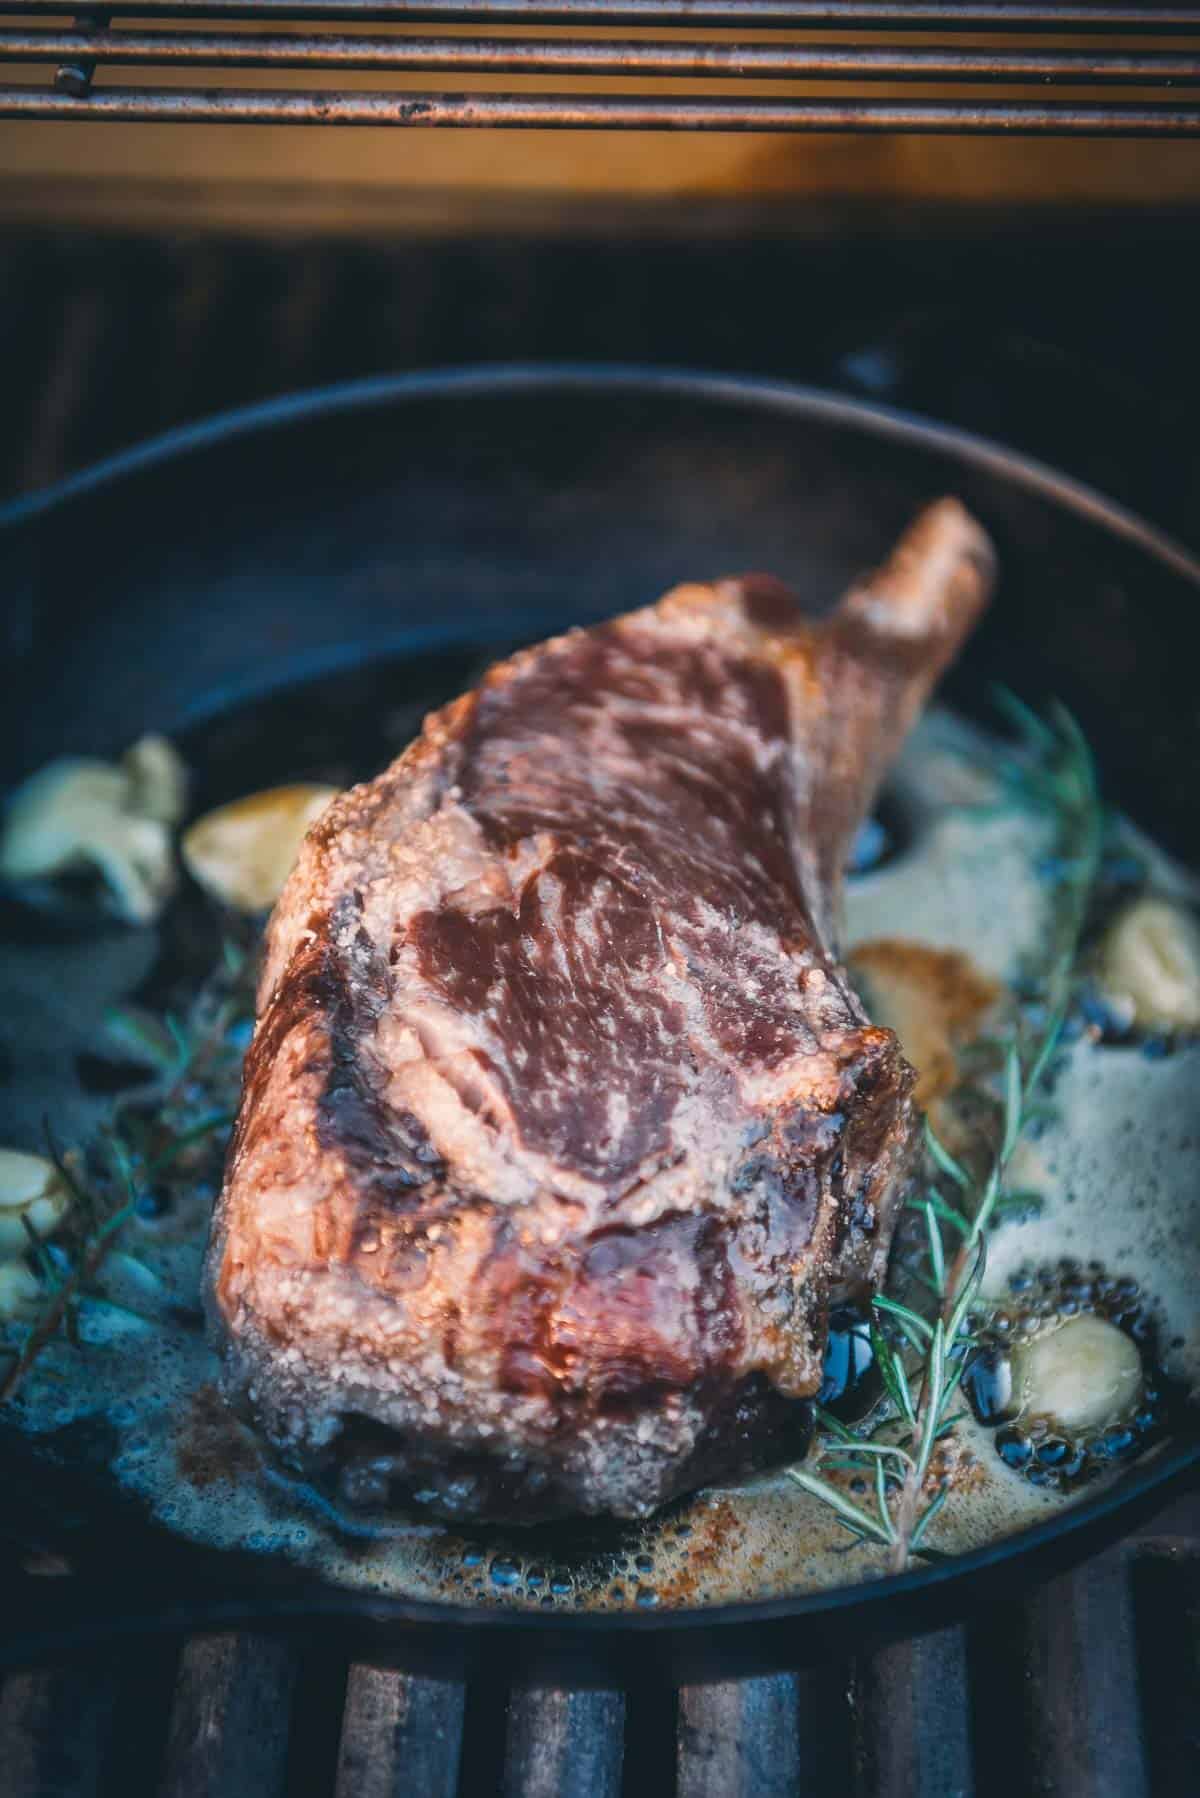
For stove top searing, place a tablespoon or so of either unsalted butter or a high smoke-point oil in a cast iron skillet over high heat until almost smoking.
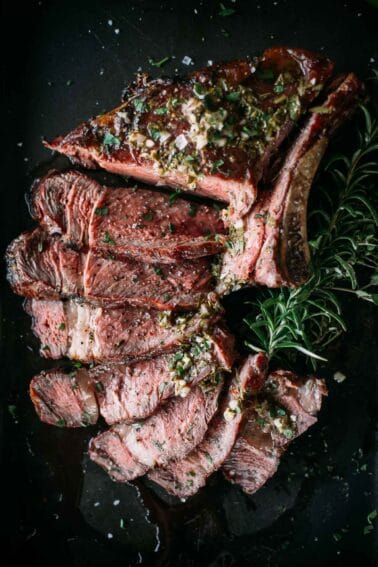
Carefully place the steaks into the hot skillet and sear for about one minute per side until golden brown. Use tongs to sear the sides of the steaks as well. For even more flavor, add a few garlic cloves and fresh rosemary and thyme in the skillet and rest the steak with a knob of compound butter to melt over top
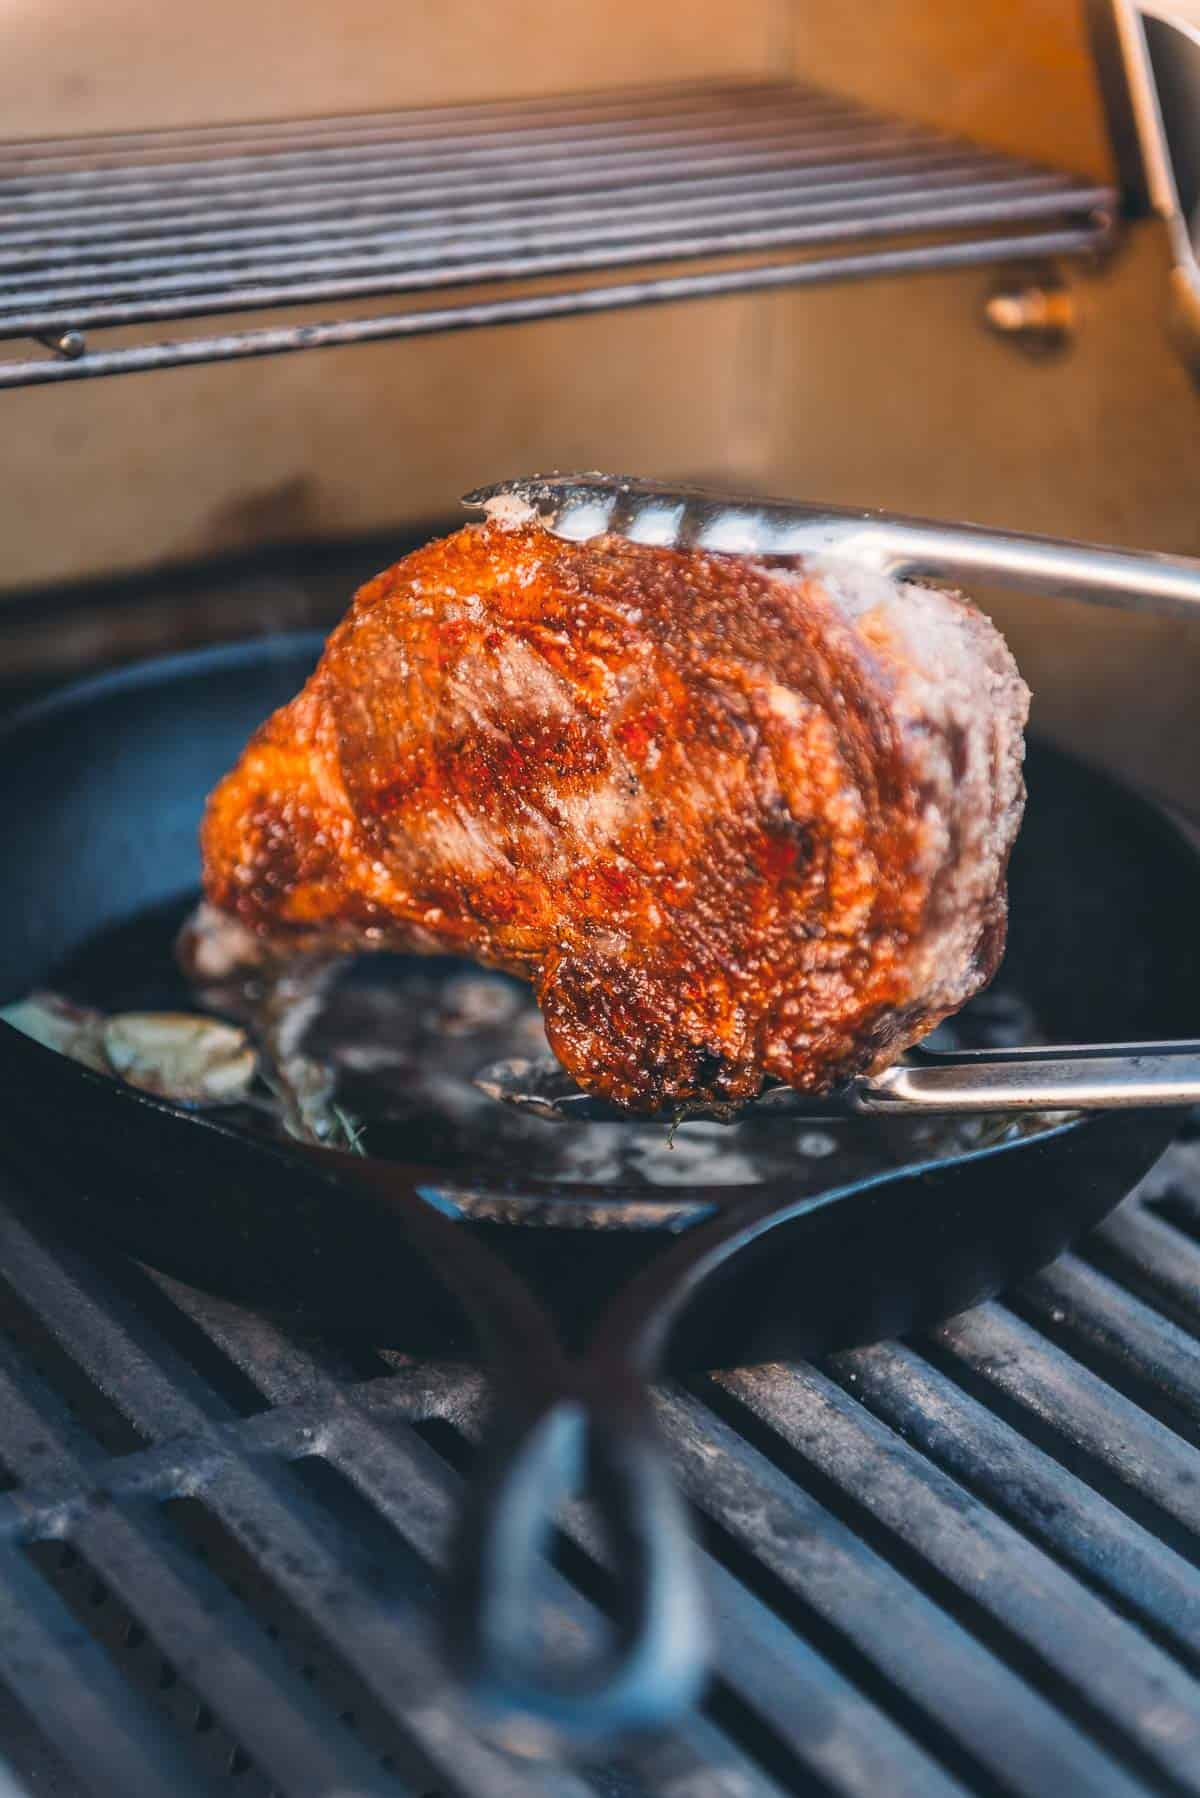
To sear on the grill, first, remove the steaks from the grill after the slow cooking process. Turn on all the burners to high or open the vents on your charcoal grill and remove the lid for maximum oxygen, then cover the grill and let it heat up to over 500 degrees
Once the grill grates are ripping hot, use long tongs to place the steaks back onto the grill and turn frequently to develop a nice crust on all sides. This should take about one to two minutes in total.
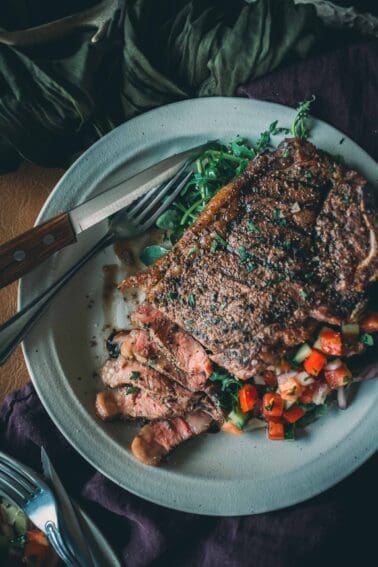
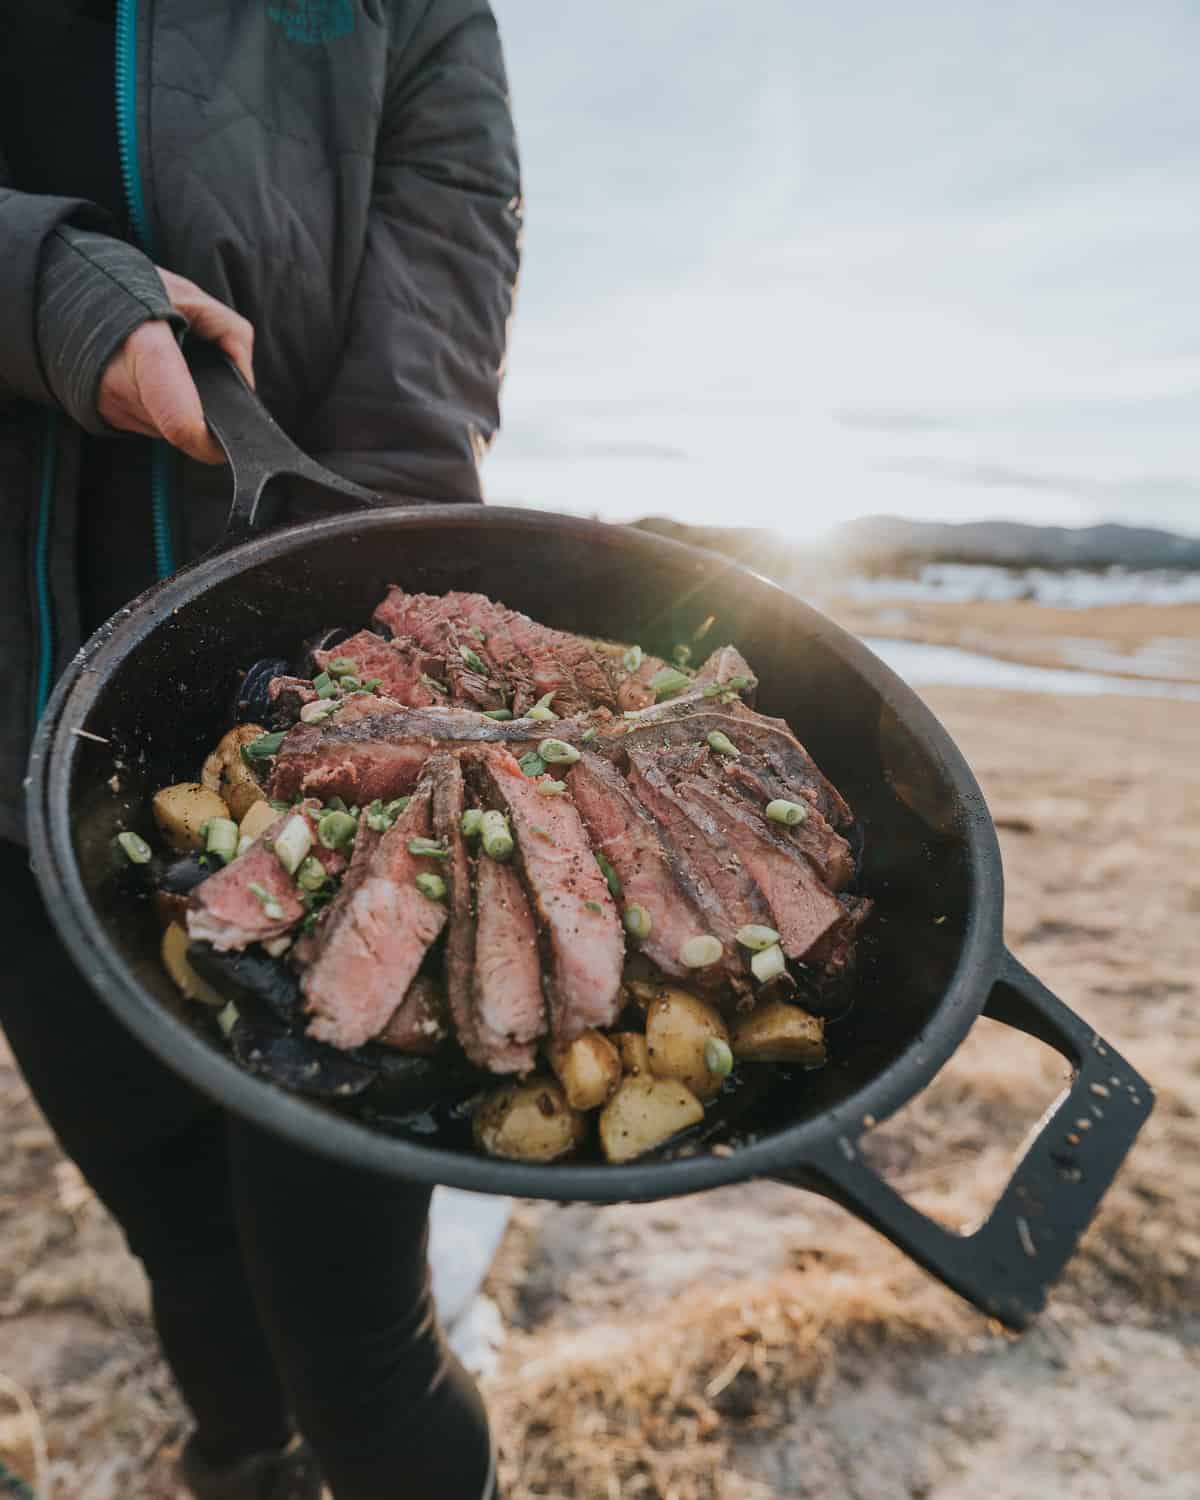
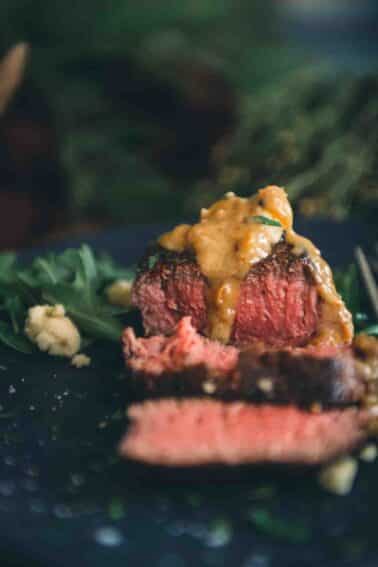
Serving the steak
A reverse-seared steak does not need resting time. It’s ready to be served immediately.
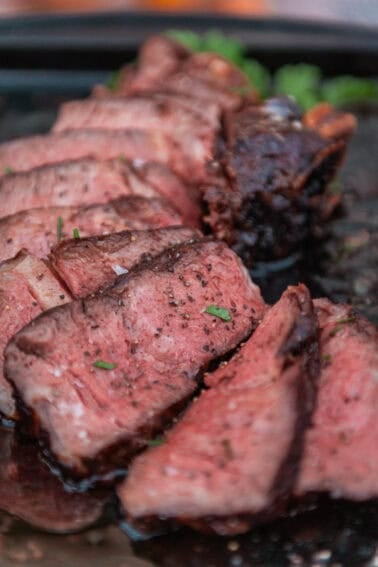
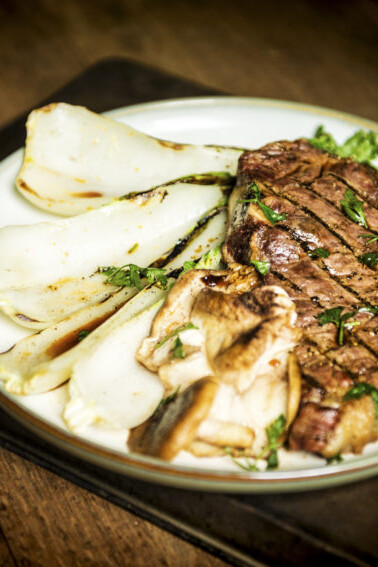
Although not specific to reverse searing, almost any steak will benefit from cutting against the grain when serving.
Whether cutting tri-tip steak with its confusing two-directional grain pattern or a simpler flank steak, slicing against the grain results in a more tender bite, making the steak much easier to chew.

Girl Carnivore Expert Tips for Reverse Searing Steaks
- Prep Properly: Before cooking, pat your steaks dry with a paper towel to remove excess moisture. This helps to achieve a better sear and prevents steaming, ensuring a nice crust on the exterior.
- Temperatures Matter: Bring your steaks to room temperature before cooking. This promotes even cooking throughout the steak and reduces the risk of overcooking the exterior while waiting for the center to reach the desired steak temperature.
- Cook Time: The cook time may need to be adjusted depending on the thickness of your steak. Use a meat thermometer for best results.
- Clean: If using a cast iron skillet, make sure you season your cast iron before searing and clean your cast iron after cooking to maintain its integrity. If grilling, make sure to clean your grill once you’re done.
Now that everything you knew about cooking a steak has been flipped on its head, hopefully, the intrigue of reverse searing has set in. It’s a worthwhile cooking method to try out if time allows. The results will speak for themselves with the first bite of flavor-packed, tender steak.
Our favorite steaks for reverse searing

Reverse Seared Steak Recipe
Ingredients
- 1 steak 1 1/2″ thick or thicker, 1 lb or larger
- 1 tsp Kosher salt
- 1-2 tbs Compound butter
- Freshly ground black pepper
Instructions
Prep the Steak:
- Start by removing your steak from the package and patting dry with a paper towel.
- Season the steak liberally with kosher salt and place it on a wire rack over a baking sheet.
- Let it dry brine, uncovered over night.
Build a 2-zone fire:
- Set up your grill for indirect grilling by building a 2-zone fire. See the notes below for charcoal, gas, or pellet grills.
- Clean and oil the grill grates.
- Preheat the grill to 250 degrees F.
Slow Roast the Steak:
- Place the steak on the cool side of the grill and close the lid.
- Cook the steak until it reaches an internal temperature 10 degrees lower than your finished desired temp. For us, that means cooking a 2" thick ribeye to 115 degrees F, about 30 to 45 minutes. Use a digital meat thermometer for the most accurate results.
Sear the Steak:
- Remove the steak from the grill and increase the heat to 450 degrees F.
- When the grill is hot, return the steak to the direct heat, the hot side of the grill, and sear 60 to 90 seconds a side, rotating as needed, to get a good crust on all sides.
- If your steak is over 2″ thick, make sure to sear the edges too.
- Use caution when searing over direct heat, as the rendering fat can cause flare ups.
Rest and Serve:
- Carefully transfer the steak to a baking sheet or cutting board and top it with a knob of compound butter.
- Let the steak rest for 7 to 10 minutes before slicing against the grain into thin strips.
- Sprinkle a pinch of salt and pepper, if desired, and serve.
Notes
- When ready to grill, pour lit charcoal into one side of your grill. Nestle the grill grate back on top, clean and oil the grates, and adjust the air vents to pre-heat the grill to 250 degrees F.
- Slow cook the steak as directed.
- When ready to sear, remove the steak from the grill, keep the lid off, and adjust the air vents for maximum airflow. Let the coals get ripping hot before finishing the steak as directed.
- Prep the grill for indirect heat. Start by preheating the grill with all burners on. Clean and oil the grates. Then turn off the heat on 2 of the 3 (or 3 of the 4) burners and allow the grill to cool off to 25o degrees F.
- When the grill has preheated, place the steak on the cool side of the grill and cook as directed.
- When ready to sear, increase the heat on the lit burner to high and let it preheat.
- Transfer the steak to the hot side of the grill and sear as directed above.
- Preheat your pellet smoker to 250 degrees F. Place the steak on the grill grates. Smoke as directed until the steak reaches 10 degrees below your desired temperature.
- Then transfer the steak to a baking sheet or cutting board and increase the temp on to sear or as high as your pellet grill will go.
- When the grill is preheated, sear the steak as directed. We find that on a pellet grill, searing a steak in cast iron at the end really helps form a good crust. If you want to use cast iron, preheat the cast iron on the grill grates as the grill temp is increasing from 250F to sear.
- Prep the steak as directed in the recipe card.
- Preheat the oven to 250 degrees F. Place the steak on a foil-lined baking sheet or cast iron skillet.
- Bake the steak until the internal temp reaches 10 degrees below where you want the finished steak temp to be.
- Preheat a skillet over medium-high heat and sear the cooked steak in the cast iron, flipping to get a good crust on all sides.
Nutrition
Bookmark this recipe now!
Pros and cons of the reverse searing method
The Pros:
The benefits of reverse searing are simple yet powerful:
- More control of the internal steak temp, helping you to perfectly cook a steak.
- Great crust on the outside, which makes everyone’s mouth water.
The Cons:
While the perfectly cooked, rosy center might make you think otherwise, the reverse searing method has a few downsides worth mentioning.
- Takes longer than traditional grilling methods
- Doesn’t work well for all cuts of beef
- Harder to make a sauce from
The last point is that there isn’t significant buildup in the pan after the quick reverse sear. While that’s great from a clean-up standpoint, that buildup, known as “fond,” is typically the base of a delicious steak sauce.
FAQs
The reverse searing method is different from traditional steak-cooking techniques in a few key ways. Instead of starting with high heat to sear the steak quickly, reverse searing begins with low heat in the oven. This gentle cooking process allows the steak to cook evenly from edge to edge, keeping it juicy and tender. Once the steak reaches the desired internal temperature, it’s finished with a quick sear to create a delicious caramelized crust. This method gives you more control over the cooking process and ensures consistently delicious steaks every time.
You want to make sure that your steak has been dried and at room temperature before the cooking process. This ensures your steak won’t steam when cooked, resulting in a poorly seared exterior, and instead get the perfect crispy steak crust, caused by the Maillard Reaction.
Make sure you have a leave-in thermometer inserted into the steak as it cooks, or check the temperature periodically to avoid overcooking. The steak is ready for reverse searing when the internal temperature hits 10-15ºF below your desired final temp. You also want to only sear the steak for a minute or two each side to develop the crust.
Now that everything you knew about cooking a steak has been flipped on its head, hopefully, the intrigue of reverse searing has set in. It’s a worthwhile cooking method to try out if time allows. The results will speak for themselves with the first bite of flavor-packed, tender steak.
Gina Matsoukas is the photographer, writer, and recipe creator of Running to the Kitchen. Focusing on healthy, seasonal, whole-food recipes, her work has been featured in various online and print publications including Food Network, Prevention Magazine, and Women’s Health. Gina lives in central New York where she enjoys an active outdoor life.
This article originally appeared on Food Drink Life.