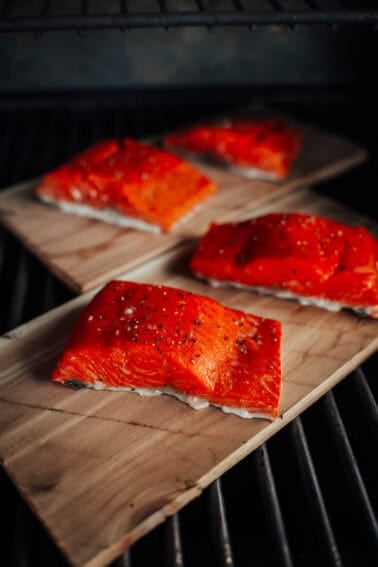
Cleaning your grill is essential for maintaining its performance and ensuring safe and delicious meals. This comprehensive guide will walk you through the steps and share expert tips on how to clean a grill to help you keep it in top shape. Grilling like a pro starts with a little elbow grease.
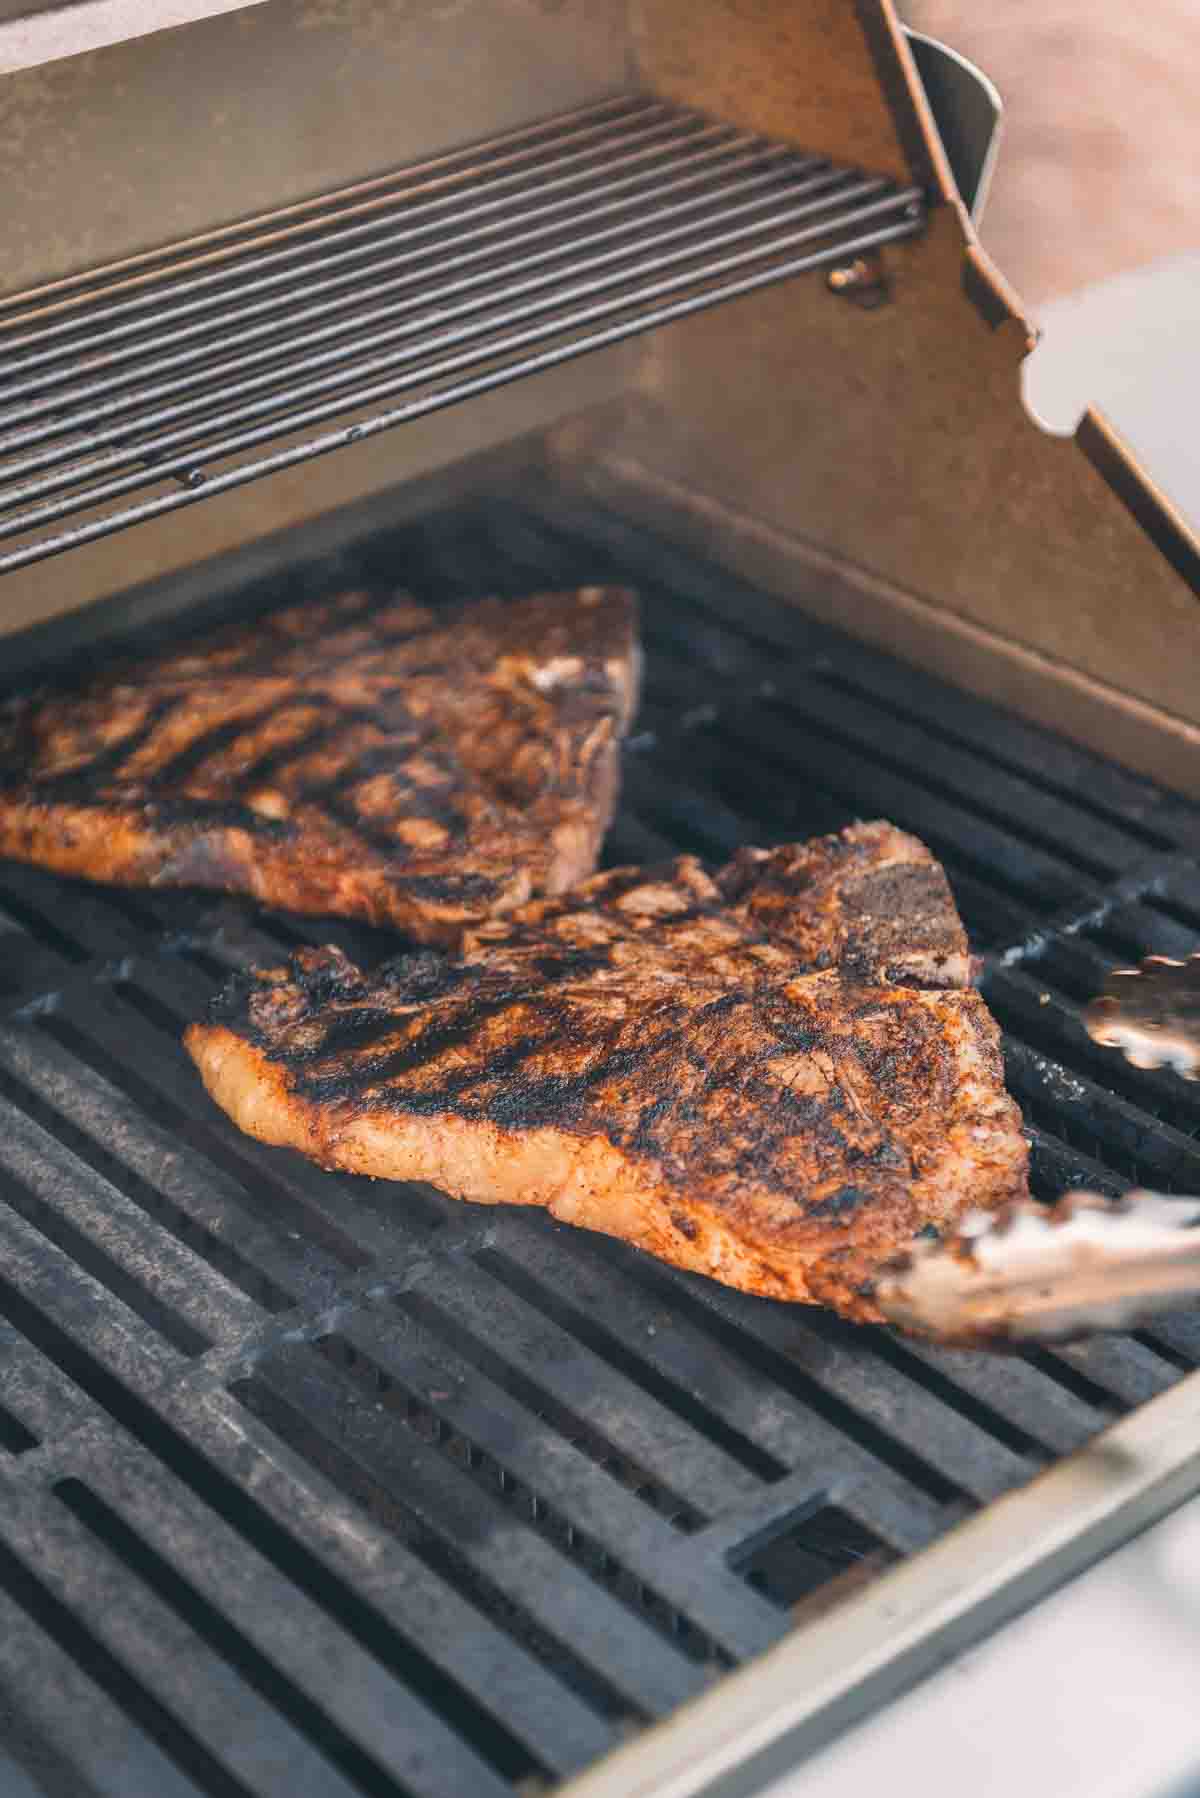
Table of Contents
- TL;DR Quick steps to clean a grill
- How Often Should You Clean Your Grill?
- Step-by-Step Guide to Deep Clean Your Grill
- Our favorite grill Grate cleaner
- 1. Clean the Grates
- 2. Clean the Inside
- 3. Clean the Grease Collectors
- 4. Reassemble the Components
- 5. Clean the Exterior
- 6. Test Temperatures on gas, pellet, and electric grills
- 7. Cover your grill
- The best recipes for grilling
- How to Clean a Grill Recipe
Did you know that cleaning your grill helps maintain its performance and ensures safer and more delicious recipes on the grill?
That’s right! A clean grill prevents flare-ups, enhances the flavor of your food, and extends the lifespan of your favorite smoker or grill. In this comprehensive guide, we’ll show you the ropes of grill cleaning, sharing expert tips and step-by-step instructions to keep your grill clean and shining and your taste buds happy. Now that you’ve mastered how to use a charcoal grill, cleaning it properly is the next step. Get ready to elevate your grilling game and enjoy unforgettable cookouts!
TL;DR Quick steps to clean a grill
Use these quick steps to have a sparkling clean grill that will perform better and last longer for the best recipes on the grill all season long!
- Use a rolled wire brush to scrub the grates before and after use.
- Clean the inside of the grill with warm, soapy water and a sponge or rag.
- Remove any leftover food particles from the bottom of the grill using a scraper or putty knife.
- Soak the grates in a solution of hot water and dish soap for 10-15 minutes before scrubbing them clean.
- Use a degreaser spray to remove built-up grease on the grill grates and inside surfaces.
- Wipe down the exterior of the grill with a damp cloth or paper towel to remove dirt and debris.
- Rinse all parts of the grill thoroughly with clean water after cleaning to remove any soap residue.
- Consider using aluminum foil or drip pans under meats or vegetables to minimize mess on your grill surface.
- Store your grill in a covered area when not in use to protect it from weather damage and prolong its lifespan.
- Clean your grill regularly (at least once every few uses) for optimal performance and longevity.
How Often Should You Clean Your Grill?
You should give your grill a quick clean after every use and a thorough deep cleaning twice a year to help extend the life of your grill. Not only does cleaning your grill keep it sparkling, but it can also help the grates remain non-stick, keep your food tasting great, and minimizes the risk of fire hazard.
Step-by-Step Guide to Deep Clean Your Grill
Before cleaning your grill, ensure it has cooled down completely. It’s not safe or effective to clean a hot grill.
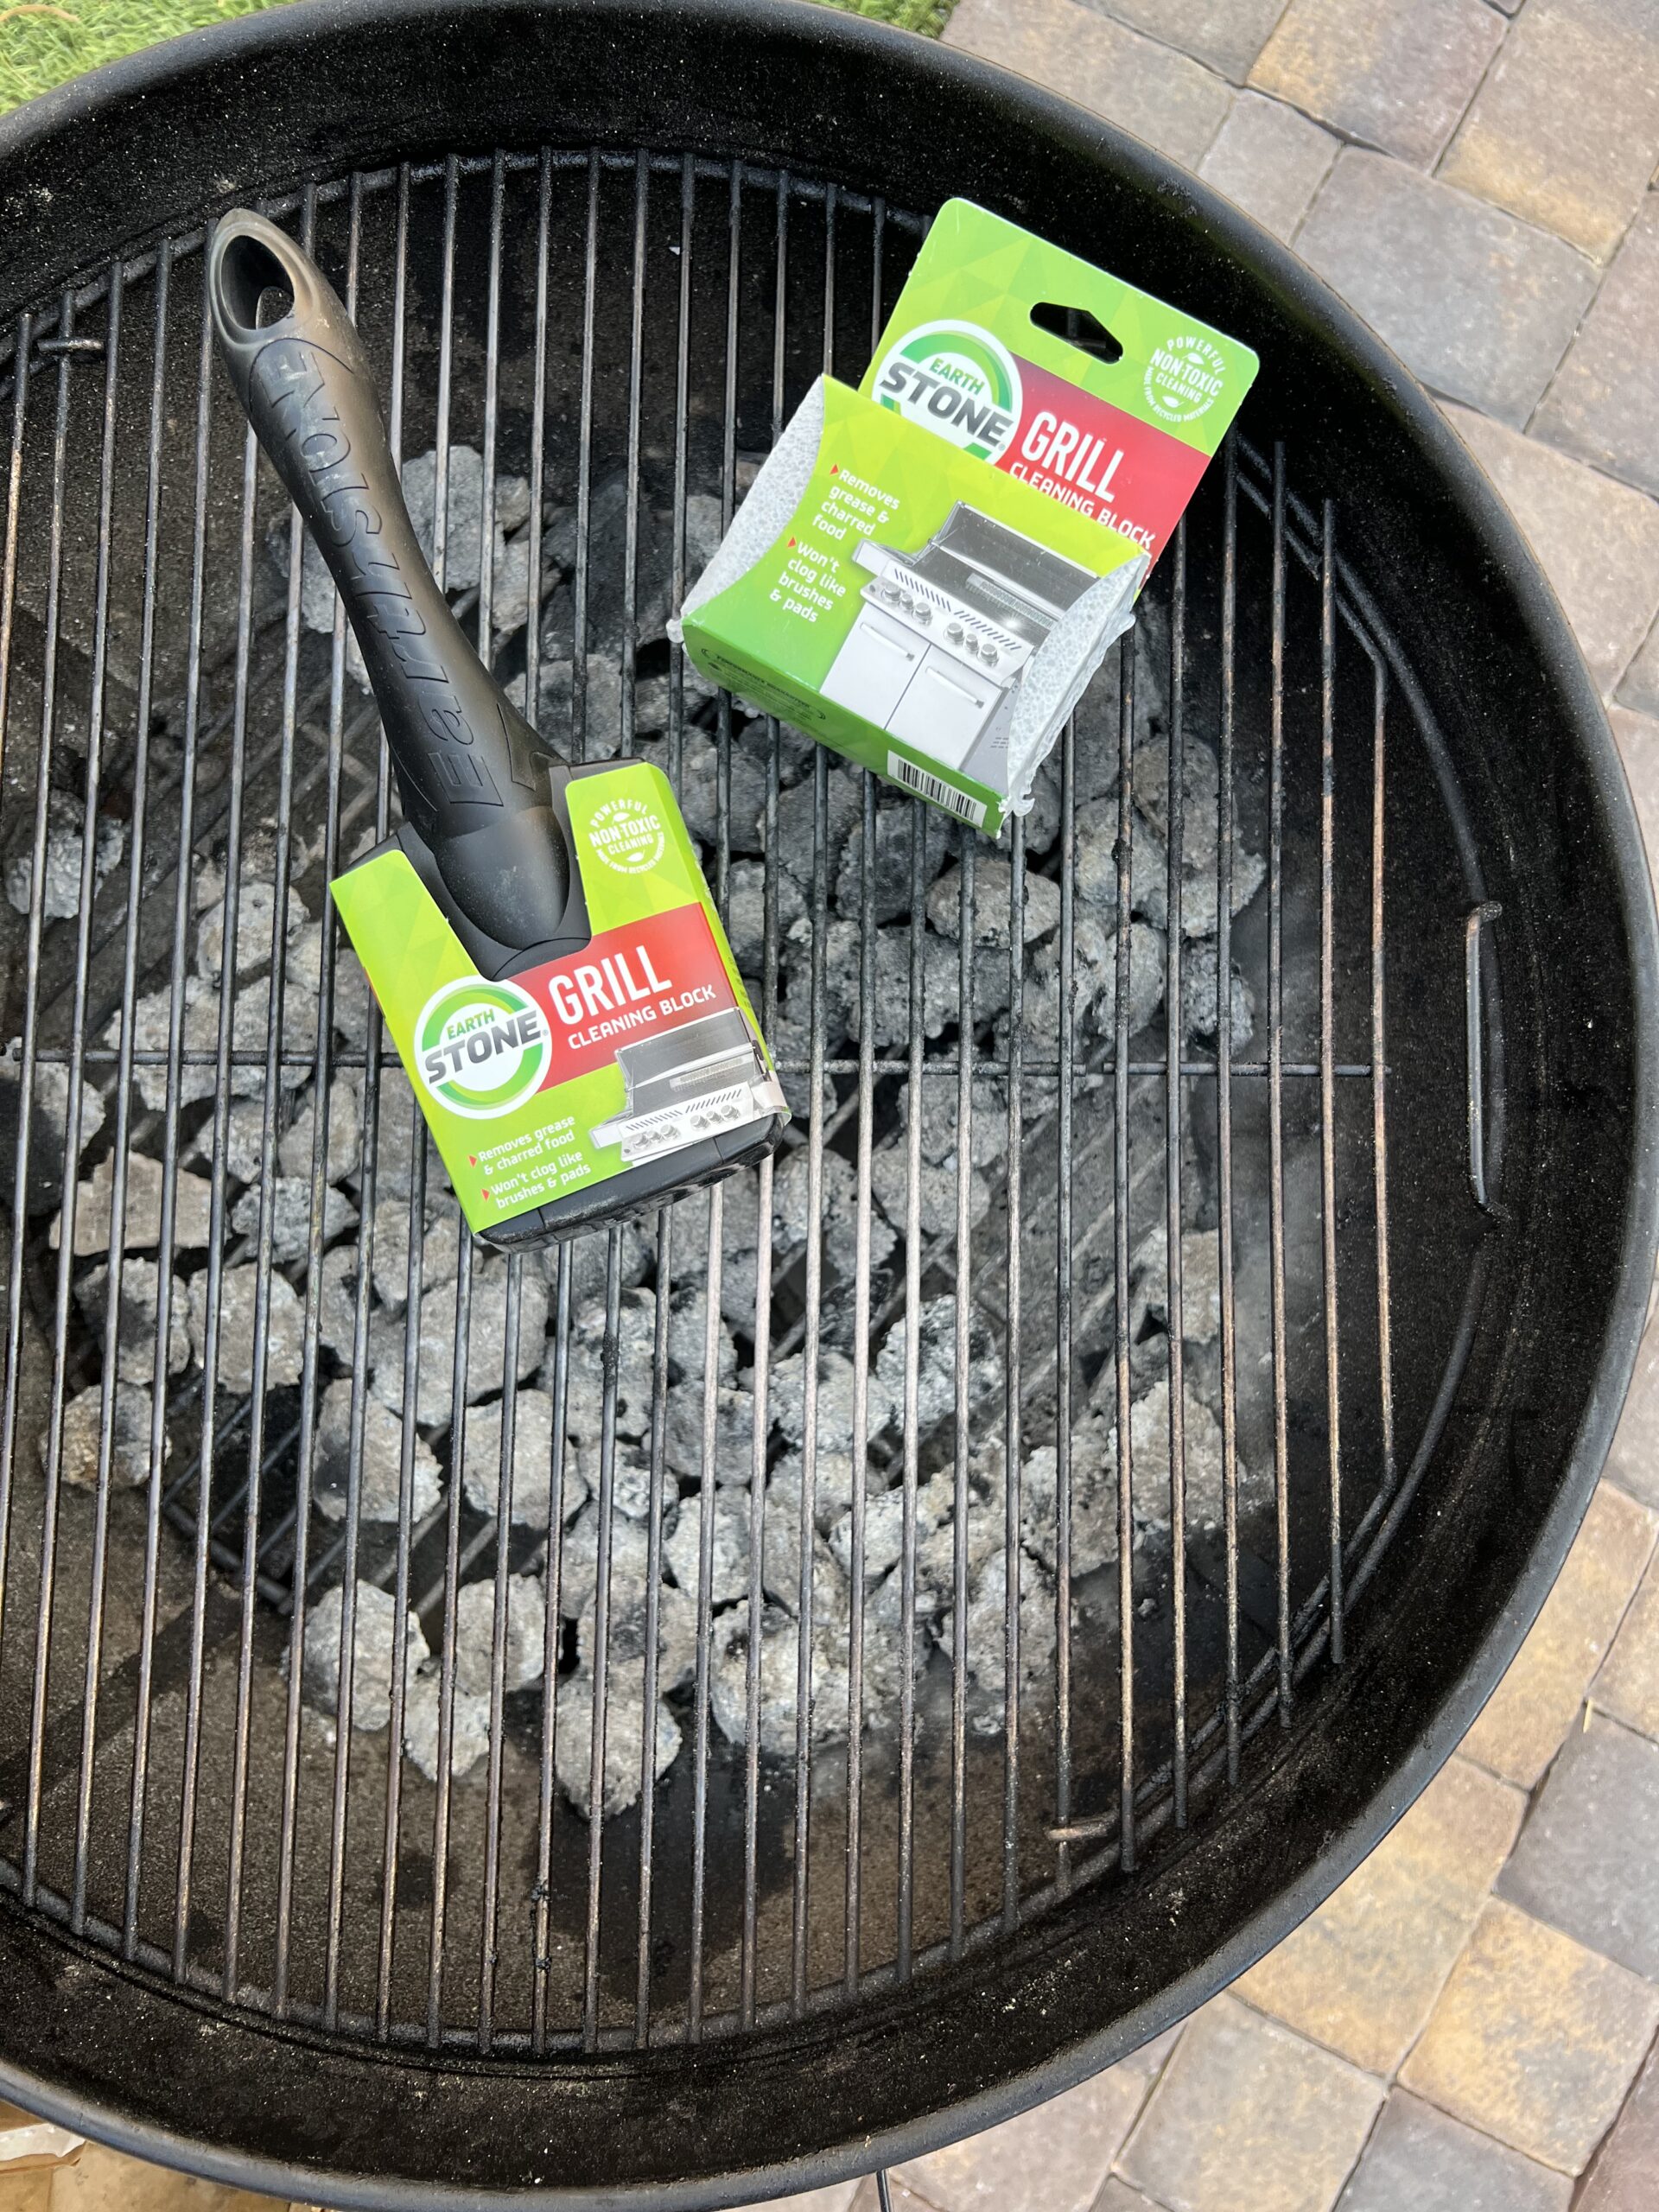
Our favorite grill Grate cleaner
We tested the EarthStone grill cleaner block last year, and we’re incredibly impressed with its ability to make our well-loved grill grates shine like new in just a few minutes. The stone confirmed to the cooking grates on all of our grills, whether thick or skinny. We were able to get one to two thorough cleanings out of one stone. This isn’t for quickly cleaning the grill after every use, but a great tool for you deep clean your grill twice a year.
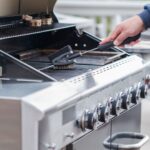
1. Clean the Grates
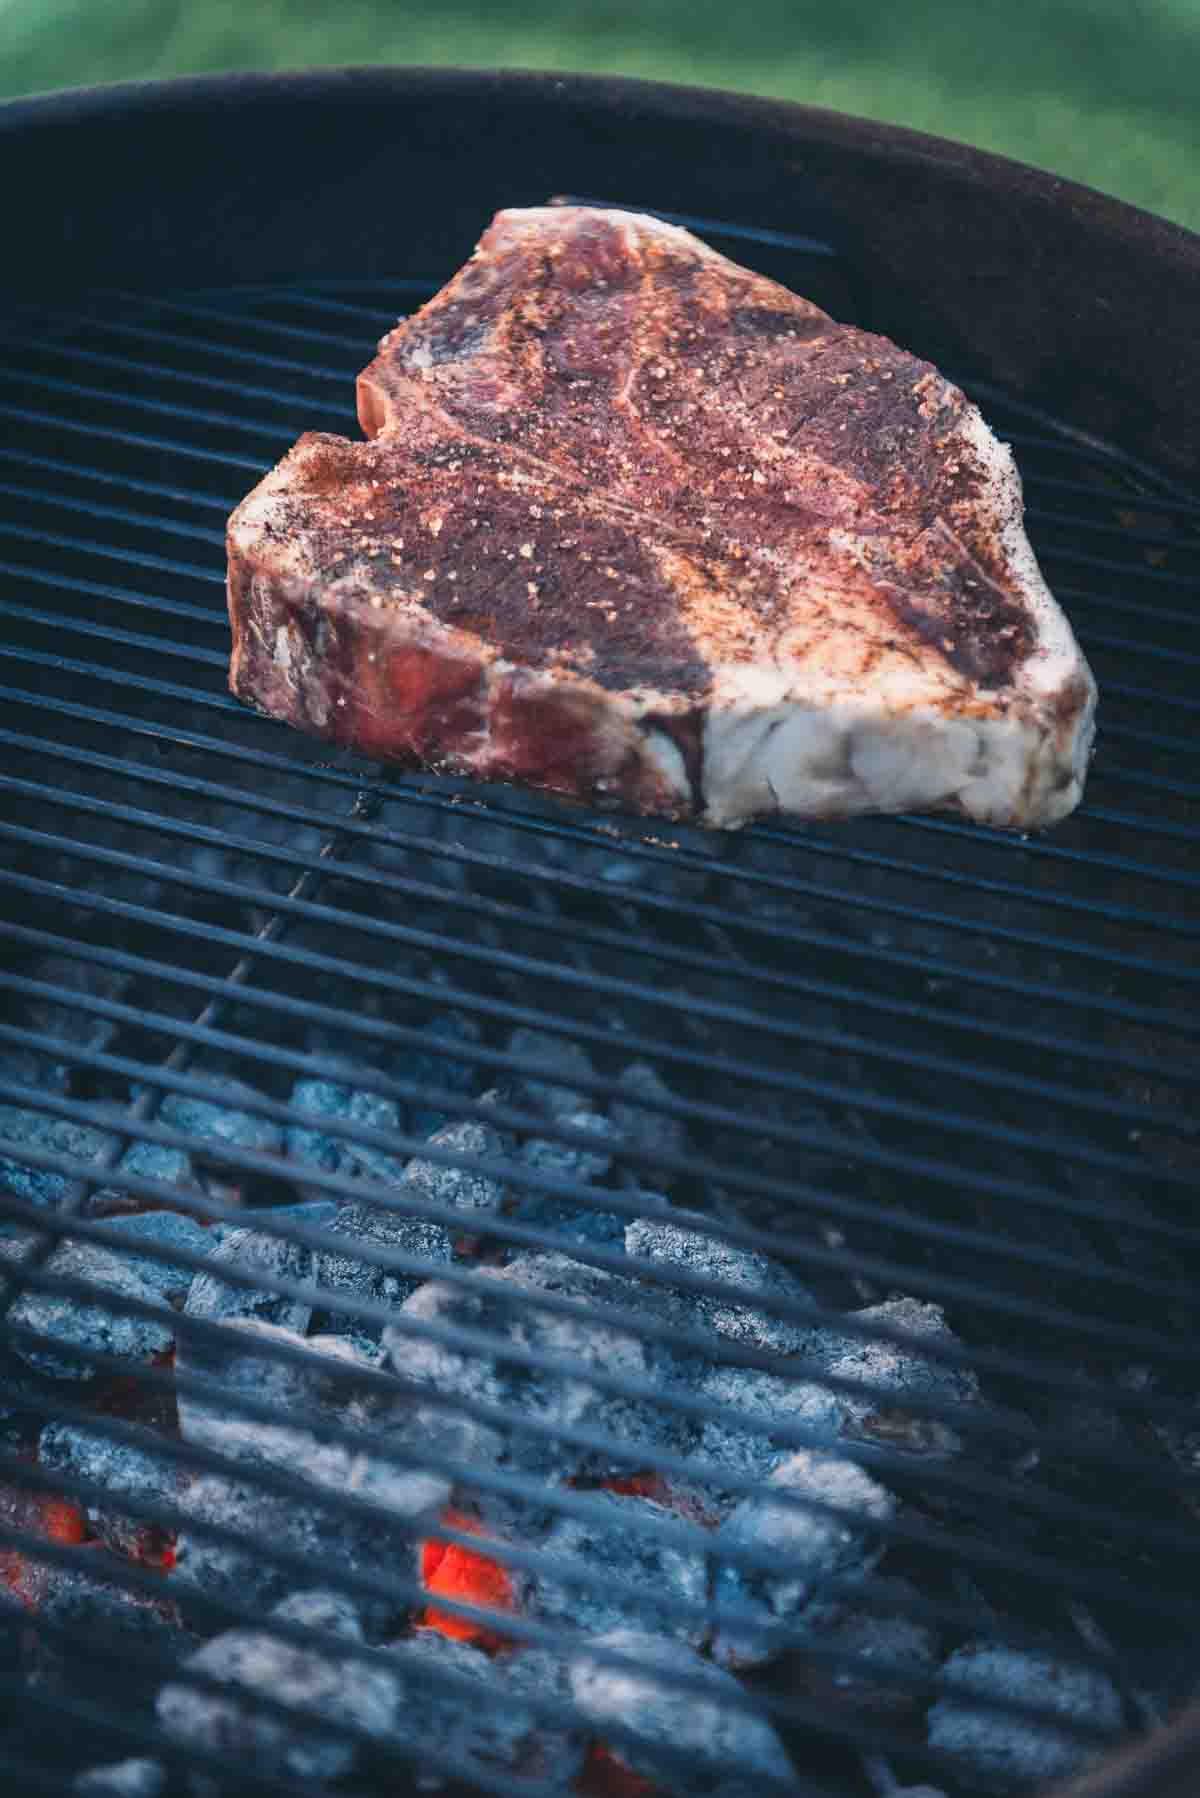
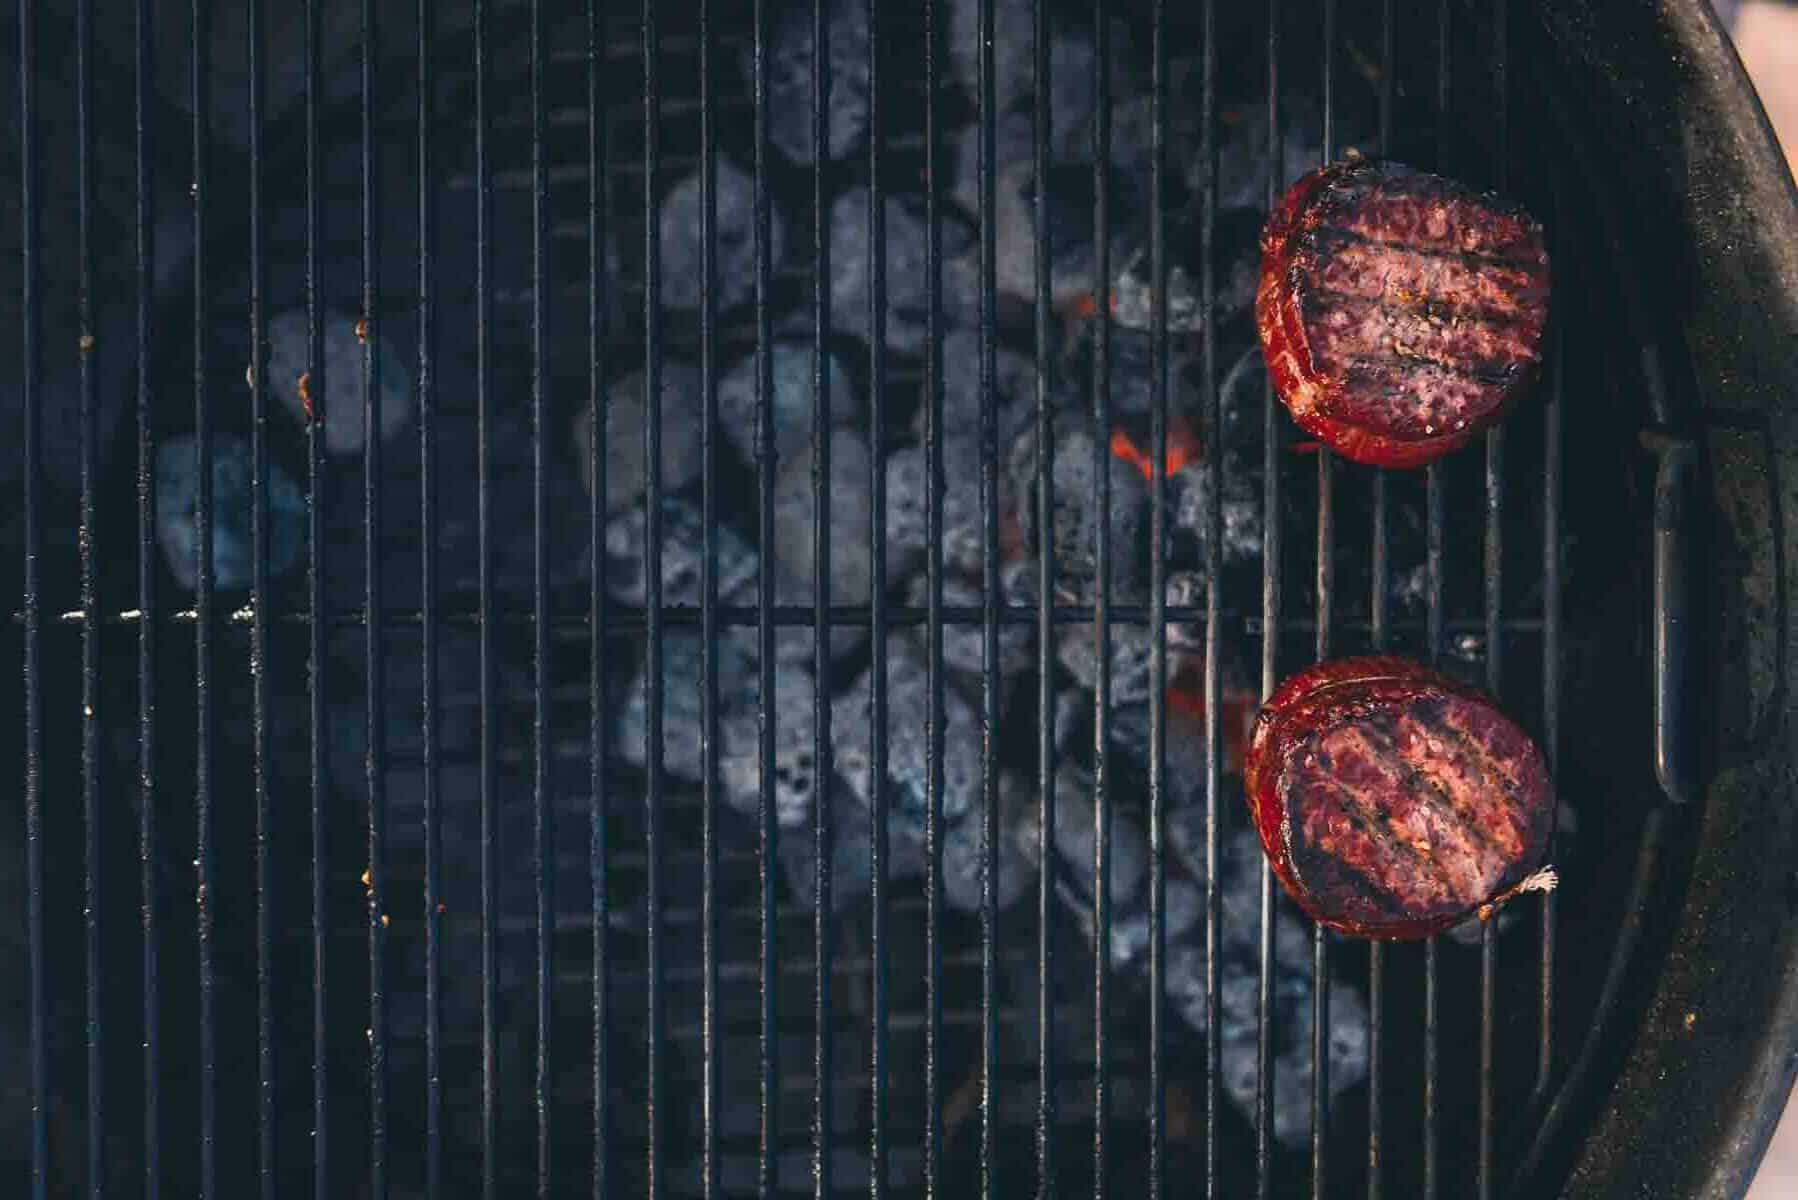
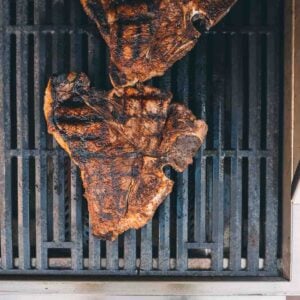
Whether you have a charcoal grill, pellet grill, or gas grill, cleaning the grates after every cook is best. Once you remove your food from the grill, let the coals burn or heat run for another five minutes. Then, use a brush to scrape any food particles from the grate.
- If you’re using a wire grill brush, check the grates closely to ensure there are no residual bristles. We recommend a rolled wire grill brush to minimize the chance for any bristles to come off.
- If you have stubborn, stuck-on food, give the grates a spritz of water from a spray bottle to help loosen it. To reseason the cast iron grates, spritz them with a bit of vegetable oil and let the heat ride for another five minutes before turning the grill off.
- For a griddle, cleaning the surface after every cook is essential. Read tips on how to use and clean a Blackstone Griddle.
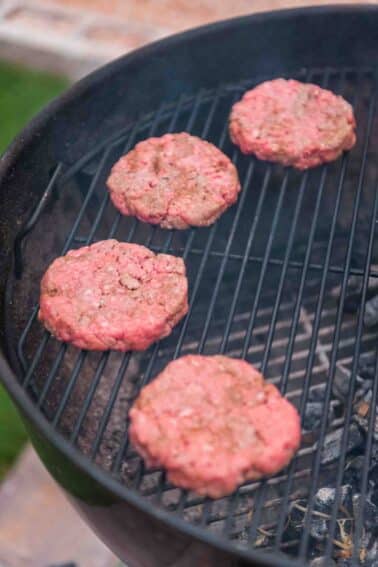
Now, your grill is ready for your next batch of hamburgers and steaks.
2. Clean the Inside
If you’re using a charcoal grill, you’ll need to remove the ashes after every cook. Each grill varies. First, wait for the coals to burn out completely. You can speed up this process by closing the vents to suffocate the oxygen.
- For charcoal grills with vents on the bottom, open the vents and push the ash through onto a pan. Other charcoal grills may have ash-collecting pans that can be removed and dumped.
- Unfortunately, there are other types of charcoal grills that are more challenging and may require you to use a shovel or Shop Vac to remove the coals.
- For pellet grills, check your manufacturer’s recommendations, which most likely advise you to remove the pellet ash after every few cooks. Ash removal methods vary between brands.
- Some pellet grills have a lever that empties the firepot of ash into a collection tray. Others have vacuum attachments. And others require you to entirely remove the grates and deflector plate to get to the ash.
- No matter the type of pellet grill you have, it is best to vacuum the inside after several cooks to avoid build-up.
- The hardest thing to clean on a pellet grill is the deflector plate. Don’t worry about getting it perfectly clean and shiny. Just do your best to scrape off any burnt-on residue. If needed, spray it with a garden hose and use soap and water.
- Cleaning the inside of a gas grill is straightforward. Remove the cooking grates. Below them, you’ll find either the burners or bars covering the burners.
- If the bars have build-up, use a scraper to clean them off. Then, remove them until the burners are exposed. Check around the burner vent holes to ensure no residue is clogging them.
- Then, scrape around the rest of the grill chamber, pushing the residue toward the grease collector on the bottom.
3. Clean the Grease Collectors
Most grills have some sort of grease pan that collects the drippings while you’re grilling. Be sure to check it after every few cooks. It’s important to empty it to avoid overflow and fire as it starts to fill up.
- With most grills, the pan is removable. Wash the pan with soap and water once you pour or scrape the oil and grease into the trash.
- Line the pan with foil or use a disposable foil pan that fits your grill type for easier cleanup.
4. Reassemble the Components
Once your grill components have been cleaned, it’s vital to reassemble everything in the proper order.
Start by adding the grease collector back. All you have to do for charcoal grills is add the grill grates back inside.
- For a gas grill, add the bars back over the burners and then the grates.
- For a pellet grill, add the deflector plate back inside. To make cleanup even easier next time, line it with heavy-duty foil. This way, after every few cooks, you can lift off the foil and replace it with a clean sheet. Finally, add the grates back in.
5. Clean the Exterior
The outside of a grill will get dirty, too. Wipe it down with a rag with warm soap and water if it’s only covered in dust or light debris.
- If grease is built up, use a spray-on degreaser with a paper towel or rag.
- For those beautiful stainless steel surfaces, finish the cleaning process with a stainless steel cleaner to make it nice and shiny.
6. Test Temperatures on gas, pellet, and electric grills
It’s a good idea to double-check the accuracy of the grill temperature and check that all the burner tubes are secured and unclogged.
- For gas grills and pellet grills, set the temperature on the grill. Then, insert an ambient grill thermometer onto the grill grate. Let it run for 15 to 20 minutes, and check the readout.
- The instant thermometer should be close to your grill’s thermometer. If not, check with your manual to see if any adjustments should be made, or continue to monitor with a reliable external thermometer with each cook.
7. Cover your grill
- After all that work, protect your grill by keeping it covered. Covering a grill will protect it from elements like wind, rain, and dust and help it last longer. Most manufacturers make a grill cover to fit their grills exactly, and there are after-market products that fit standard grills or semi-universal ones. Depending on your weather and environment, you may need to replace these every year or two to keep your grill in top shape.
By following these simple steps, you’ll have a sparkling clean grill that will perform better and last longer while ensuring that your summer grilling tastes its best whenever you fire up those burners! Now that your grill is clean, you can focus on fun outdoor activities like growing your vertical garden and of course, grilling something delicious.
The best recipes for grilling

Cleaning your grill is an essential step to make sure that it functions optimally and safely. Following the steps outlined in this article, you can keep your grill looking as good as new and ready to enjoy all season long. Whether you choose to use a commercial cleaner or opt for natural solutions like vinegar and baking soda, remember to clean your grill after every use and conduct a deep clean at least twice a year.
How to Clean a Grill
Recommended Equipment
- grill
Ingredients
- rolled wire grill brush
- heavy duty cleaning gloves
- cleaning rags
- degreaser
- Soap
- Water
Instructions
Clean the grill grates after every use
- Let the coals burn or heat run for a few minutes after each cook.
- Use a brush to scrape off food particles.
- Check for residual bristles if using a wire brush.
- Spritz with water to loosen stubborn food.
- Reseason the grill grates by spritzing with vegetable oil.
CLEAN THE INSIDE
- Charcoal grill: Remove ashes once coals burn out and are cool.
- Open vents and push ash onto a pan.
- Use ash-collecting pans or remove and dump ash.
- Use a shovel or Shop Vac for challenging grills.
- Pellet grill: Follow manufacturer's recommendations.
- Empty firepot of ash or use vacuum attachments.
- Vacuum inside to prevent build-up.
- Scrape off residue from deflector plate.
- Gas grill: Clean burner bars and vent holes.
- Scrape residue toward grease collector.
CLEAN THE GREASE COLLECTORS
- Check and empty grease collectors to prevent overflow.
- Wash the grease pan with soap and water.
- Line pan with foil or use disposable pans for easier clean up.
REASSEMBLE THE COMPONENTS
- Place grease collector back.
- Charcoal grills: reinsert grates.
- Gas grills: add bars and grates.
- Pellet grills: reinsert deflector plate.
- Consider lining deflector plate with foil.
- Add grates back onto the grill.
CLEAN THE EXTERIOR
- Wipe down with warm soapy water for light debris.
- Use a spray-on degreaser for built-up grease.
- Polish stainless steel grills with stainless steel cleaner.
TEST TEMPERATURES ACCURACY
- Set temperature and insert ambient grill thermometer.
- Compare readout to grill’s thermometer.
- Adjust as needed or rely on external thermometer.
COVER YOUR GRILL and store it
- Protect grill from elements with a cover.
- Store the grill is a safe secure place until ready to use again.
Bookmark this recipe now!
Parts of this article were originally written by Christie Vanover of GirlsCanGrill.com. This article originally appeared on Food Drink Life.


If I forget to clean my charcoal grill after using it, should I clean it before lighting it off the next time? Or wait until it gets warm?
Great Q Aaron, you should clean out the ash while it’s still cold, before lighting new charcoal. To clean the grill grate, wait til the coals are hot then give it a good scrub.