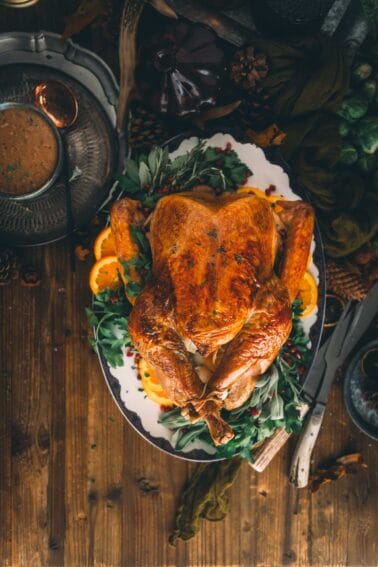
You’ve selected the perfect turkey and gathered your favorite seasonings. But before you can start roasting, there’s a crucial step that often leaves home cooks puzzled: trussing the turkey. You might be wondering if it’s really necessary, or how to do it properly to make sure your bird cooks evenly and looks picture-perfect on the table.
Over the years, we’ve smoked, roasted, spatchcocked, fried, and tried just about every method to hone our turkey skills. Through it, we’ve found that tying the turkey is more than just an outdated culinary tradition – it’s a game-changer for achieving that picture-perfect, evenly cooked bird.
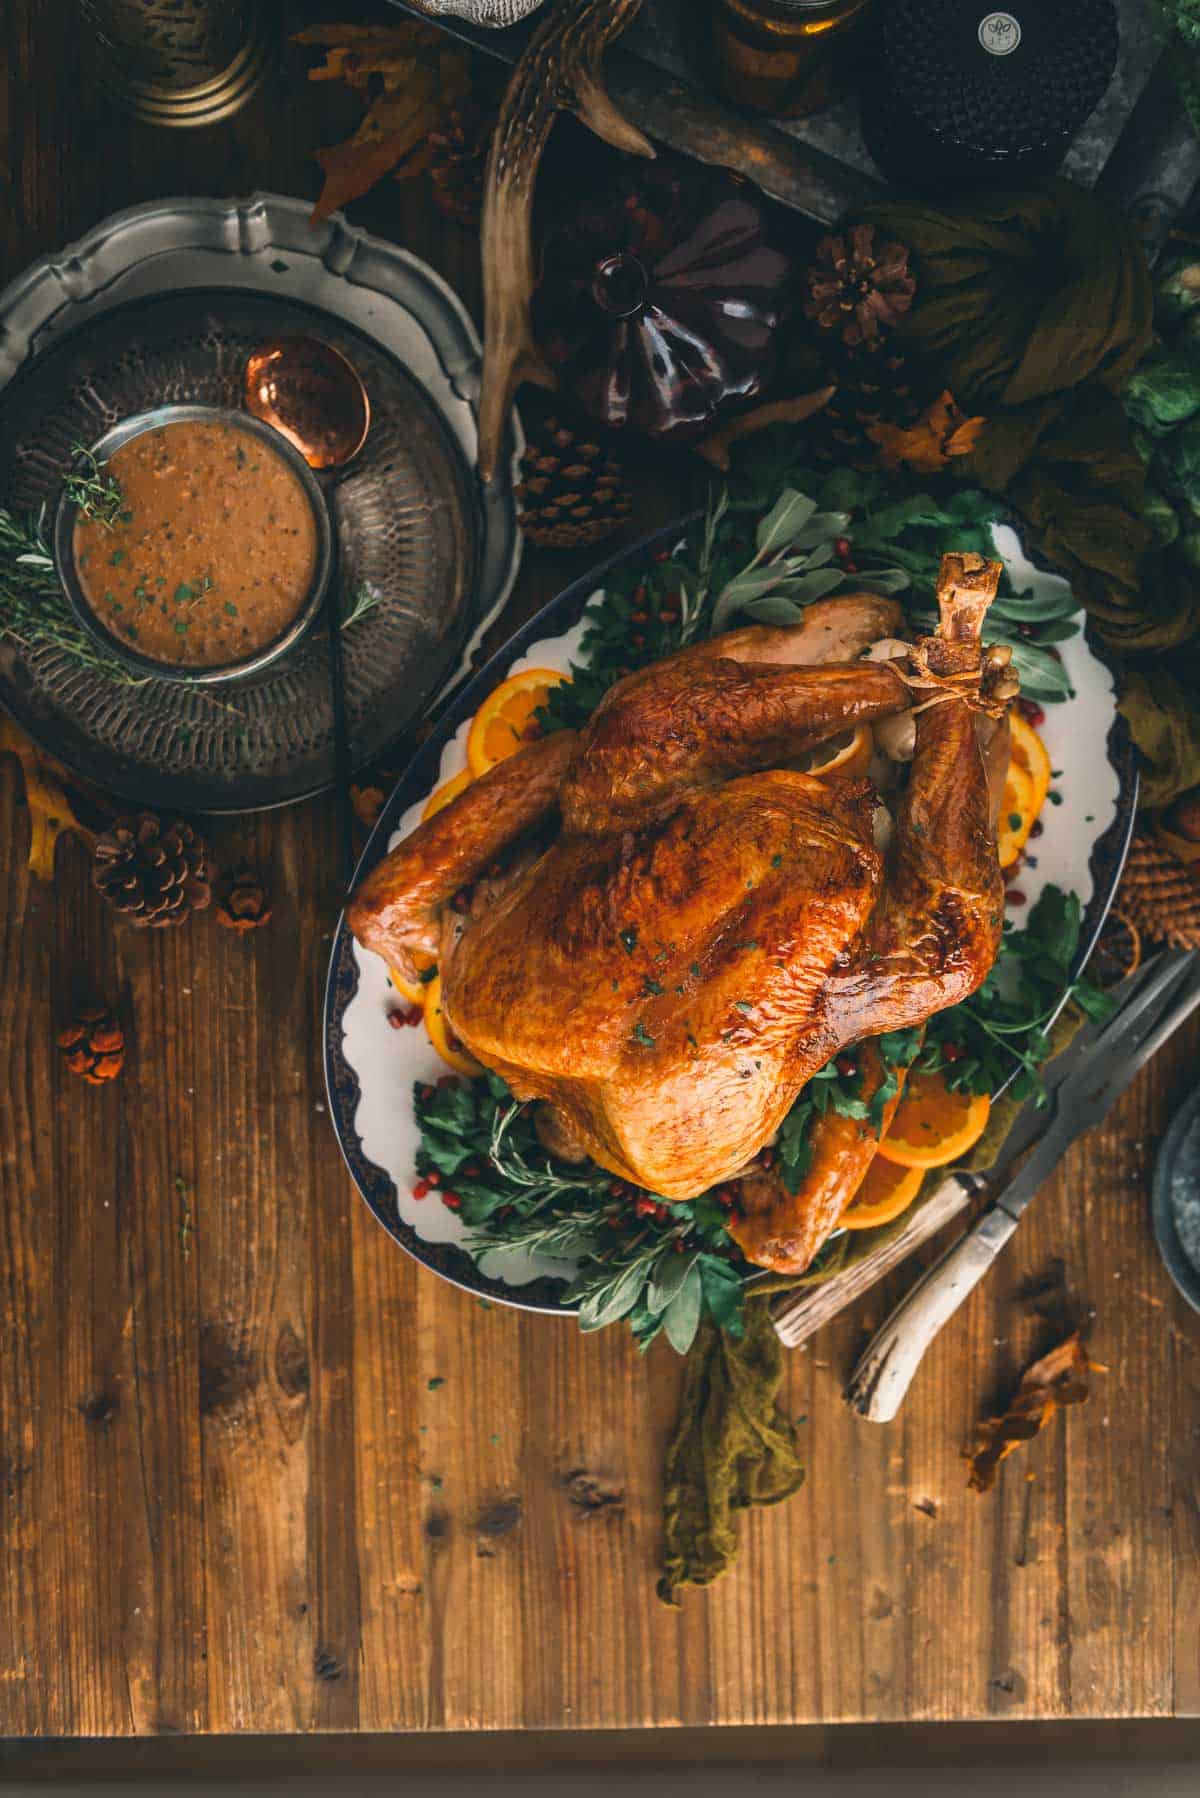
Table of Contents
- What does it mean to Truss a Turkey?
- 🎥 WATCH: How to Tie A Turkey
- The Purpose of Trussing a Turkey
- Get the entire Thanksgiving Shopping List Download
- What you’ll need to Truss Turkey
- How to Tie A Turkey For Roasting
- Common Mistakes and How to Avoid Them
- Mistake #1: Not Patting the Turkey Dry
- Mistake #2: Overstuffing the Turkey
- Mistake #3: Trussing Too Tightly
- Mistake #4: Using the Wrong Tools
- Roasting Tips for a Perfectly Cooked Turkey
- Carving and Serving Your Trussed Turkey
- OUR FAVORITE TURKEY RECIPES
- Trussing / Tied up Turkey FAQs
What does it mean to Truss a Turkey?
Trussing is a technique that involves tying up the legs and turkey wings to keep them close to the body, which helps to cook the turkey evenly. This technique is especially important for larger birds, as it prevents the wings and legs from sticking out and burning.
- Trussing a turkey is essential for even cooking and an attractive presentation.
- Follow simple steps to truss your turkey, such as securing the neck cavity, tucking wings and legs, or using alternative techniques.
- Roast according to turkey cooking times, and, more importantly, internal temperature, then carve and serve for a perfectly cooked bird.
🎥 WATCH: How to Tie A Turkey
The Purpose of Trussing a Turkey
When roasting a turkey, it can be challenging to master an evenly cooked bird with a beautiful golden brown color and having the stuffing stay intact. That’s why you truss the turkey when you’re cooking a whole turkey in the oven or smoker.
The purpose of trussing is to keep the turkey’s legs and wings close to the body, which helps to cook the bird evenly. When the wings and legs are left untied, they tend to spread out and cook faster than the rest of the bird. This can result in dry, overcooked meat. Trussing also helps to create a compact, uniform shape of the whole bird that makes it easier to carve the turkey once it’s cooked. It also helps to keep the stuffing inside the bird while it cooks, which adds flavor and moisture to the meat.
Get the entire Thanksgiving Shopping List Download
What you’ll need to Truss Turkey
Trussing a turkey requires a few tools, including:
- Kitchen twine: You will need a long piece of butcher’s twine to tie up the turkey.
- Poultry shears: Poultry shears are useful for cutting away excess skin and fat from the bird.
- Skewers: Skewers can be used to secure the neck flap and hold the stuffing inside the bird.
Shop all of our Thanksgiving essentials for all the tools you need from roasting the turkey to setting the table.
How to Tie A Turkey For Roasting
To ensure your turkey trussing experience is stress-free, here are the easy steps to get it done. Once you have your supplies, follow these steps to prepare your turkey for trussing:
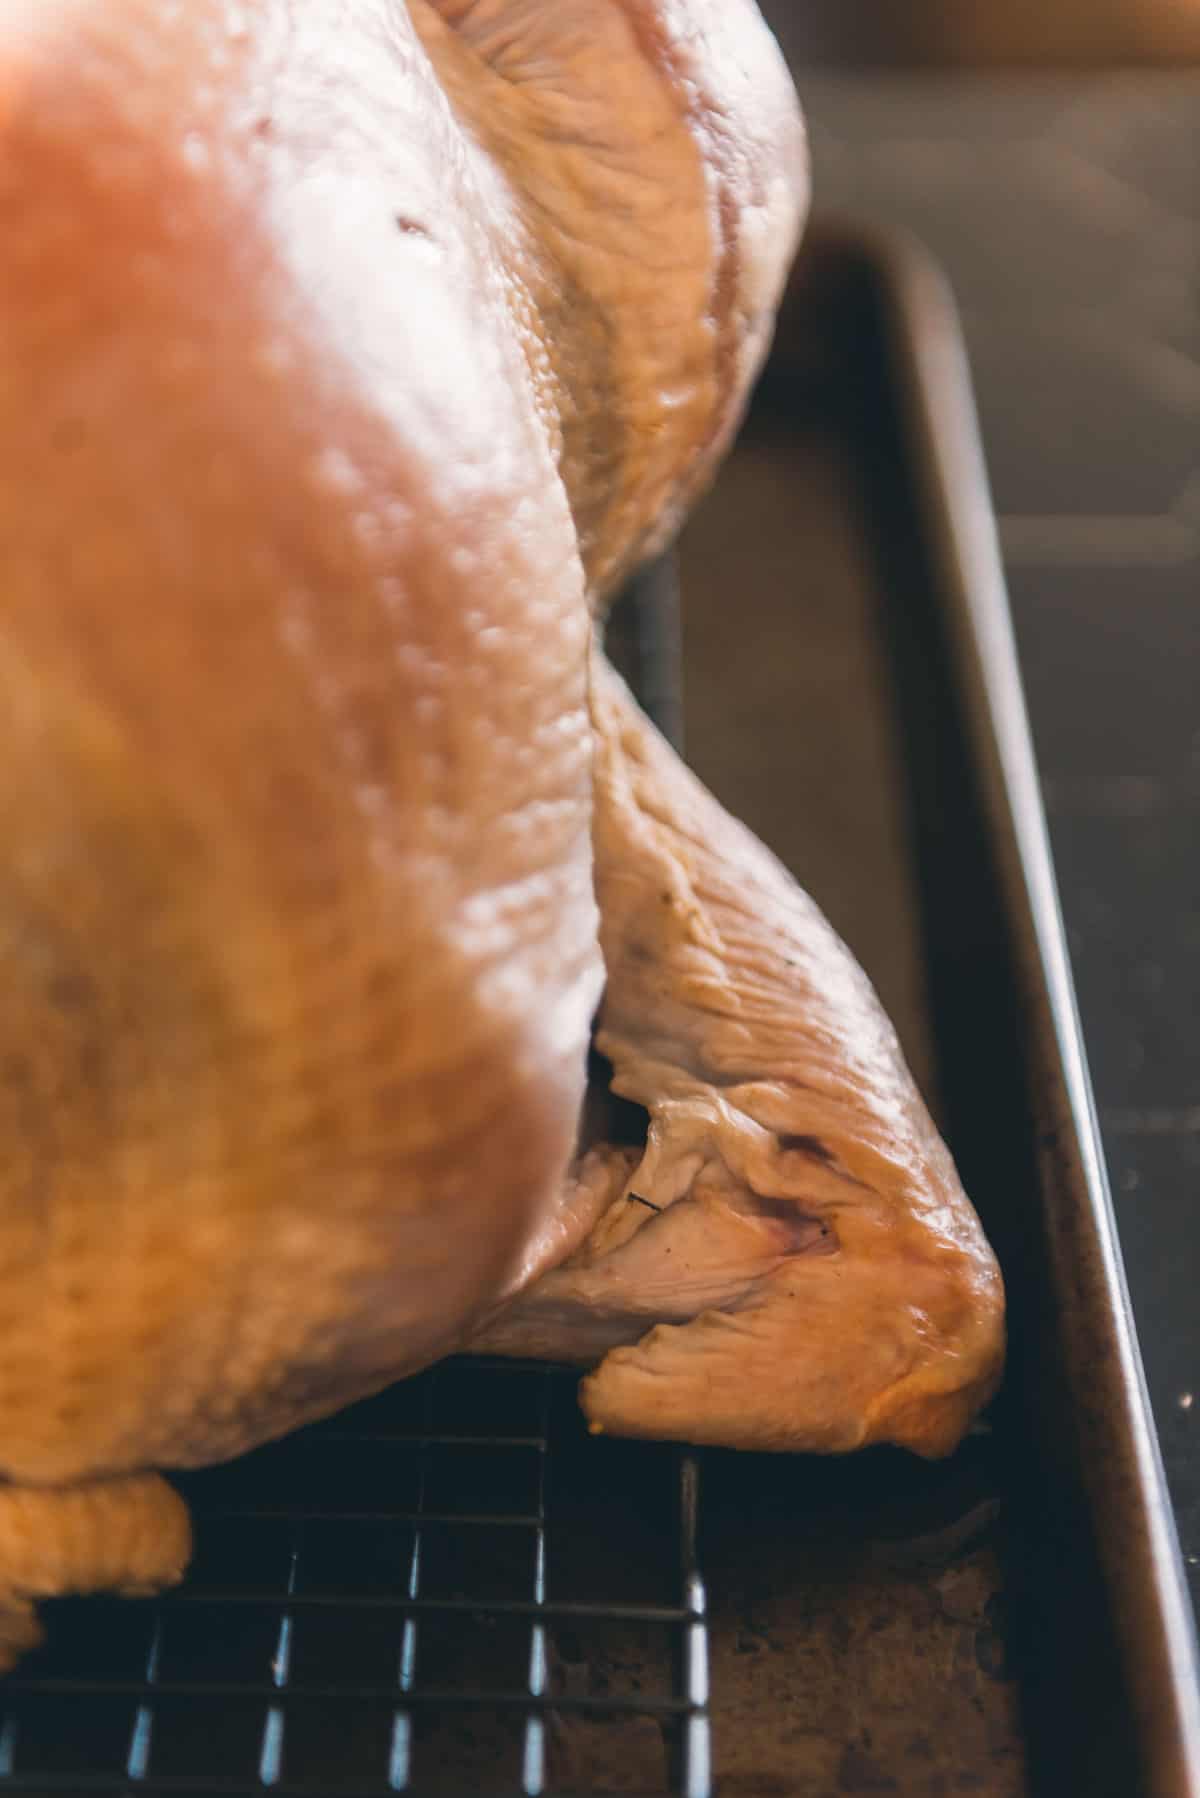
1. Preparing the Turkey
Before starting with trussing the turkey, make sure that it is properly defrosted and free of its neck and innards, set those aside to make giblet gravy. Pat the turkey dry with paper towels, and be sure to dry the cavity as well.
2. Securing the Neck Cavity
This step is optional if stuffing the bird. Secure the neck cavity of a turkey by folding its skin over to cover the neck opening. You can use the string from when you secure the wings OR a wooden skewer threaded on either side of the neck to hold the skin in place gently, but still allow airflow. This will help to keep the stuffing from spilling out. You can trim the skin flaps with kitchen sheers, if desired, before cooking. If you have an unstuffed turkey, you can simply trim the excess skin if desired.
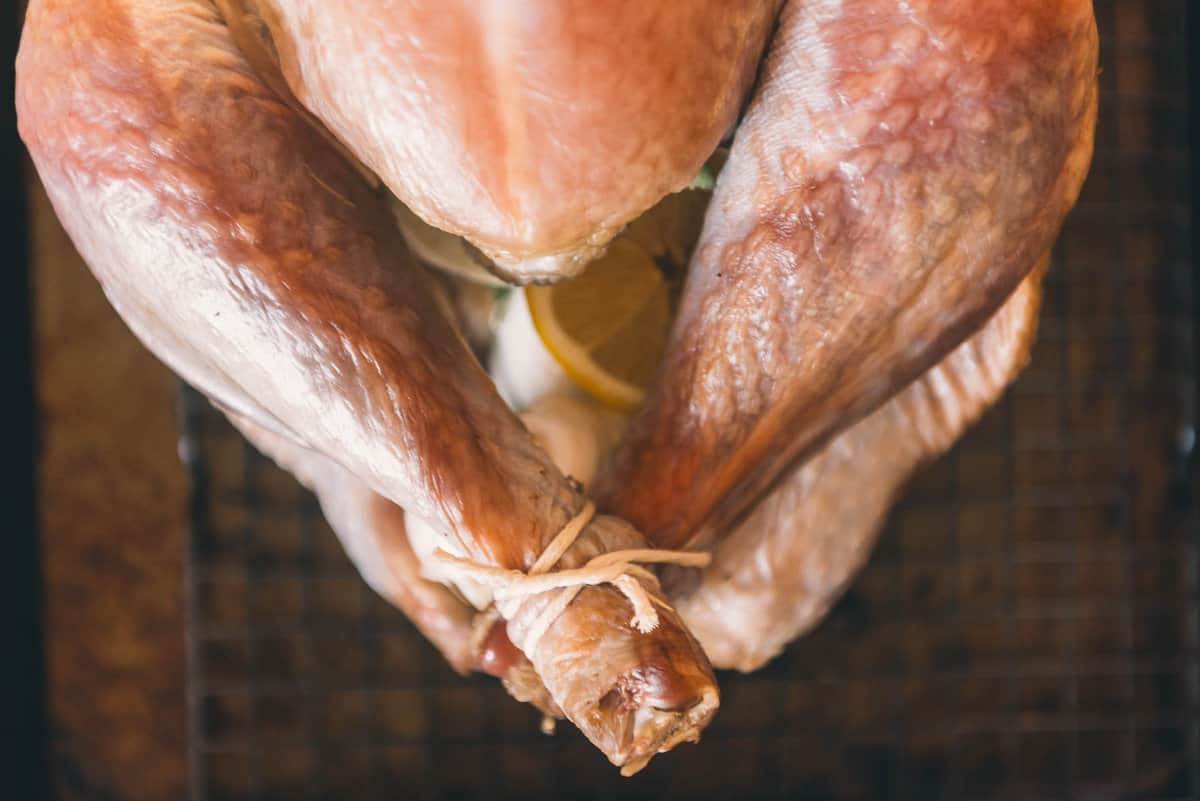
3. Securing the Wings and Legs
Add any aromatics or stuffing to the turkey’s cavity before trusting it.
To truss up its legs, begin by wrapping a long piece of kitchen twine around the ankles of both legs and then cross the ends over one another. Secure with a knot, closing the cavity, and cut off any excess twine.
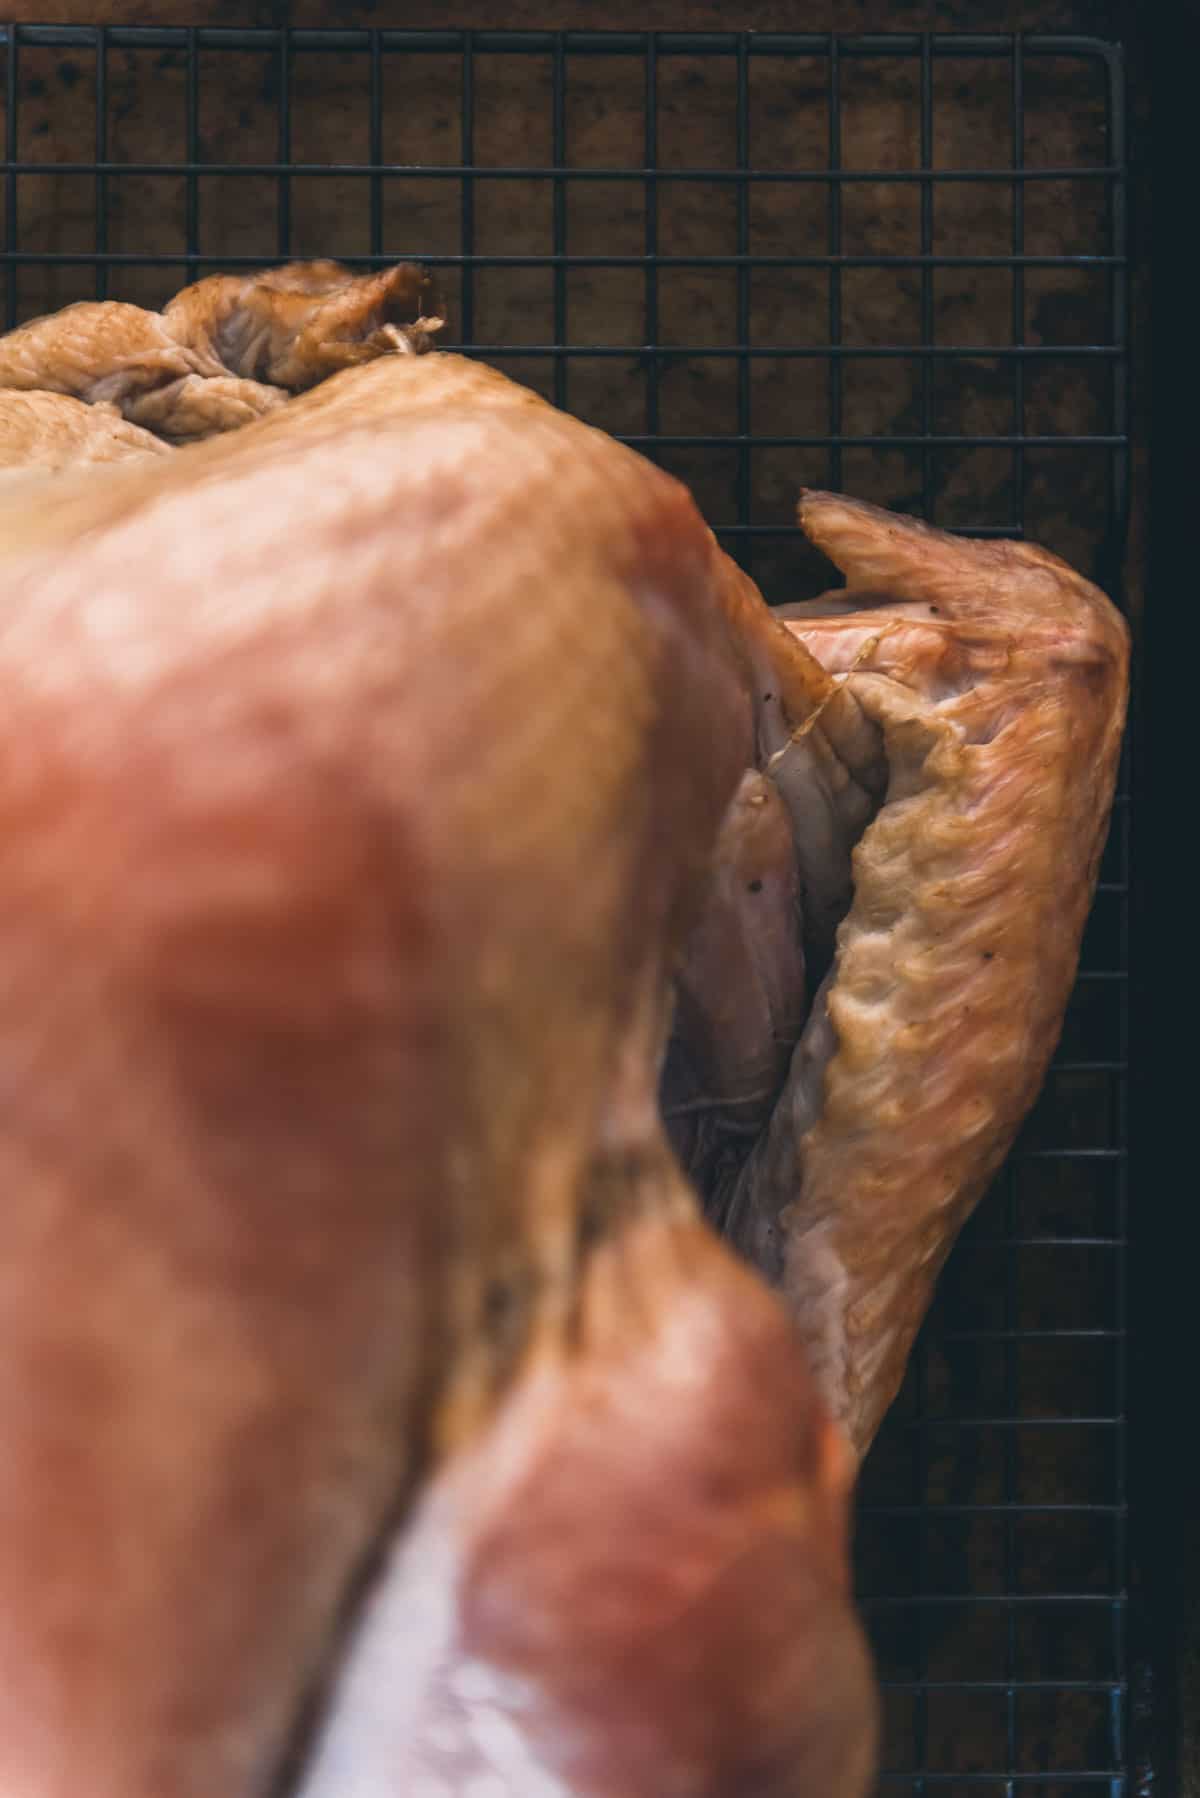
Fold the wing tips back, tucking the wings firmly under the shoulders. This helps for stability for the body of the bird when roasting it on a platter and will keep them from becoming scorched. Alternatively, secure the wings with a wooden skewer to prevent them from moving while the turkey cooks.
Trussing a Turkey
- Prepare a long piece of butcher’s twine or kitchen string. Use a trussing needle if available.
- Place turkey breast-side up with legs facing you. Tuck the wing tips under the body.
- Loop string around the legs of the turkey and pull tightly to bring them together. Tie securely.
- Wrap string around the ends of the drumsticks to close the gap.
- Flip the turkey over, cross string over the back, and wrap around the ends of the wings.
- Flip the breast side up again. Wrap string around the body cavity opening to close it.
- Tie string tightly under the turkey to secure it.
- Use scissors to cut away excess string.
- Check that the shape of the bird is compact and that the legs and wings of the turkey are bound close to the body.
- Roast turkey seam side down and keep trussed while cooking.
Common Mistakes and How to Avoid Them
Trussing a turkey can be intimidating, but once you’ve done it you’re on your way to an evenly cooked turkey the whole family will gobble up. Here are some common mistakes to avoid when trussing your turkey:
Mistake #1: Not Patting the Turkey Dry
Before seasoning and trussing your turkey, make sure to pat it dry with paper towels. If the turkey is wet, the skin won’t crisp up properly, and you’ll end up with a soggy bird. So, take your time to pat the turkey dry thoroughly. We recommend brining your turkey for the most flavor.
Mistake #2: Overstuffing the Turkey
While it’s tempting to stuff your turkey with as much stuffing as possible, overstuffing the turkey can lead to uneven cooking and an undercooked bird. Instead, loosely fill the cavity with stuffing and aromatics, leaving enough space for the hot air to circulate.
Mistake #3: Trussing Too Tightly
Trussing your turkey too tightly can cause the bird to cook unevenly and dry out. Instead, tie the legs together loosely and tuck the tips of the wings under the body. This will help the turkey cook evenly and prevent the wings from burning.
Mistake #4: Using the Wrong Tools
When it comes to trussing a turkey, using the right tools is essential. Don’t use regular string or twine, as it may not be able to withstand the heat of the oven. Instead, use kitchen twine or butcher’s twine, which is specifically designed for cooking.
By avoiding these common mistakes, you can ensure that your turkey is perfectly cooked and looks beautiful on the table.
Roasting Tips for a Perfectly Cooked Turkey
Now that you have successfully trussed your turkey, it’s time to cook it to perfection. Here are some tips to ensure your turkey is cooked evenly and stays juicy:
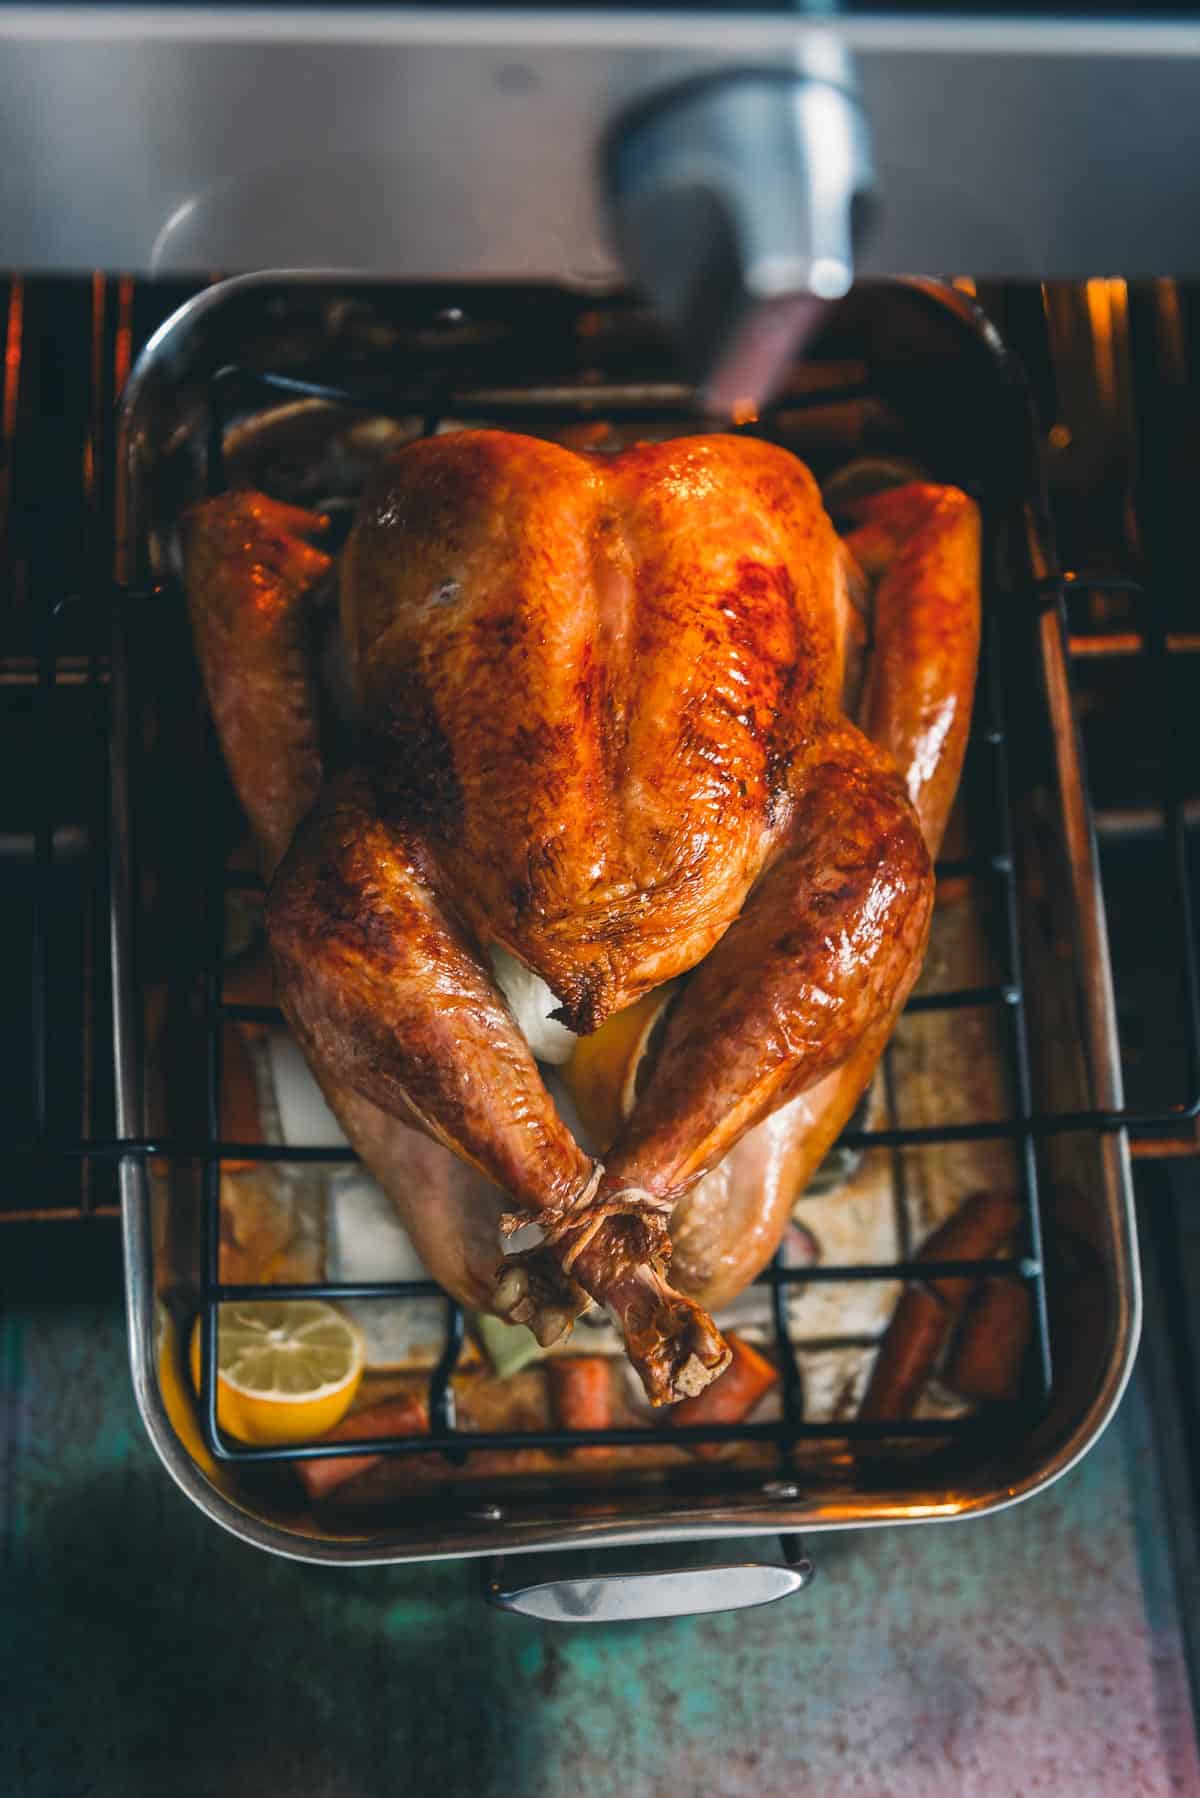
- Preheat your oven to 325°F (163°C) and place your trussed turkey in a roasting pan breast-side up.
- Rub the turkey with some oil or herb butter, and season it with kosher salt and pepper. You can also add some herbs and spices for extra flavor.
- Roast it for about 15 minutes per pound. For example, if you have a 12-pound turkey without stuffing, it will take about 3 to 3 1/2 hours to cook. Check out our guide on Turkey cooking time for more tips.
- Baste the turkey with its own juices every 30 minutes. This will help keep the turkey moist and flavorful. Cover the turkey with foil to prevent the turkey from over-browning if needed.
- Use a meat thermometer to check the internal temperature of the turkey. The turkey is done when the temperature in the thickest part of the thigh reaches 165°F (74°C).
- Let the turkey rest for at least 30 minutes before carving it. This will allow the juices to redistribute and make the turkey more tender. See our full guide on how to carve a turkey too!
By following these simple steps, you can cook a delicious and juicy turkey that your family and friends will love. Happy cooking!
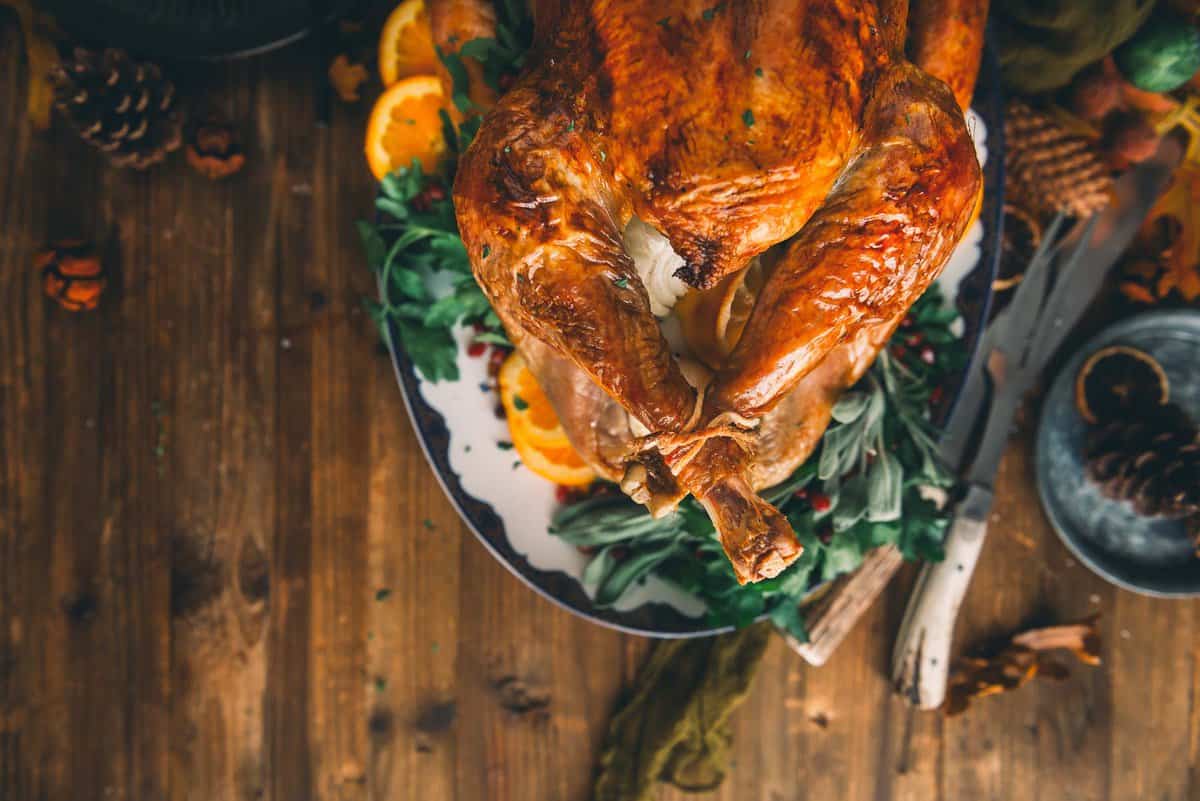
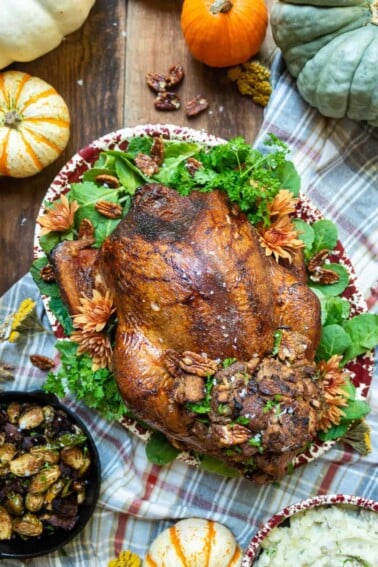
Carving and Serving Your Trussed Turkey
With your beautifully roasted and rested turkey that has been trussed up, it is now time to carve it in preparation for serving.
- Remove trussing string or skewers with a sharp knife once the turkey is cooked and rested.
- Use a carving fork to stabilize the turkey on a cutting board before carving.
- Cut between thigh and body, then disjoint leg from thigh. Remove wings similarly.
- Slice breast meat by cutting perpendicular to the breastbone, then slice thin pieces outward.
- Combining these techniques results in a perfect presentation.
For step-by-step instructions and photos on how to properly carve your turkey, see our How to Carve a Turkey guide.
OUR FAVORITE TURKEY RECIPES
Poultry Recipes: Chicken, Turkey & Duck
Traeger Smoked Turkey with Smoked Stuffing
Poultry Recipes: Chicken, Turkey & Duck
Best Smoked Turkey Recipe
Poultry Recipes: Chicken, Turkey & Duck
Roasting Turkey In Oven
Poultry Recipes: Chicken, Turkey & Duck
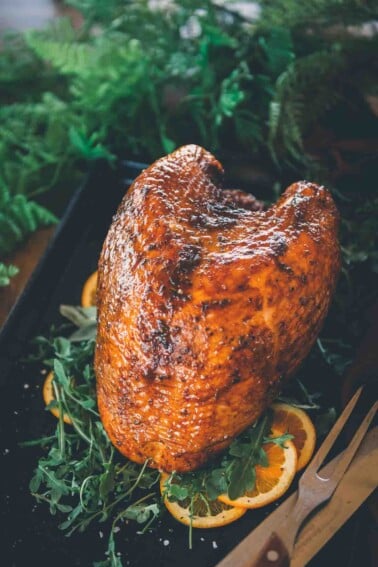
Smoked Bone-In Turkey Breast
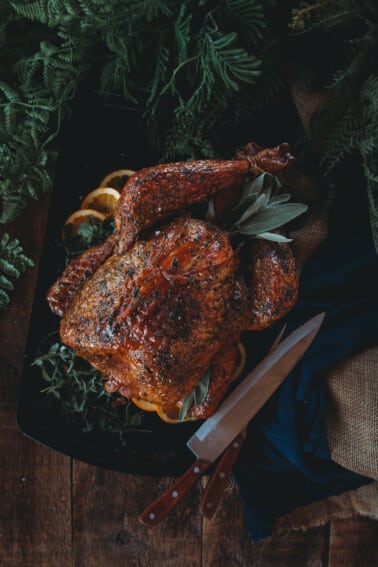
Although this step may seem unneeded, trussing a turkey is the key to achieving a perfect cook, especially if you’re stuffing it, that’s an impressive centerpiece at your dinner table.
Save this guide for later by clicking the ❤️ button on the recipe card. Did you know you can save all of your favorite recipes right to your own recipe index on GirlCarnivore to find them easier later on?
Have you spatchcocked a turkey? Do us a favor and rate the guide with the ⭐ ⭐ ⭐ ⭐ ⭐ and drop a comment to help out the next reader.
Trussing / Tied up Turkey FAQs
Secure the turkey legs together with a lengthy length of kitchen twine, winding it around and tying it. Cut off any excess afterward. For added flavor (optional), stuff or add aromatics into the cavity beforehand. To keep them in place, fold the neck skin down and tuck its wings behind carefully, using the same piece of twine for stability.
Yes, you need to truss the turkey before roasting it. This step is the last step before the turkey goes into the oven. This step is options, and trussing a turkey is a personal preference.
Tying a turkey with trussing helps the bird remain in its shape, ensuring that the breasts won’t be overcooked during roasting. This way of preparation produces a perfectly roasted turkey and makes carving easier as well as offering a nice presentation when served.
Secure the turkey’s legs with kitchen twine, tucking in its wing tips and stuffing or aromatics (optional) inside of it. Make sure to cross the legs first before wrapping the twine around them. Always use a meat thermometer to check that the meat and the stuffing reach a minimum internal temperature of 165 degrees F when cooked for maximum safety.
Cooks often suggest trussing a turkey to ensure proper cooking. Despite this, some advocate for untying the legs so that air can move around and create crisper skin on the bird. Whether or not you choose to tie your turkey is entirely up to you!
If you don’t have trussing pins, you can use kitchen twine to truss the turkey. You can also use metal skewers or toothpicks to hold the turkey together.