When it comes to show-stopping tables, an epic charcuterie board is the way to go, and there’s a reason why. They are easy to make, can be crafted from just about anything, and have a bite everyone can enjoy. Today, we’re sharing tips and tricks for how to make a simple charcuterie board worth Instagramming!
I originally published this post on GoRVing.com. Additional information has been added.
Looking for tips on making a stunning charcuterie board in minutes?
When it comes to fancy cheese boards, it doesn’t take a master chef to build the most picture-worthy spreads in minutes. We’re sharing a few tips for how to make a charcuterie board like a pro! From working in threes and layering deli meats, slices of cheese, and other delicious nibbles to what to pick to make your next party next level!
Knowing what you have on hand before making a homemade charcuterie board is a must! We’ve been making rave-worthy boards packed with cheese, meats, fruits, and more for events and parties for years, and these are our go-to tips for building beautiful spreads with ease!
Table of Contents
- Looking for tips on making a stunning charcuterie board in minutes?
- What Is a Charcuterie Board?
- HOW TO MAKE A PERFECT CHARCUTERIE BOARD
- HOW TO ARRANGE A CHARCUTERIE BOARD
- Girl Carnivore Expert Tip
- WHAT TO PUT ON A CHARCUTERIE BOARD
- WHAT YOU NEED TO MAKE THE PERFECT CHARCUTERIE BOARD:
- Styling Tip
- MORE TIPS AND TRICKS FOR BEAUTIFUL CHARCUTERIE BOARDS
- Helpful FAQs
- MORE DELICIOUS APPETIZERS TO TRY
What Is a Charcuterie Board?
The word charcuterie is a French word meaning “cured meat.” Although the process of curing meats has been around for quite some time, charcuterie boards haven’t become popular until more recently, especially in the United States.
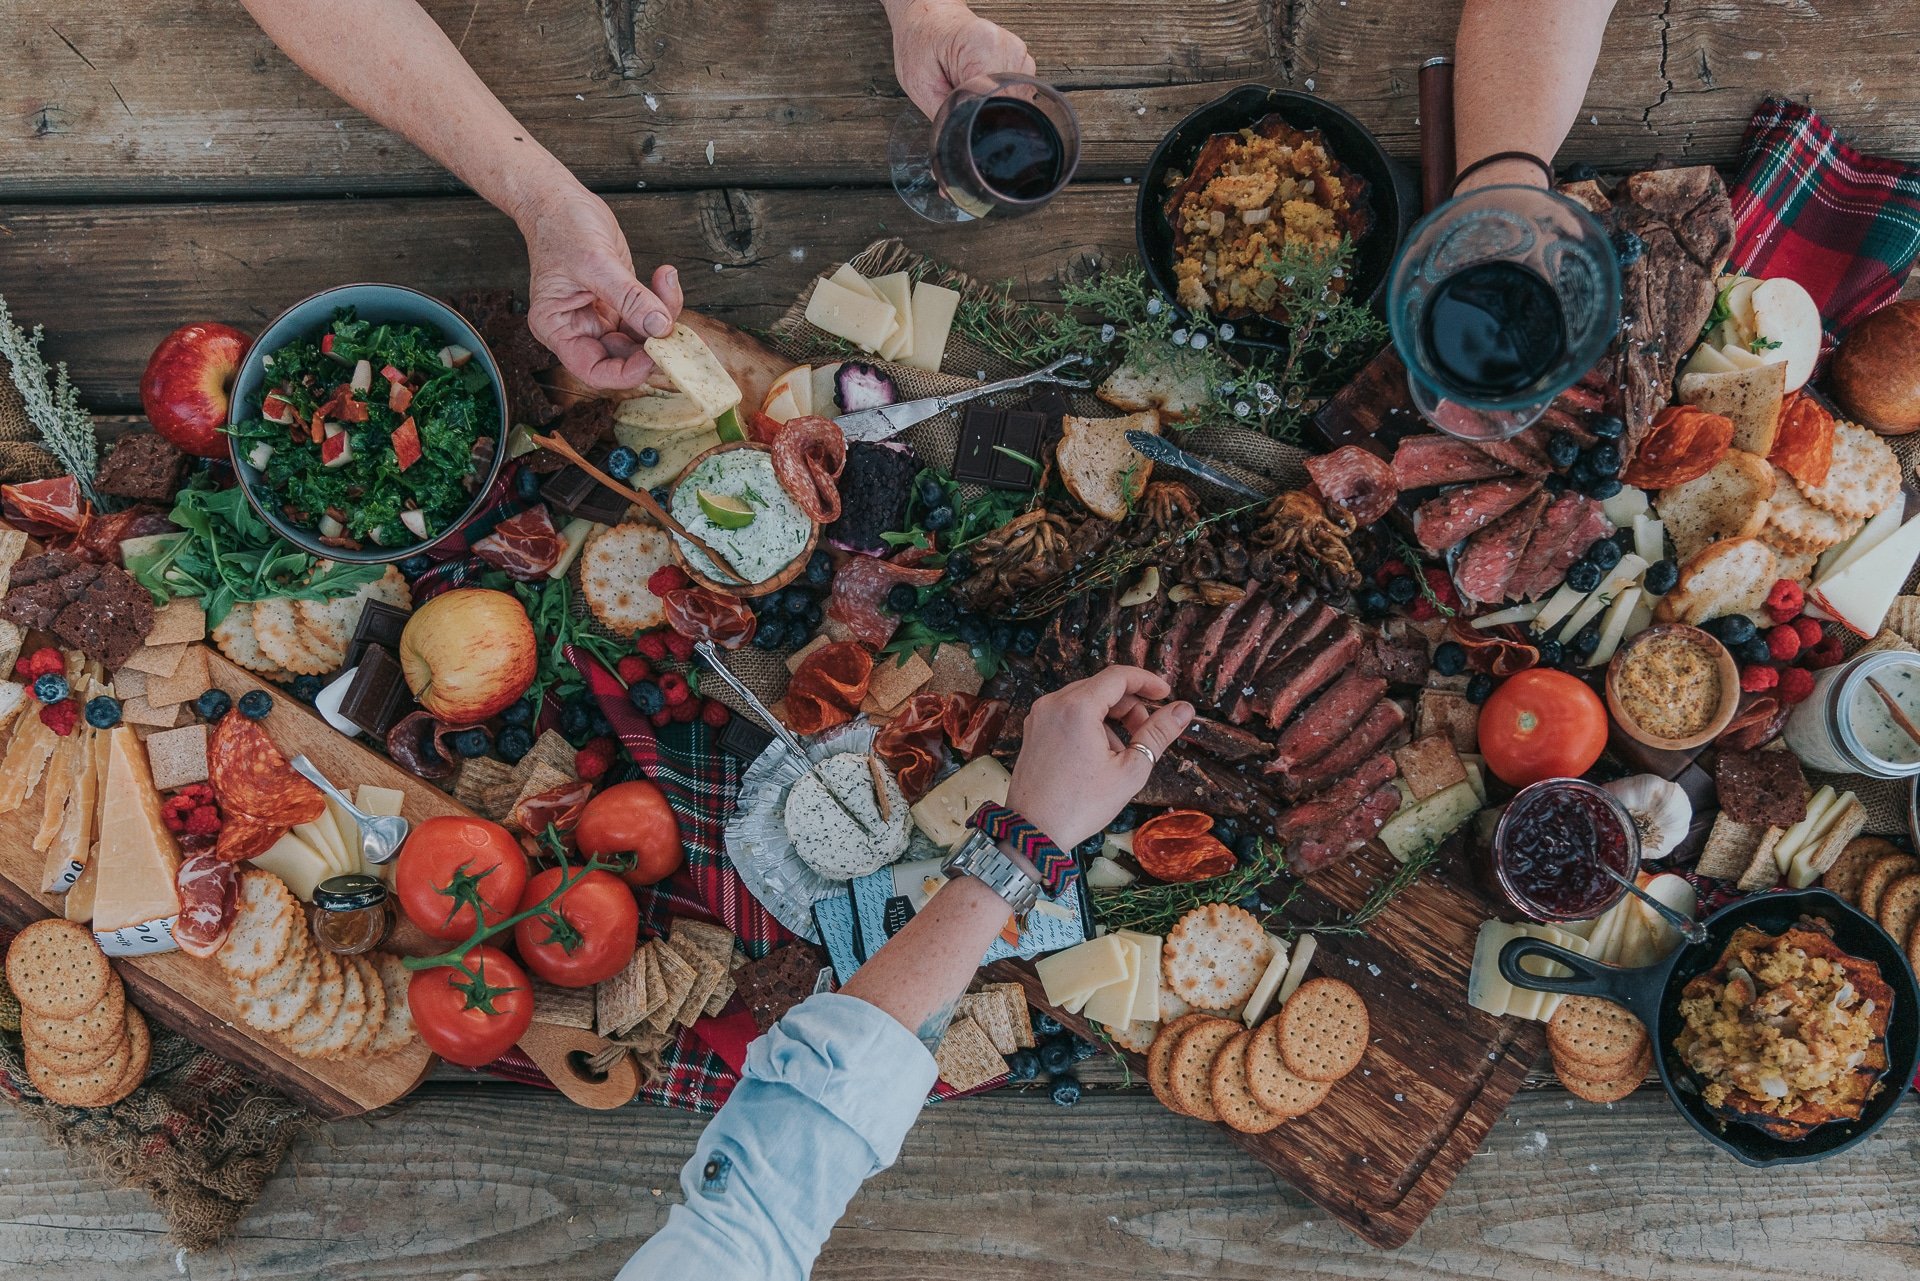
A charcuterie platter consists of a variety of meats, cheeses, and other delicious accouterments, creating the perfect appetizer for your next gathering or special occasions like the holiday season! These take a classic cheese board to a whole new level (thanks social media).
HOW TO MAKE A PERFECT CHARCUTERIE BOARD
When it comes to the perfect charcuterie board ideas, planning ahead can be a huge help.
PLAN YOUR BEAUTIFUL BOARD AHEAD OF TIME:
- Plan: Writing out our menu ahead and knowing exactly what goes with what dish means that we already have all of my ingredients listed out.
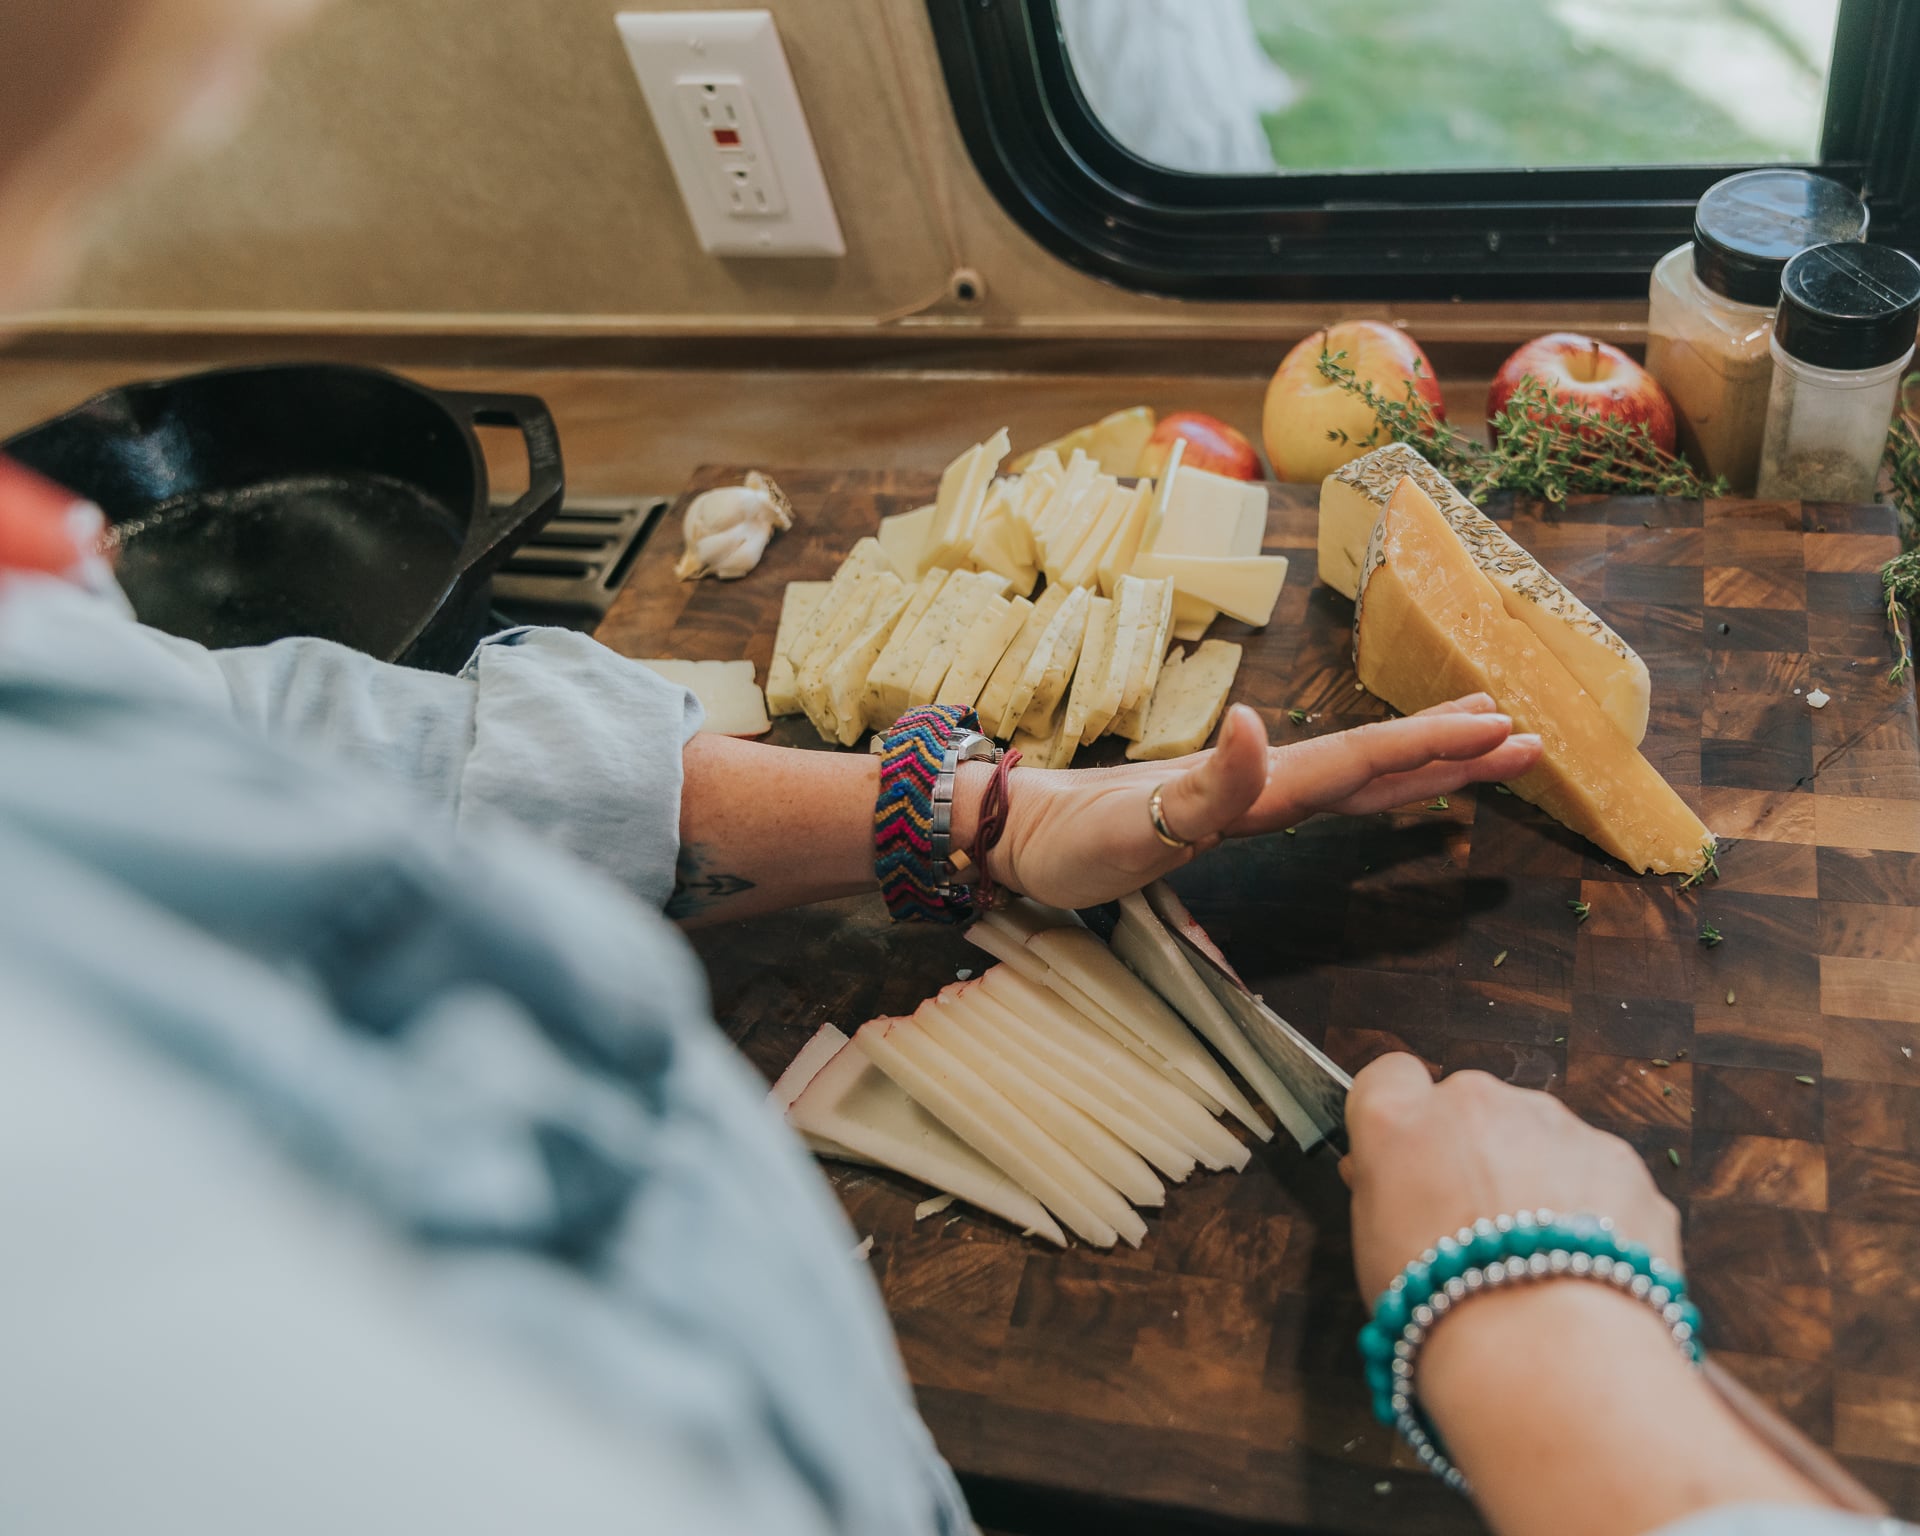
- Slice ahead: We will have all the cheese sliced and stored in airtight resealable bags, and then we do the same for the cured meats so that when they are ready to go, making assembly quick.
- Store individually: Any jelly, jam, or honey will be ready to go in its own jar or a smaller resealable container for placing. Make sure to have a bowl or dish ready for each item, knives for each cheese, and spoons or picks for pickles, dips, and fruits.
HOW TO ARRANGE A CHARCUTERIE BOARD
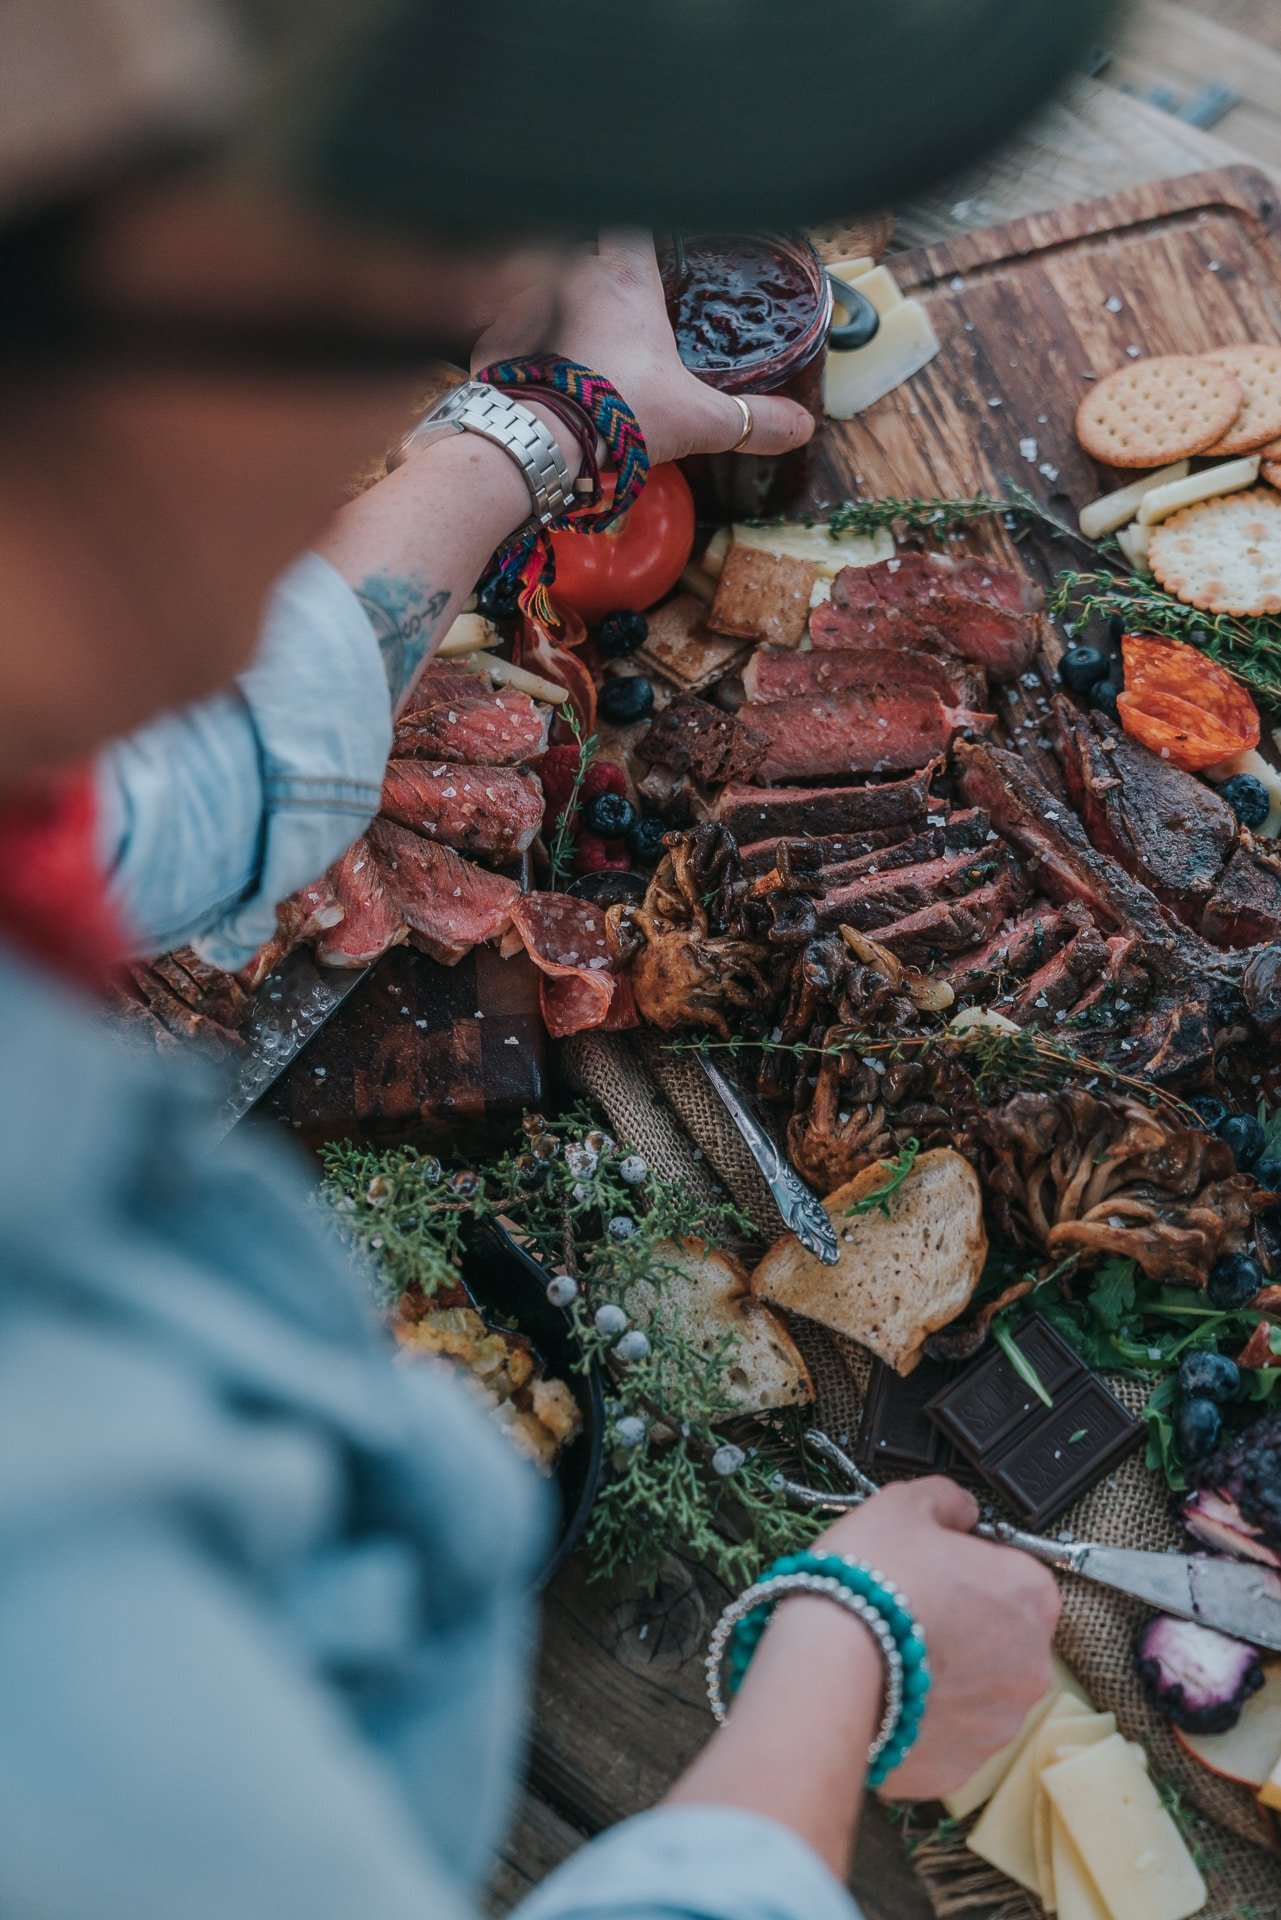
Sure, you can put anything on your board, but there are a few things that we consider essential – a variety of cheese, an assortment of meats, a vessel to transport (bread or cracker), a crisp garnish (pickled veggies or olives), and something spreadable (jam or honey).
Girl Carnivore Expert Tip
Work in groups of 3 to build a fully fleshed-out and abundant-looking board, no matter how large or small your surface is. It’s our favorite tip for whipping up an easy charcuterie board without notice.
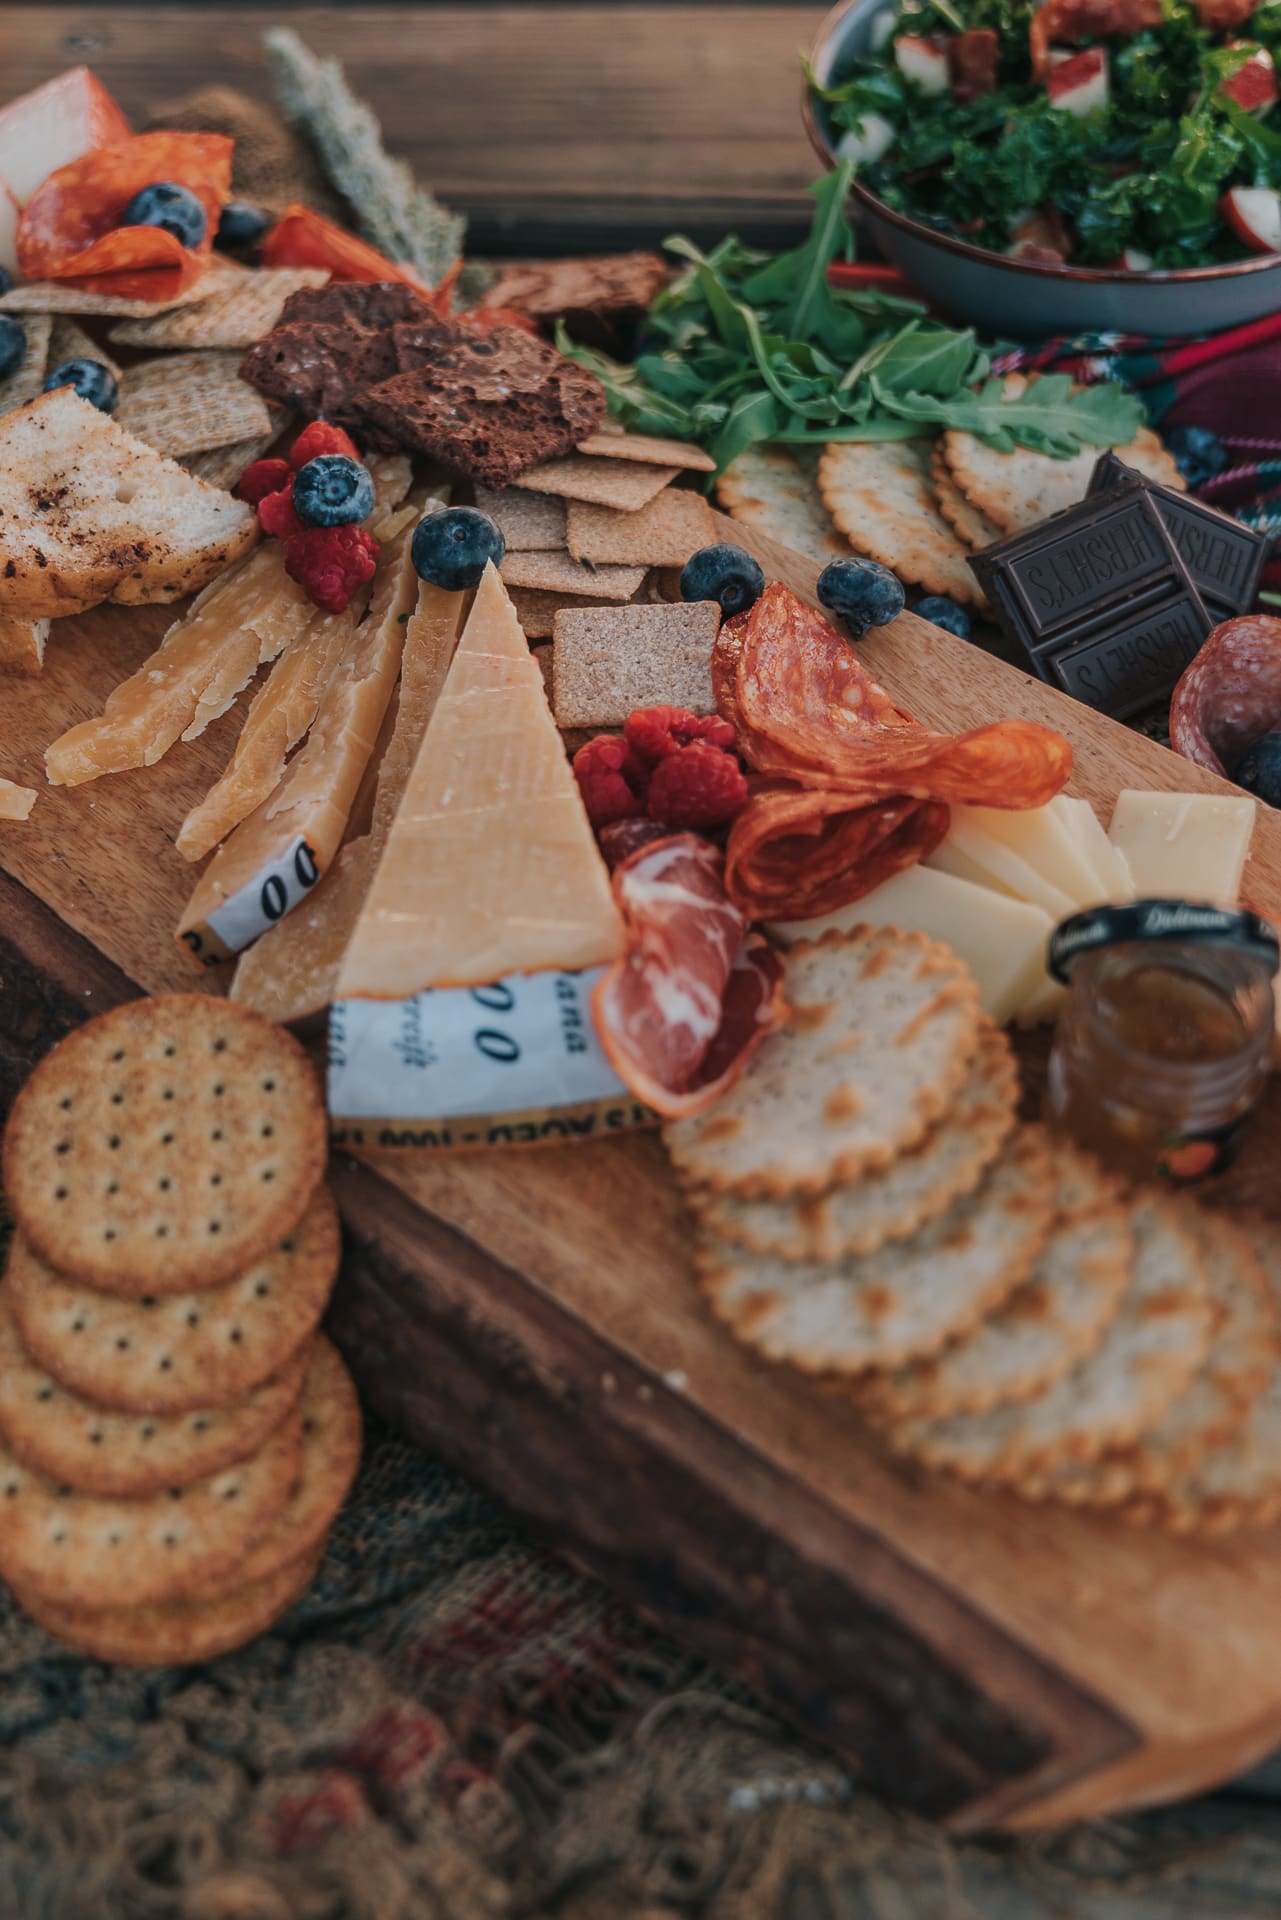
Whatever you choose to put on your board, work in sets of three to build volume. 3 types of the best meats, 3 of the best cheeses (one soft, one mild, and one wild card), 3 fruits, crackers, jams, and so on. It’s a quick way to mitigate choices and ensure the board looks full.
WHAT TO PUT ON A CHARCUTERIE BOARD
The best charcuterie board should have something for everyone (not just slices of your favorite cheese – ok, that should be on there, too).
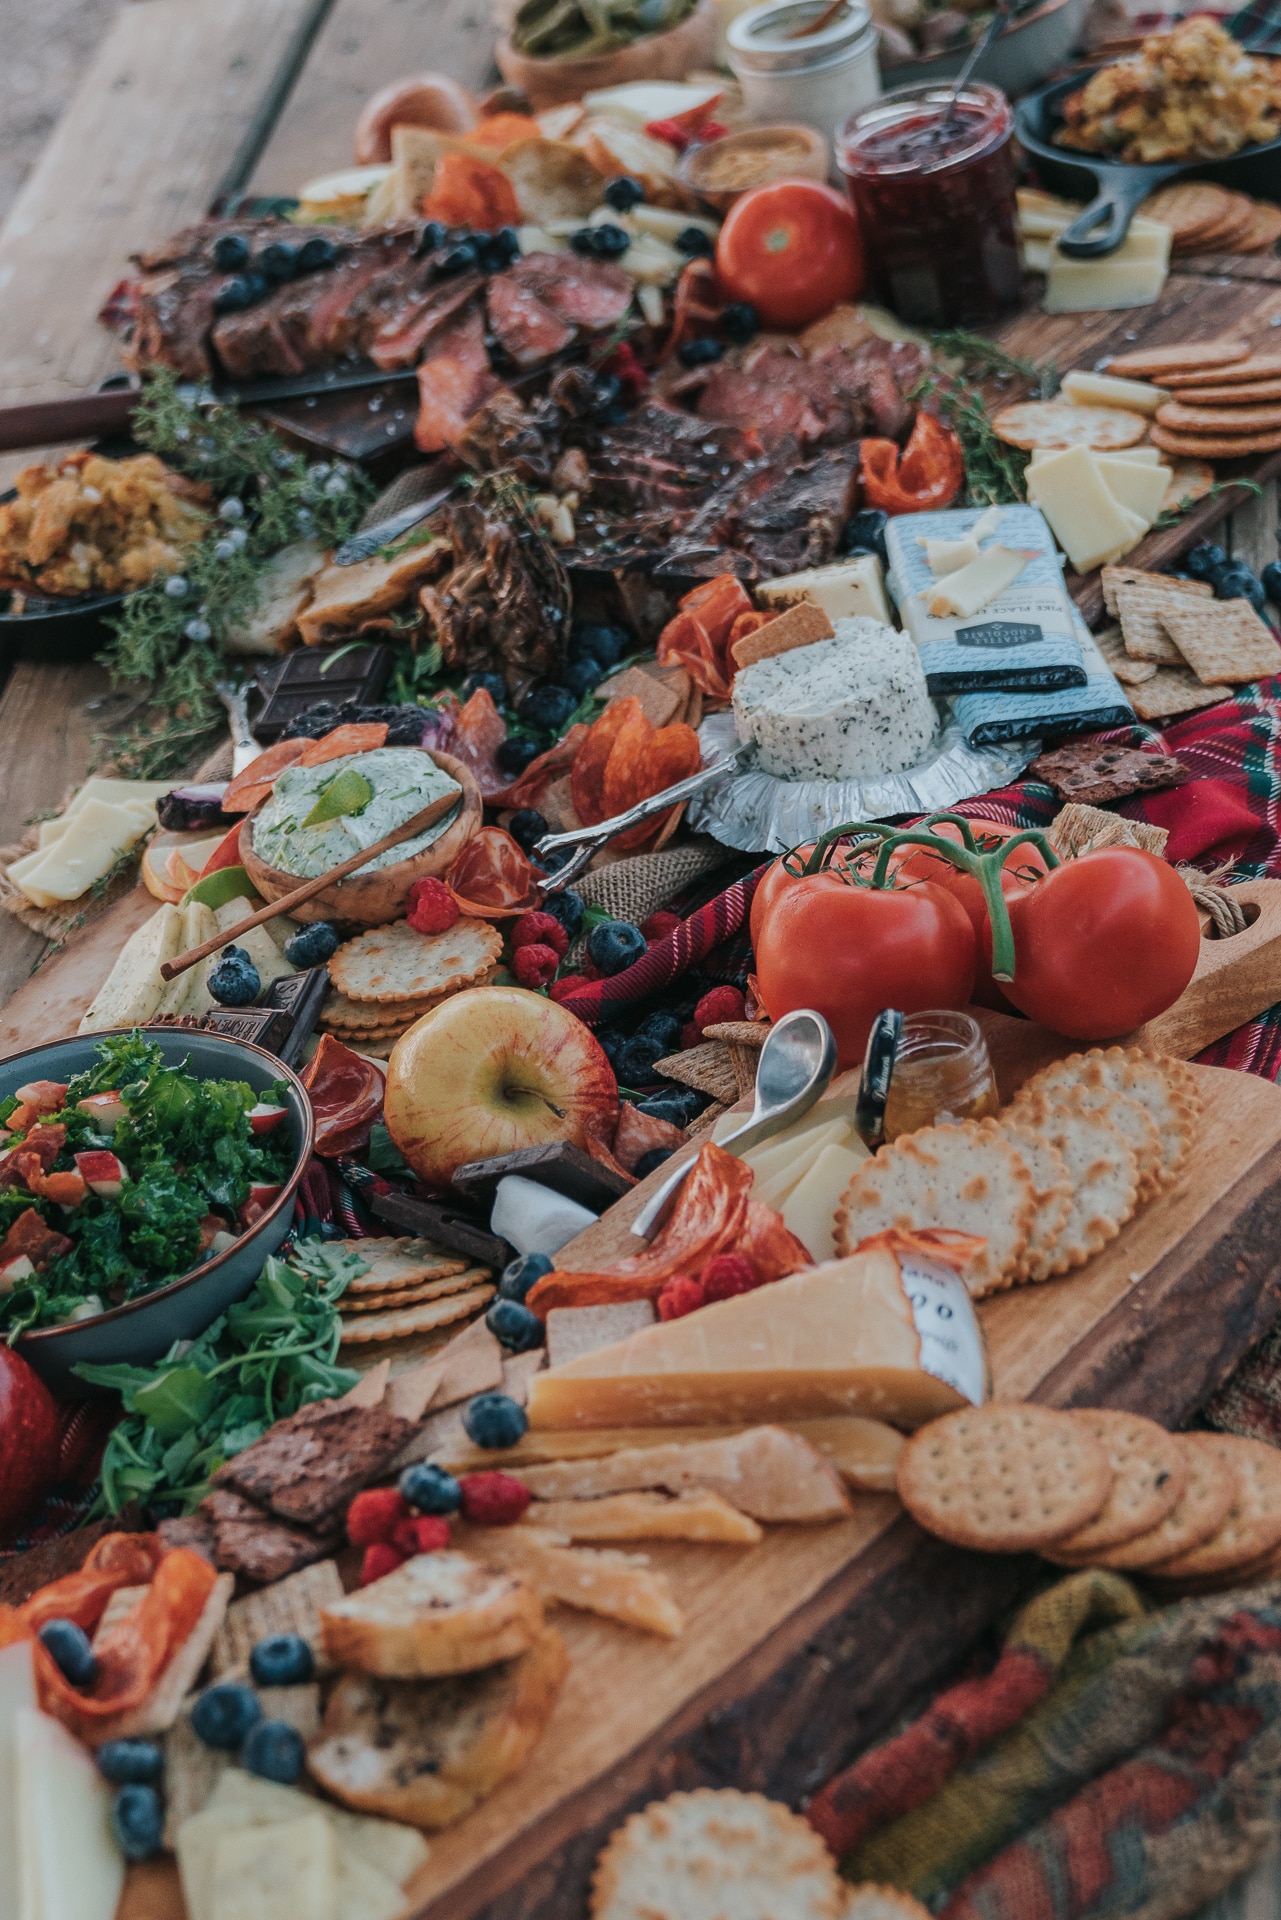
- Cheese: use different kinds of cheeses like soft cheese, hard cheese, and any other cheese options you like. We prefer to have a mixture of sharp, mild, and creamy cheeses. Also, consider a trio of cow, lamb, and goat cheese. We are currently crushing on this smoked brie cheese or smoked cream cheese in the center of our boards. But make sure the selection of cheeses has something for your personal preference as well as a fan favorite for anyone who may be a little picky.
- Meats: sliced pepperoni, summer sausage, hard salami, prosciutto, basturma, chopped leftover chicken or beef, and even lunch meats are a great option here.
- Jelly, Jam, Honey – be bold and go with a spicy jelly as one of the 3.
- Spinach or artichoke dip, tzatziki, or hummus as savory spreads (feeling bold, try a smoked crab imperial).
- Crisp crackers, sliced baguette, grilled naan, and even pretzel chips are a great selection to use.
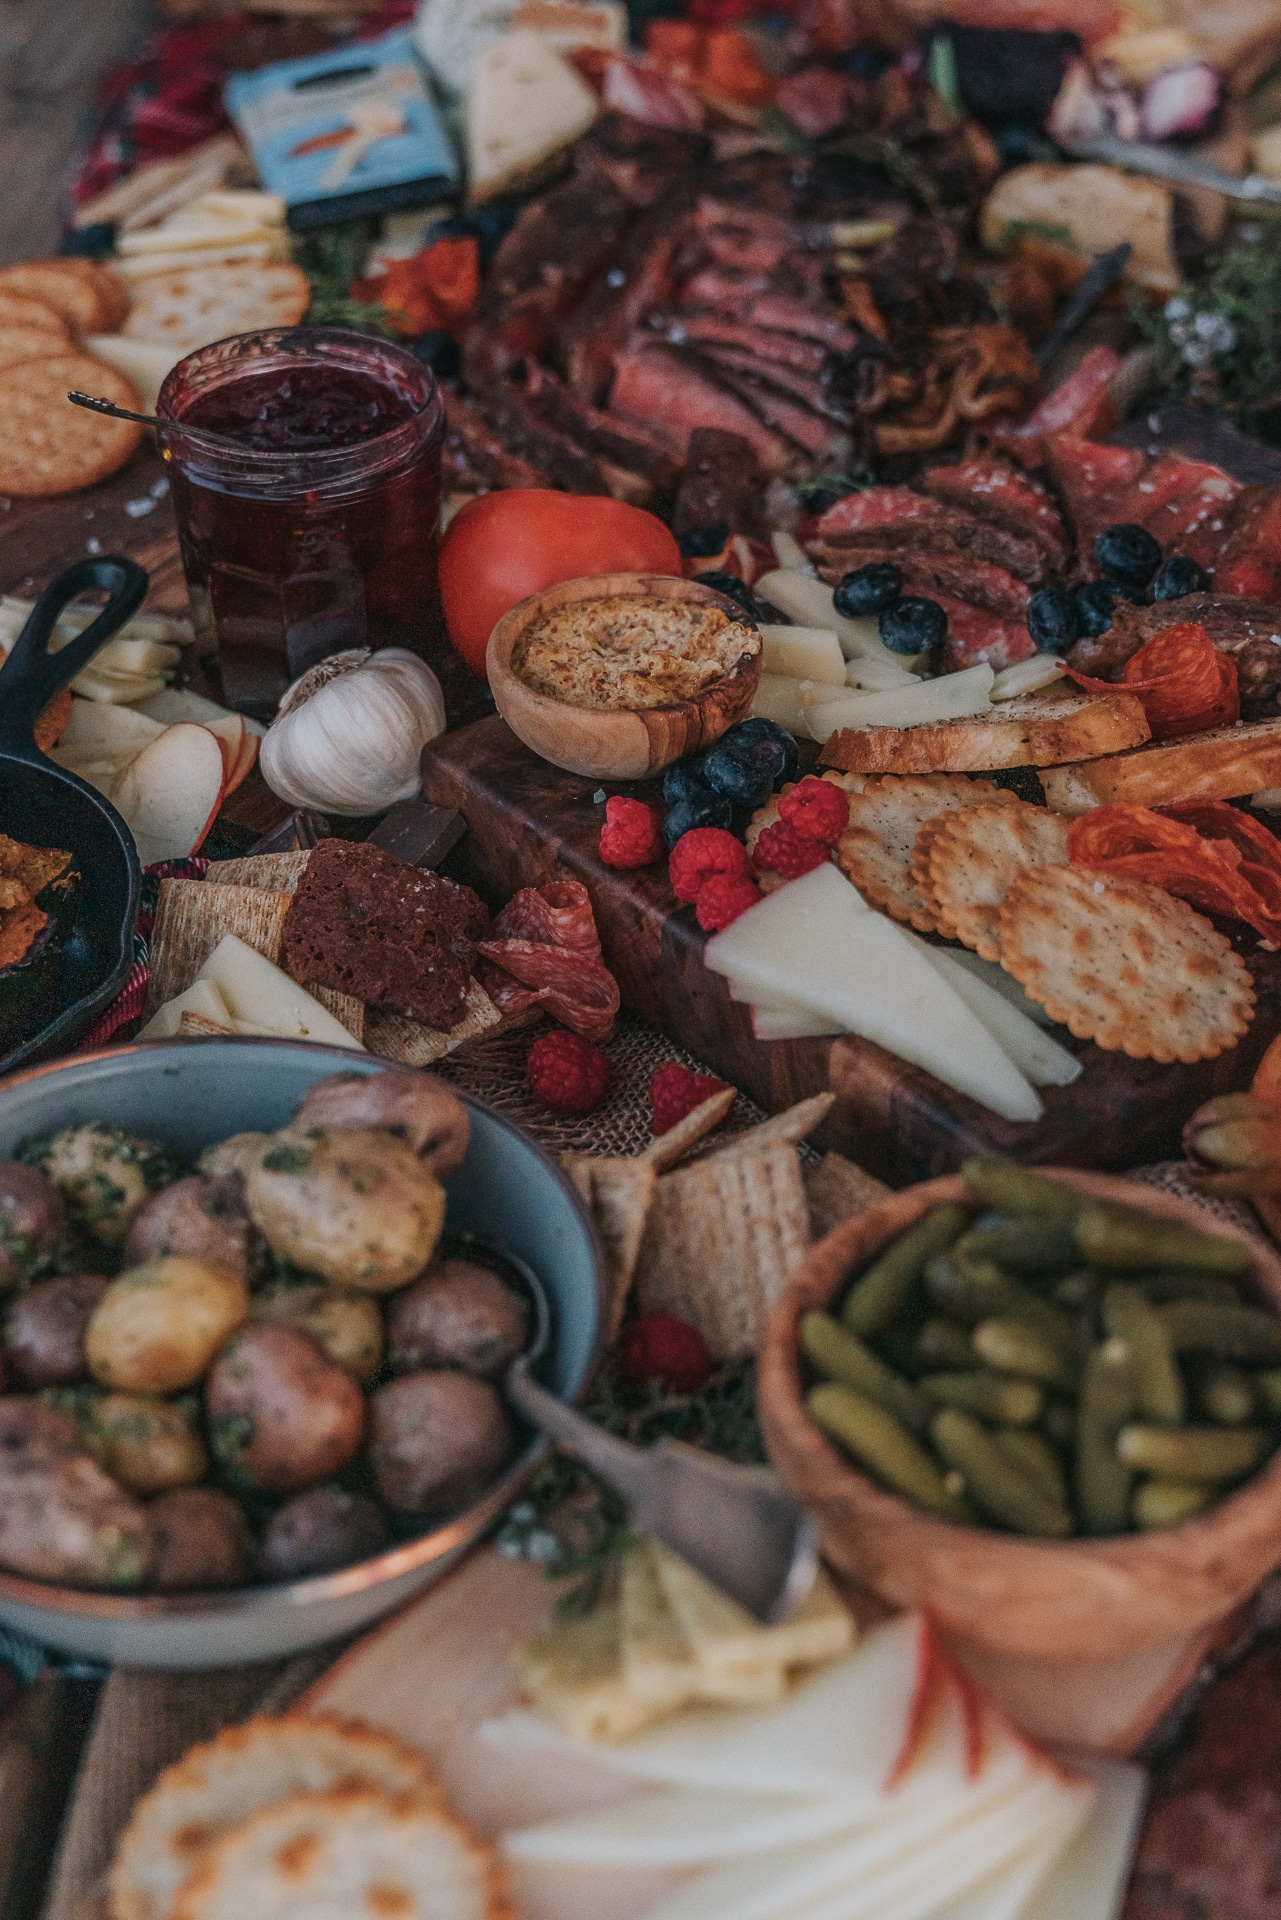
- Fruits and veggies, berries, apple slices or pears, oranges are a wonderful hint of sweetness on a cutting board. Fresh fruit or dried fruit are great options. And roasted carrots, mushrooms, or pickled asparagus and gherkins add a refreshing variety of textures and flavors.
- Something special like nuts, chocolates, or small cookies to fill in the spaces. Pro Tip: Mini cupcake wrappers are great for keeping these tucked into spaces around your board.
- Use up leftovers! Slice up whatever you have into small portions and add leftover grilled meats or veggies – go on and use them! Feeling feisty, toss in a few Christmas deviled eggs too! This is a great way to fill up the board and use up what you have in the fridge.
Once you have everything out on the counter, you are ready to build the board! Don’t have a large wooden board? Use a lazy susan, a variety of platters, or even add in a cake platter for height if you’re serving a lot of people to make a not-so-traditional charcuterie board.
We make sure everything we will use is out and easy to grab. From there, assembling a beautiful charcuterie board takes 15 minutes before we can toast and relax for the night!
WHAT YOU NEED TO MAKE THE PERFECT CHARCUTERIE BOARD:
Don’t worry about too many things, because that can overdo it. Keep it simple, and just make sure you have:
- Toothpicks
- Utensils for serving, such as cheese knives
- Bowls for placing dips, jams, and more
- Napkins
- Plates
No, really, that is all you need! You can style this up full-on magazine-worthy with individual dishes for everything or serve right out of the containers for easy cleanup. The level of creative investment here is all up to you.
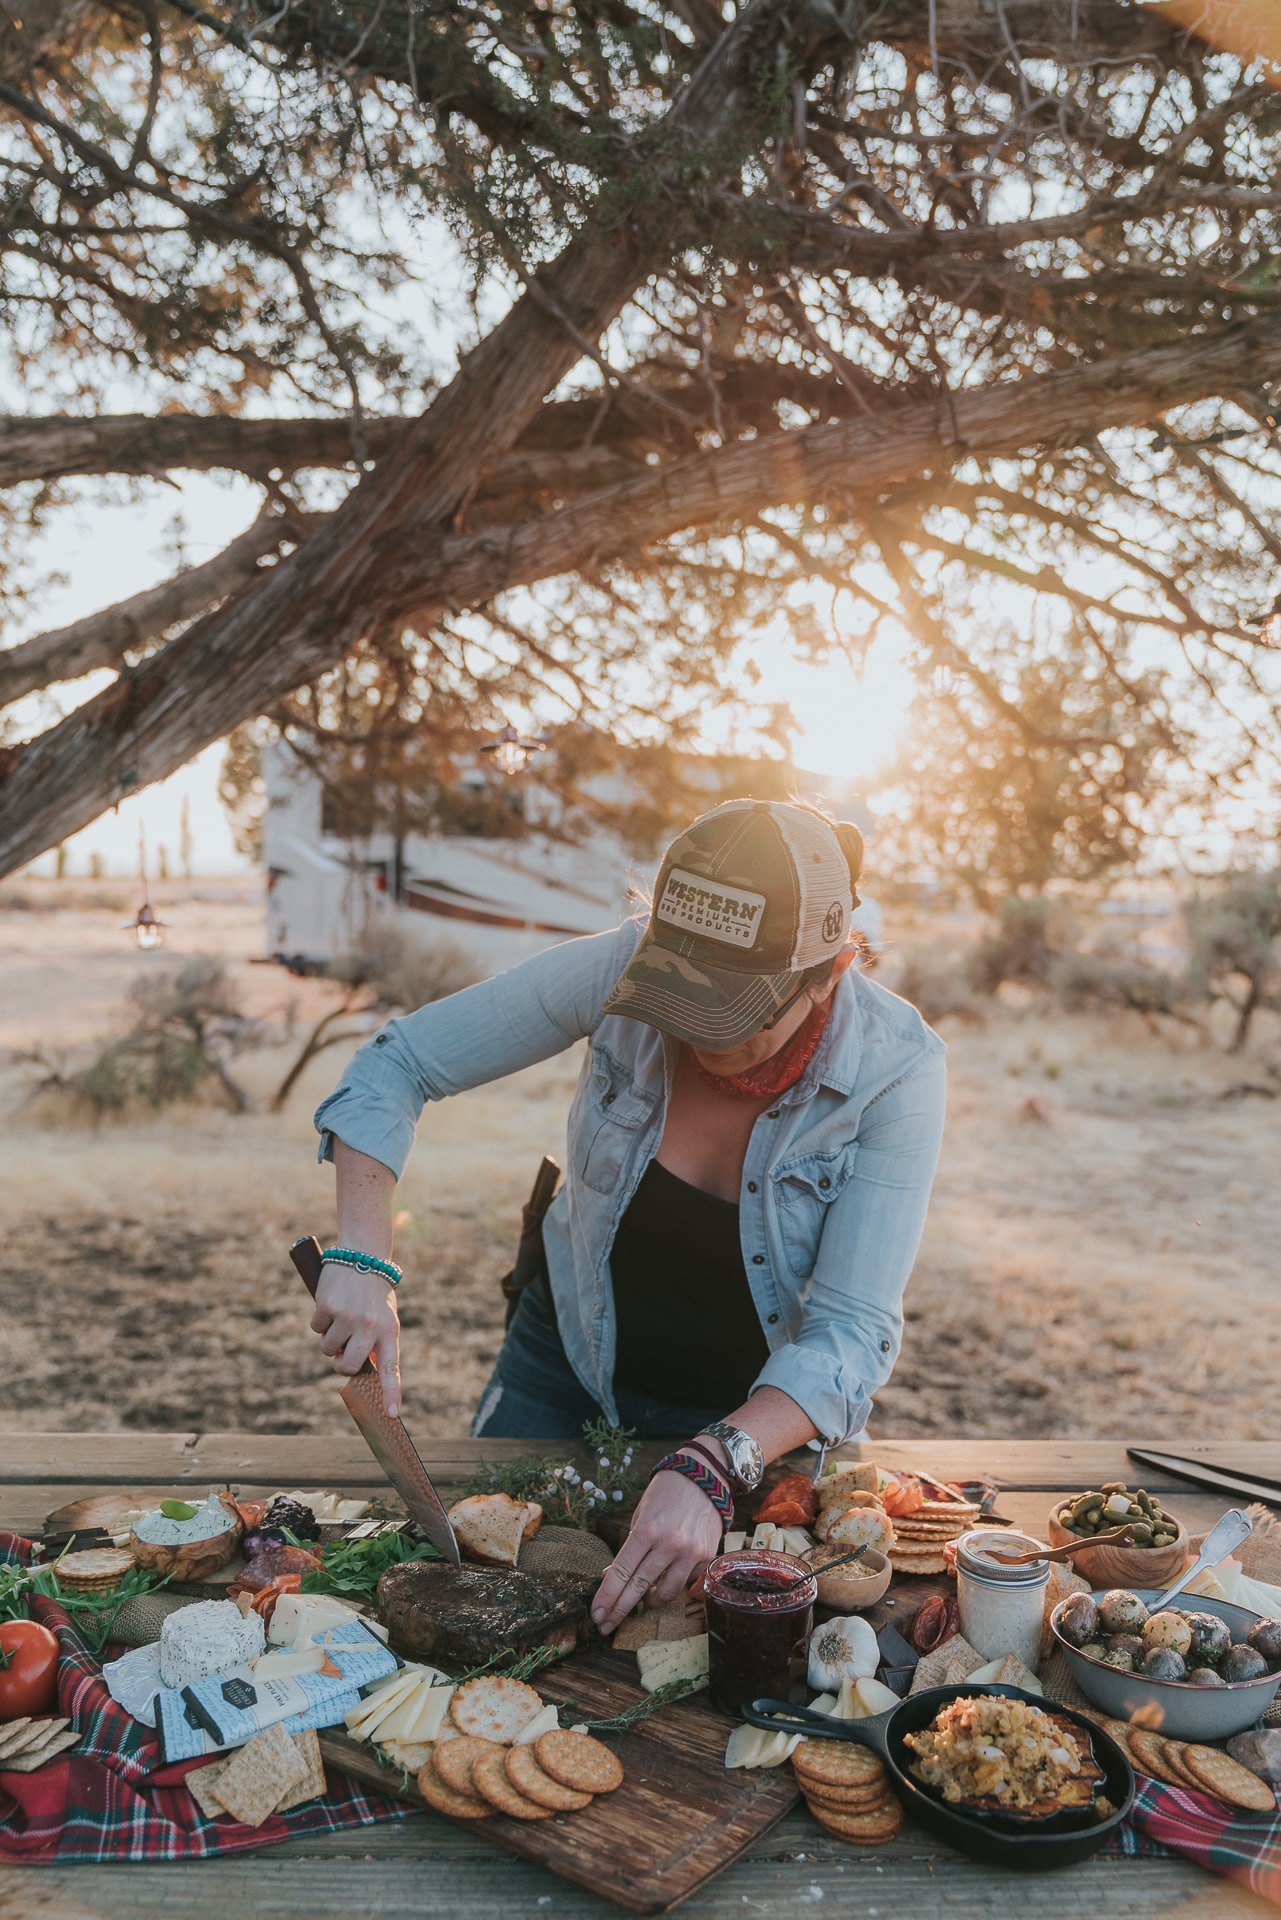
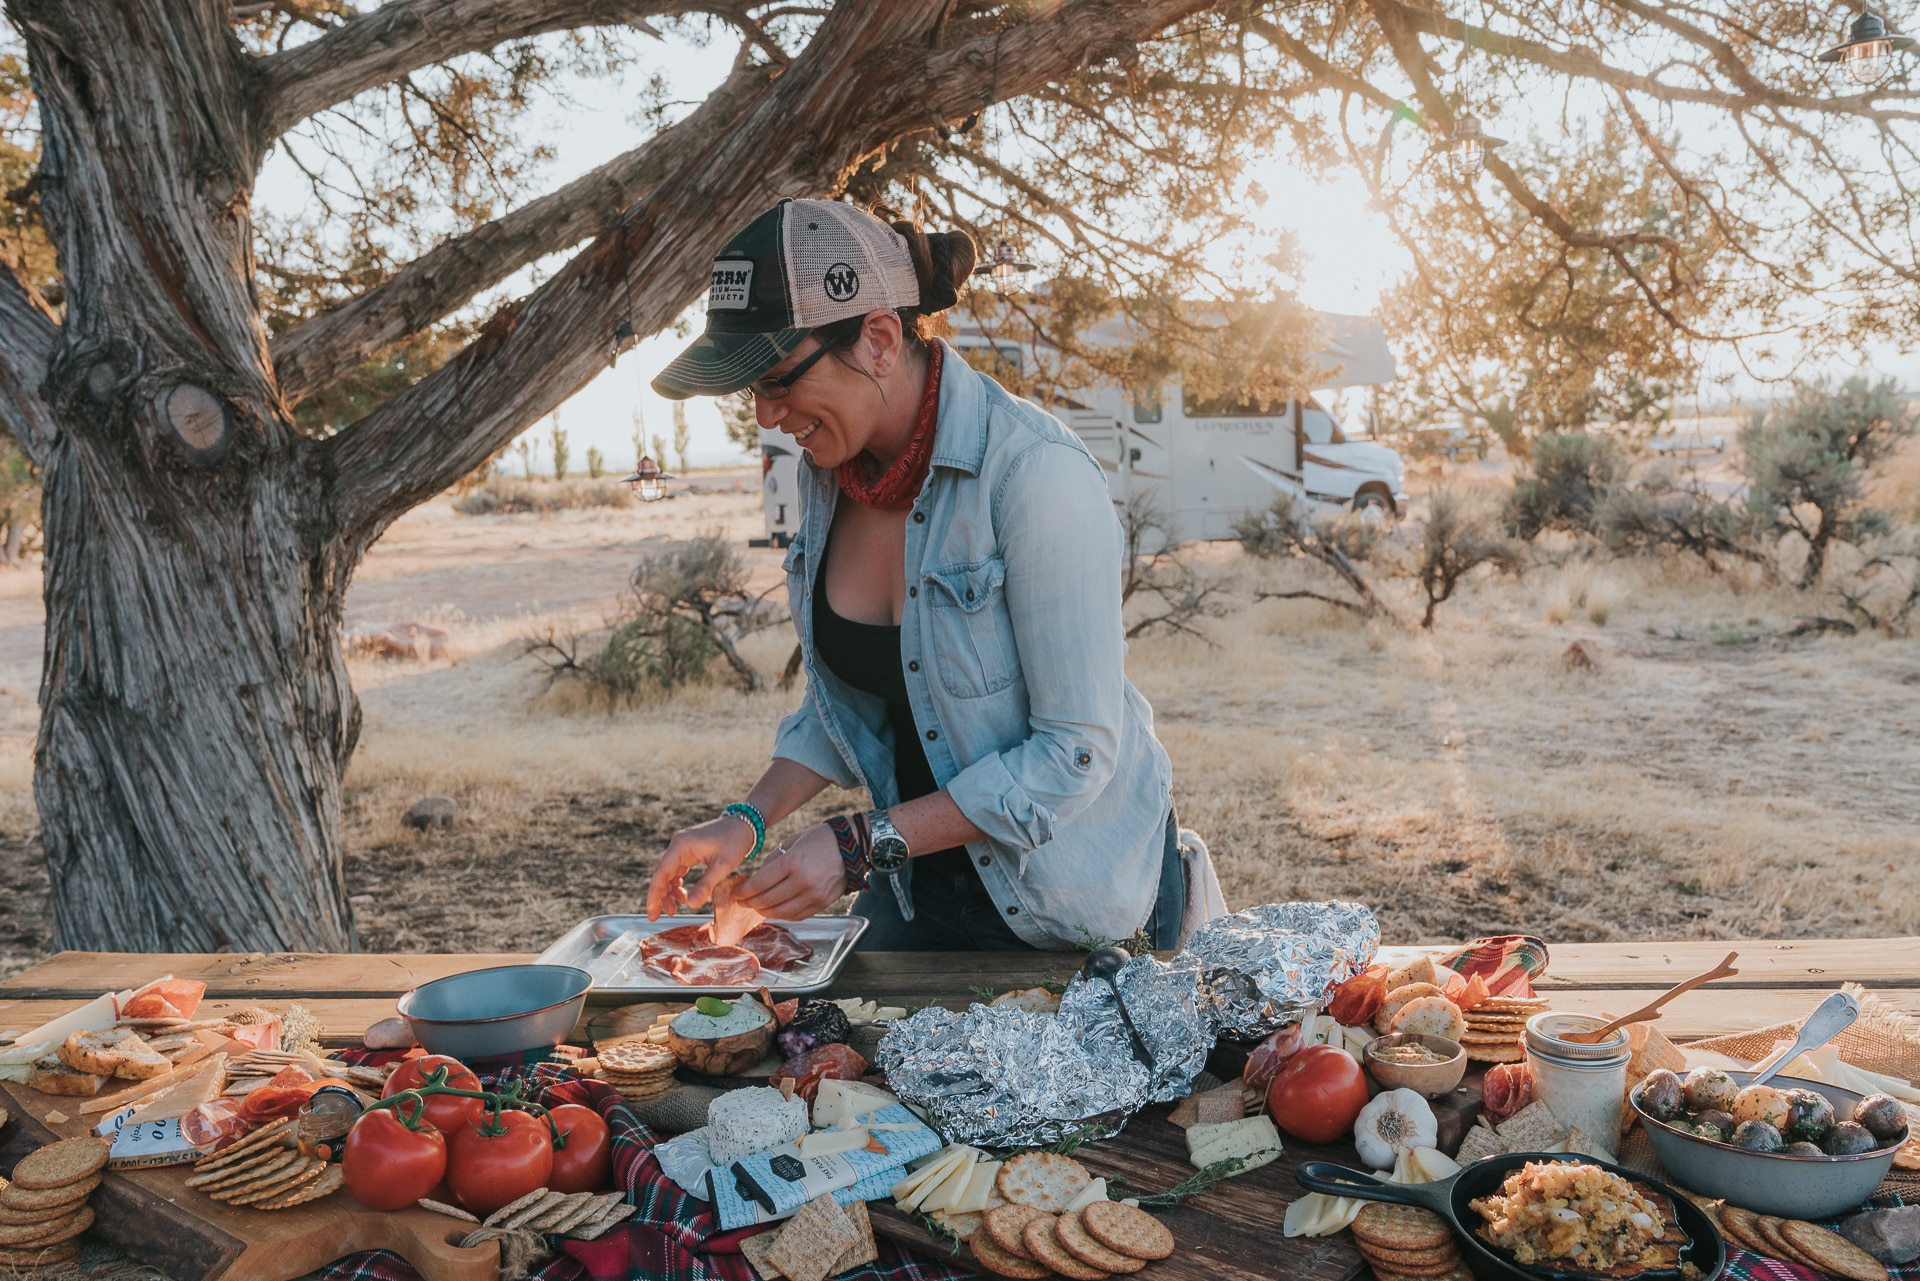
If you happen to have some cutting boards, those are great to arrange things on as well, but once the food is down, no one will even notice what it’s assembled on. We tossed a tablecloth over the picnic table at our site and then foraged around for fallen sprigs and flowers to create a rustic-themed board for this one.
Styling Tip
Use fresh flowers, herbs, or sprigs to decorate your boards and fill them with inviting layers.
MORE TIPS AND TRICKS FOR BEAUTIFUL CHARCUTERIE BOARDS
- Use a large board just big enough for everything to create a full look when you build your classic charcuterie board. Using a tray that is too big can leave empty spaces, making things look sparse.
- Find small bowls of varying sizes to hold dips and jams.
- Stack plates and boards to add height and depth to the board while keeping it all in a tidy space.
- Sneak in personal touches. Take the time to find out your guests’ favorite sweet or savory bite, and make sure that something is nestled in there for them to discover.
Pair up your favorite campfire cocktails, make-ahead recipes, and show off your perfect campfire charcuterie creations!
Helpful FAQs
It depends on the number of guests you have. If you’re only having a small gathering, we suggest a small charcuterie board filled with a couple different meats and cheeses, but nothing too fancy. On the other hand, if you’re having a larger gathering, we suggest a larger board with plenty of different textures and a variety of flavors to choose from.
You can package everything up separately in small containers or pop some plastic wrap on top of the board and take it out when you’re craving a quick snack. We often keep our cheese labels after opening them just so we can store any leftovers with the best buy info on the label.
Yes! Most of the meats, cheeses, crackers, and other elements can be found at the grocery store. However, if you have a specific item you want to put on your board that isn’t sold in stores, you may have to purchase it online or from a local specialty shop.
You may want to wait until the last minute to arrange your charcuterie board, but you can slice the cheeses a few hours before and store them in the fridge, wrapped in plastic wrap, with the meats and sliced fruits or veggies. Spoon the jam, honey, or any other condiments into their small bowls, cover them in plastic wrap, and store them in the fridge as well.
When ready to serve, let the cheese, honey, and jams come to room temperature. Bring out any of the deli meats last and layer your platter right before you want to serve your guests.
MORE DELICIOUS APPETIZERS TO TRY
Recipes With Pork
Deep Fried Mac n Cheese Balls

Appetizer Recipes
Buttermilk Brined Grilled Chicken Wings

Appetizer Recipes
Ginger Lime Sticky Wings Recipe
Beef Recipes