
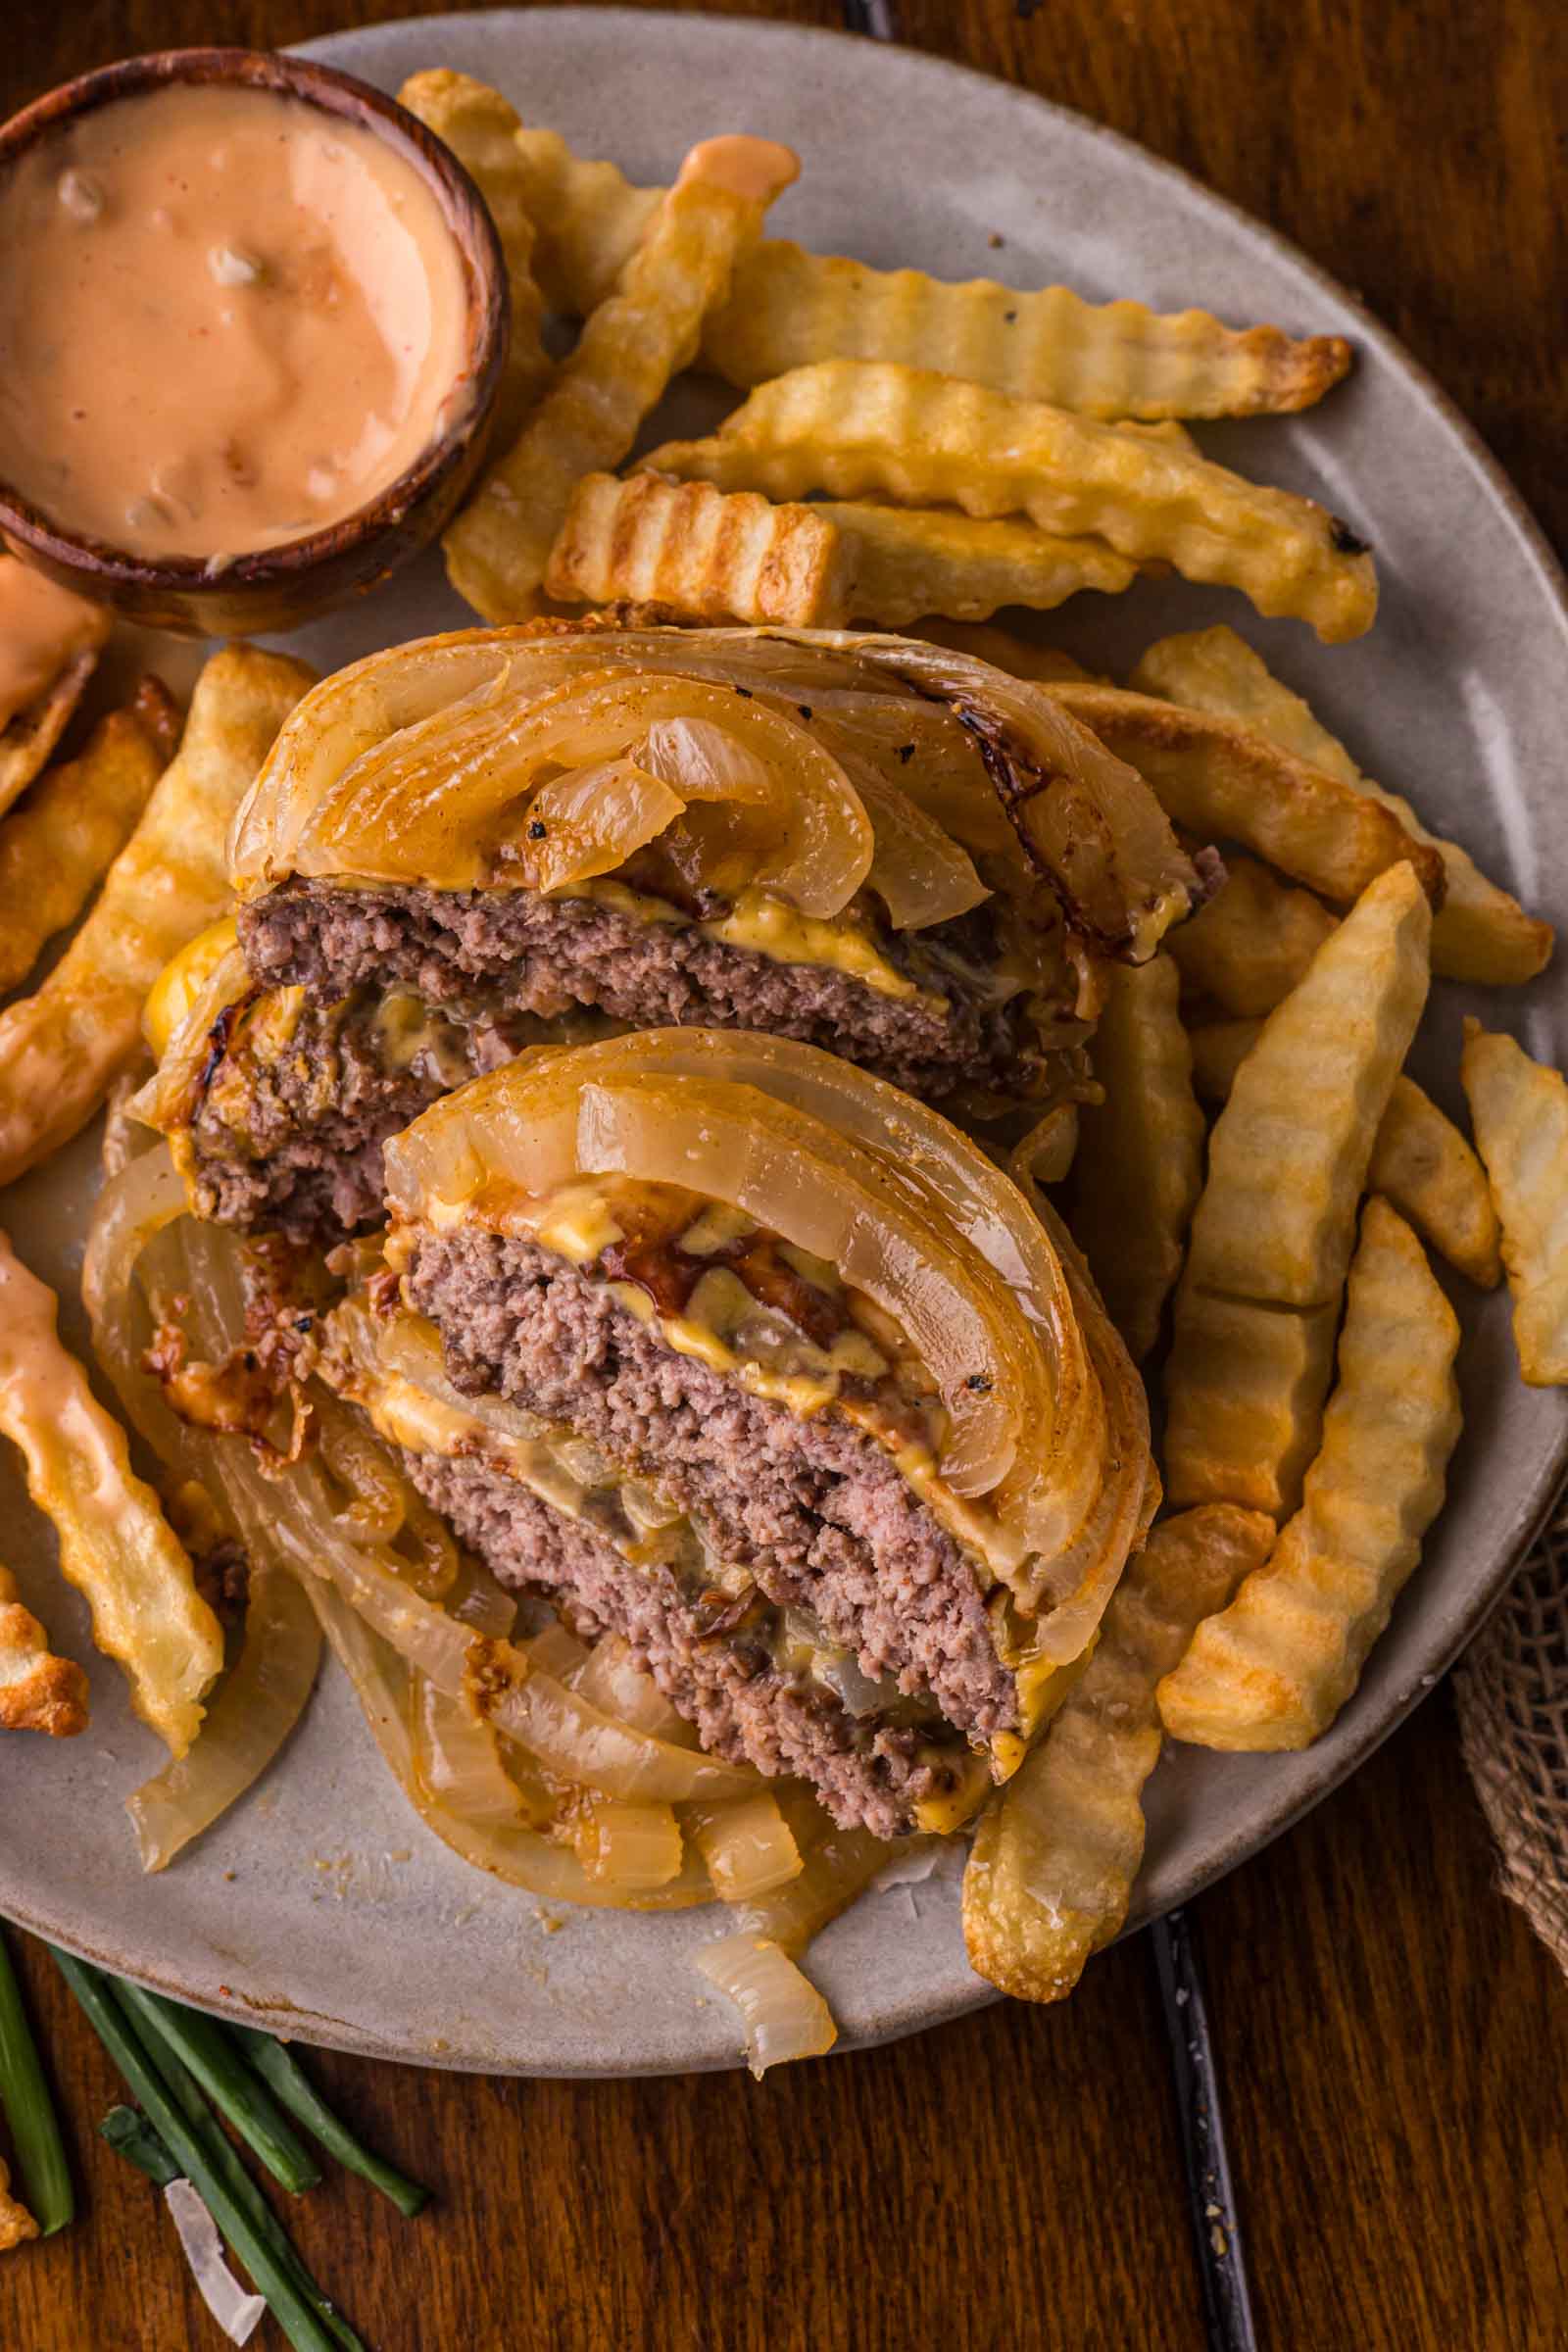
We make no apologies for this burger… The Flying Dutchman is the In-N-Out secret menu item people lose their minds over, and for good reason: two smashed beef patties, American cheese, and absolutely no bun to get in the way (just the way we like it). Most versions use thick raw onion rings as stand-ins for the buns, which get’s the job done, but we wanted a little more. So, we swapped in crispy Parmesan-baked onion chips instead, which are just as impractical and about three times more interesting. You’re still eating this with a fork and a pile of napkins, so own it.
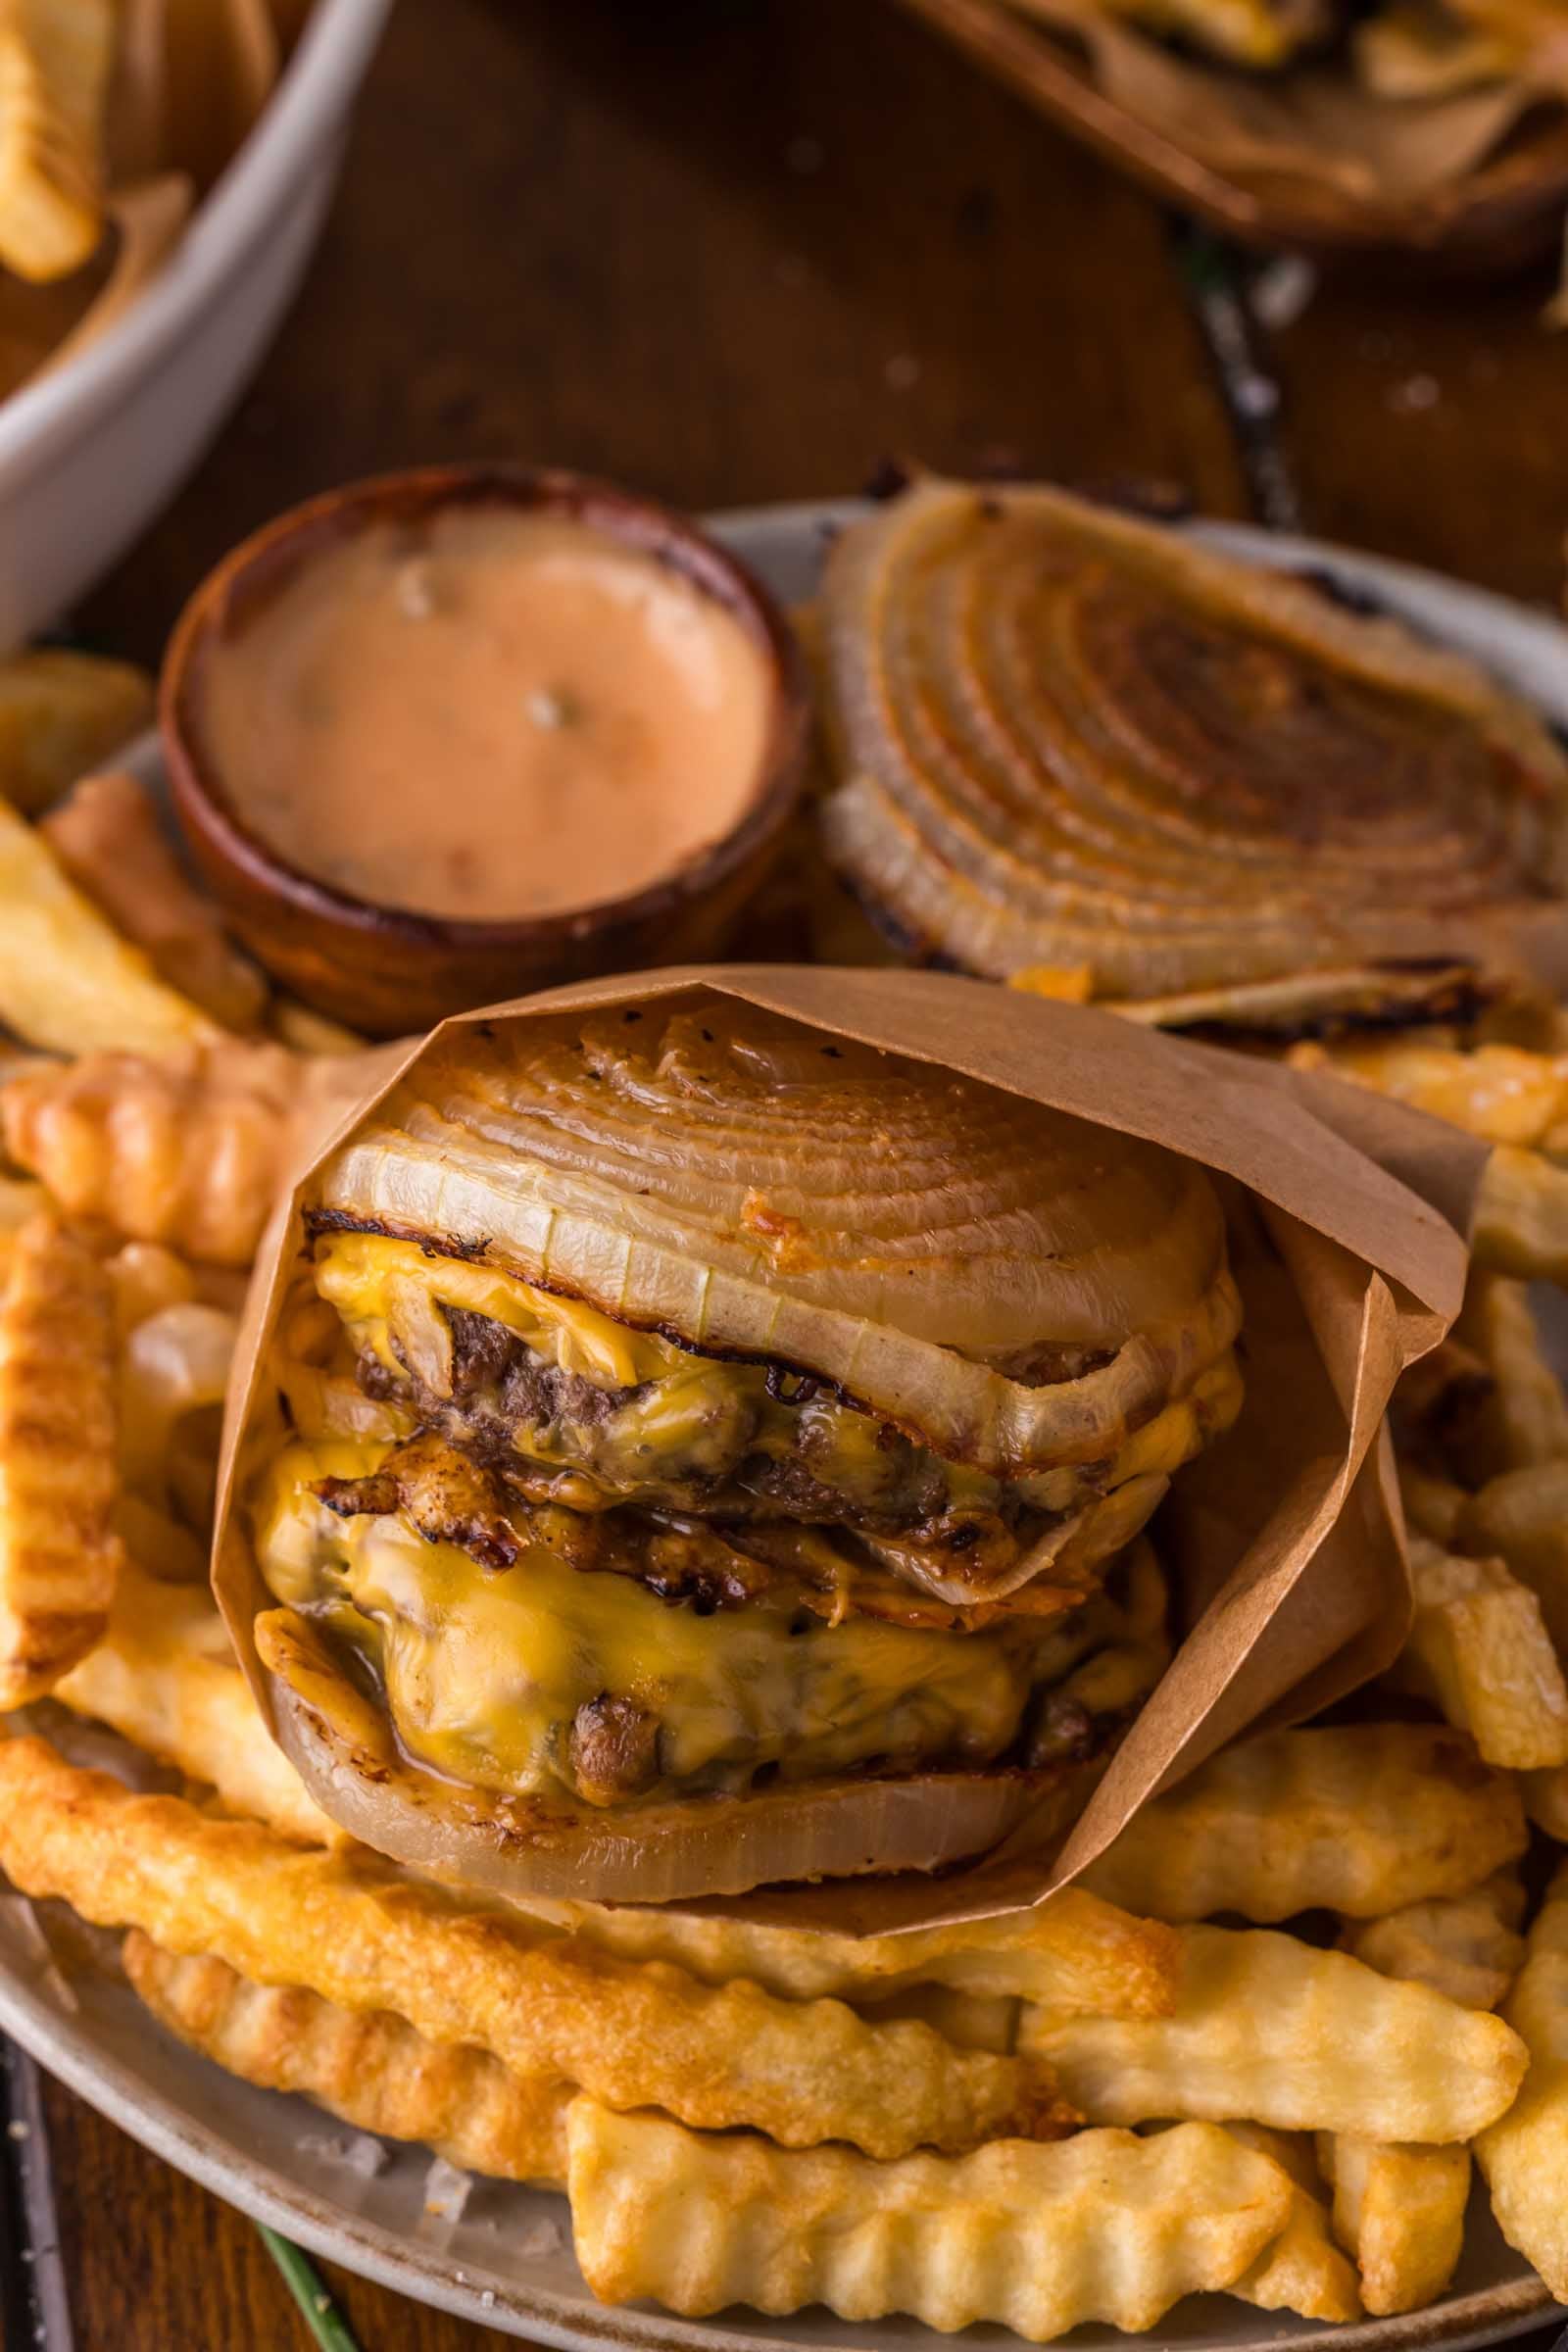
We’ve made versions of the Flying Dutchman burger enough times in the GC Meat Labs to know the onion chip situation is everything. The first batch, we went too thin on the Parmesan layer and got chips that were mostly onion and not much crunch. The fix: spread the cheese wide, let it lace out, and brown all the way to the edges. That’s what gives you the snap. Once you nail the chips, the burger itself is four minutes of work.
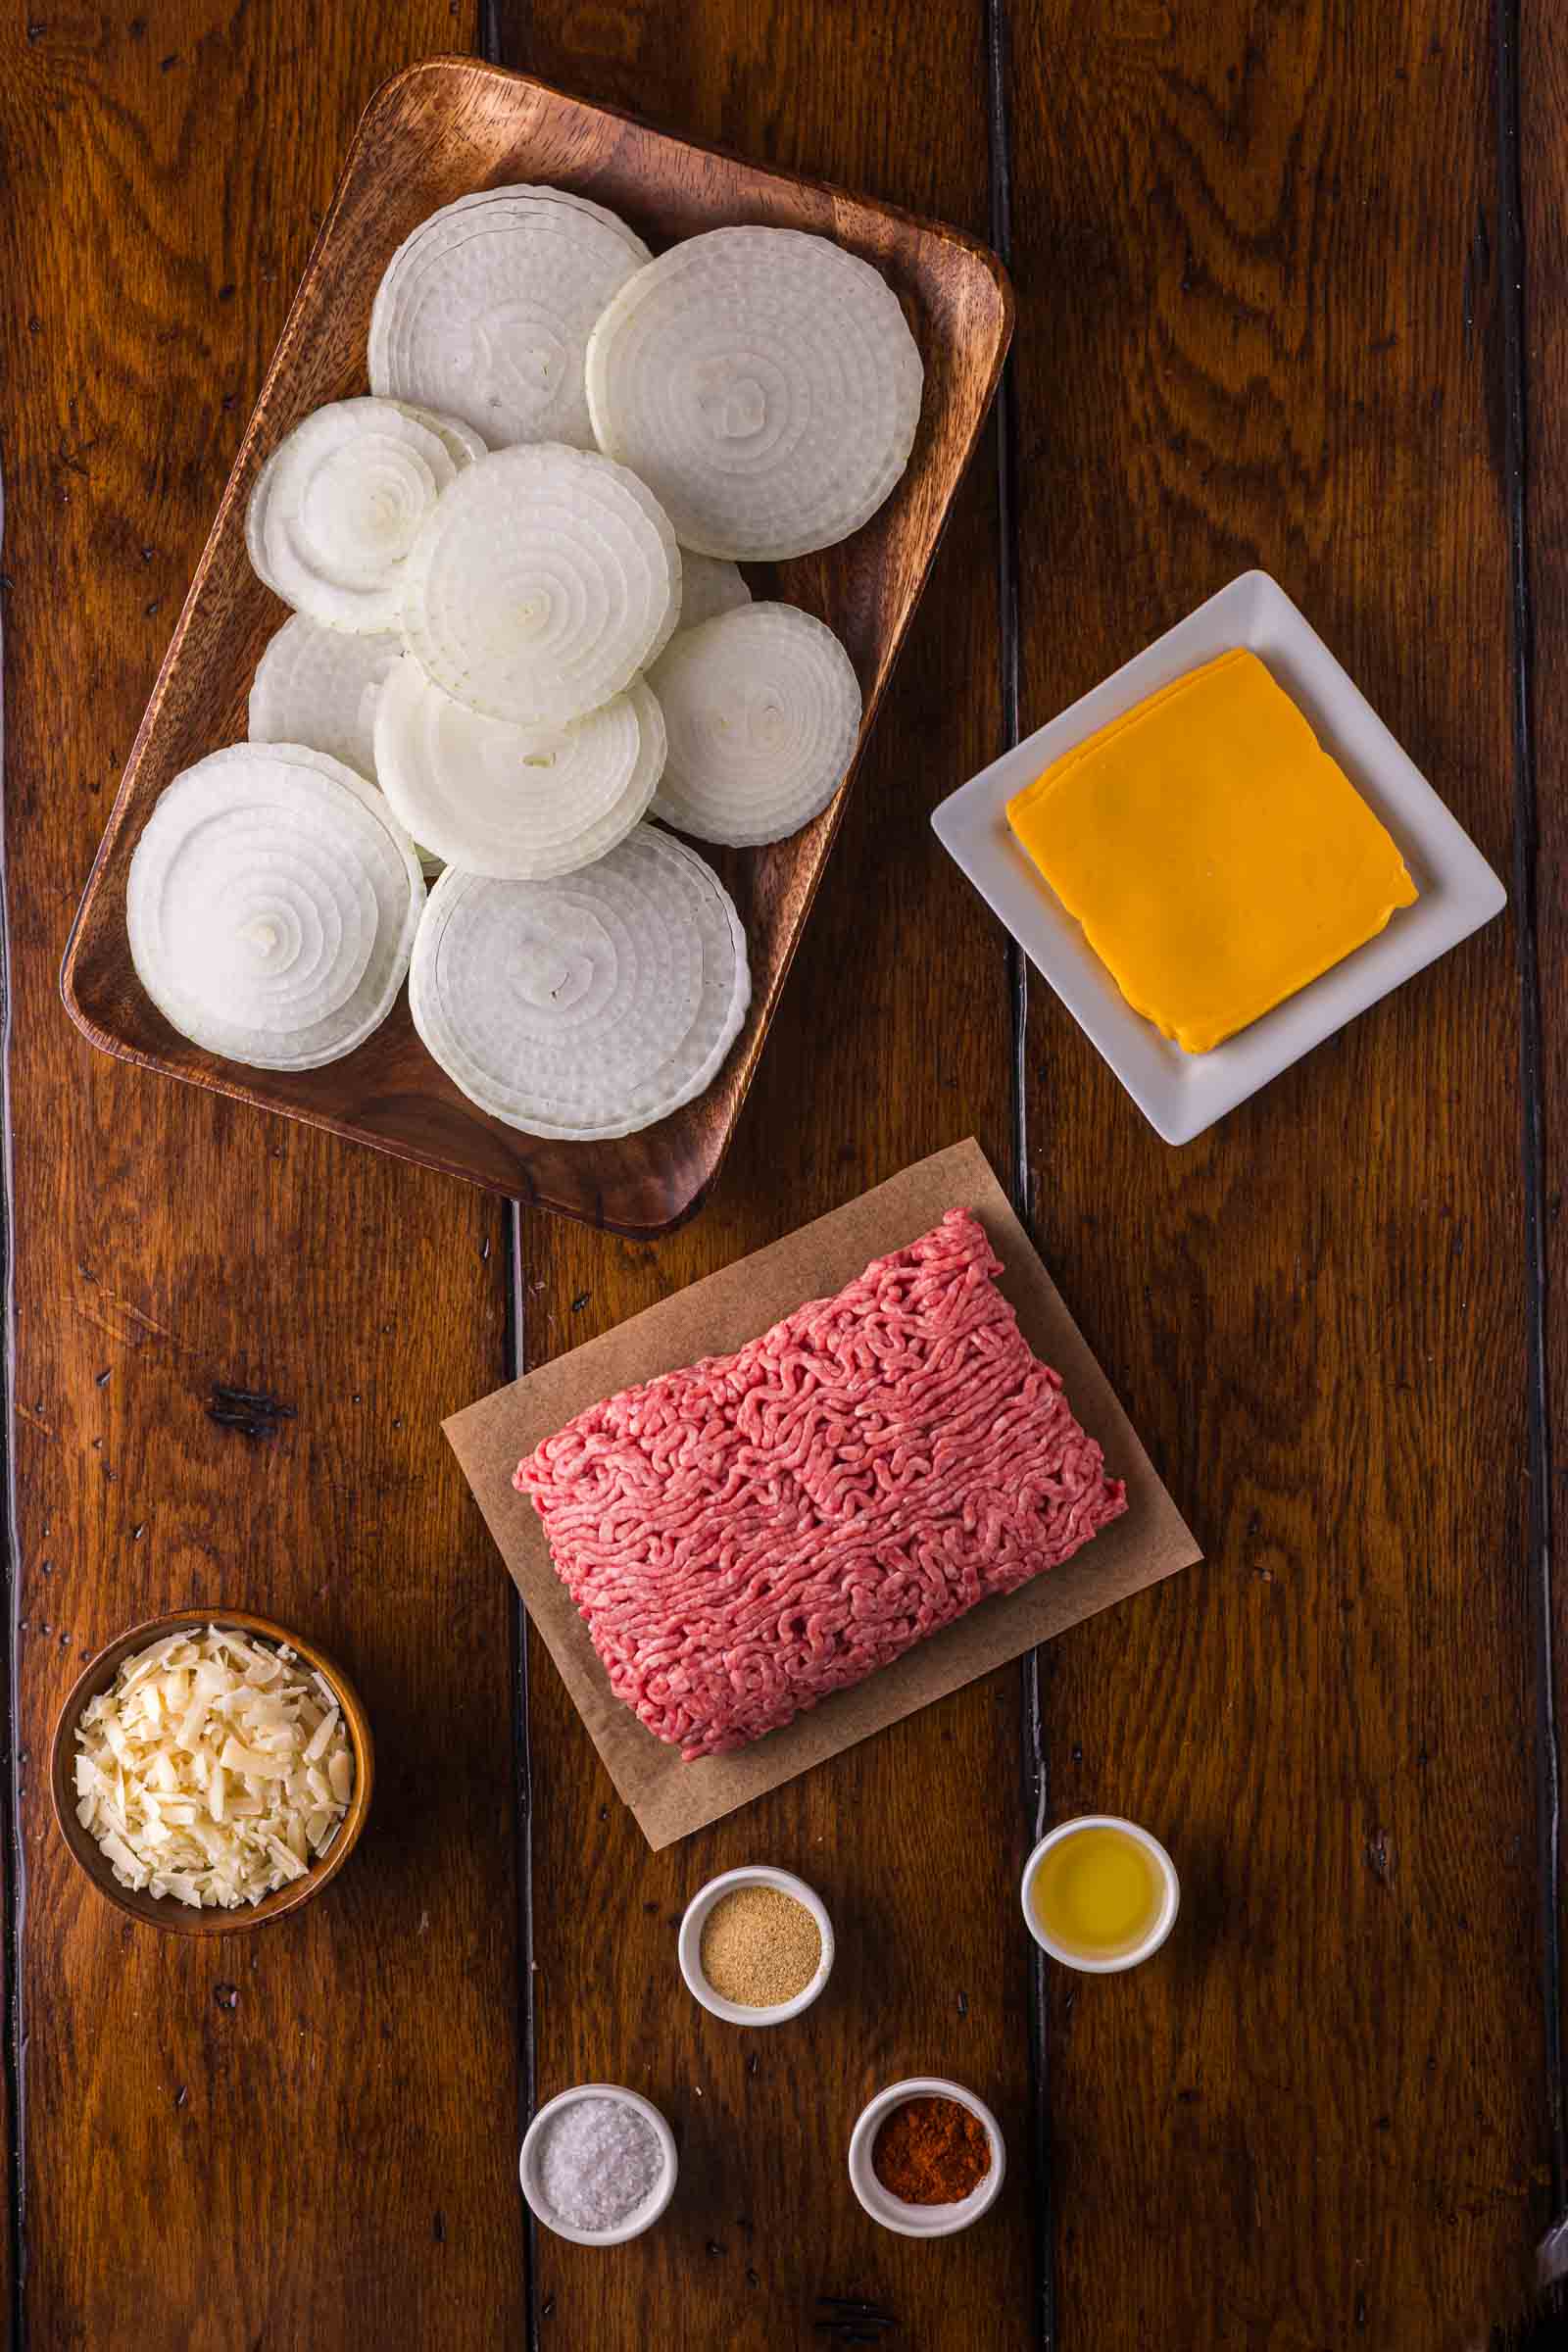
🔪 Ingredients for Flying Dutchman Burger
For the Crispy Parmesan Onion Chips:
- Yellow onion: one large, sliced about 1/4-inch thick on a mandoline if you have one – uniform thickness is what makes the chips bake evenly. Thicker slices stay too soft; thinner ones disappear into the cheese.
- Parmesan: freshly shredded, not the stuff in the green can. Pre-shredded Parmesan has an anti-caking agent that prevents it from melting and lacing properly – you’ll get a sandy, crumbly result instead of a crispy chip.
- Avocado oil: a light coating to help the onion soften and the seasoning stick.
- Garlic powder and smoked paprika: the seasoning duo that makes these chips taste like something you’d eat on their own.
- Kosher salt: just a pinch.
For the Burgers:
- Ground beef 80/20: the fat ratio matters here. 90/10 will give you drier, tighter patties that don’t have enough juice to stand up against the chips. 80/20 keeps everything loose, fatty, and properly messy.
- Kosher salt: season just before cooking, not before: early salting draws moisture out and tightens the texture.
For Assembly:
- American cheese: four slices, one per patty. American melts fast and goes gooey; Cheddar is slower and less forgiving in a hot pan.
Equipment
- Rimmed baking sheet lined with parchment: the chips need to release cleanly. Foil sticks; skip it.
- Mandoline or sharp knife: for the onion slices. A mandoline gets you the most consistent thickness, which means even baking.
- Cast-iron skillet or griddle: for the patties. You need a surface that holds heat when the cold meat hits it. A flimsy nonstick pan will drop in temperature and steam instead of searing.
- Dome lid or heatproof bowl: for melting the cheese fast without overcooking the patty.
📝 How to Make a Flying Dutchman Burger
- Make the Crispy Parmesan Onion Chips. Preheat oven to 400°F. Spread freshly shredded Parmesan into thin, wide rounds on a parchment-lined baking sheet – think lacy and spread out, not piled in the center. Lay onion ring sections over the cheese in a single layer. Brush lightly with avocado oil and sprinkle with garlic powder, smoked paprika, and a pinch of kosher salt. Bake 20 to 25 minutes until deep golden, lacy at the edges, and fully set when you nudge them – not jiggly at all. Let cool on the pan for at least 10 to 15 minutes before peeling off the parchment; they firm up as they cool and will fall apart if you rush it.
- Form the patties. Divide 1 lb of 80/20 ground beef into 4 loose, 4-oz portions – do not pack them. Gently press each into a patty slightly wider than your onion chip pieces to account for shrinkage during cooking.
- Cook the patties. Heat a cast-iron skillet or griddle over medium-high heat until a drop of water dances and evaporates in under a second. Season patties with kosher salt just before they hit the pan. Cook 3 to 4 minutes until well seared and the crust releases cleanly – don’t move them before they’re ready to flip. Flip and cook for 2 to 3 more minutes. Add the American cheese at the last minute; cover with a dome or a heatproof bowl and let it melt completely for about 45 seconds.
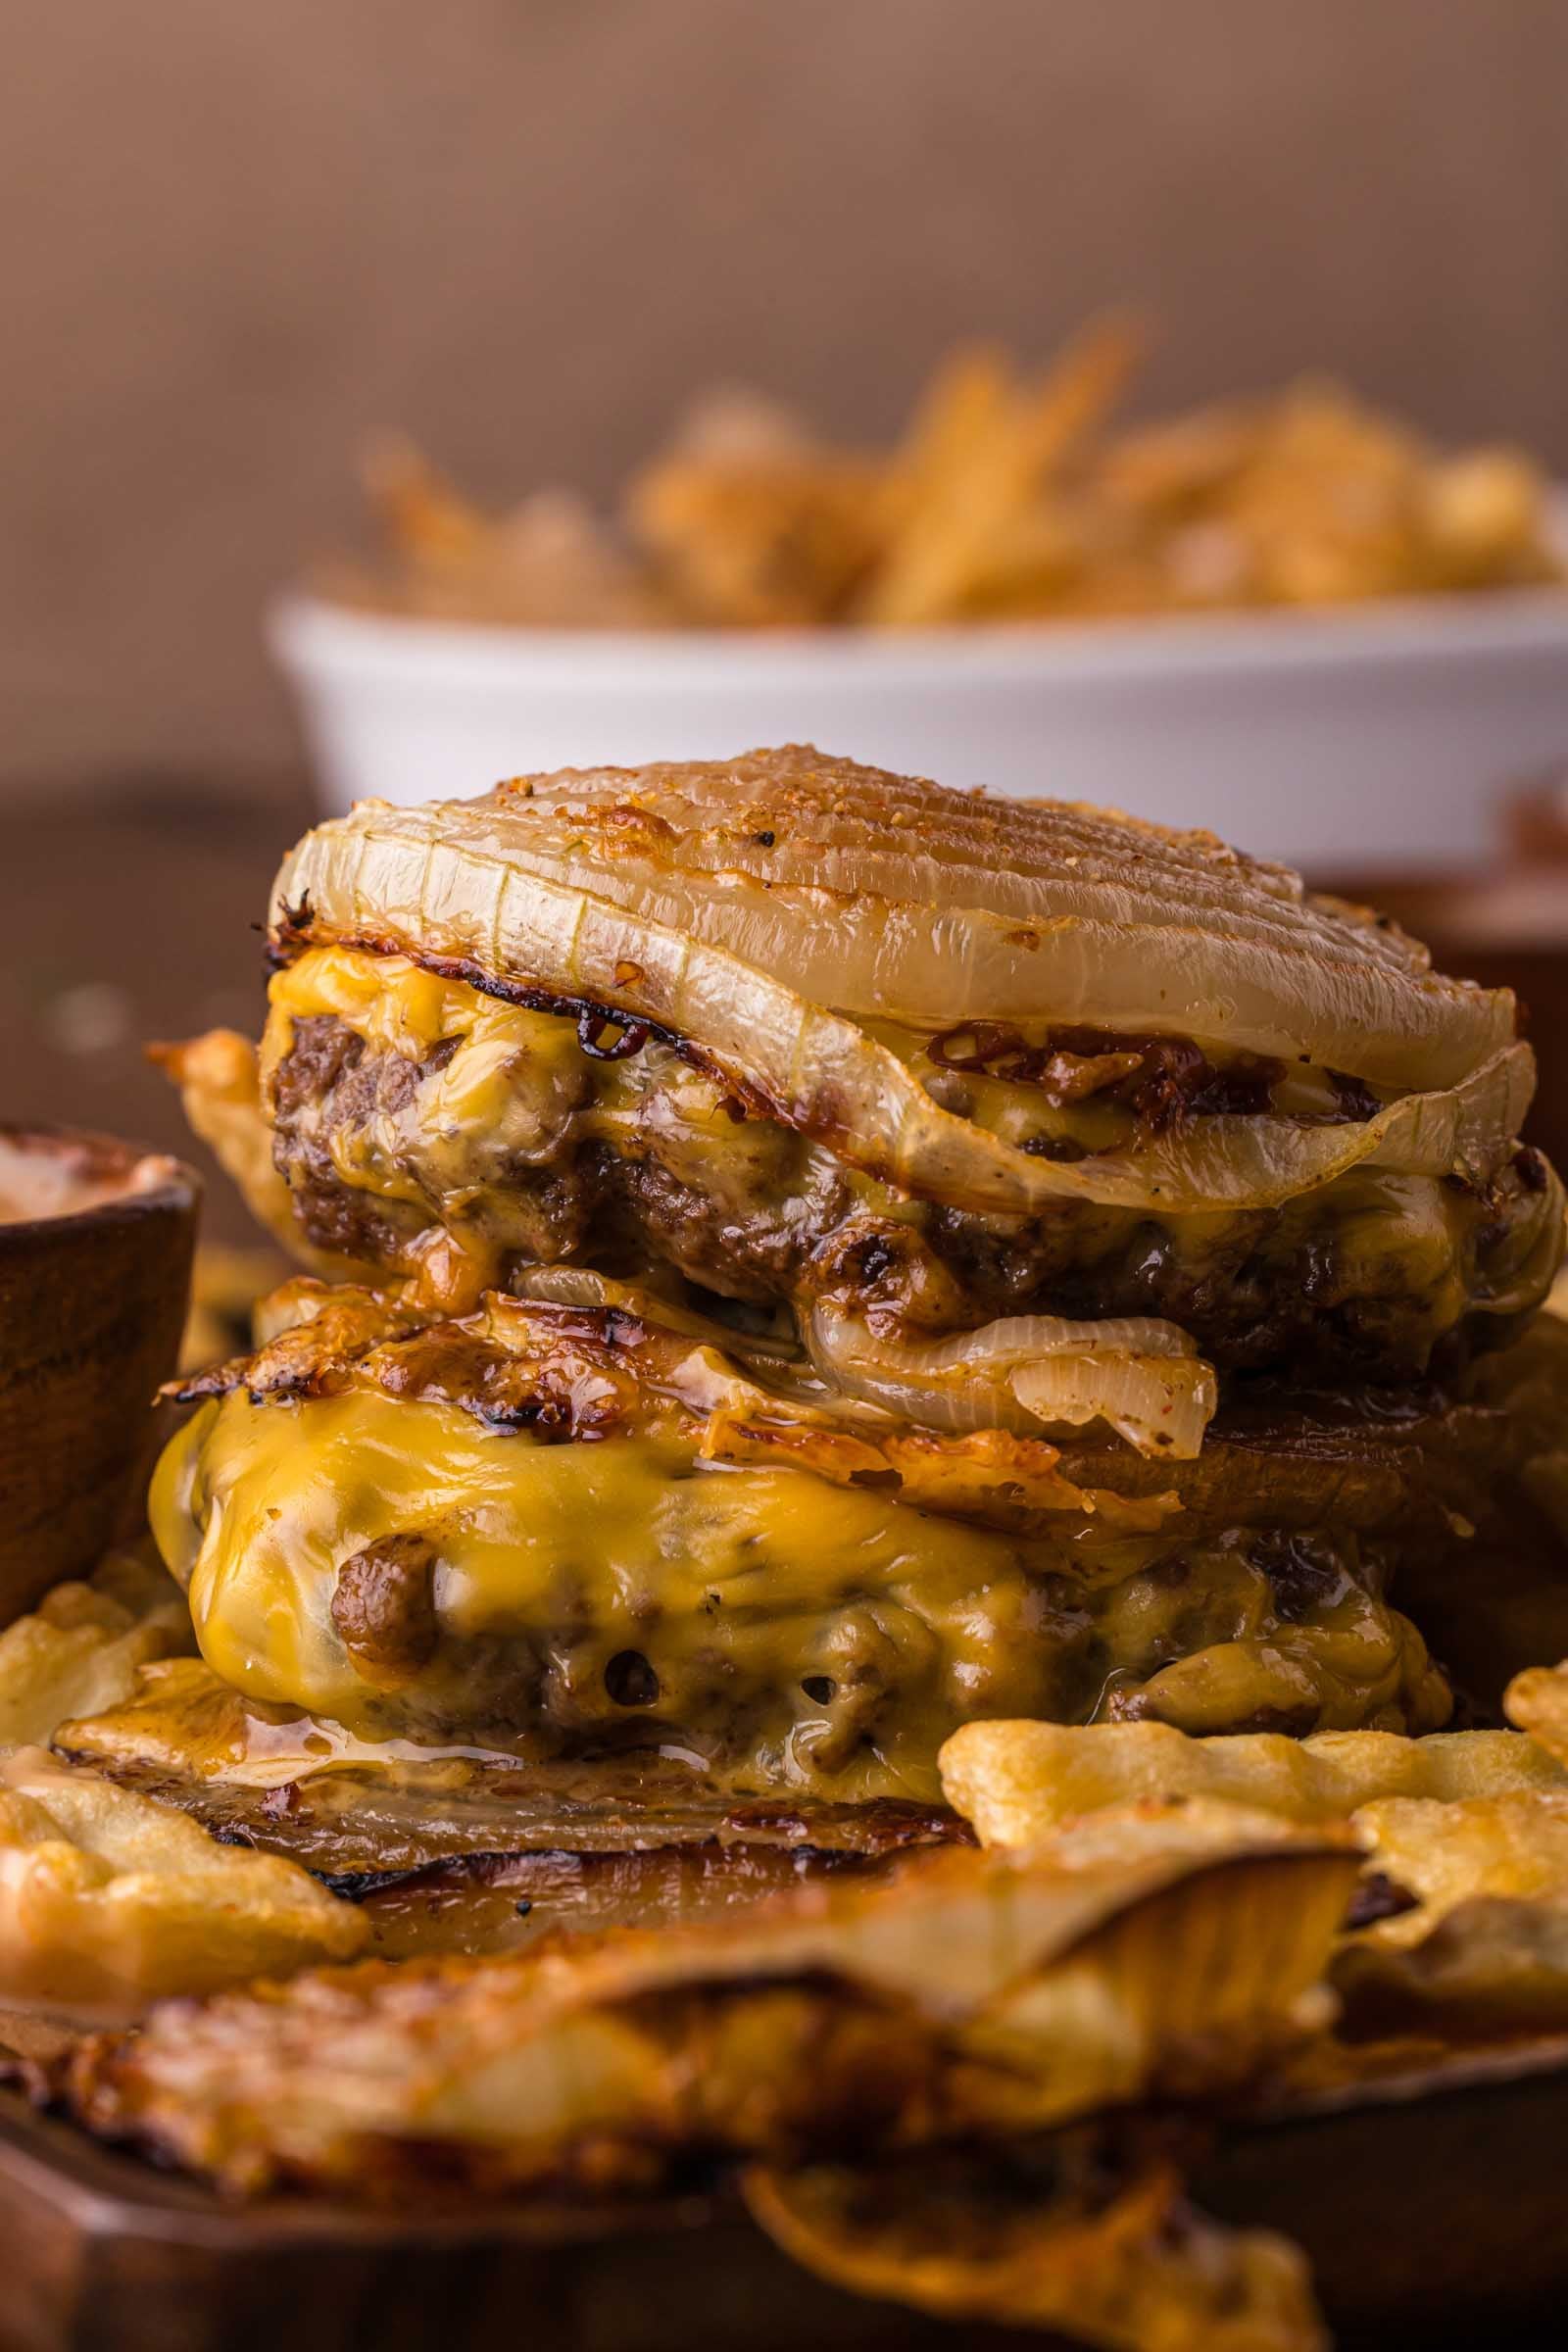
- Build. Layer: one cheesy patty, one crispy onion chip layer, second cheesy patty, another onion chip layer on top.
- Serve immediately. Wrap loosely in parchment if you want to pick it up, or just go straight fork-and-knife. This doesn’t hold – eat it hot.
🔄 Substitutions
- Parmesan for Pecorino Romano: Works well, Romano is saltier and sharper, so pull back on the added salt. The chips come out with a slightly more pungent, funky edge. Good, just different.
- Avocado oil for olive oil: Fine at 400°F, though olive oil adds a faint fruitiness that competes slightly with the smoked paprika. Neutral oils (avocado, grapeseed) are cleaner here.
- American cheese for provolone: Provolone melts, but more slowly and with less cling. You lose the fast, glossy pool that American gives. Worth it if you hate American, but give the dome more time.
- 80/20 ground beef for 90/10: The patties will be firmer and drier; the chips already add crunch, and the whole thing tips toward dry rather than juicy. If you go leaner, cook to the shorter end of the time range.
💡 Meat Nerd Tips
- Don’t salt the patties early. Salt draws moisture to the surface through osmosis, which creates steam in the pan instead of a sear. Season right before the pan, not 10 minutes ahead while you’re prepping.
- Make extra chips. They keep at room temp for a day and are genuinely excellent as a standalone snack. The batch from one onion will be exactly enough for the burgers, but you’ll wish you had more to eat while you cook.
- Buy the Parmesan in a block and shred it yourself. This is non-negotiable for the chips. Bagged shredded Parmesan has a cellulose coating that prevents proper melting and lacing: you’ll get a grainy texture that won’t bond into a chip.
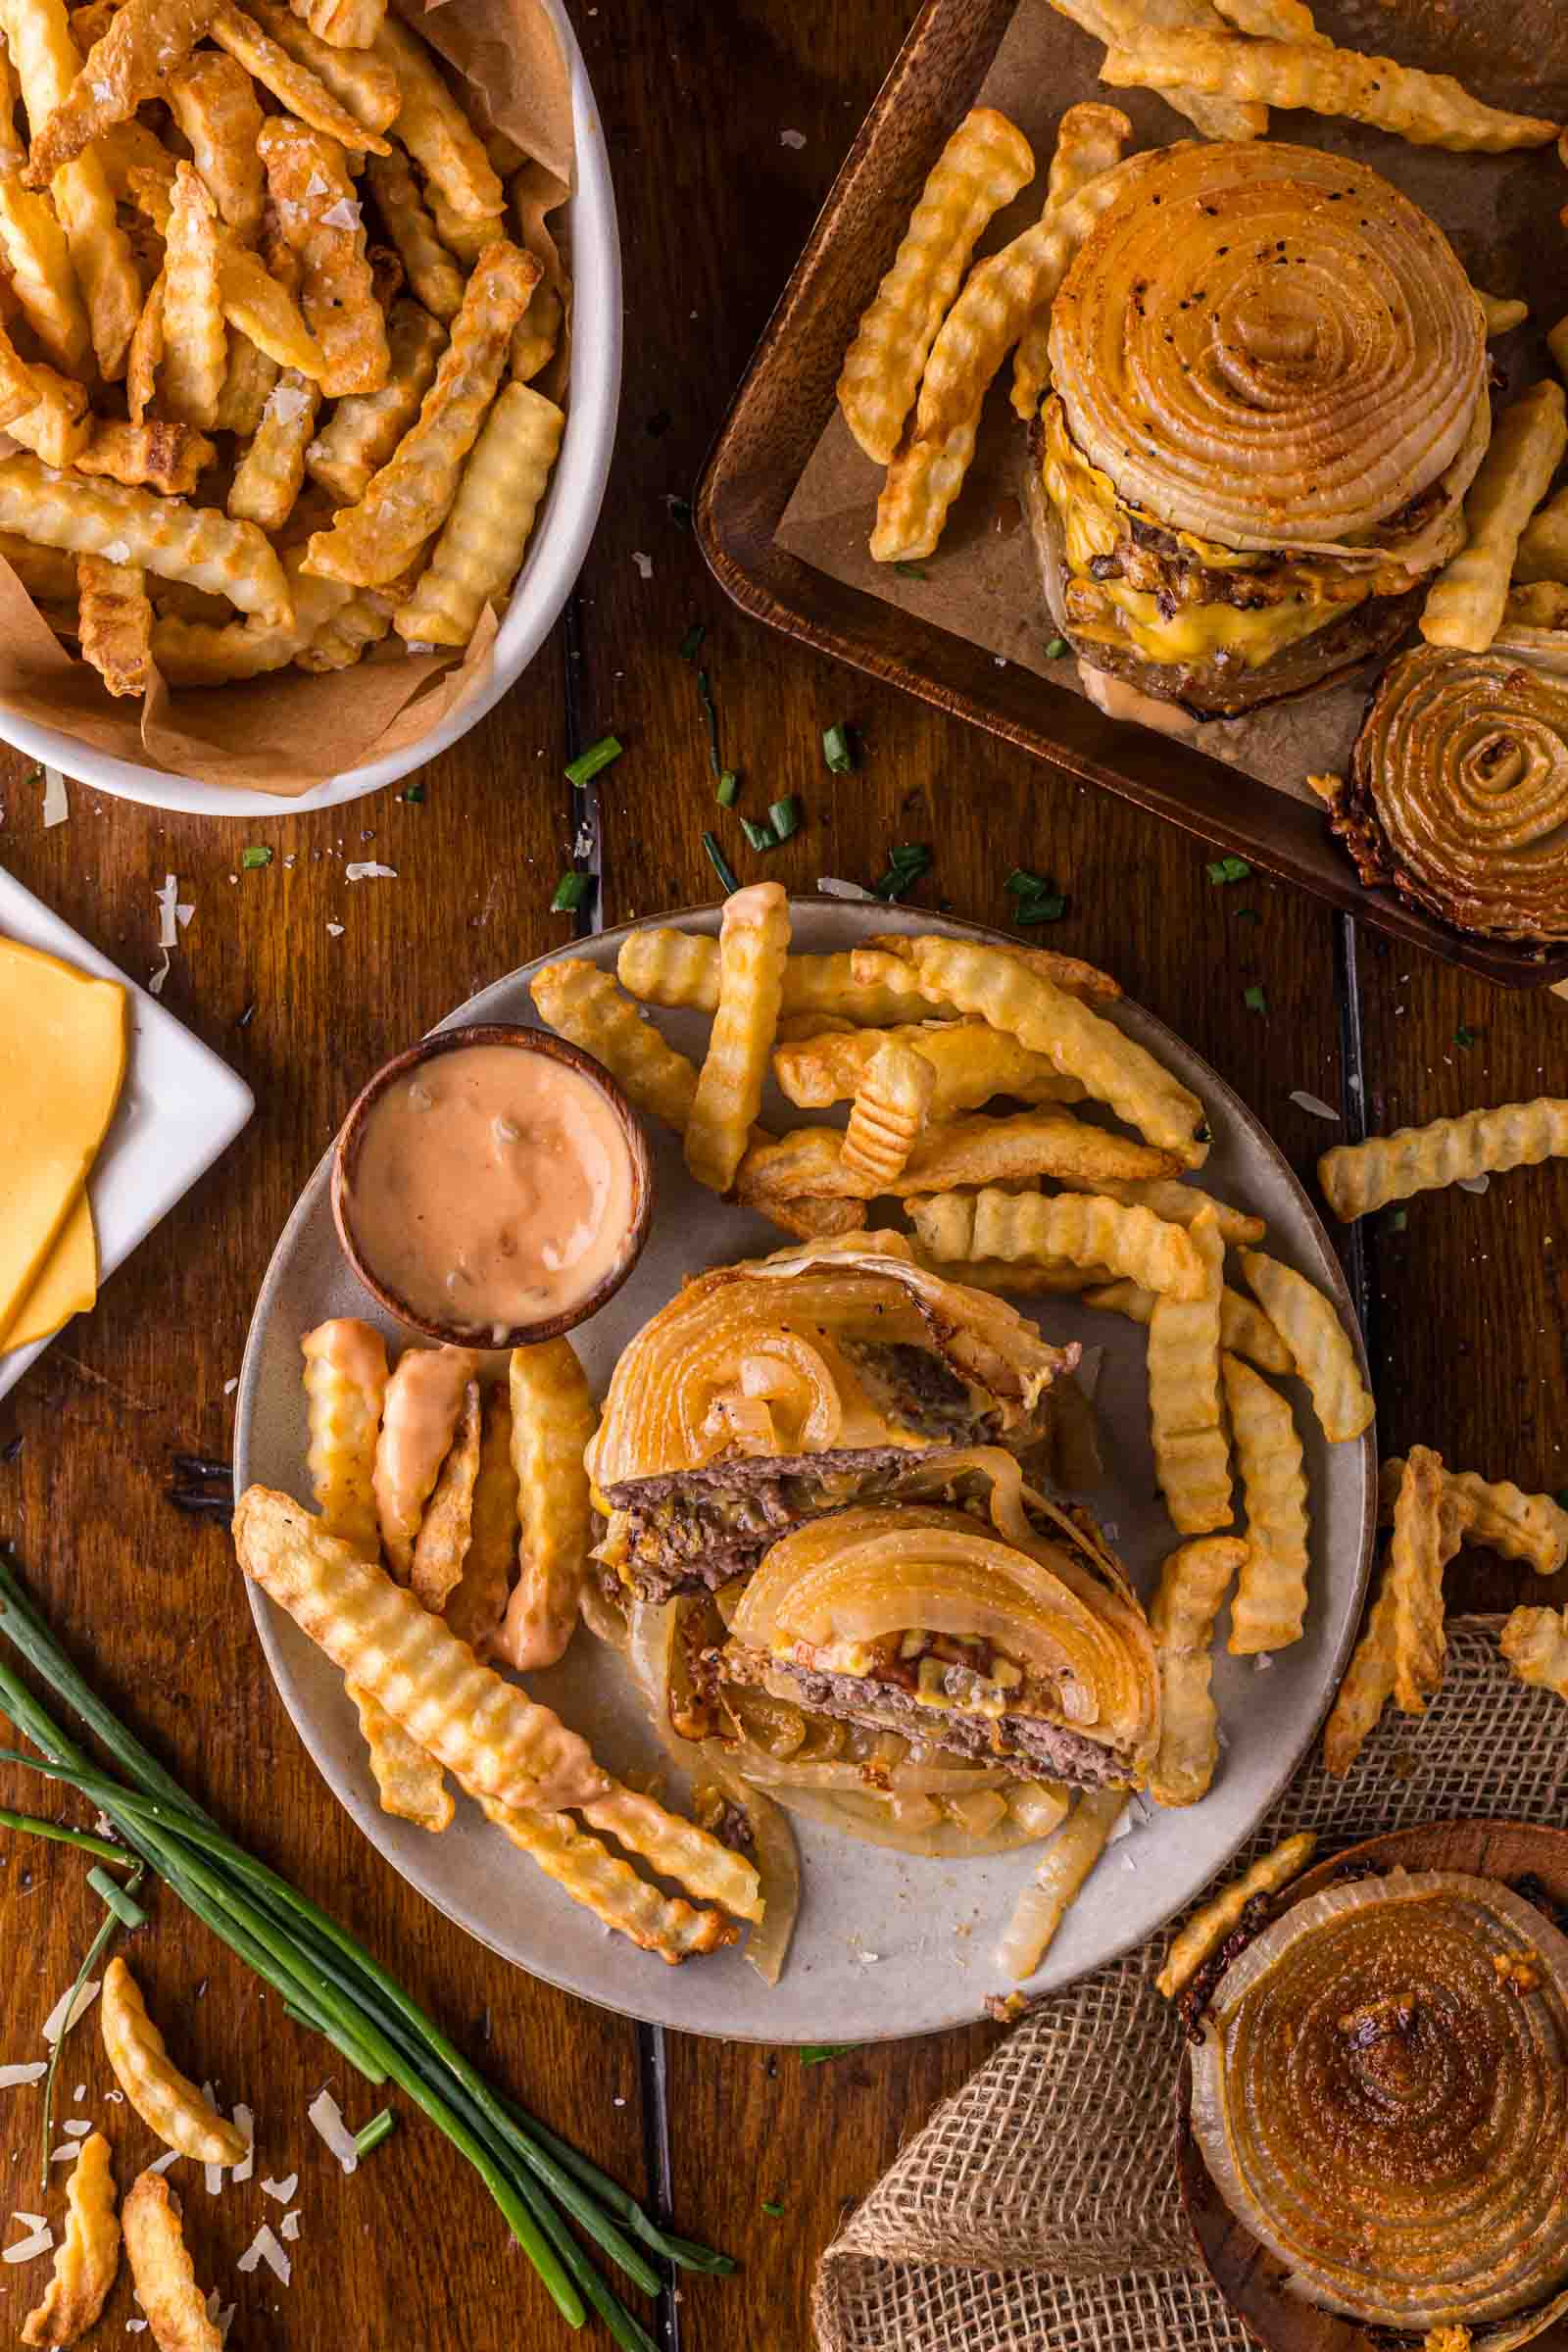
🍽️ What to Serve with Flying Dutchman Burger
- Just the burger, nothing else. This is a full meal on its own: two patties, two chip layers, and American cheese. Adding a side other than fries is just going to have you tossing wasted food.
- A pile of pickles or pickled jalapeños on the side. The acid cuts through the cheese and fat, giving you something to go for between bites. We’ve eaten this with a jar of bread-and-butter pickles next to it, and it works perfectly.
- A cold beer, specifically something lighter. A heavy stout competes with the Parmesan; a lager or pale ale cleans the palate and lets the burger stay in focus. This is lager food in the best possible way.
If you want a more traditional burger night alongside this, our French Onion Burgers and Bacon Jam Burgers round out any epic burger spread.
🧊 Leftovers and Storage
- Patties: Store cooked patties in an airtight container in the fridge for up to 3 days. Reheat in a skillet over medium heat for 2 minutes per side (not in the microwave, which makes them rubbery).
- Onion chips: Store in a single layer at room temperature in an open container or loosely covered for up to 1 day. The fridge makes them soft. They don’t freeze well.
- Assembled burger: Don’t try it. This is an eat-immediately situation: the chips absorb moisture from the patty and turn soft within 30 minutes.
Have you tried this recipe? Do us a favor and rate the recipe card with the ⭐ ⭐ ⭐ ⭐ ⭐ and drop a comment to help out the next reader.
The BEST Flying Dutchman Burger Recipe
Ingredients
4 slices American cheese
- 2 large yellow onion sliced 1/4-inch thick
- 1/2 cup Parmesan freshly shredded
- 1 tsp avocado oil
- 1/2 tsp garlic powder
- 1/2 tsp smoked paprika
- Pinch kosher salt
For the Burgers
- 1 lb ground beef 80/20
- 1 tsp kosher salt
Assembly
- 4 slices American cheese
Instructions
Prep Oven + Pan
- Preheat oven to 400°F. Line a rimmed baking sheet with parchment paper.
Build the Onion Chips
- Spread freshly shredded Parmesan into thin, wide rounds on the parchment — lacy and spread out, not piled in the center. Place onion slices, being careful not to seperate the rings, over each cheese round. Brush the onion with avocado oil and season with garlic powder, smoked paprika, and a pinch of kosher salt.
Bake
- Bake 20–25 minutes until Parmesan is deep golden at the edges. Do not pull early; pale onions stay chewy.
Cool the Chips
- Let the onion chips cool on the pan for 10–15 minutes before peeling.
Form Patties
- Divide beef into 4 loose 4-oz portions. Do not pack. Press each gently into a thin patty slightly wider than your chips.
Cook the Patties
- Heat a cast-iron or griddle over medium-high until very hot. Season patties with kosher salt just before they hit the pan. Cook for 3–4 minutes without moving until the crust releases cleanly. Flip, cook 2–3 minutes more.
Melt the Cheese
- Add American cheese to each patty in the last minute. Cover with a dome or heatproof bowl for 45 seconds until fully melted.
Build the Stack
- Build the burger: cheesy patty → onion chip → cheesy patty → onion chip on top.
Serve
- Serve immediately with a fork and knife or wrapped loosely in parchment.
Notes
- Use freshly shredded block Parmesan — pre-shredded won’t crisp properly.
- Let chips cool fully before building or they’ll break.
- This burger isn’t meant to stay together when picked up, own it and use a knife and fork.
Save this Recipe
Nutrition
Bookmark this recipe now!
Quick Summary
The Flying Dutchman burger swaps buns for crispy Parmesan-baked onion chips — the real In-N-Out secret menu move, upgraded. Bake the chips until they’re deep golden and fully set, cook 80/20 patties hot and fast, and build the stack while everything is still warm. Fork-and-knife, zero regrets.
❓ FAQs
The Flying Dutchman is a secret menu item at In-N-Out Burger: two beef patties and two slices of American cheese with no bun and no vegetables. It’s pure protein and cheese, sometimes served wrapped in lettuce. This version replaces the raw onion rings that some versions use with crispy Parmesan-baked onion chips for added crunch and flavor.
The burger patties and cheese are keto-friendly. The Parmesan onion chips are very low carb, mostly protein and fat from the cheese, with minimal carbs from the onion. The whole assembly is a solid high-protein, low-carb meal.
Yes: a flat top or griddle is actually ideal for this. The wide surface lets you cook all four patties at once without crowding, and you get great even contact across the entire patty for a consistent crust. Use the same timing: 3 to 4 minutes on the first side, 2 to 3 on the second.









This sounds amazing!