Want to grill or smoke ribs that are tender and meaty from edge to edge? The trick isn’t only in the sauce; it starts before the ribs even hit the grill. It starts with a uniform and evenly cut rack of ribs. This step is important for achieving mouthwatering, fall-off-the-bone tender ribs from one end of the rack to the other. And we’re breaking down the easy steps for exactly how to trim spare ribs.
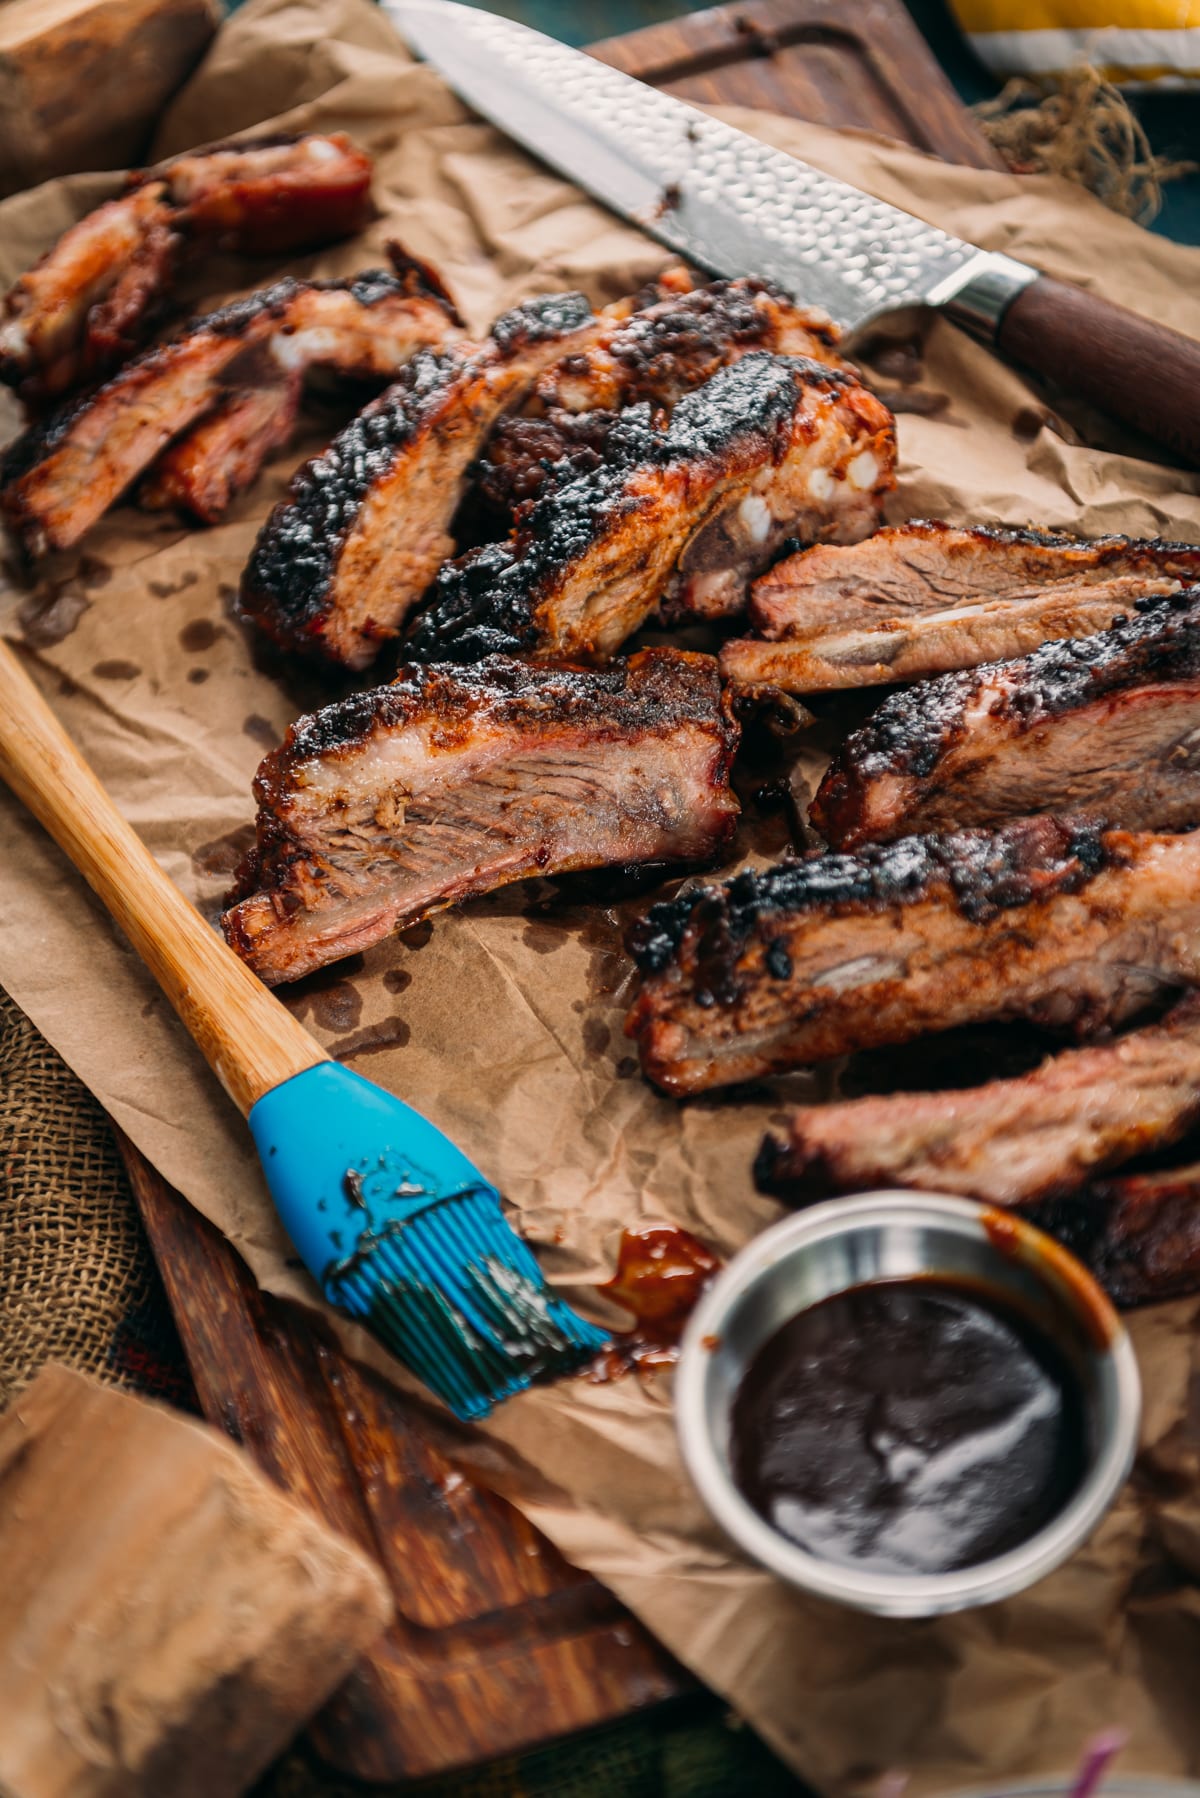
Table of Contents
In this recipe:
When it comes to the types of ribs on the market, some come right out of the package ready to go, like baby back ribs, and some need a little more attention. But did you know spare ribs are St. Louis style ribs? One just happens to be trimmed neatly for meaty bites and a pretty presentation. That’s the only difference between the cut. And with our easy guide, you will have a beautiful rack of ribs so that you can then move on to how to smoke ribs like a pro.
The Cut: What are Spare Ribs
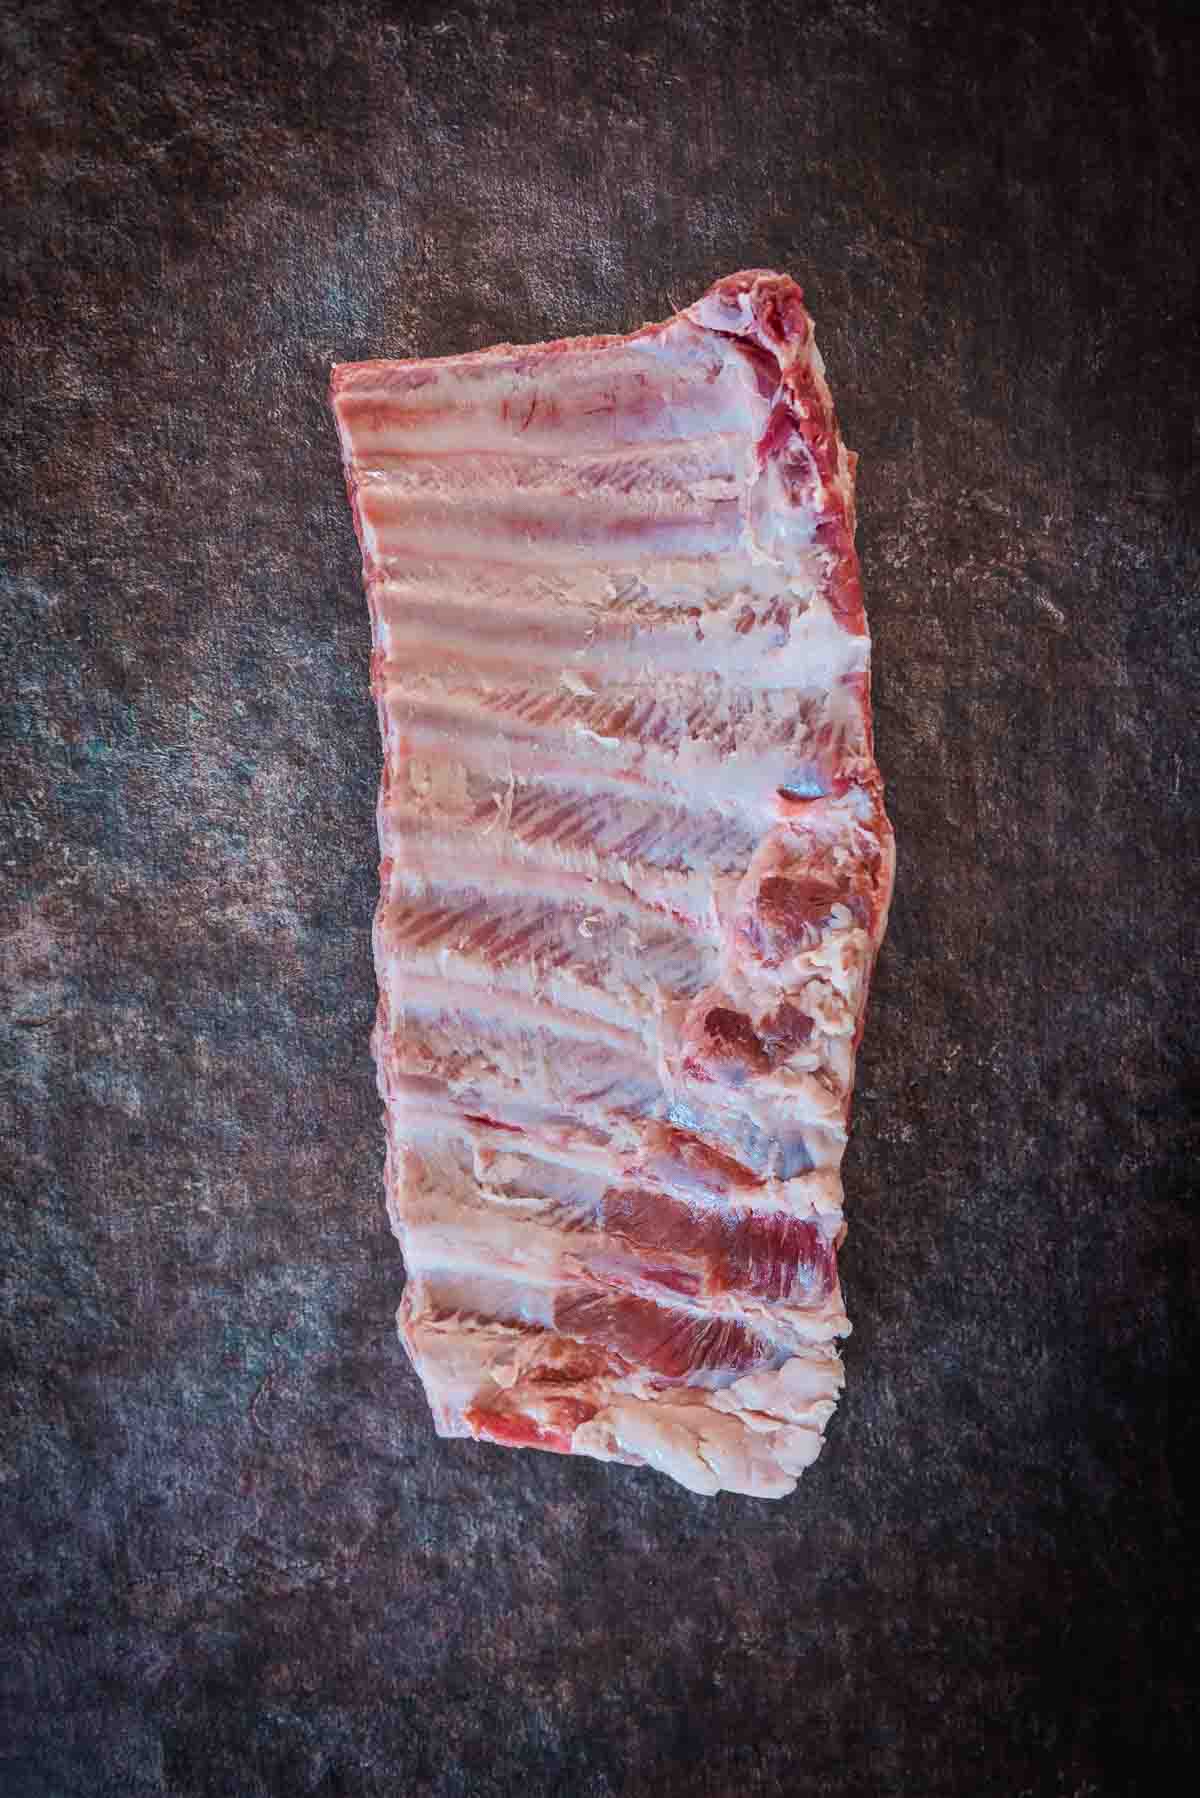
Spare ribs are long ribs from the side of the pig, below the curve of baby back ribs. They have a thick meaty top with rib bones and finish with meat hanging around the bottom breastbone/sternum area. They are not as curved as baby back ribs, filled with rich flavor from fat, and are perfect for slow cooking methods like smoking, grilling, braising, or even oven baking.
Once trimmed properly, spare ribs are called St. Louis ribs. And these are perfect for the 3-2-1 method, hanging in a drum smoker, or traditional smoked ribs. They’re great ribs that have a bit more fat than baby backs, but that adds to their delicious flavor. And they are a personal favorite in the Girl Carnivore Meat Labs.
Why should you trim spare ribs?
Do you have to trim your spare ribs? No. But there are a few reasons you should.
- First, it helps with even cooking. Trimming the spare ribs creates an even rectangular shape that will cook better throughout the rack. When left untrimmed, the flap can get overdone while waiting for the first few ribs reach temperature.
- Secondly, it helps with the overall presentation. When left whole, spare ribs go from a long edge to a skinny edge, which from some butchers, can be quite dramatic. When you take the time to trim your spare ribs properly, they will look clean and have an even size for every bone. It also makes slicing the ribs for serving a lot easier.
- And finally, when you remove the membrane, you help the finished texture when you bite into your perfectly cooked ribs.
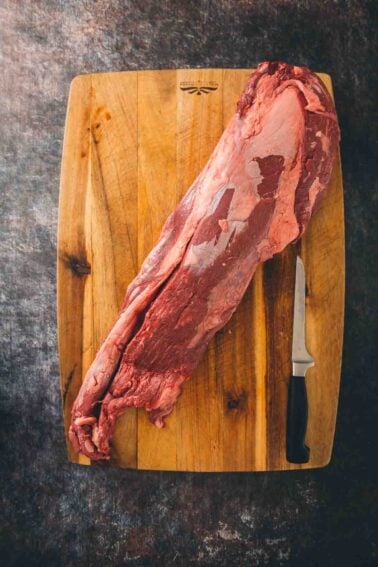
How to Trim Spare Ribs
How much you need to trim your ribs will greatly depend on the butcher who originally cut them. We have seen clean ribs come from our local grocery stores with minimal trimming needed. And then there are times when we really need to clean things up for our personal preference.
Tools
Trimming a full rack of spare ribs is easy; you will need:
- A large cutting board or clean work surface
- Fillet knife, or a chefs knife also works here, but we find our flexible fillet knife to makes quick work of trimming ribs.
- Butter knife
- Paper towels
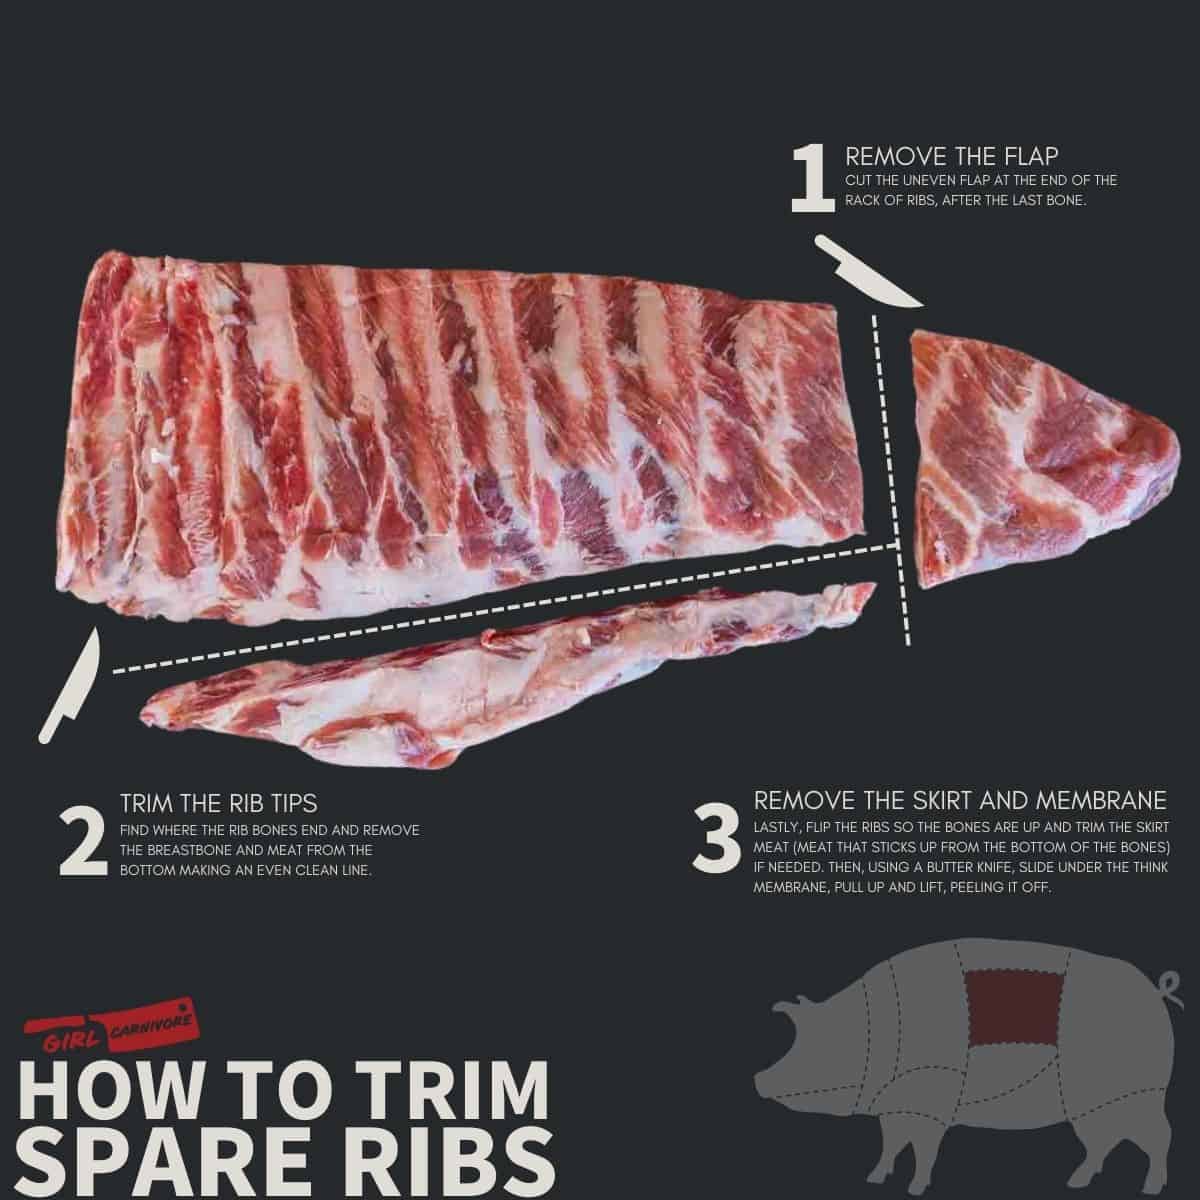
Remove the sternum / rib tips
We start by removing the breast bone that hangs below the curve of the ribs. To do that, find where the rib bone ends. You will find a curved piece of meat, the breastbone, attached at the bottom. Sometimes it has a bit of the sternum bone attached.
With the pork ribs facing up, place the blade of your knife beneath the bottom of the rib bones and run it carefully along the curve of the ribs. You may have to do this once or twice to make a clean line at the rib tip section.
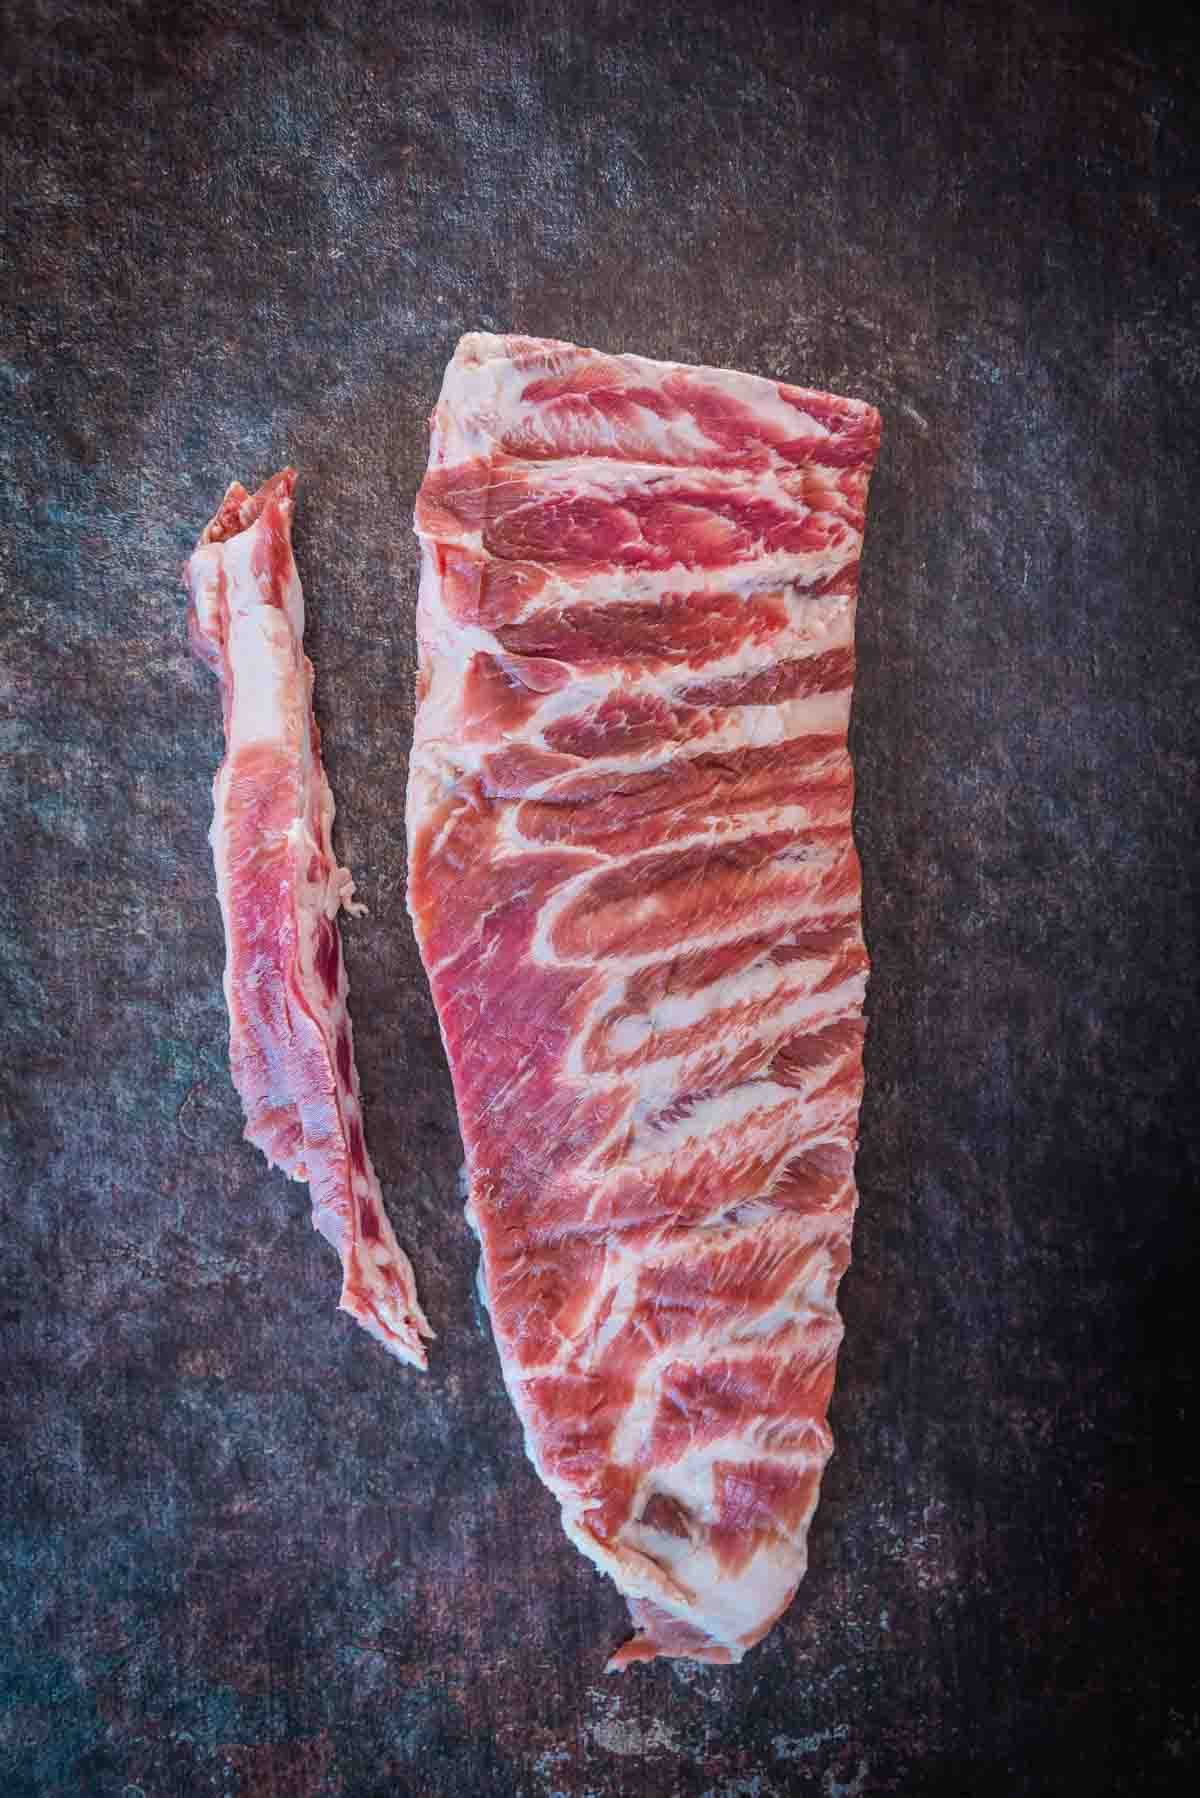
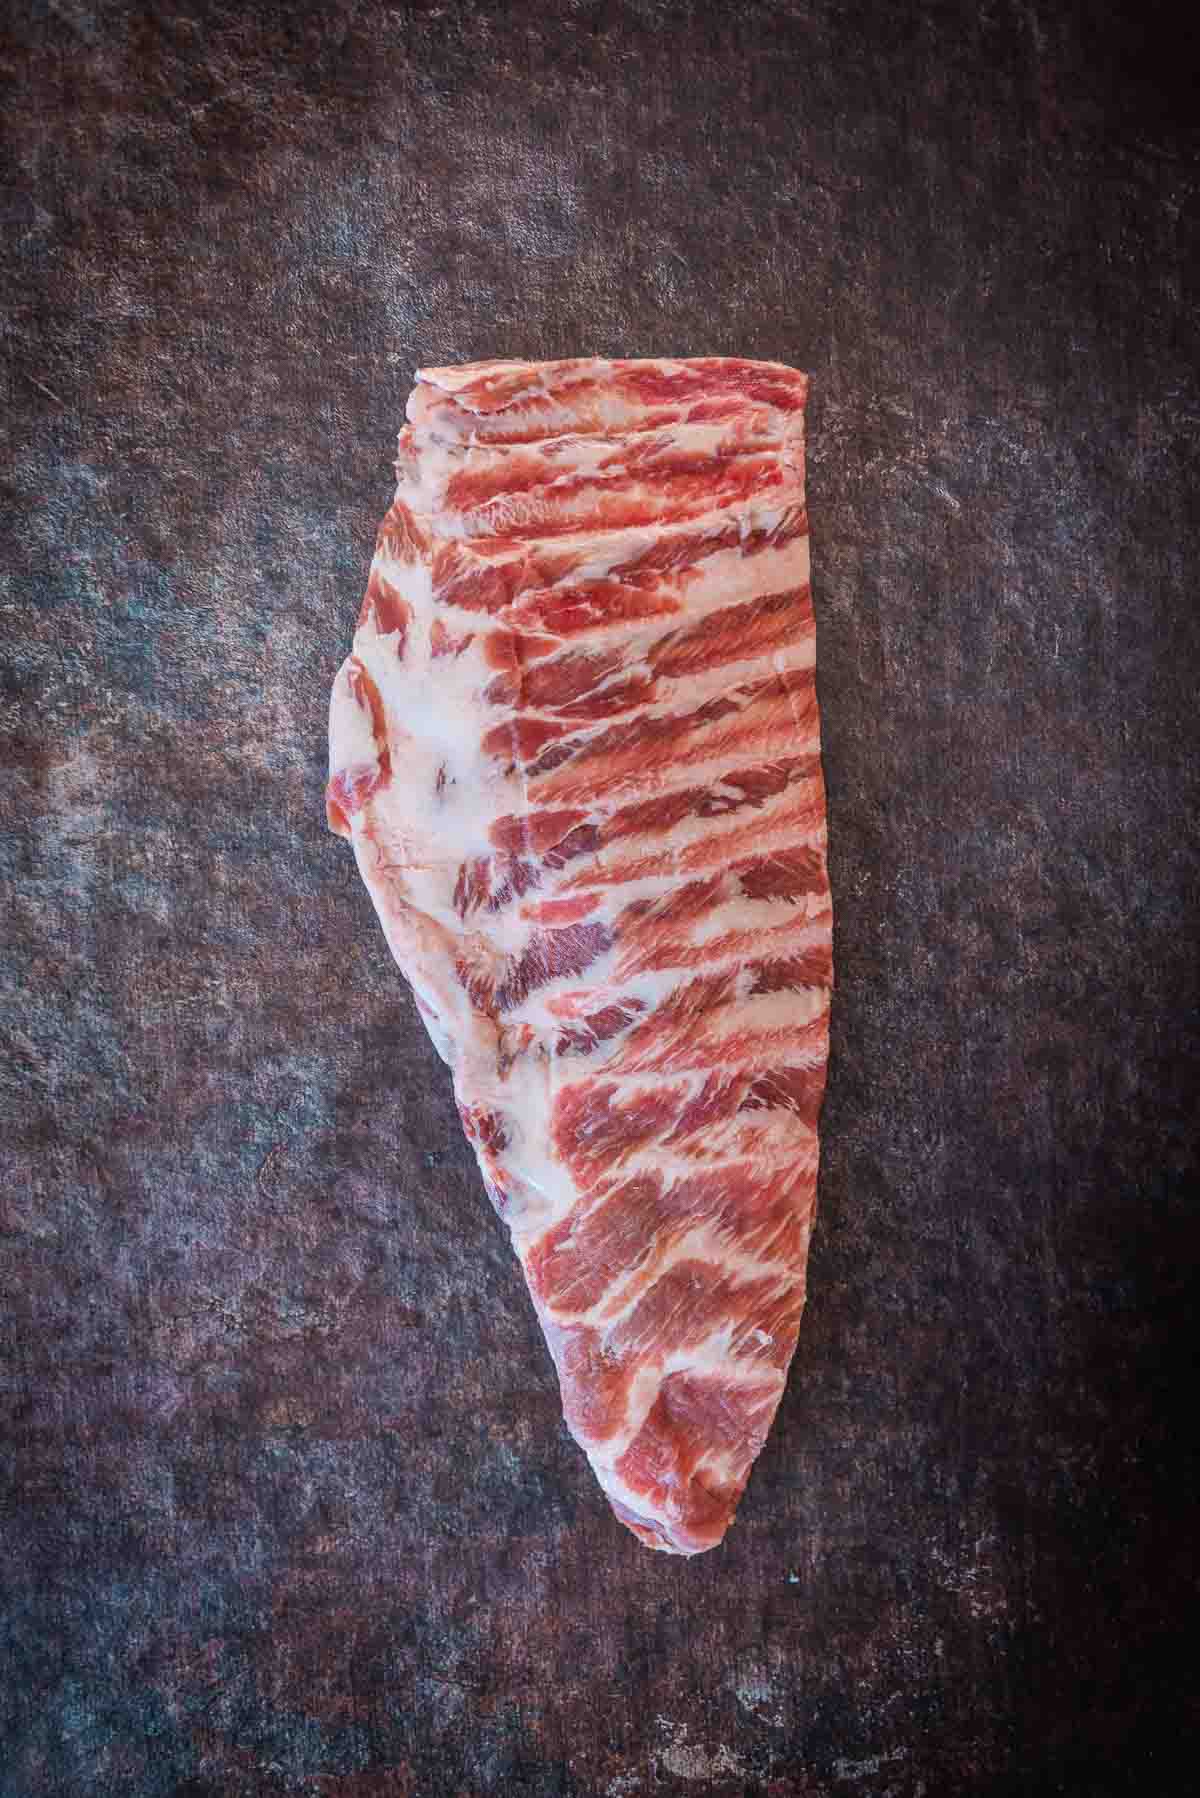
Remove the flap
The next step is to remove the flap meat, the odd triangular-shaped piece after the last rib. To do this, simply cut between the last rib and the meat with your sharp knife, along the bone, removing the excess meat.

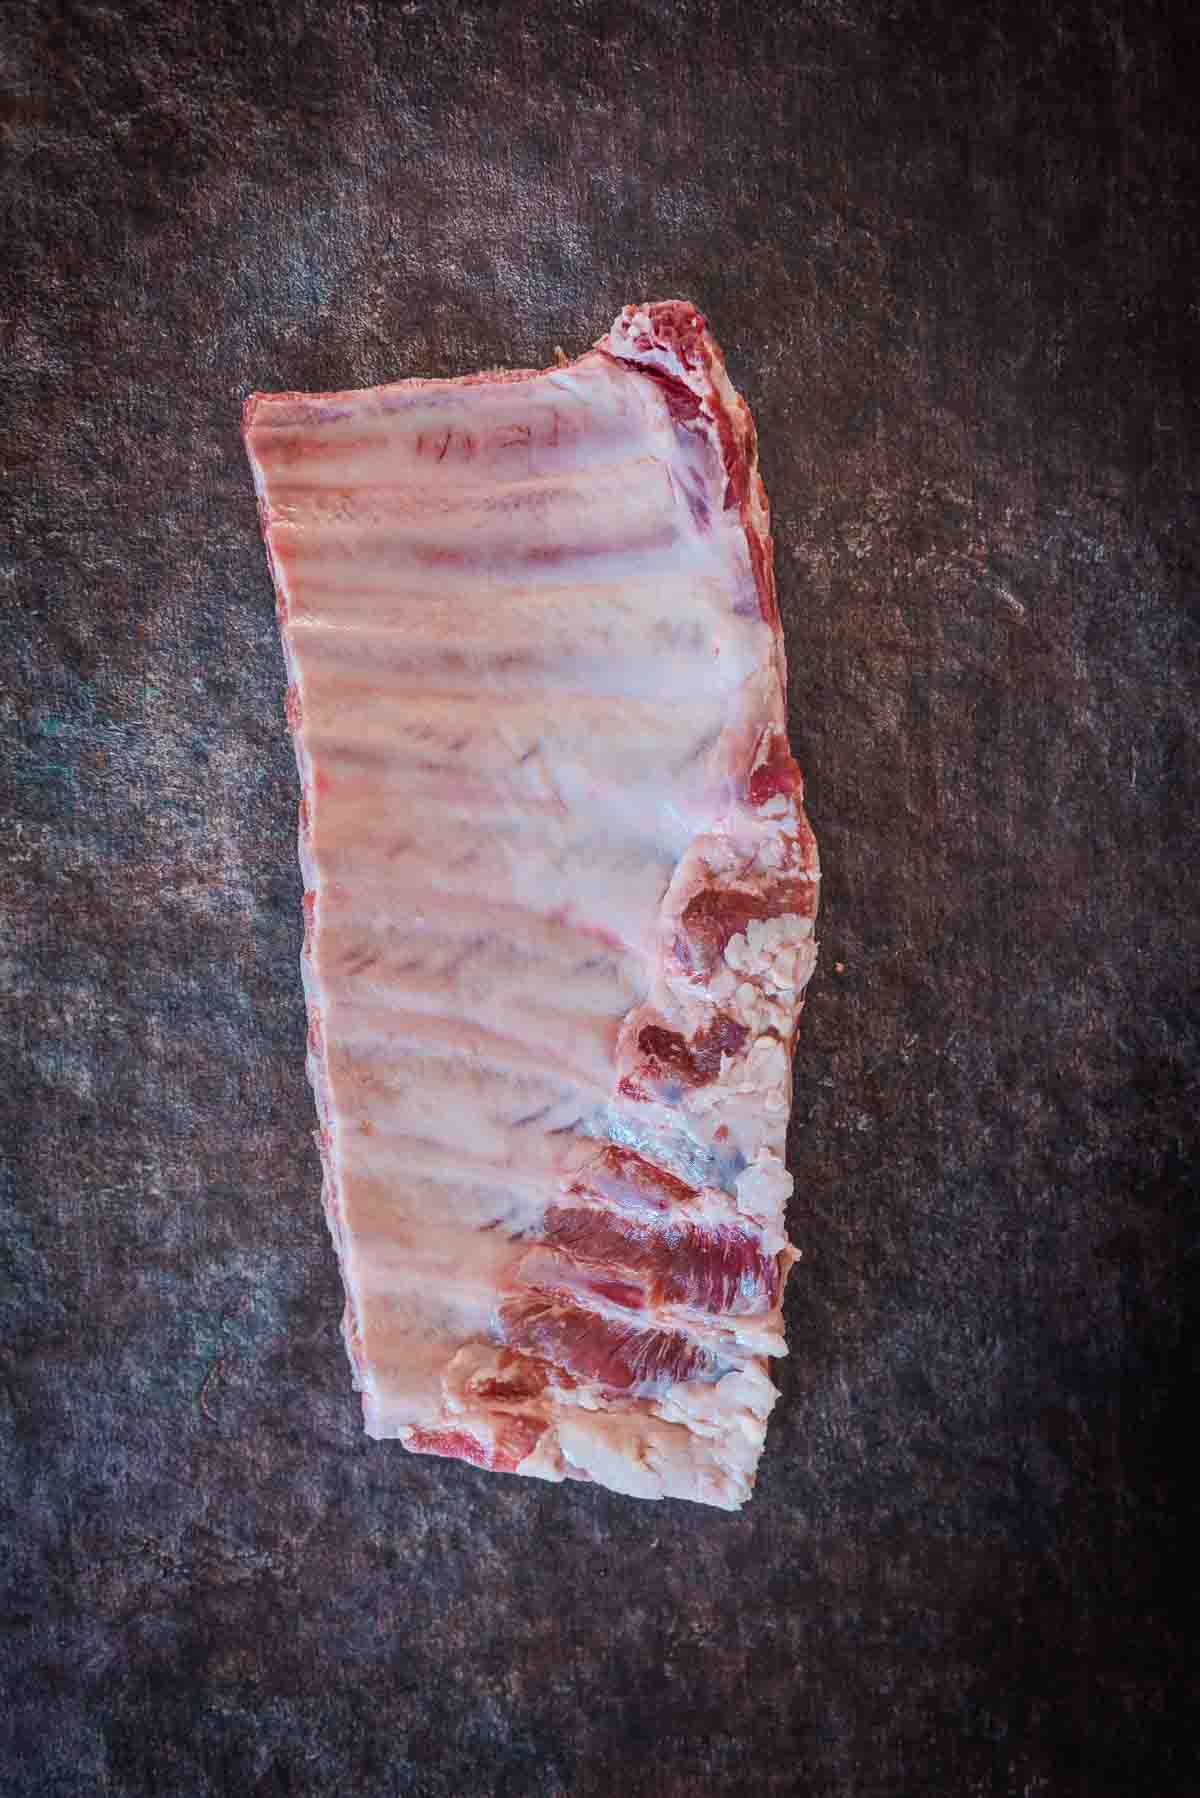
Remove the skirt
With the bones still facing up, remove any access meat along the edges of the ribs. This is known as the skirt meat and may or may not be present depending on your butcher.
Take the time now to trim any excess fat hanging off the ribs on either side. Don’t remove every ounce of fat, as it adds flavor and moisture, but if there are large pockets hanging to the outside of the meat, you can trim those now. You can use all of these trimmings in soups, make stocks, or cook them for quick snacks.
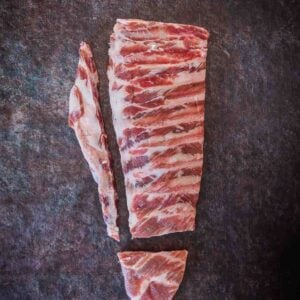
When done with all of the trimming, your final product will be an even rectangular rack of St. Louis cut ribs.
Remove the membrane
The last step for how to trim spare ribs is the same for any rack of ribs, removing the membrane. This long silver skin runs along the back of the ribs and, when removed, makes for a better bite when finished. Once you learn how to remove the membrane from a slab of ribs, there’s no going back.
Start by sliding the tip of a dull butter knife along the bone, under the membrane, and gently wiggling and pulling up. We like to start at from the second longest bone, almost at the edge of the membrane. As you pull up gently, the silver skin will loosen a bit.
Using a paper towel for a good grip, grab the membrane and gently pull back. This may come off in one easy pull, but it often takes a few tries to remove the whole membrane. It’s a skill where practice will indeed make perfect.
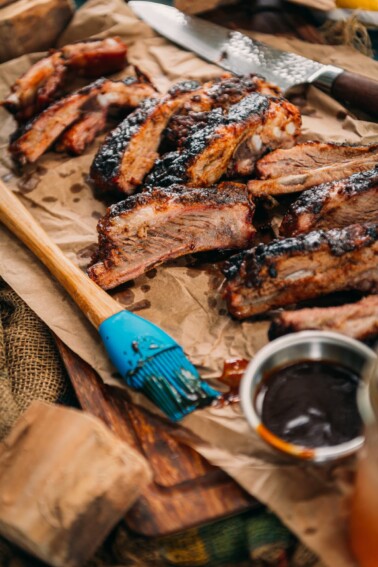
Now that you have a perfectly trimmed rack of ribs, you need to decide the best way to cook them.
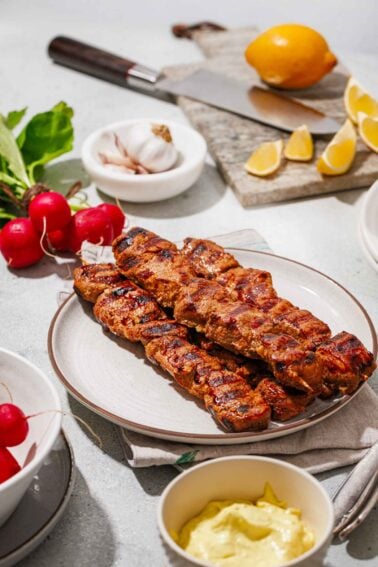
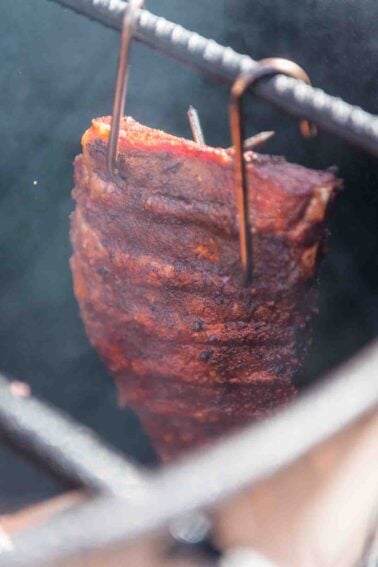
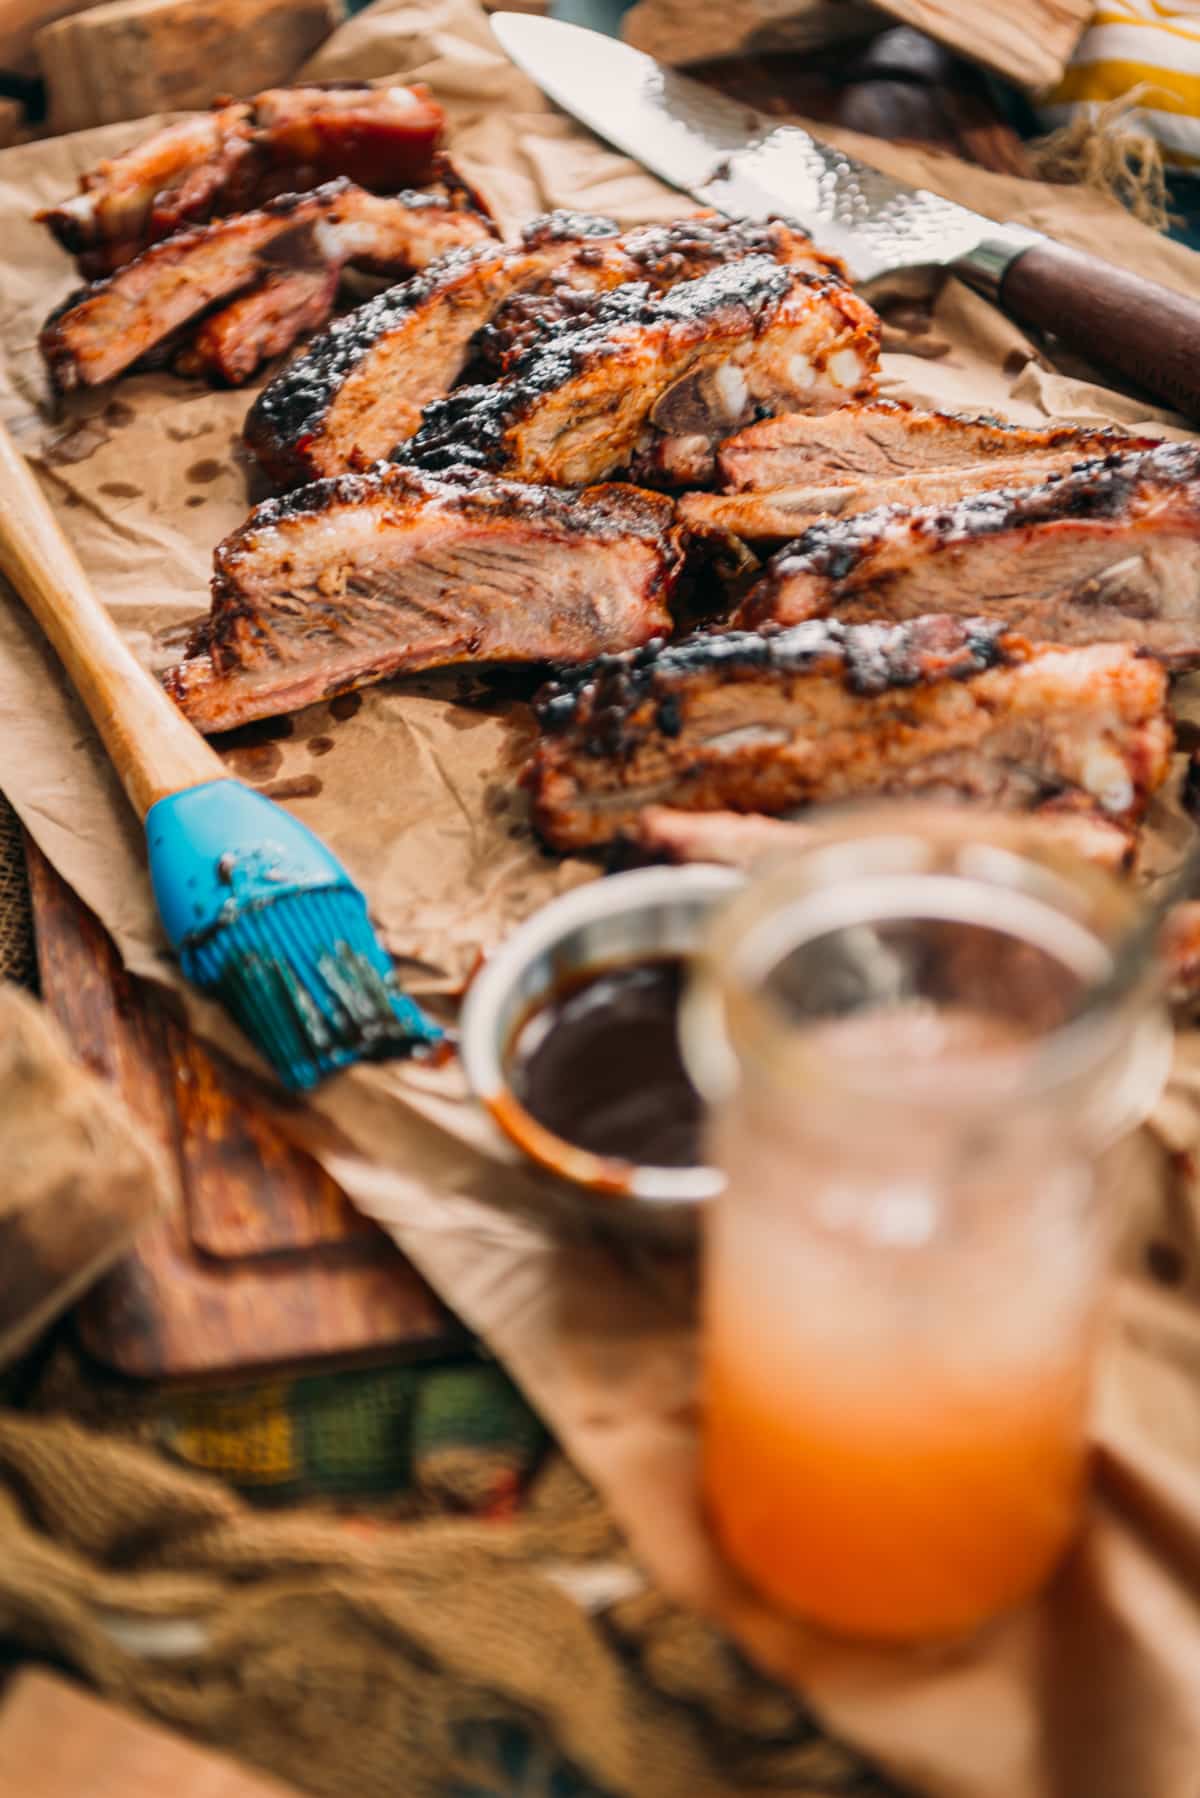
The best smoked rib recipes
Recipes With Pork
Smoked St. Louis Ribs
Recipes With Pork
3 2 1 Ribs Traeger (Easy Pellet Smoker Recipe)
Recipes With Pork
Dry Rubbed Smoked Baby Back Ribs
Recipes With Pork
Smoked Pork Spare Ribs
FAQs
No, you do not have to trim spare ribs. Trimming the slabs of ribs creates the St. Louis style ribs, which cooks more evenly, but you can smoke spare ribs right out of the package.
Fat helps add moisture and flavor to ribs, so you don’t want to remove all of it. But you do want to trim any fat that’s hanging or is too thick from the meaty side of the ribs.
We get it; peeling off the membrane is frustrating. However, it is a key step to making every bite of your ribs more enjoyable. No, you do not ‘have to’ but we find it such an important step, we never skip it.
More helpful how-to Guides


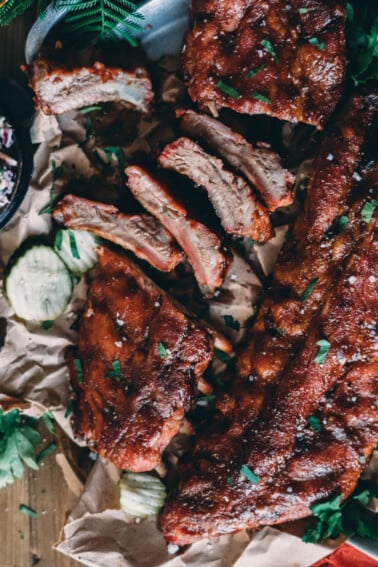
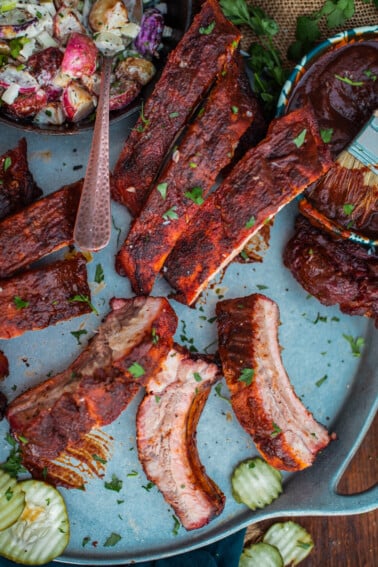
Learning how to trim spare ribs is an essential skill for any barbecue enthusiast or home cook. Properly trimming the ribs not only improves their appearance but also enhances their flavor and tenderness to help you not overcook them. Remember to remove the membrane, trim excess fat, and shape the rack for even cooking. With practice and attention to detail, you’ll soon master the art of trimming spare ribs and be able to enjoy deliciously succulent results every time you fire up your grill or smoker. Grab your knife, and get ready to elevate your rib game!
Have you tried this recipe? Do us a favor and rate the recipe card with the ⭐ ⭐ ⭐ ⭐ ⭐ and drop a comment to help out the next reader.
How to Trim Spare Ribs
Recommended Equipment
- large cutting board
- Filet knife, or chefs knife
- Butter knife
- Paper towels
Ingredients
- 1 rack of ribs
Instructions
REMOVE THE STERNUM / RIB TIPS
- start by removing the breast bone that hangs below the curve of the ribs. To do that, find where the rib bone ends. You will find a curved piece of meat, the breastbone, attached at the bottom. Sometimes it has a bit of the sternum bone attached.
- With the pork ribs facing up, place the blade of your knife beneath the bottom of the rib bones and run it carefully along the curve of the ribs. You may have to do this once or twice to make a clean line at the rib tip section.
REMOVE THE FLAP
- The next step is to remove the flap meat, the odd triangular-shaped piece after the last rib. To do this, simply cut between the last rib and the meat with your sharp knife, along the bone, removing the excess meat.
REMOVE THE SKIRT
- With the bones still facing up, remove any access meat along the edges of the ribs. This is known as the skirt meat and may or may not be present depending on your butcher.
- Take the time now to trim any excess fat hanging off the ribs on either side. Don’t remove every ounce of fat, as it adds flavor and moisture, but if there are large pockets hanging to the outside of the meat, you can trim those now.
REMOVE THE MEMBRANE
- Start by sliding the tip of a dull butter knife along the bone, under the membrane, and gently wiggling and pulling up. We like to start at from the second longest bone, almost at the edge of the membrane.
- As you pull up gently, the silver skin will loosen a bit.
- Using a paper towel for a good grip, grab the membrane and gently pull back. This may come off in one easy pull, but it often takes a few tries to remove the whole membrane.
- When done with all of the trimming, your final product will be an even rectangular rack of St. Louis cut ribs.
Bookmark this recipe now!