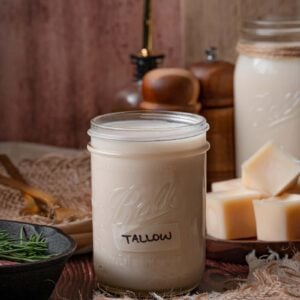
If you are getting into rendering your own animal fats, start with tallow. It is forgiving, and it gives you clear visual cues so you know you got it right. You are one brisket trim away from a year of tallow you never have to buy. We save ours all year as we trim, bagged in the freezer next to the bones for stock.
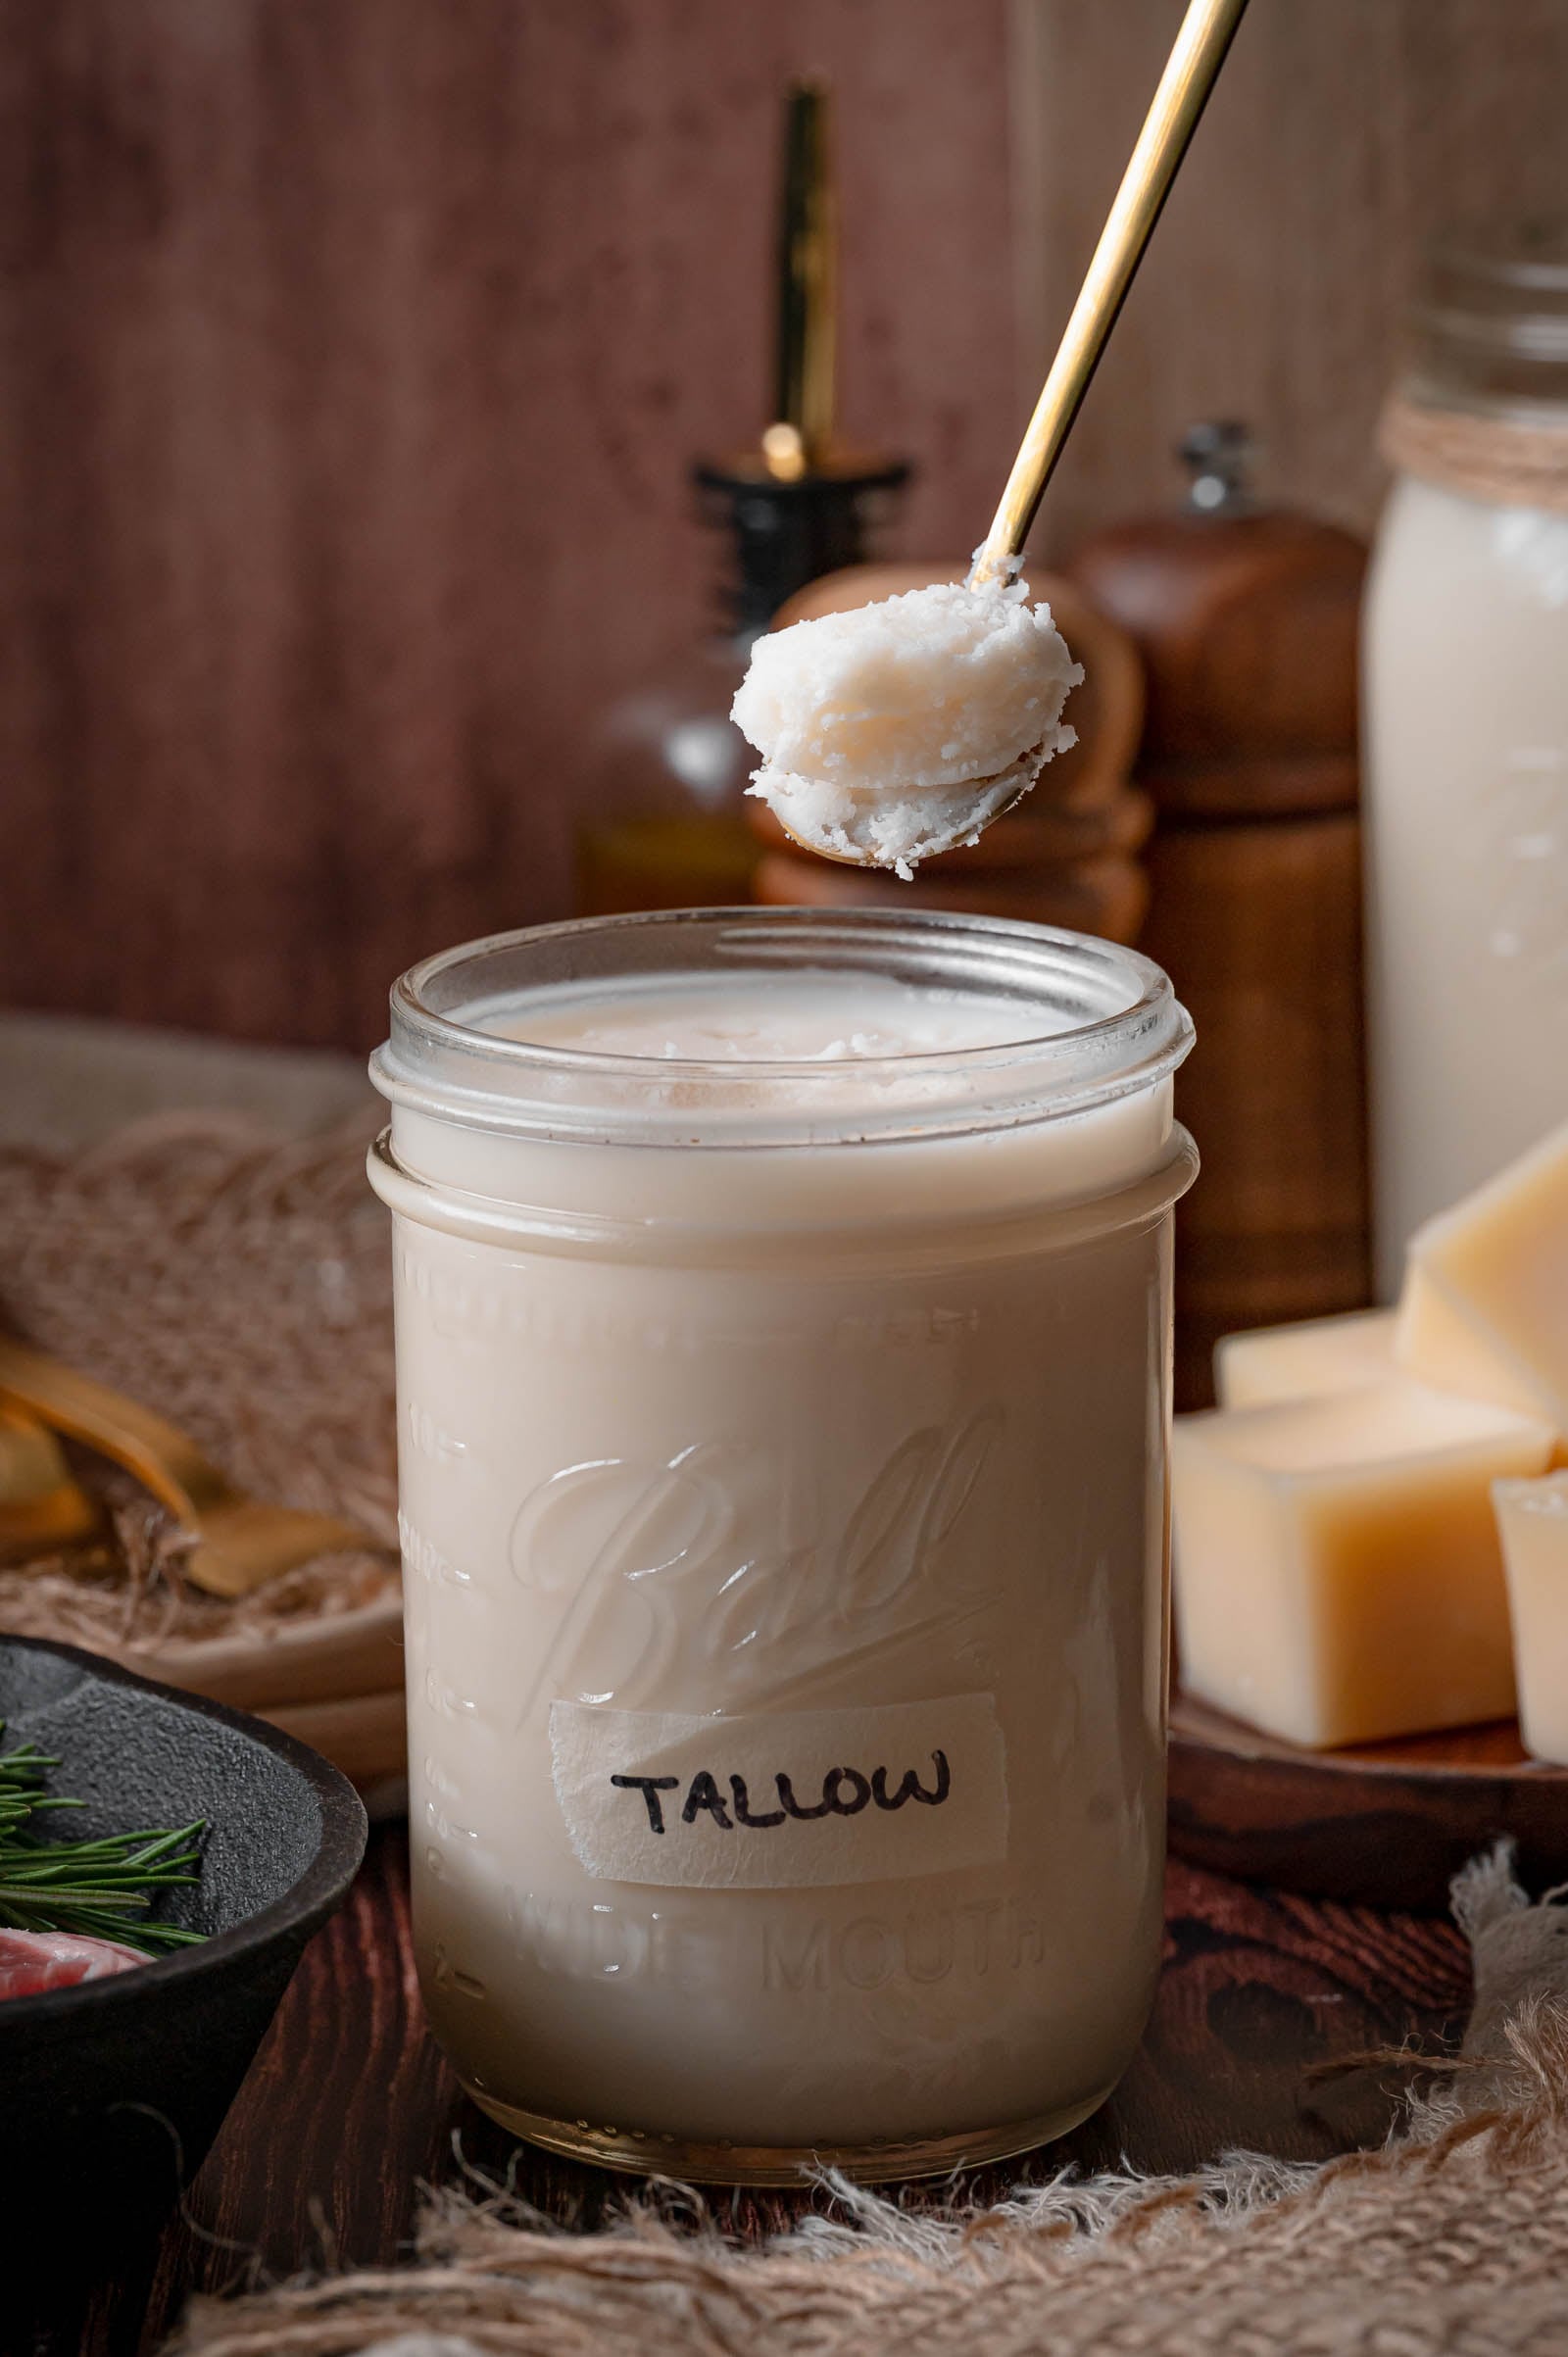
Render it slowly, and you turn that bag of scraps into clean white tallow. It fries better than anything on the shelf, sears a steak harder, keeps a year when properly stored, and makes a decent hand cream if you are into that.
All you need is low heat, a Dutch oven, and a couple of hours where you mostly ignore the pot. The half cup of water in the bottom keeps it clean, guarding the fat through the first twenty minutes before it steams off. Do it once, and you’ll have the confidence to stop paying ridiculous prices for cooking fats.
🔪 Ingredients for Beef Tallow
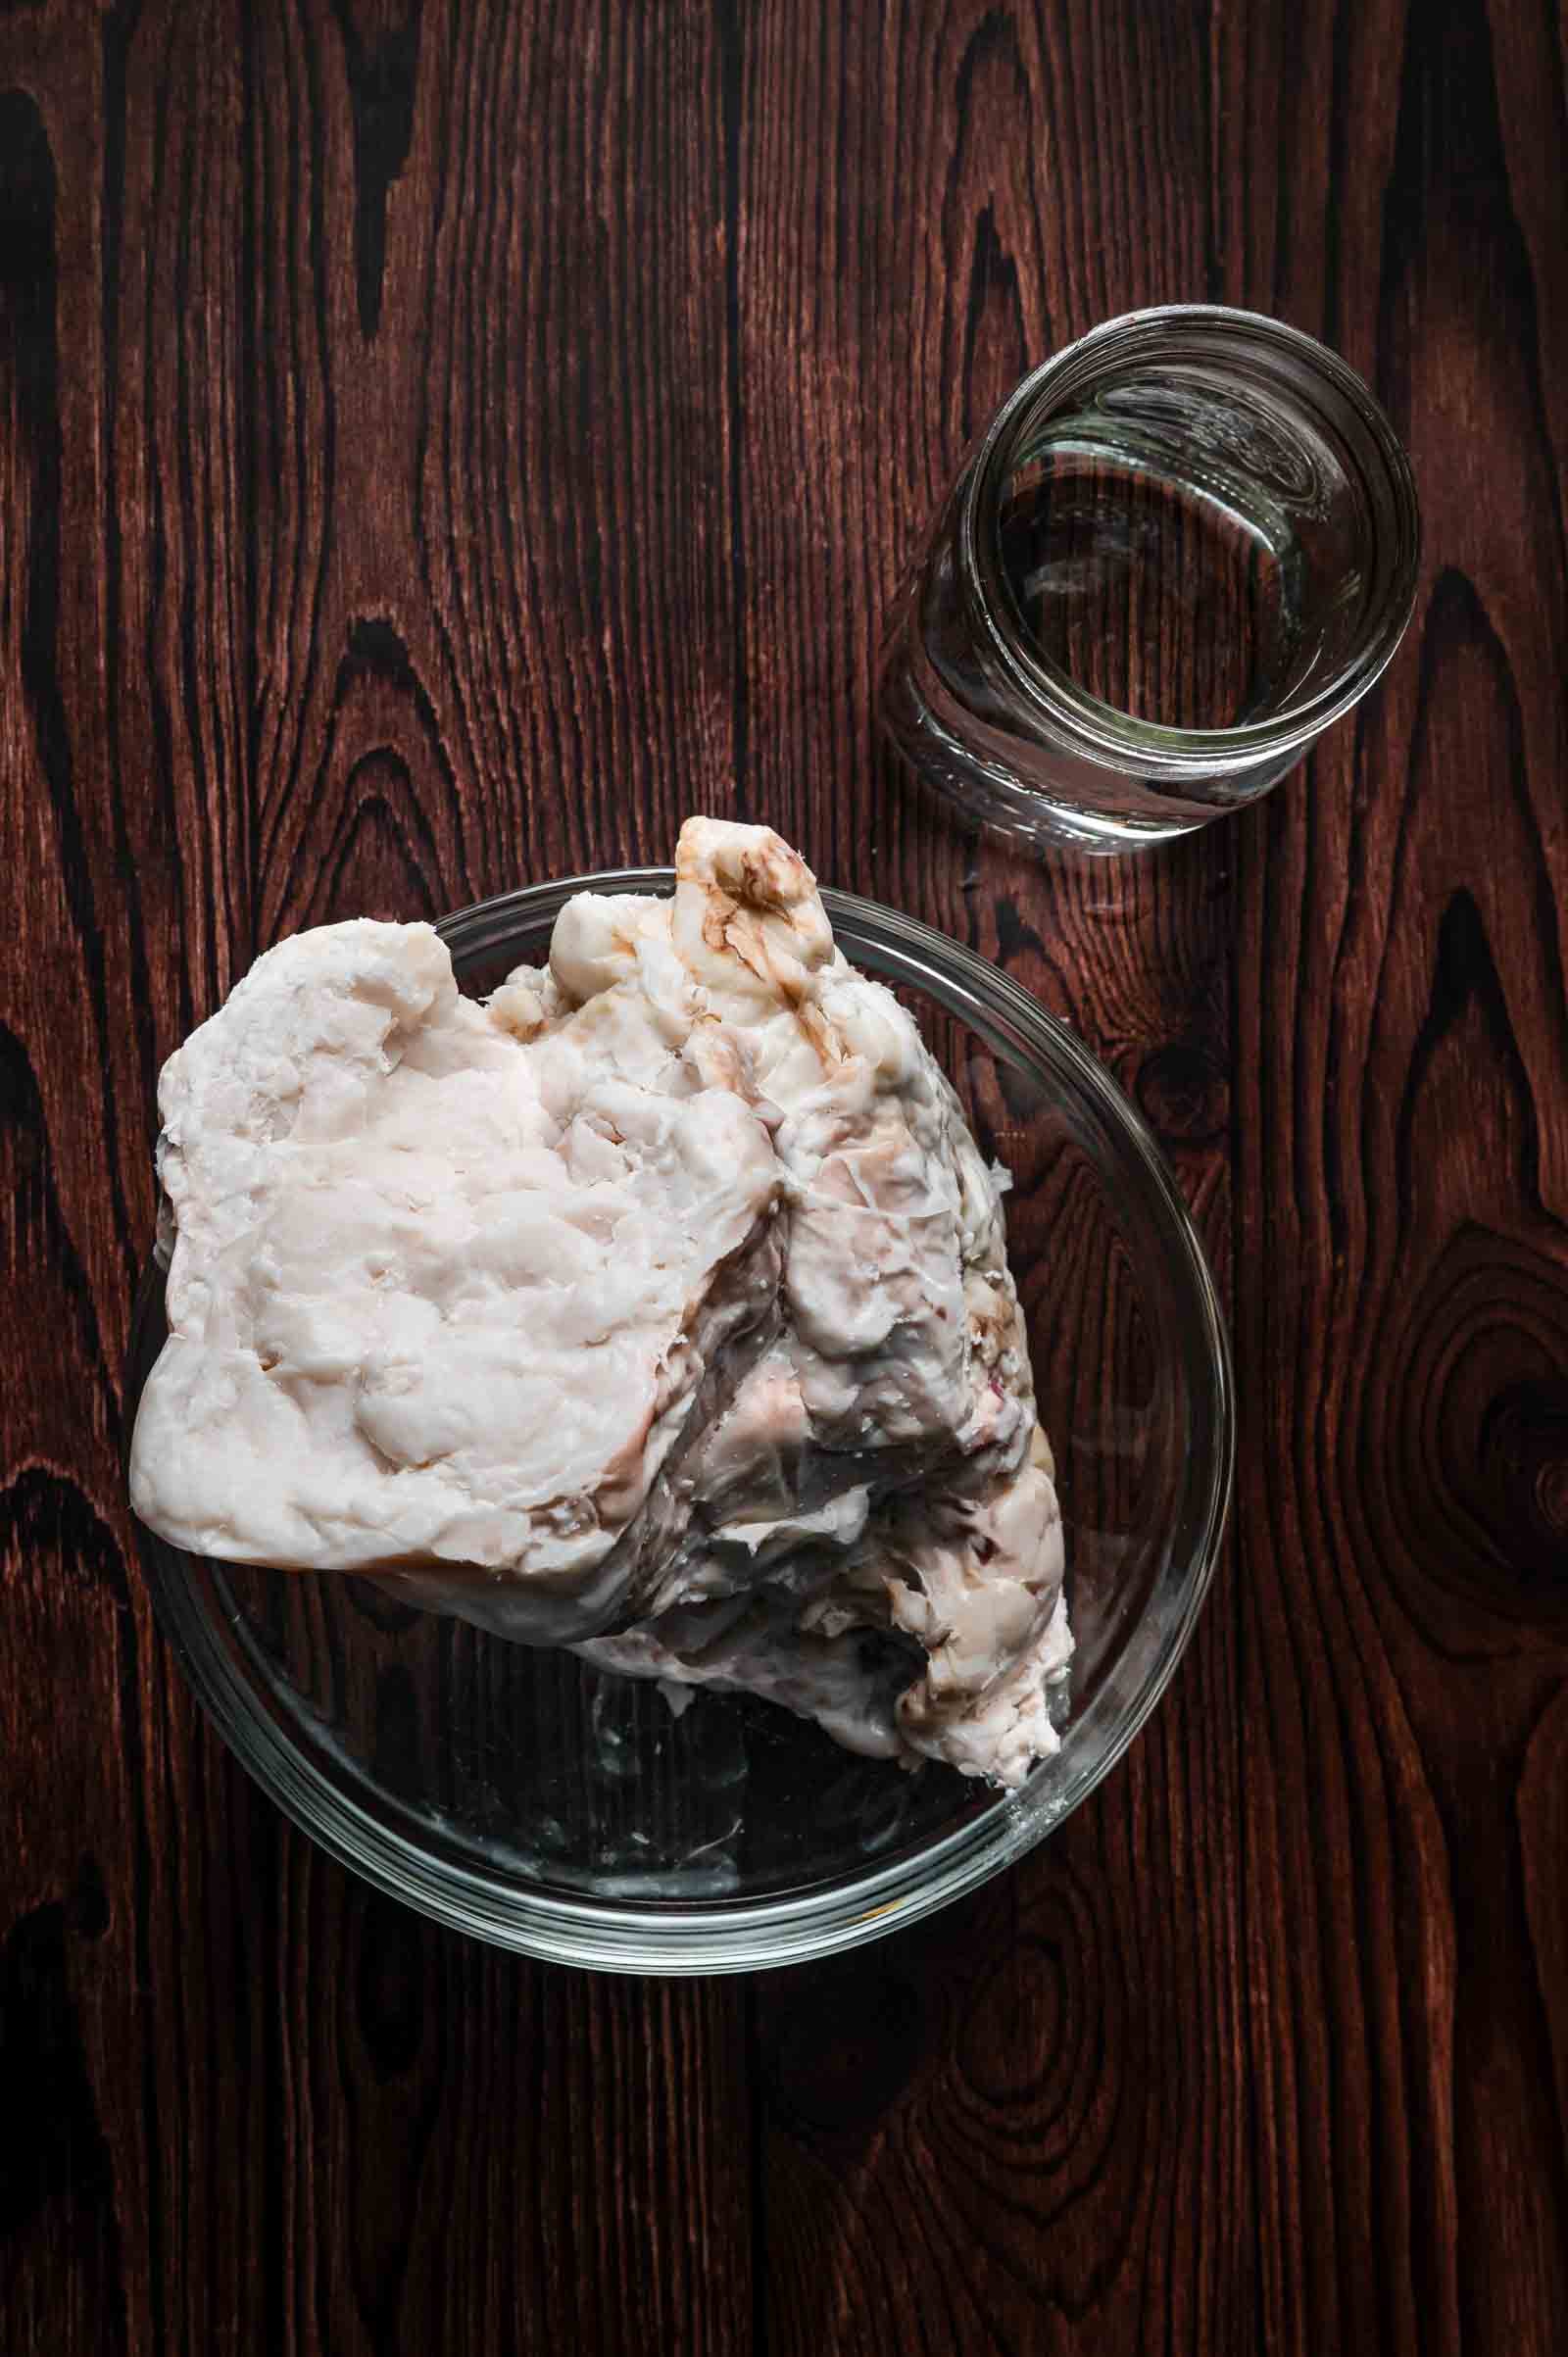
- Hard fat, not soft fat: hard fat is the dense white slab from the outside of the animal. The brisket fat cap, the cap over a chuck roll or a rib, and the suet from around the kidneys. Cold out of the fridge, it’s waxy and stiff, and a piece cracks when you fold it. Soft fat is the greasy, yellowish stuff that runs between the muscles and along the seams, and it smears on your fingers instead of snapping.
- Why the distinction matters: hard fat renders into tallow that sets firm and white and tastes close to neutral, which is what makes it useful for everything from fries to pie dough. Soft seam fat carries more unsaturated fat, so it renders greasy, never sets up properly in the jar, pushes a strong beef flavor into whatever you cook next, and does not keep as well. Discard it.
- Trim any meat: any red meat still clinging to the fat comes off before you chop. The meat does not render and will leave burnt pieces in your finished tallow if you don’t remove it before rendering.
- Water
Equipment
- Dutch oven: heavy cast iron holds low heat steady, which is the entire job here. A thin pot scorches the fat in the corners.
- Fine mesh strainer and cheesecloth: a double layer of cheesecloth inside the strainer is what separates cloudy tallow from clean tallow.
- Glass jars: clean and bone dry. Wash them before you start so they have time to dry completely.
- An instant read thermometer: we run a Thermapen for this. Once the water is gone you want to know whether the fat is sitting at 230°F or creeping toward 300°F.
📝 How to Make Beef Tallow
Three pounds of trimmings renders down over about two and a half hours into roughly three to four cups of tallow, depending on how much lean is left on the fat. If you would rather do it hands off, we have the same fat rendered in a pressure cooker in our Instant Pot beef tallow recipe.
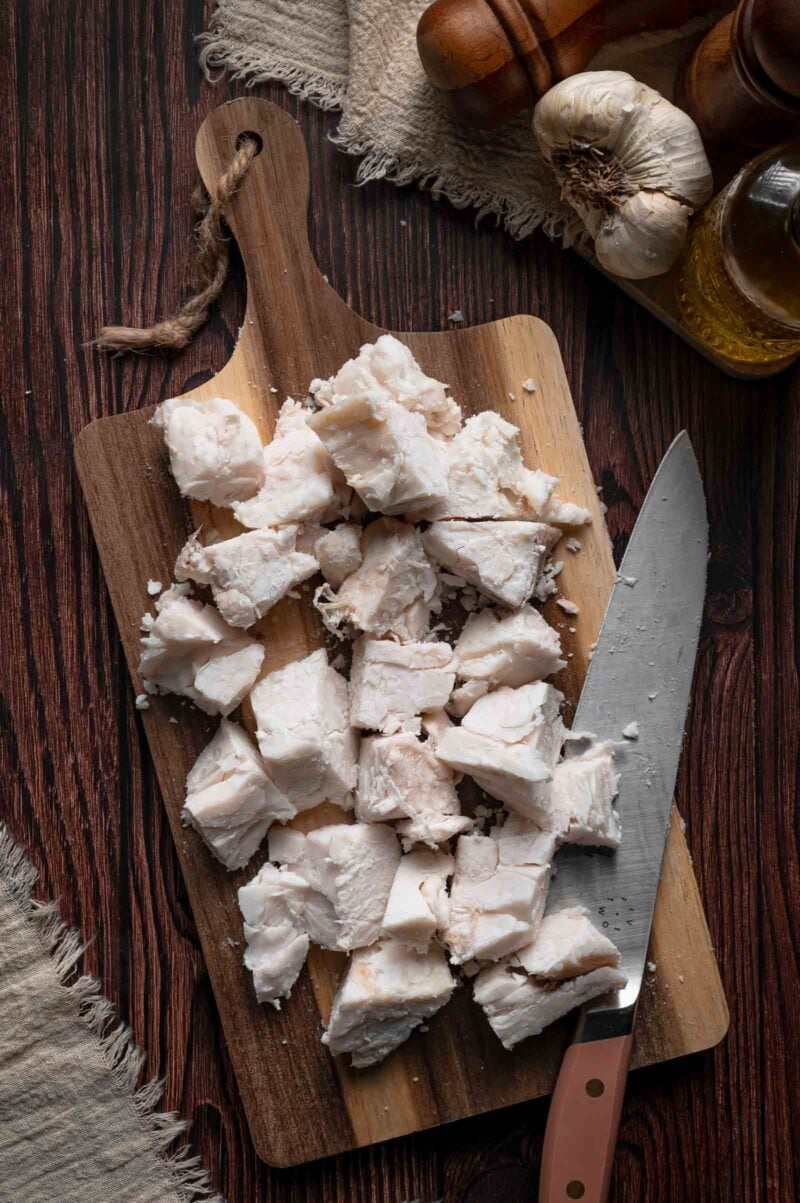
- Trim and chop the fat. Pull off as much attached meat and tough connective tissue as you can, then cut the fat into pieces about ½ inch across so everything melts at the same rate. Lean scraps left behind are what turn tallow dark.
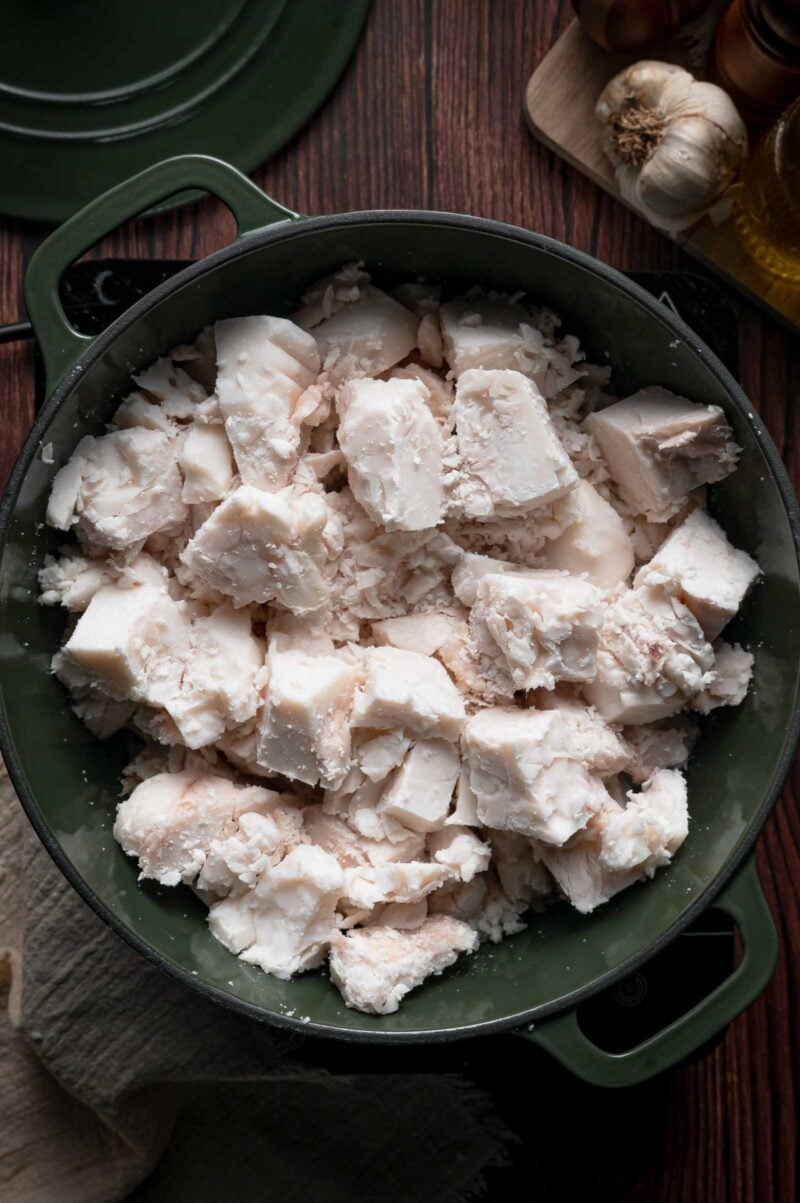
- Start it with water. Pour ½ cup water into the Dutch oven, add the chopped fat, and spread the pieces across the bottom of the pot. Set it over low heat.
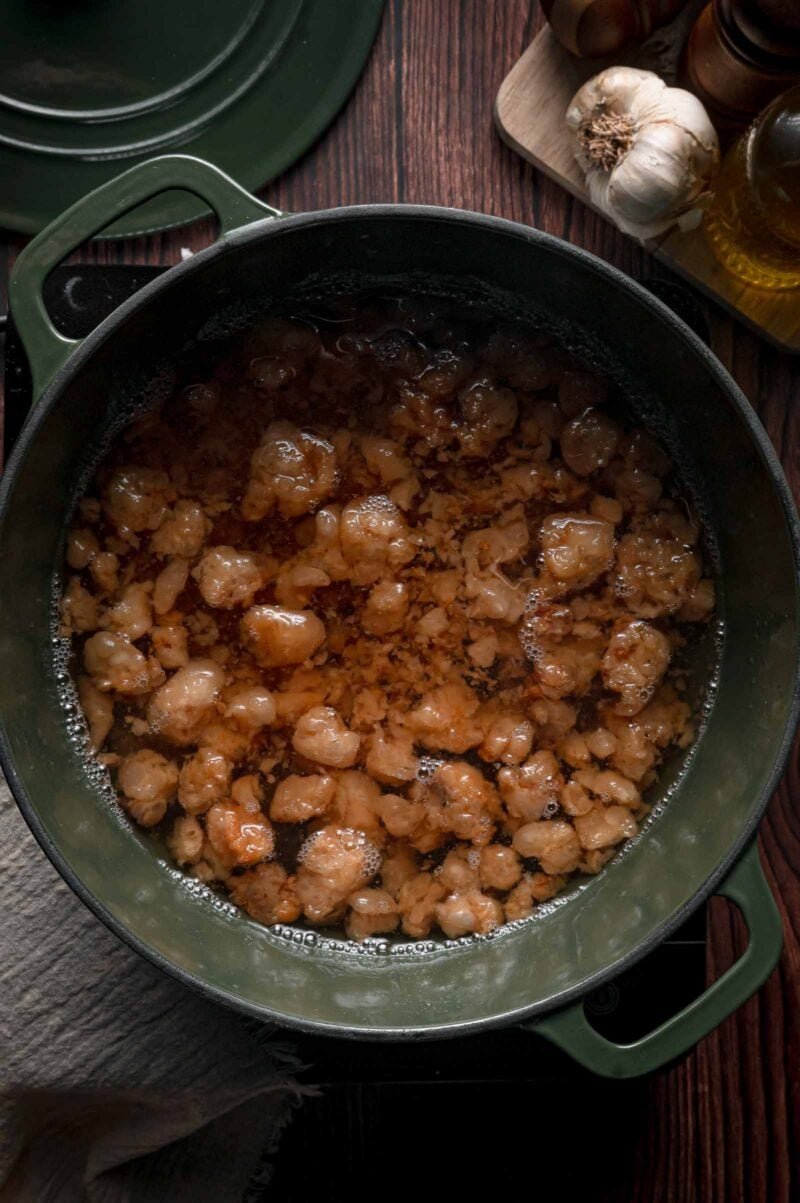
- Cook uncovered for the first 30 minutes, stirring and scraping the bottom every 5 to 10 minutes. By the end of that half hour, a shallow layer of clear liquid fat should be gathering under the pieces. The lid stays off the entire cook so the water and the moisture in the fat leave as steam.
- Settle into the long render. Once a real pool of liquid fat has collected, stir every 20 to 30 minutes and keep the heat low enough that the fat bubbles lazily instead of frying. With the water gone, hold it between 225°F and 250°F.
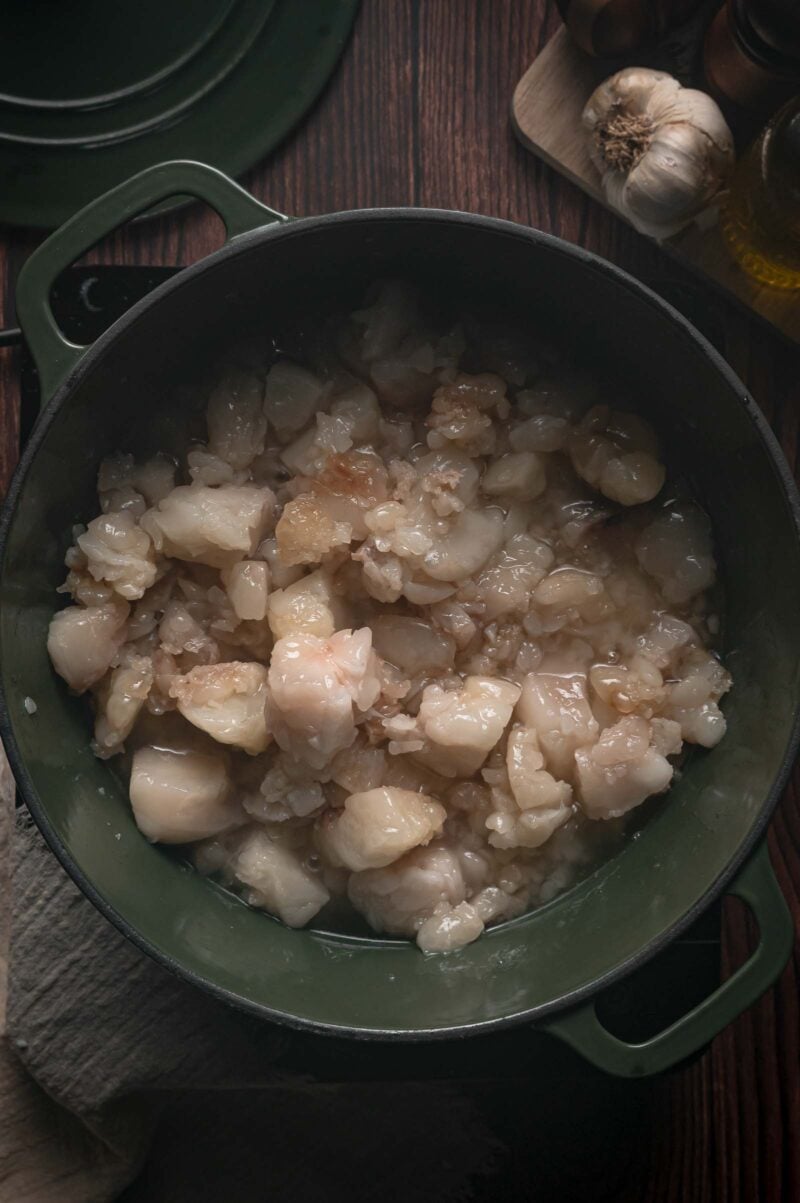
- Watch it closer at the end. Stir about every 10 minutes through the last stretch. Total render time runs around 2 hours 30 minutes for 3 pounds of trimmings.
- Pull the pot while the solids are light golden. The pieces will be greatly reduced in size and barely colored. Take it off the heat there. Cook them to dark brown and the tallow picks up a strong roasted beef flavor that follows it into everything you fry.
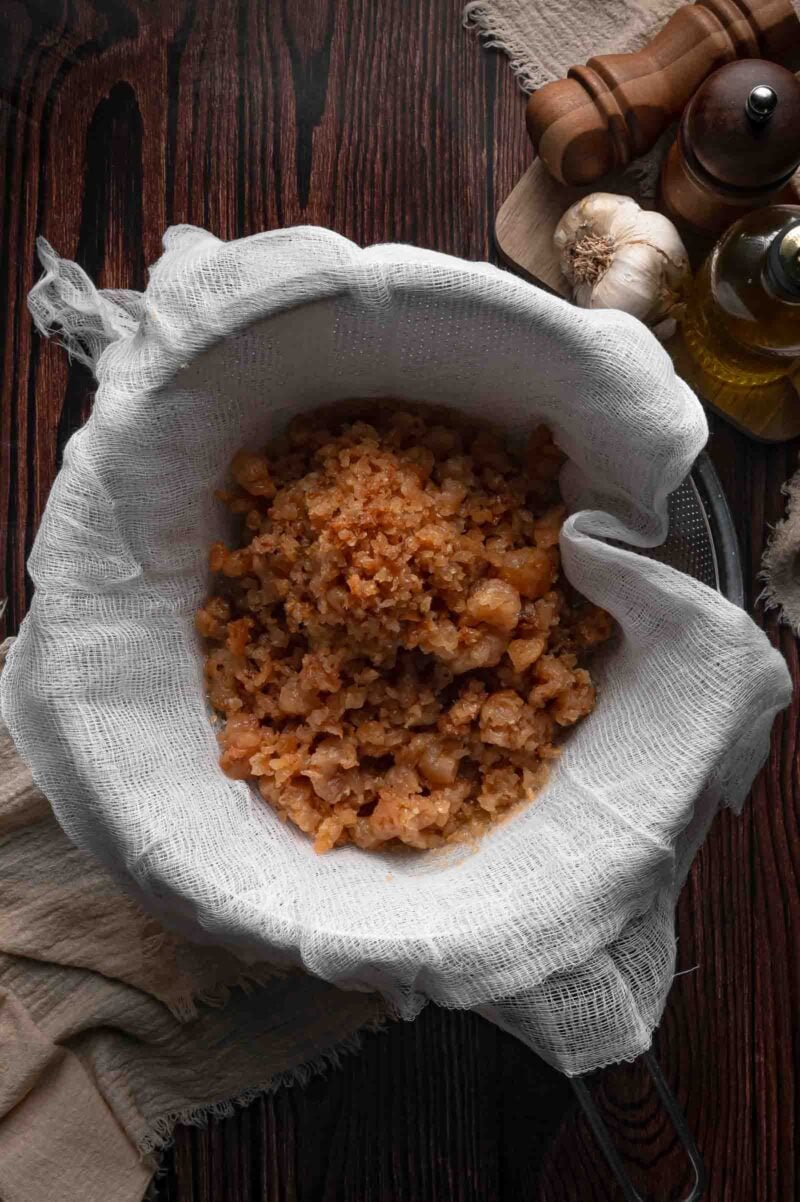
- Strain it slowly. Line a fine mesh strainer with a double layer of cheesecloth, set it over a heat safe bowl or measuring cup, and pour. Let it drain on its own. Squeezing the solids pushes sediment through.
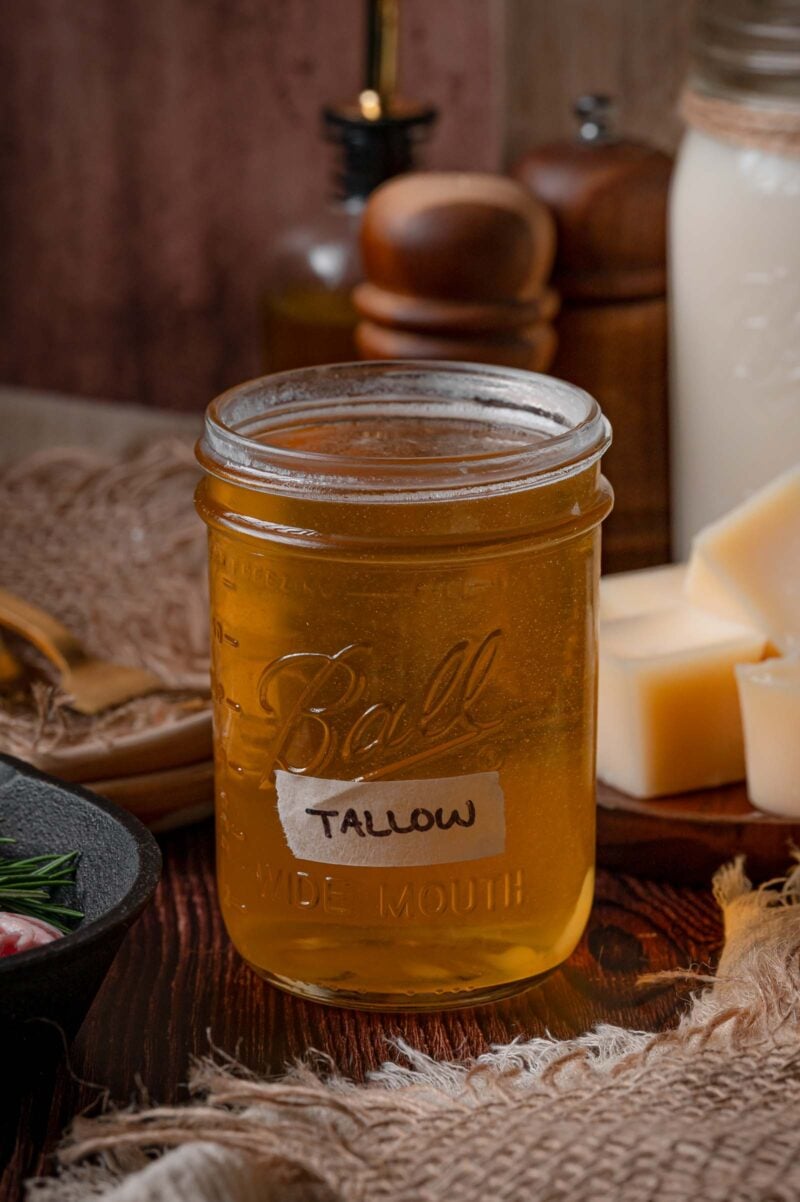
- Jar it hot. Transfer the strained tallow into clean, completely dry glass jars while it is still liquid, leaving about ½ inch of headspace.
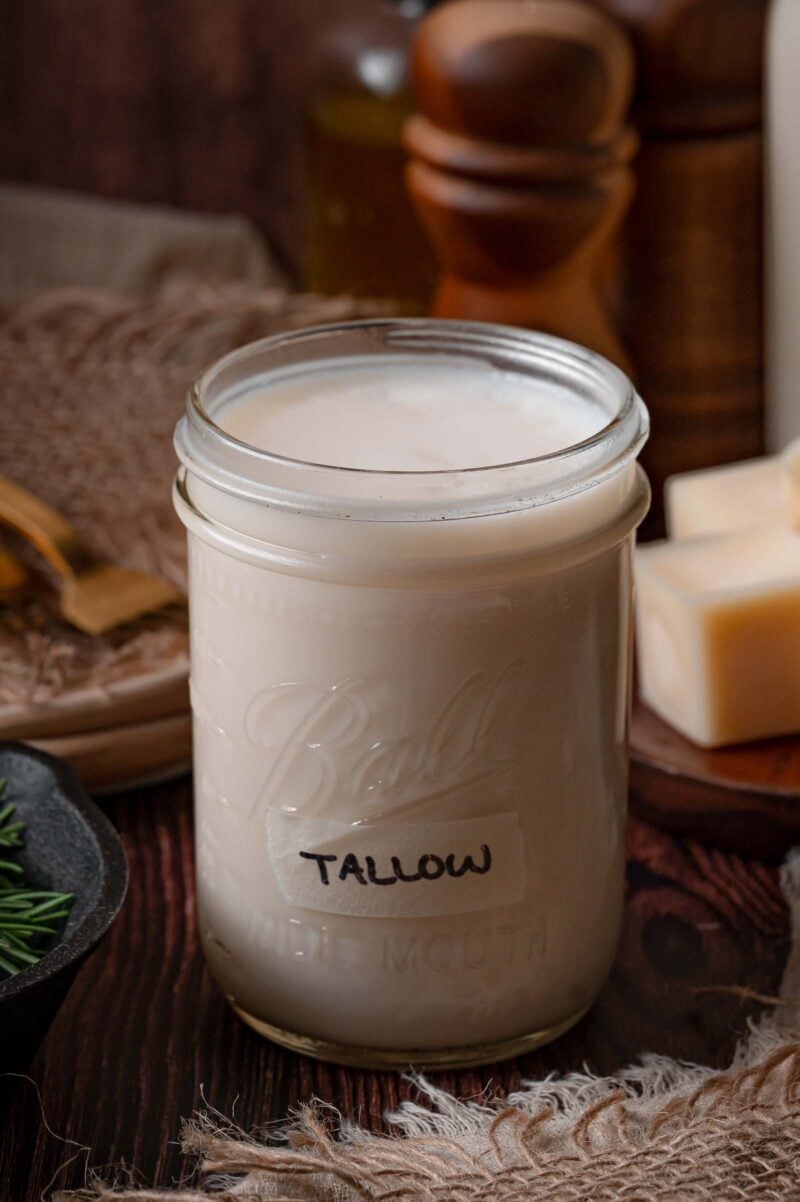
- Cool uncovered, then seal. Leave the jars open until the tallow is completely cool and opaque white, then cap them and refrigerate. Sealing it warm traps steam in the jar, and moisture is what shortens shelf life.
🔄 Substitutions
- Brisket fat trimmings: the thick sections of the fat cap are the default here, and the cap is stiff enough that you can shave the softer underside away cleanly. Renders into an all purpose tallow with a mild beef flavor.
- Chuck, rib, or steak fat trimmings: the hard exterior cap off any of these renders just as well, and combining trim from several cuts in one batch is fine. Take the cap and leave the soft seam fat that runs between the muscles. Mixed trim usually carries a little more beef flavor than a straight brisket batch.
- Beef suet: the hardest fat on the animal, from around the kidneys and loin, and the one that gives you the firmest, whitest, mildest tallow of the three. Most grocery stores don’t stock it, so you’ll need to request it at a whole-animal butcher.
💡 Meat Nerd Tips
- Bend a piece before you buy it. Cold, hard fat cracks and crumbles when you fold it in half. Soft fat bends and leaves a slick on your fingers. If the whole pile smears, that is seam fat, and it belongs in the grind for burgers, not in the render.
- Yellow is not the same as soft. Fat from grass fed beef runs yellower from the carotene in the grass, and it still renders hard, clean, and firm. Judge the fat by how it behaves cold, not by its color.
- Sticking early means it needs more movement. Scrape across the bottom and into the corners of the Dutch oven often until enough liquid tallow has gathered to surround the pieces. After that the fat protects itself.
- The lid never goes on. Under a lid, the steam coming off the fat condenses and drips straight back into the pot, and you spend an extra hour boiling it off again.
🍽️ What to Cook with Beef Tallow
- Fries. Tallow is why diner fries used to taste like diner fries. Ours go into beef tallow fries with furikake, and the crust holds up long enough to get the plate to the table.
- Steak in a hot pan. Tallow smokes around 400°F, so it takes a real sear without filling the kitchen the way butter does. Start a cast iron skillet steak in tallow and finish it in butter.
- Roast potatoes and root vegetables. A spoonful melted across a screaming hot sheet pan does something to potato edges that olive oil does not.
- Cornbread, biscuits, and pie dough. Straight swap for shortening, cup for cup, and it browns the bottom crust harder.
- Cast iron maintenance. A thin wipe of tallow is a fine everyday coat between real seasonings. Our full method is in how to season cast iron.
- Anything you would use lard for. If you want the pork side of the pantry too, here is how to render lard in a slow cooker.
🧊 Leftovers and Storage
- Refrigerator: clean, airtight jars keep for up to a year.
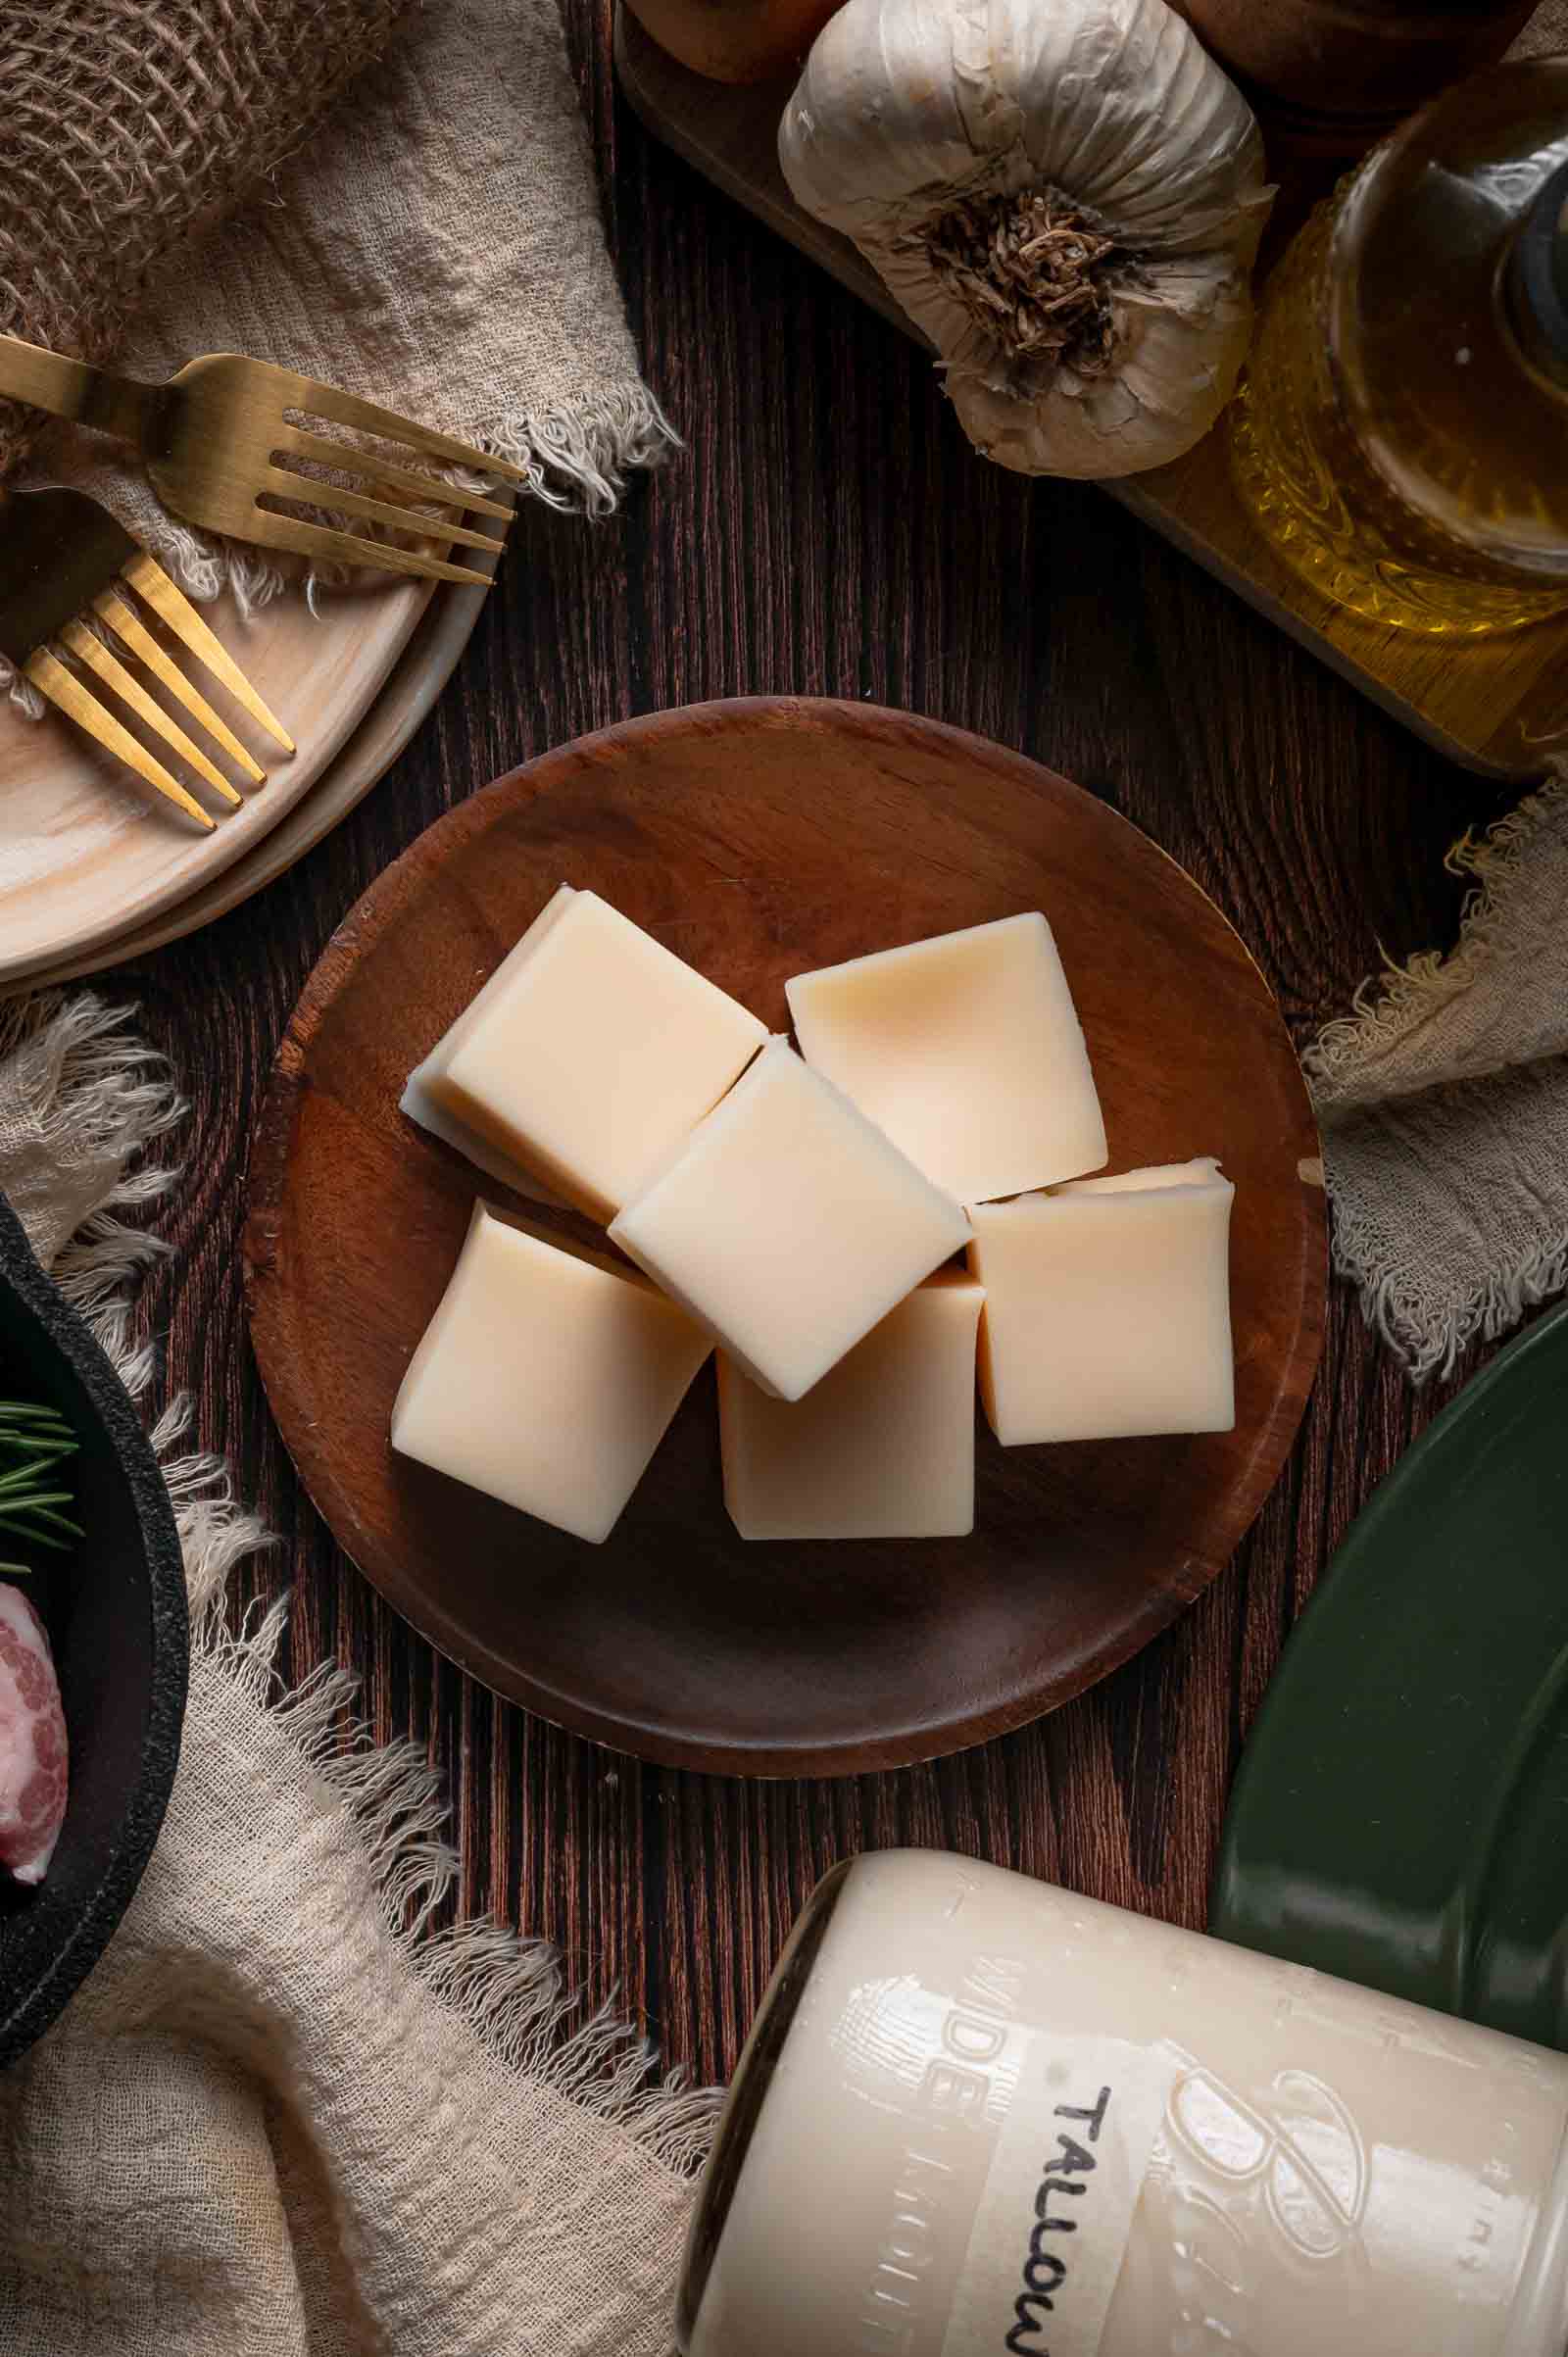
- Freezer: up to 2 years. Portion it into small containers or silicone molds so you can pull out exactly what you need without thawing a quart.
- Every time you open the jar: clean, dry utensil, no exceptions. Crumbs and water are what spoil tallow, not age.
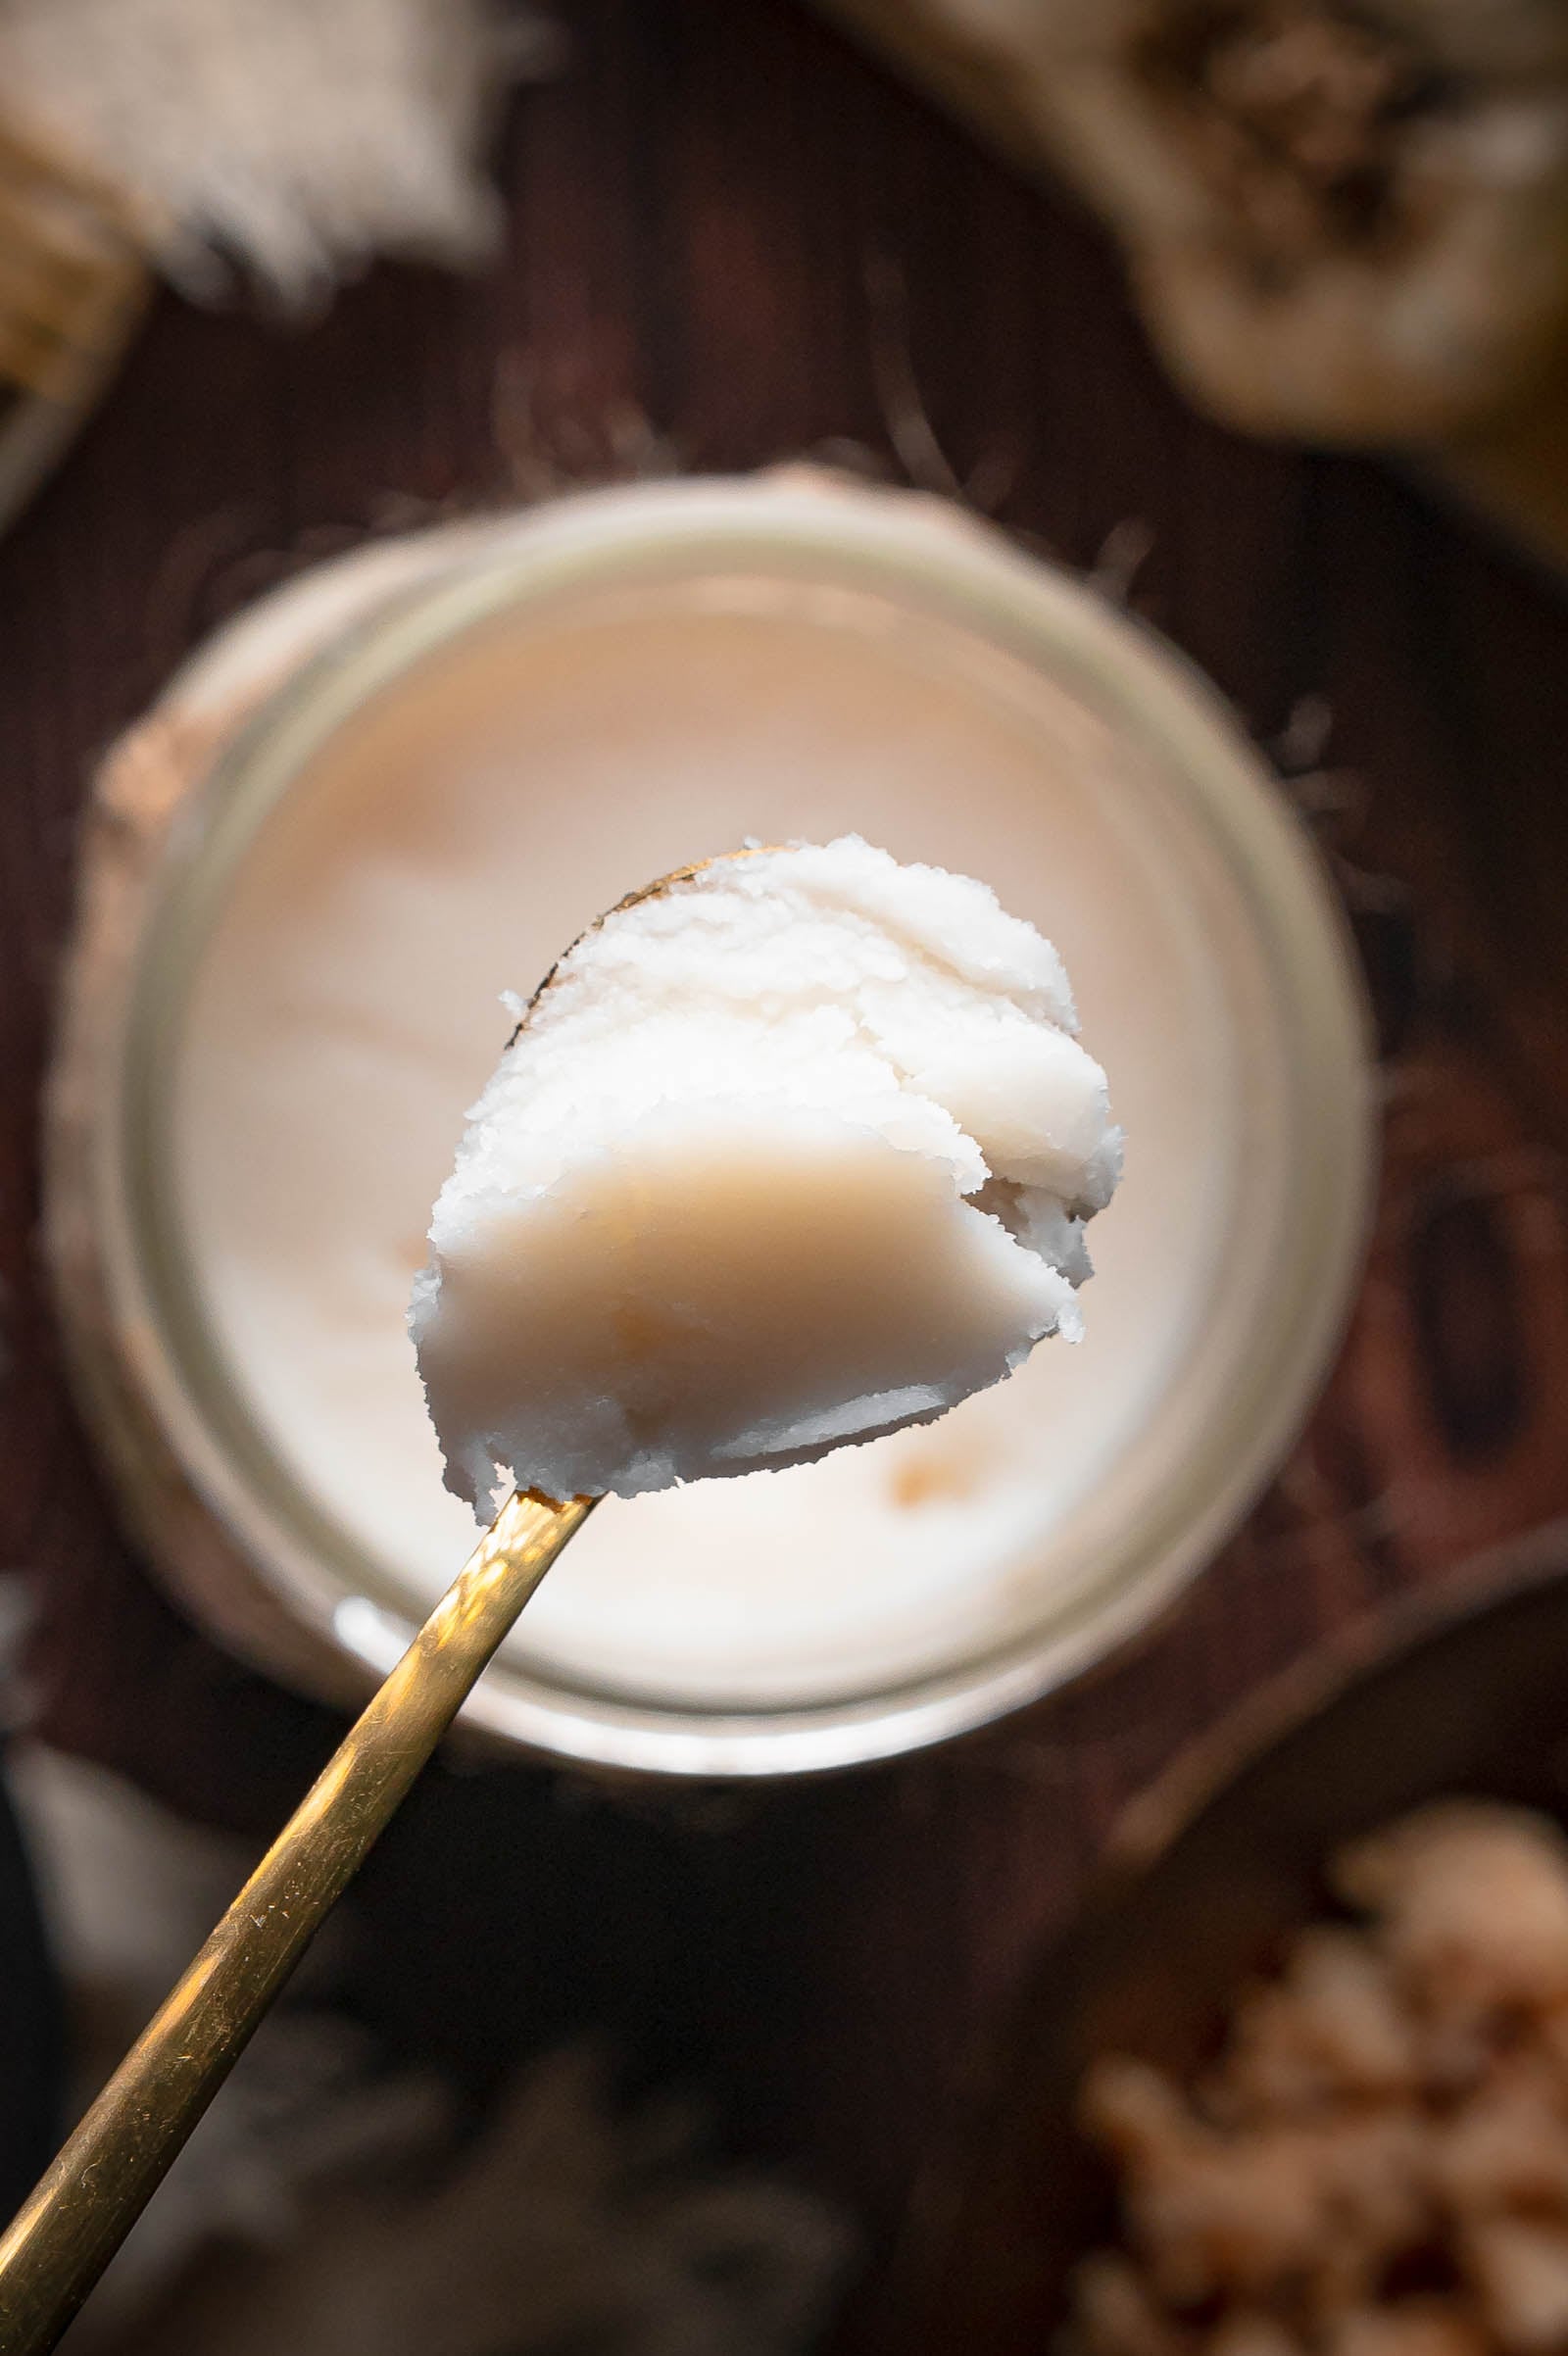
- Straight from cold: scoop it hard out of the fridge and drop it into a hot pan. It does not need to soften first.
Hot to Render Beef Tallow (Wet Render)
Recommended Equipment
- Fine Mesh Strainer
- cheesecloth
- Heat safe bowl or large measuring cup
- Wide mouth glass canning jars
- Thermapen instant read thermometer
- Silicone mold or small containers (optional, for portioning)
Ingredients
- 3 pounds beef fat trimmings preferably brisket, chuck, rib, or other firm exterior fat
- 1/2 cup water
Instructions
Trim and Chop
- Trim the fat, removing as much attached meat and tough tissue as possible. Cut the fat into pieces about 1/2 inch in size so it melts at an even rate.

Start the Render
- Pour the water into a Dutch oven and add the chopped beef fat. Arrange the pieces across the bottom of the pot and set it over low heat.
The First 30 Minutes
- Cook uncovered for the first 30 minutes, stirring and scraping the bottom of the pot every 5 to 10 minutes. The water will help protect the fat from browning while the first layer of tallow begins to melt.
The Long Render
- Continue rendering over low heat once a noticeable amount of liquid fat has accumulated. Stir about every 20 to 30 minutes, keeping the heat low enough that the fat bubbles gently rather than fries or browns quickly.
The Final Stretch
- Monitor the pot more frequently toward the end of cooking. Stir about every 10 minutes.
Pull It
- Remove the pot from the heat when the remaining pieces are greatly reduced in size and lightly golden. Don't continue cooking until the solids are dark brown, because that will give the tallow a stronger roasted beef flavor.
Strain
- Place a double layer of cheesecloth inside a fine mesh strainer and over a heat safe bowl or measuring cup. Slowly strain the tallow, allowing it to drain without squeezing the solids.

Jar It
- Transfer the strained tallow to clean, completely dry glass jars while it is still liquid, leaving about 1/2 inch of headspace.
Cool and Seal
- Cool the jars uncovered until the tallow is completely cool, then seal and refrigerate.
Notes
- What to look for in the trimmings: use hard fat, not soft fat. Hard fat is the dense white fat from the outside of the animal, the brisket fat cap, the cap over a chuck roll or rib, and suet from around the kidneys. Cold from the fridge, it is stiff and wax-like, and a piece cracks when you fold it in half. Soft seam fat, the greasy yellowish fat from between the muscles, bends and smears on your fingers instead is not what you want to use for this and can be discarded. However, yellow fat from grass-fed beef is not the same as soft fat and renders hard and clean.
- Store tallow in clean, airtight jars in the refrigerator for up to a year. Always use a clean, dry utensil when removing tallow from the jar.
- Freeze tallow for up to 2 years. Portioning it into small containers or silicone molds makes it easier to remove only what you need.
- Fat that begins sticking during the first part of rendering needs more movement. Scrape across the bottom and into the corners of the Dutch oven frequently until enough liquid tallow has accumulated to surround the pieces.
- Dark or strongly flavored tallow usually comes from excessive browning. Keep the temperature low and remove the pot from the heat while the solids are still light golden.
- Too much meat attached to the fat can produce darker tallow with a stronger beef flavor. Trim away large lean sections before chopping the fat.
- Large chunks take much longer to release their fat. Cutting the pieces to a fairly consistent 1/2 inch exposes more surface area and helps the batch render evenly.
- Moisture inside the storage jars can shorten the shelf life. Clean the jars before beginning the recipe and make sure they’re completely dry.
- Don’t cover the Dutch oven while the fat renders. The water and natural moisture in the beef fat need to escape as steam rather than collect on the lid and drip back into the pot.
Save this Recipe
Nutrition
Bookmark this recipe now!
Quick Summary
Beef tallow is rendered beef fat, and the fat you start with decides the whole outcome. Use hard fat, the stiff white cap off a brisket or chuck, not the soft greasy seam fat, and keep a half cup of water in the bottom of the pot so nothing scorches before enough tallow has melted to protect the pieces. Three pounds renders over about two and a half hours into three to four cups of clean white tallow, and the only thing left to get right is heat: keep it low and pull the pot while the solids are still light golden.
❓ FAQs
Hard fat. That means the dense white fat from the outside of the animal: the brisket fat cap, the cap over a chuck or a rib, and the suet from around the kidneys. It is waxy and stiff straight out of the fridge and cracks when you bend it, and it renders into firm, white, close to neutral tallow. The soft, greasy seam fat that runs between the muscles renders greasy, stays soft in the jar, and carries a much stronger beef flavor into everything you cook.
The water protects the chopped beef fat at the start of cooking, before enough tallow has melted to coat the bottom of the Dutch oven, so nothing scorches while the first layer renders. It evaporates as the fat cooks and does not remain in the finished tallow.
Suet is the raw, firm fat from around the kidneys and loin. Tallow is what you get after you render that fat down and strain it. Suet makes the firmest and mildest tallow, but it is hard to find in regular grocery stores, and brisket or chuck trimmings render into tallow that cooks just as well.
Sealed in clean, dry, airtight jars in the refrigerator, tallow keeps for up to a year. Frozen, it keeps for up to two years. Always use a clean, dry utensil when you take some out, because moisture in the jar is what shortens its life.
Three causes, and usually more than one at once. Soft seam fat in the pot instead of hard cap fat, too much lean meat left attached to the trimmings, and too much browning during the render. Use hard fat only, trim away the large lean sections before you chop, keep the heat low, and take the pot off the heat while the solids are still light golden.
More technique work like this lives in the Girl Carnivore Meat Labs, and the rest of our beef recipes are where this jar of tallow is going next.