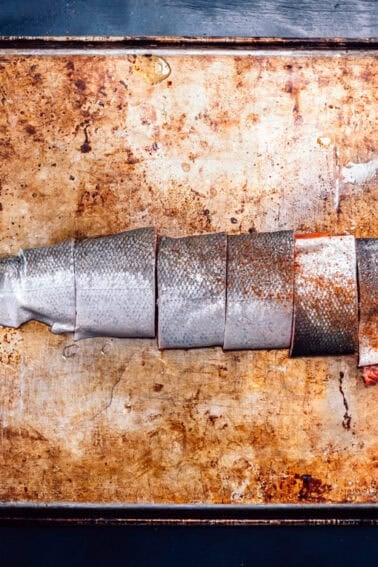
Want to know why restaurant steaks have that amazing crust while staying perfectly pink inside? It all comes down to mastering the art of the sear. As the friend everyone calls for steak cooking tips, we’ve narrowed down the exact techniques that guarantee a perfect crust every time.
The secret lies in understanding the science behind the sear – that beautiful golden-brown crust on steaks and perfect crispy chicken skin isn’t just for looks. It’s the key to developing deep, complex flavors through the Maillard reaction, transforming a good piece of meat into something extraordinary.
Ready to master one of cooking’s most essential techniques?
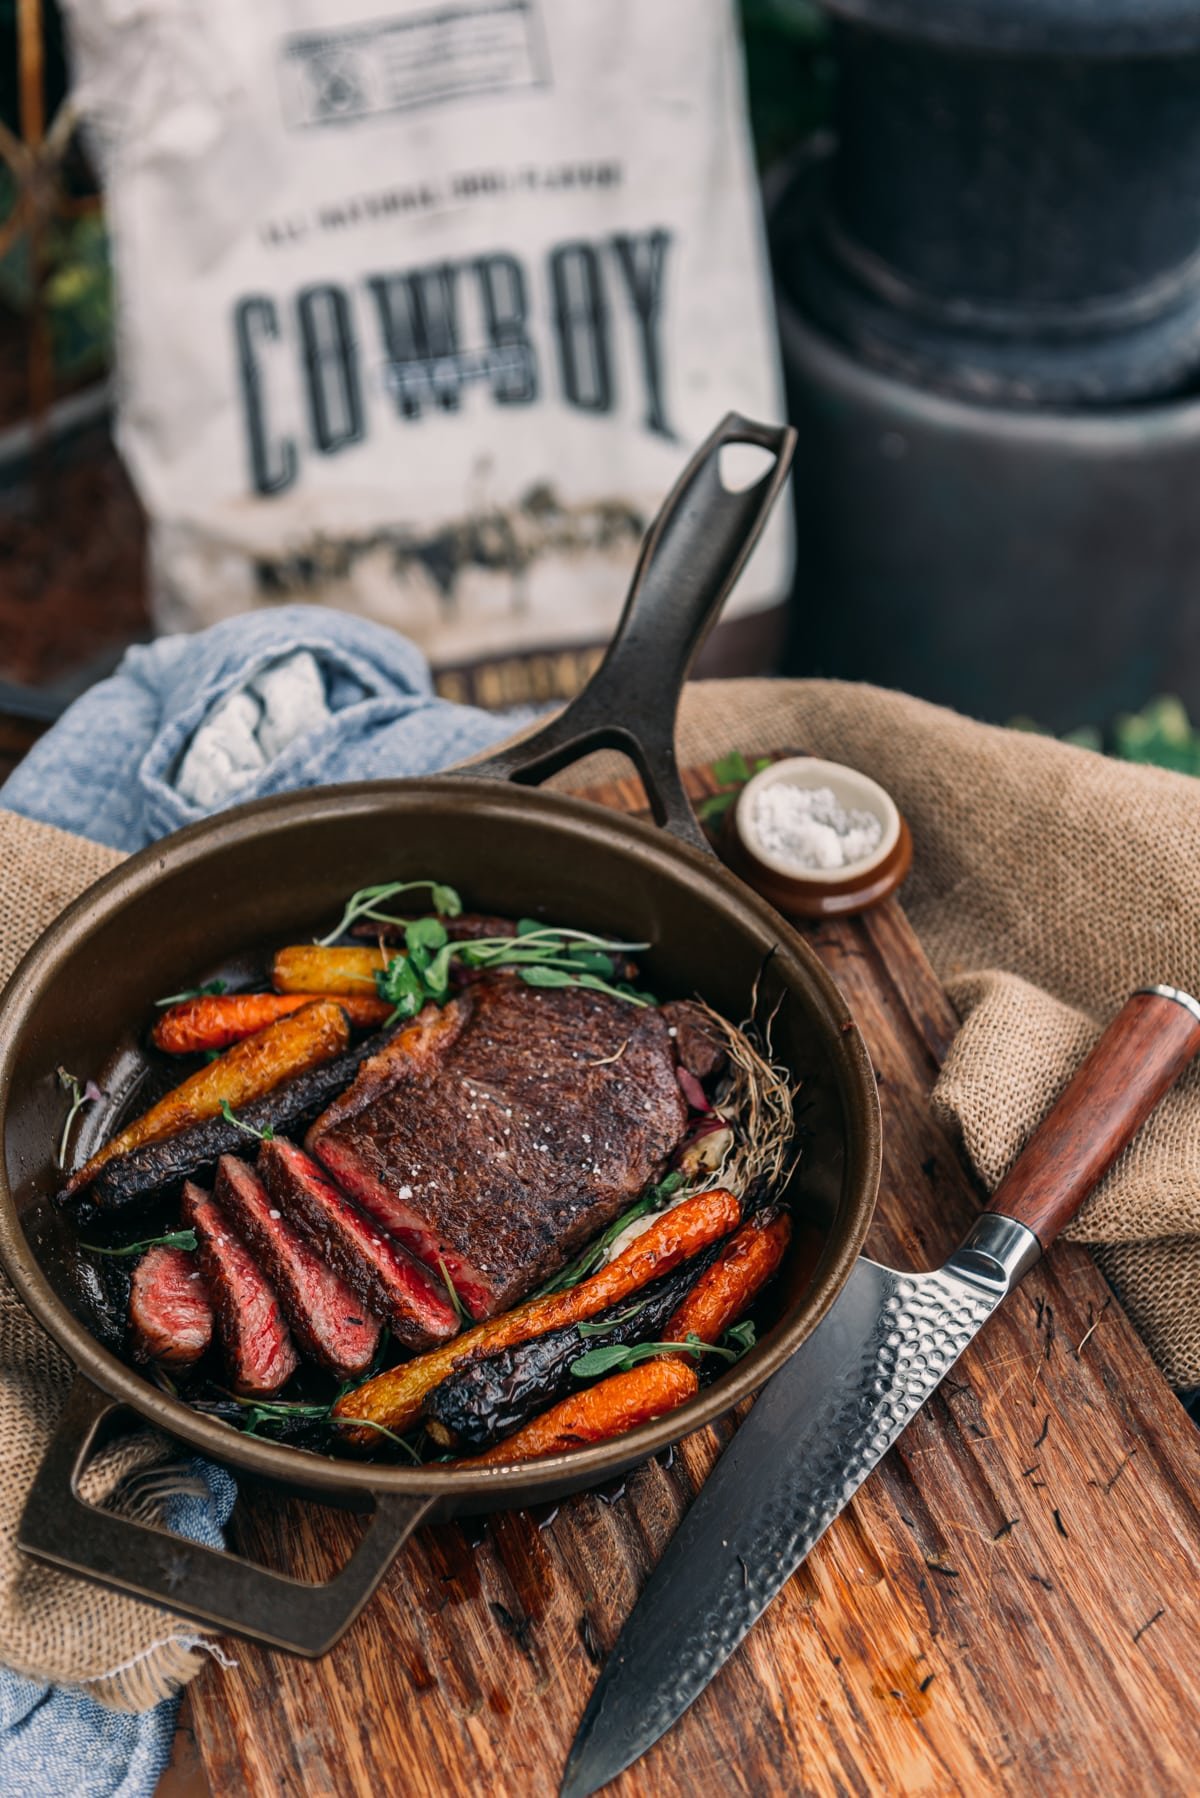
What is Searing?
Searing is a cooking technique that involves cooking the surface of food—usually meat—at high heat until a flavorful crust forms. This process is key to building depth and richness in dishes like beef stew, steaks, and roasts.
Why Searing Matters
- Flavor Development: Searing triggers the Maillard reaction, a chemical process that browns the meat and creates complex, savory flavors.
- Texture: It gives the meat a beautiful crust, adding a satisfying contrast to tender interiors.
- Foundation for Sauces: Searing leaves behind browned bits (fond) in the pan, which can be deglazed with liquid to create flavorful sauces or broths.
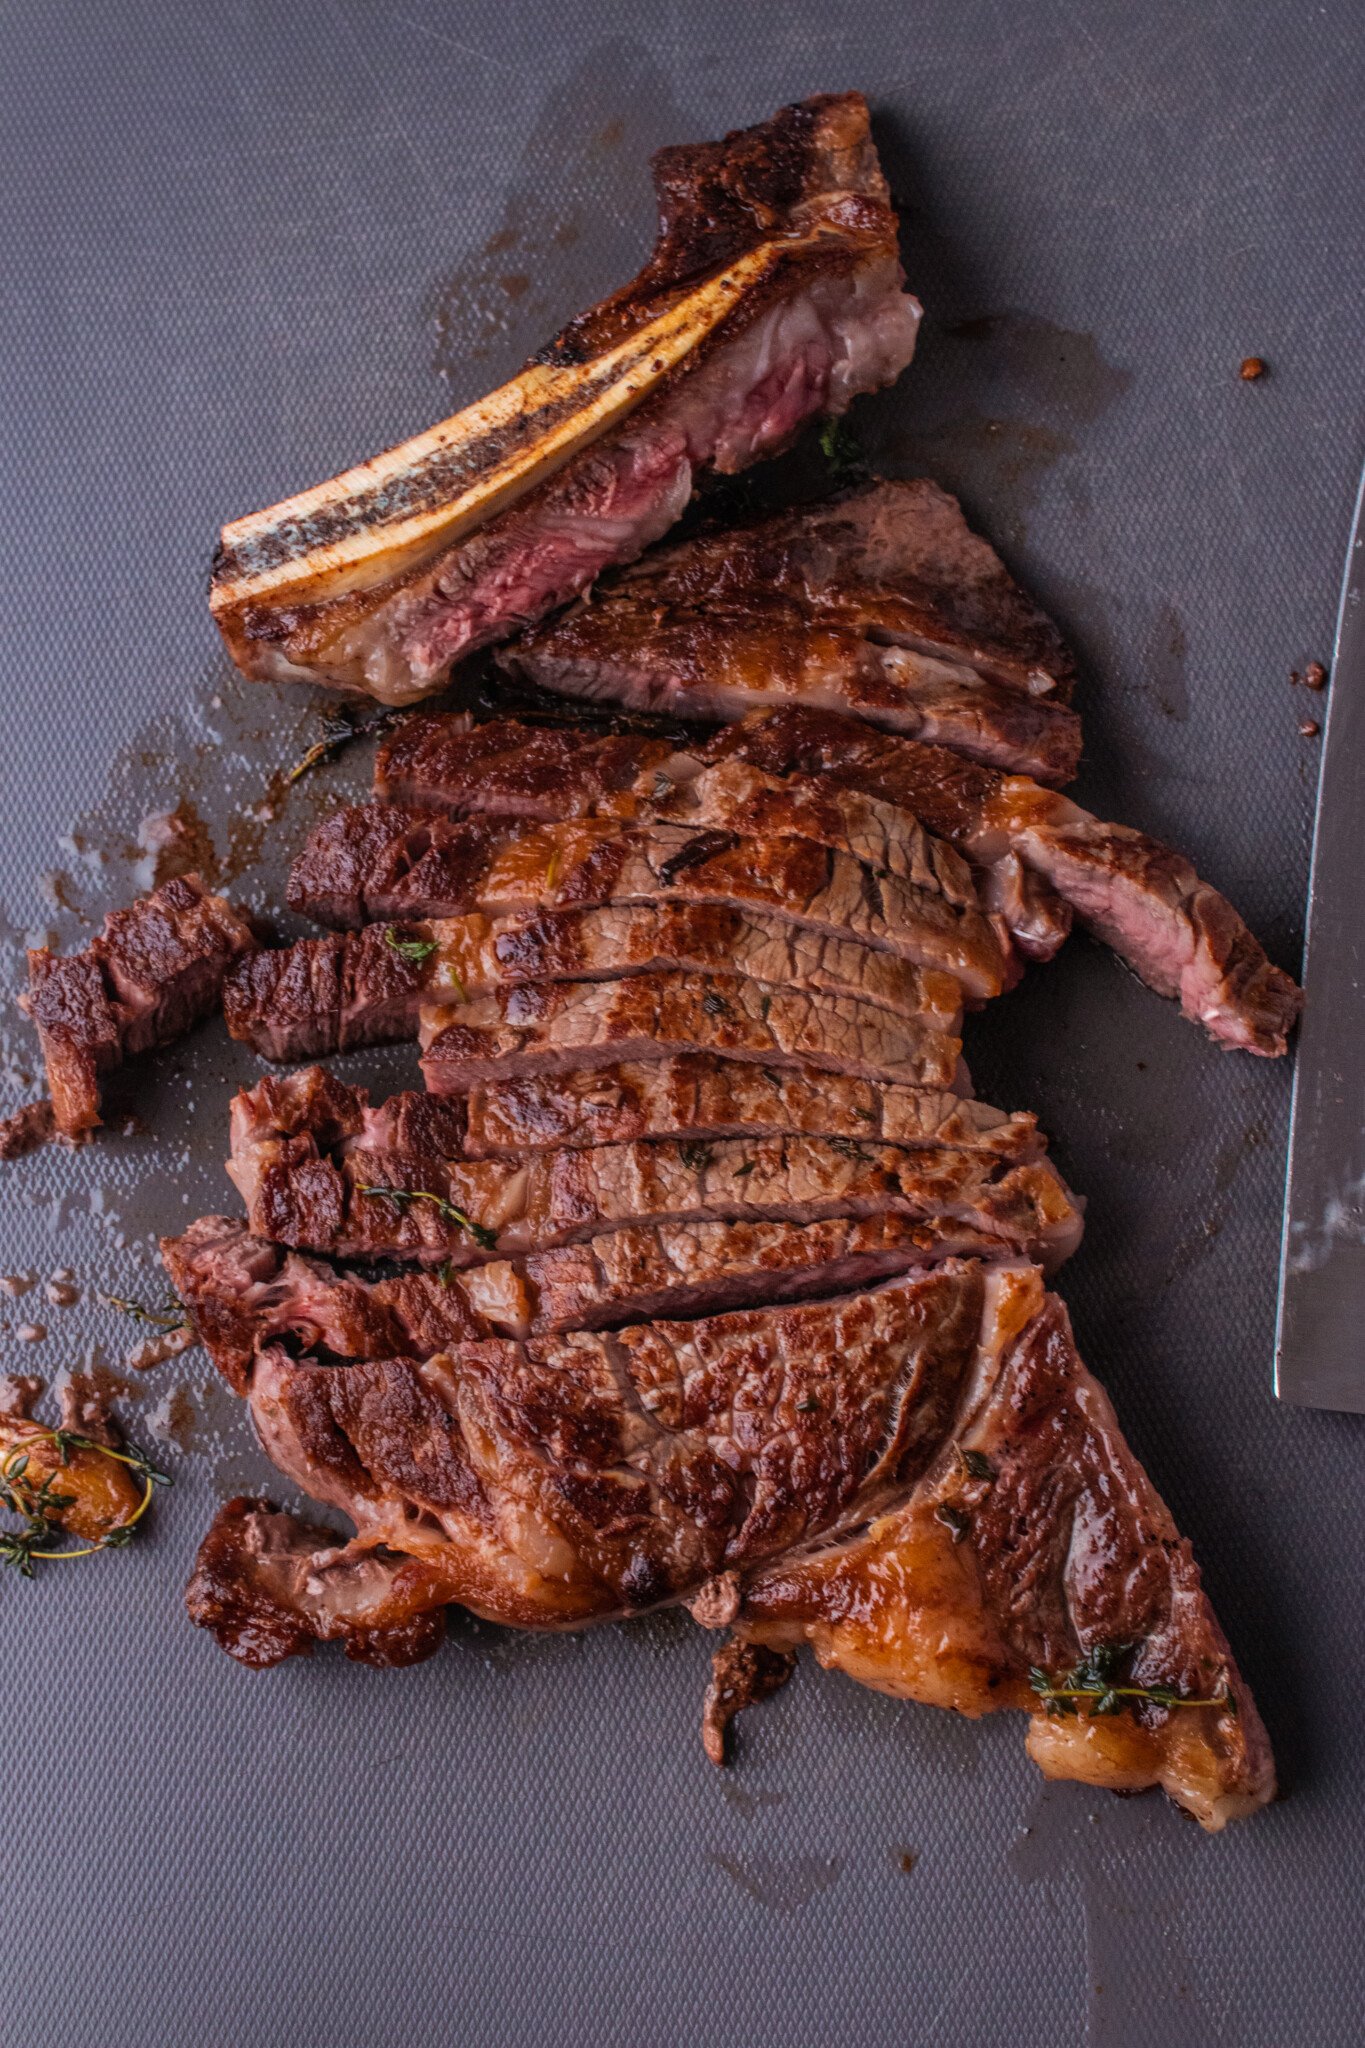
Steps for Perfect Searing
- Choose the Right Pan:
- Use a heavy-bottomed pan like a cast-iron skillet or stainless-steel pan. Avoid non-stick pans, as they don’t reach the high temperatures needed for proper searing.
- Preheat the Pan:
- Heat your pan over medium-high heat for a few minutes before adding oil. The pan should be hot enough that a drop of water sizzles immediately on contact.
- Pat Meat Dry:
- Moisture is the enemy of a good sear. Use paper towels to pat the meat completely dry before seasoning.
- Season Generously:
- Sprinkle salt evenly over the surface of the meat. For additional flavor, consider using a spice rub. Note we didn’t say pepper. Pepper can burn when applied to high heat, so we add it last, after cooking, when searing.
- Add Oil:
- Use a high smoke-point oil like avocado oil. Add just enough to coat the bottom of the pan.
- Sear in Batches:
- Avoid overcrowding the pan, as this will trap steam and prevent browning. Work in batches if necessary. This is particularly necessary when browning meats for soups, stews, or when working with two or more of any cut.
- Leave It Alone:
- Once the meat is in the pan, resist the urge to move it. Set a timer, scroll TikTok but don’t touch it. Let it cook undisturbed until a golden crust forms, usually 2–4 minutes per side. You will know it’s ready when it releases easily from the pan without needing to pull, tug, or tear the meat.
- Flip and Repeat:
- Turn the meat and sear the other side. For larger cuts, sear all sides for even browning. GirlCarnivore Pro Tip: Sear the fat cap, too. You’ll thank us later.
- Deglaze the Pan (Optional):
- After searing, add a splash of wine, broth, or water to the hot pan and scrape up the browned bits (called fond). This creates a flavorful base for pan-sauces or stews.
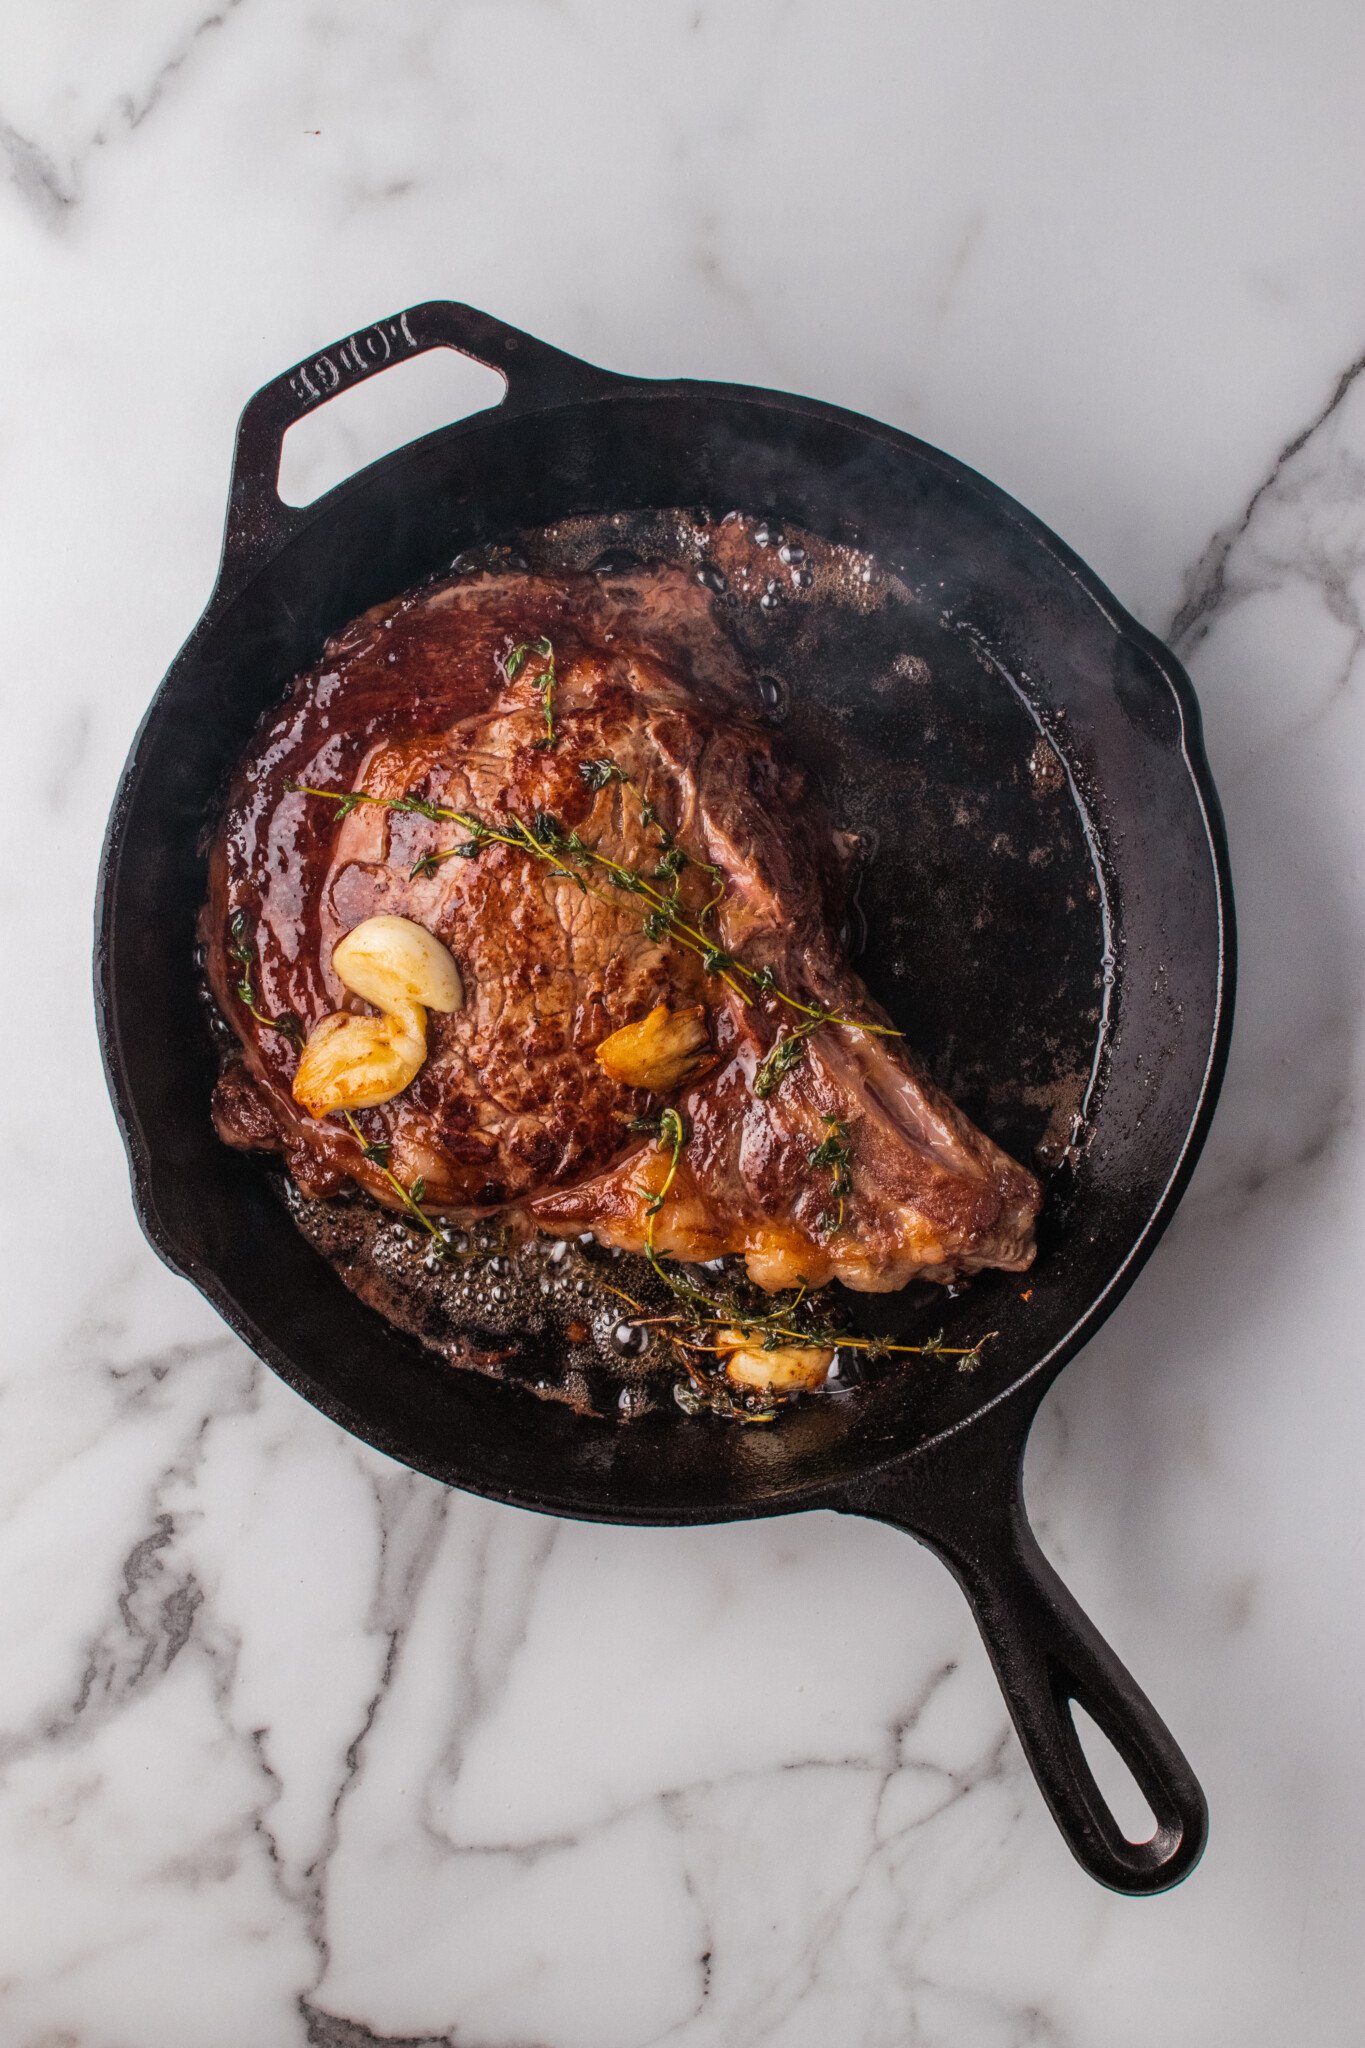
Common Searing Mistakes (and How to Avoid Them)
- Pan Too Cold:
- If the pan isn’t hot enough, the meat will stick and steam instead of searing. Always preheat thoroughly.
- Too Much Moisture:
- Wet meat won’t brown properly. Pat it dry and let it come to room temperature before cooking.
- Overcrowding the Pan:
- Too much meat in the pan lowers the temperature, resulting in steaming. Leave space between pieces or cook in batches.
- Flipping Too Soon:
- Let the crust develop fully before turning the meat. If it sticks to the pan, it’s not ready to flip.
- Skipping the Rest:
- After searing, let the meat rest for a few minutes. This allows the juices to redistribute and prevents dryness.
When to Sear
- Before Braising: Adds flavor and color to stews, short ribs, and pot roasts.
- For Steaks: Creates a restaurant-quality crust and locks in juices.
- As the Final Step: Reverse-seared steaks and roasts benefit from a quick, high-heat sear at the end for texture and flavor.
Our Best Recipes to show off your Perfect Sear
Beef Recipes
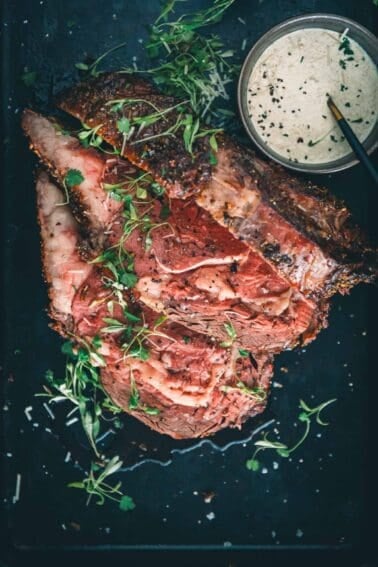
Reverse Seared Prime Rib
Beef Recipes
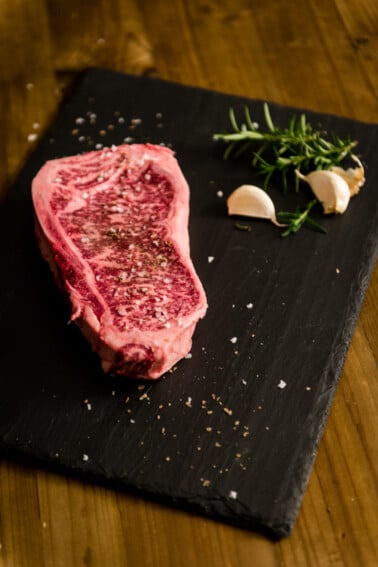
Pan Seared New York Strip Steak and Scallops
Poultry Recipes: Chicken, Turkey & Duck
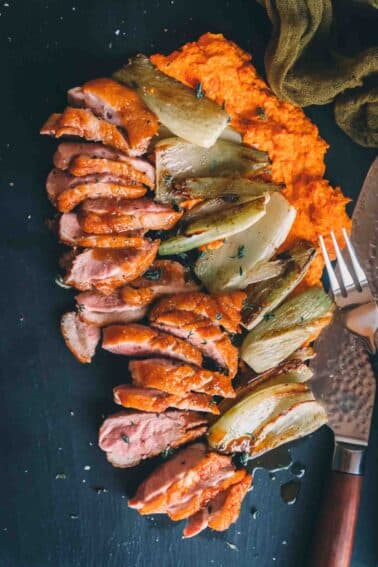
Pan Seared Duck Breast
Recipes With Pork
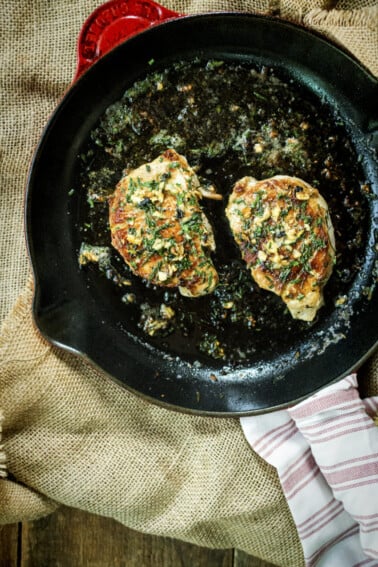
Pan Seared Pork Chops
Girl Carnivore Pro Tips for Searing Success
- Invest in a Meat Thermometer: Ensure your meat is cooked to the perfect internal temperature after searing, especially for thick cuts. We only use Themoworks products.
- Ventilate Your Kitchen: Searing produces smoke, so turn on your range hood or open a window.
- Experiment with Aromatics: Add garlic, rosemary, or thyme to the pan during the final minute for extra flavor. And for red meat and pork, finish with a delicious compound butter to rest.
Searing is a simple yet transformative technique that can elevate your cooking and bring out the best in your ingredients. With these tips, you’ll master the art of golden-brown, flavorful perfection in no time!
