Freezer Meals Series · Protein
Filipino pork adobo is the kind of dish that proves simple cooking can deliver serious flavor every time. This is exactly why we love any low-and-slow braised recipe. Pork shoulder is slowly cooked down with soy sauce, vinegar, garlic, onion, and spices until tender, savory, and rich. It’s amazing served over rice because the sauce does exactly what a good sauce should do: soak into every grain and make every bite taste insanely good.
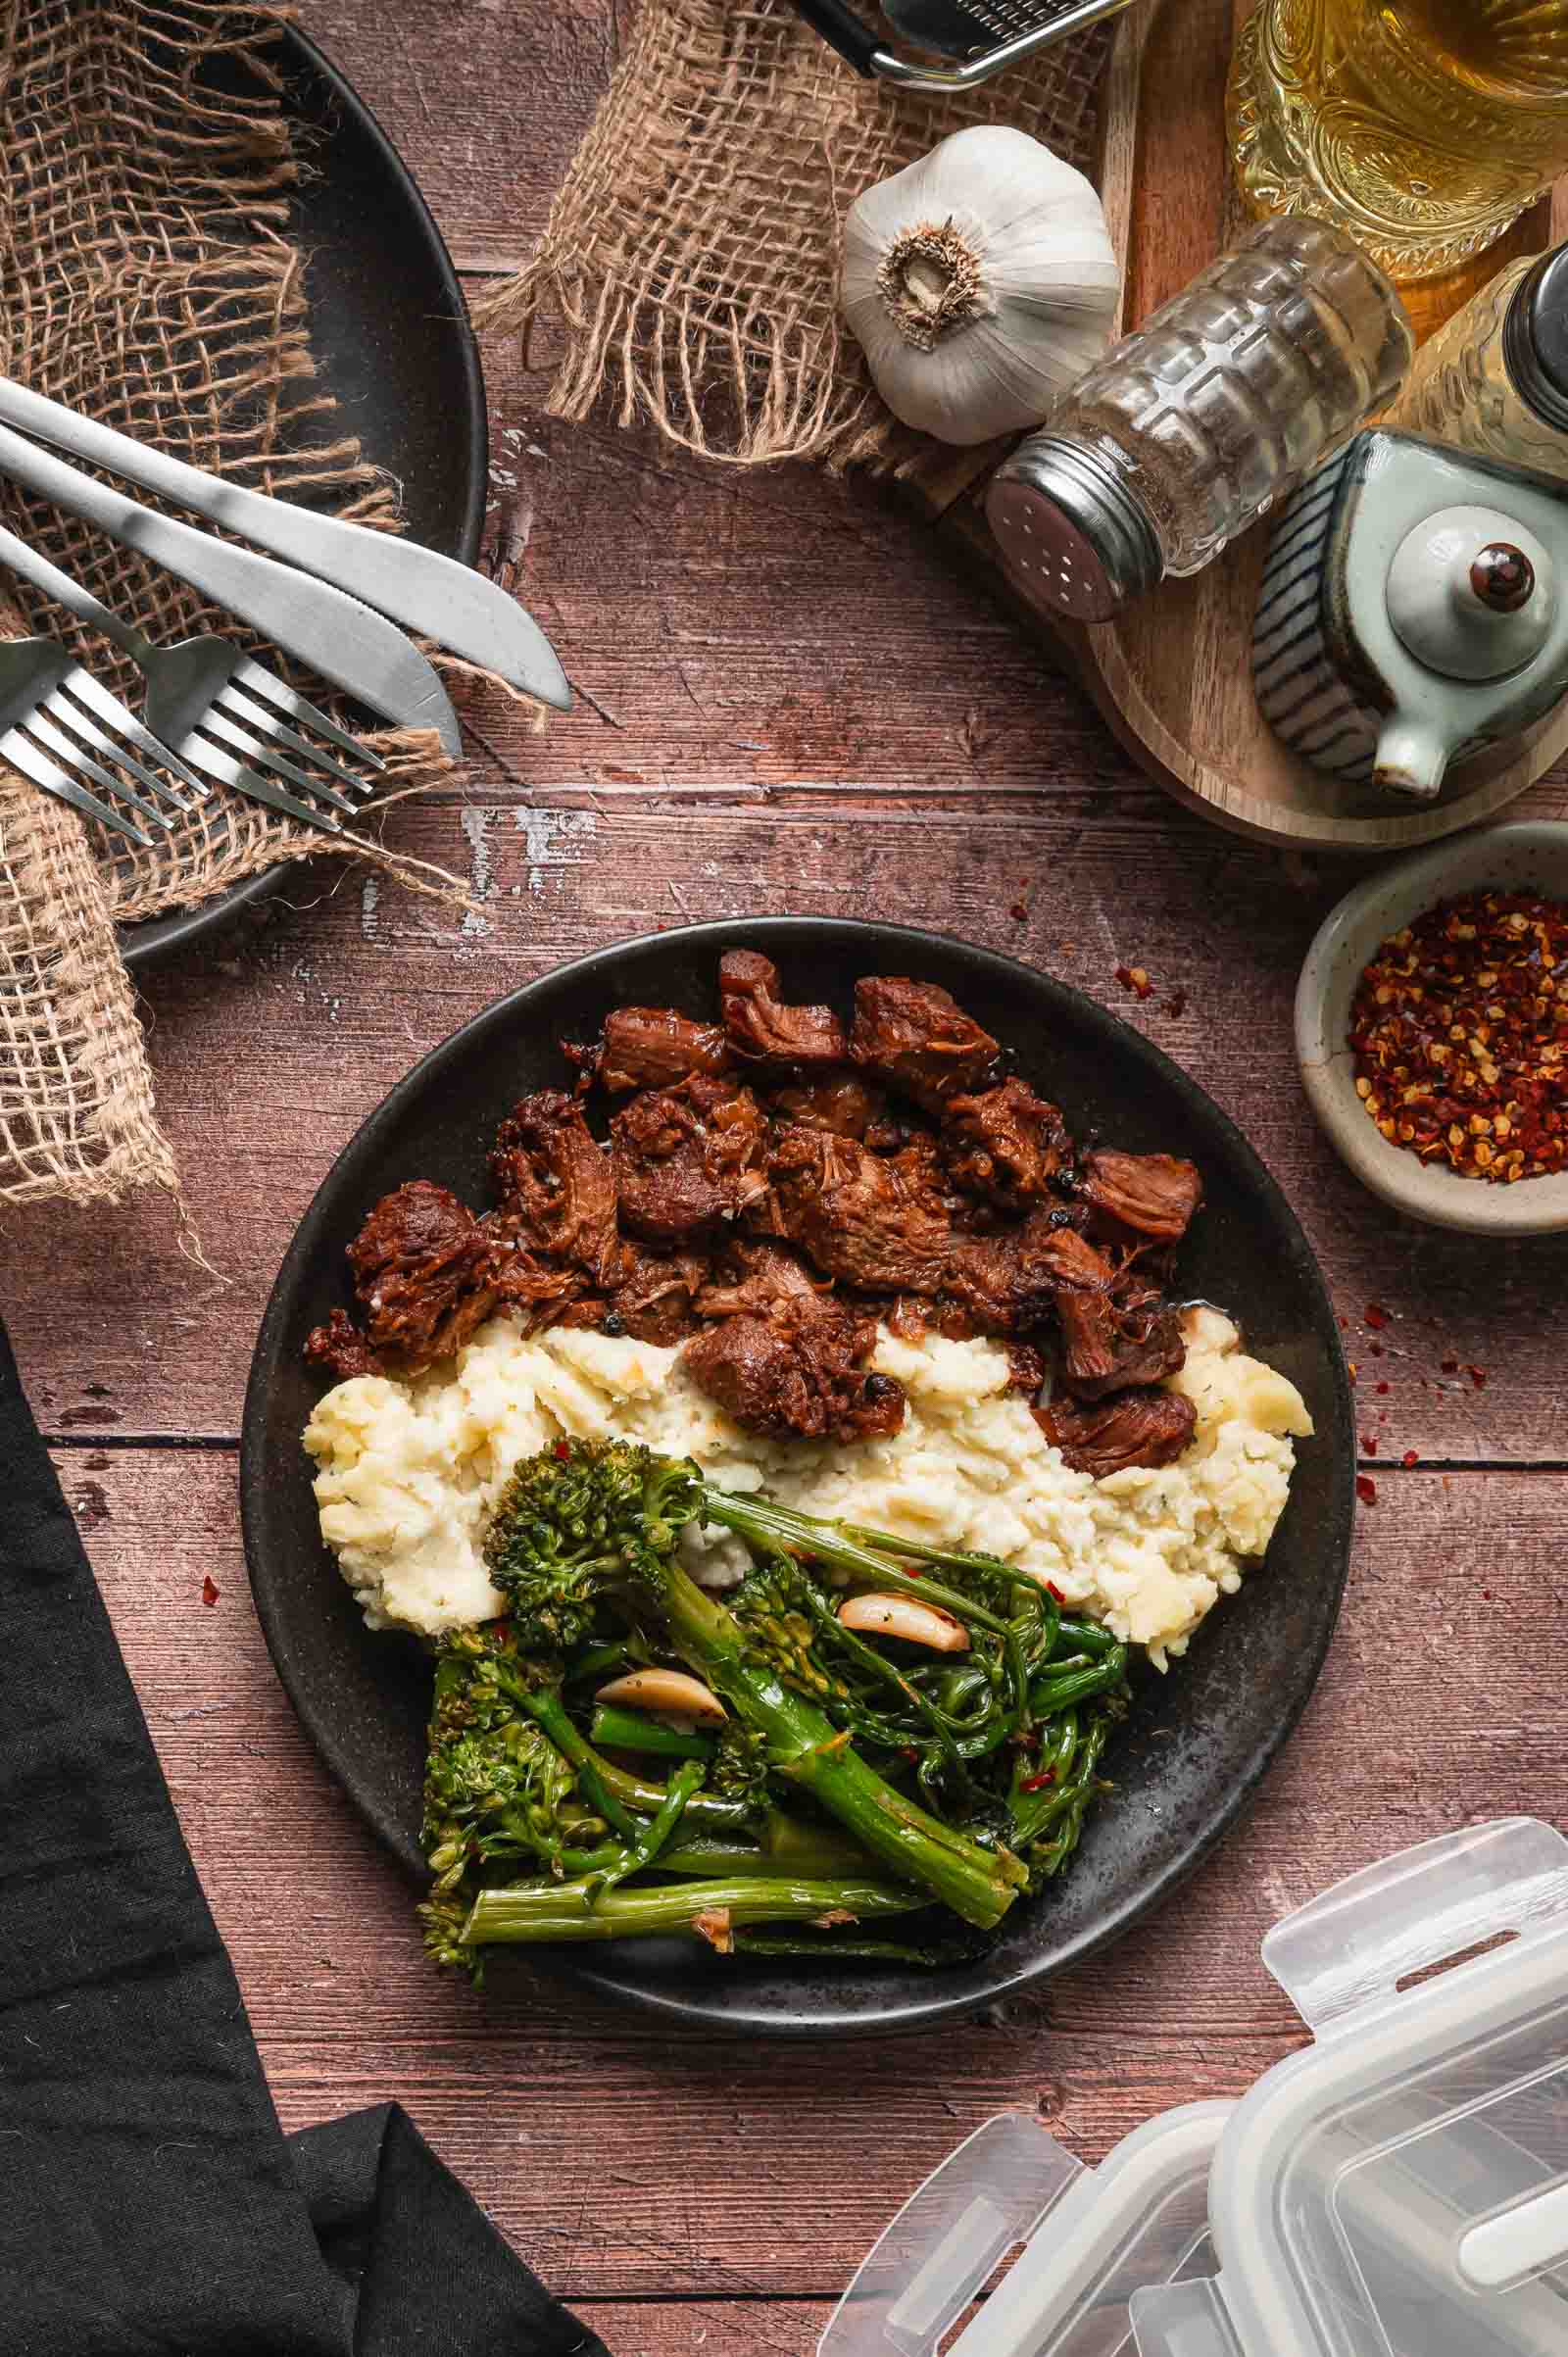
The other reason this recipe works so well is that adobo improves with time. A night in the refrigerator gives the sauce a chance to settle and the flavors to deepen. It is one of those dishes that often tastes even better the next day.
We tested this specifically for the GC Freezer Meal System, where vegetables, proteins, and starches are portioned separately and mixed together for quick dinners later. The key freezer adjustment is controlling the sauce reduction. Reduce it until glossy and flavorful, but stop before it becomes thick and sticky. The sauce continues concentrating as it freezes and reheats, so keeping it slightly loose protects the pork and gives you the right texture when it comes back together.
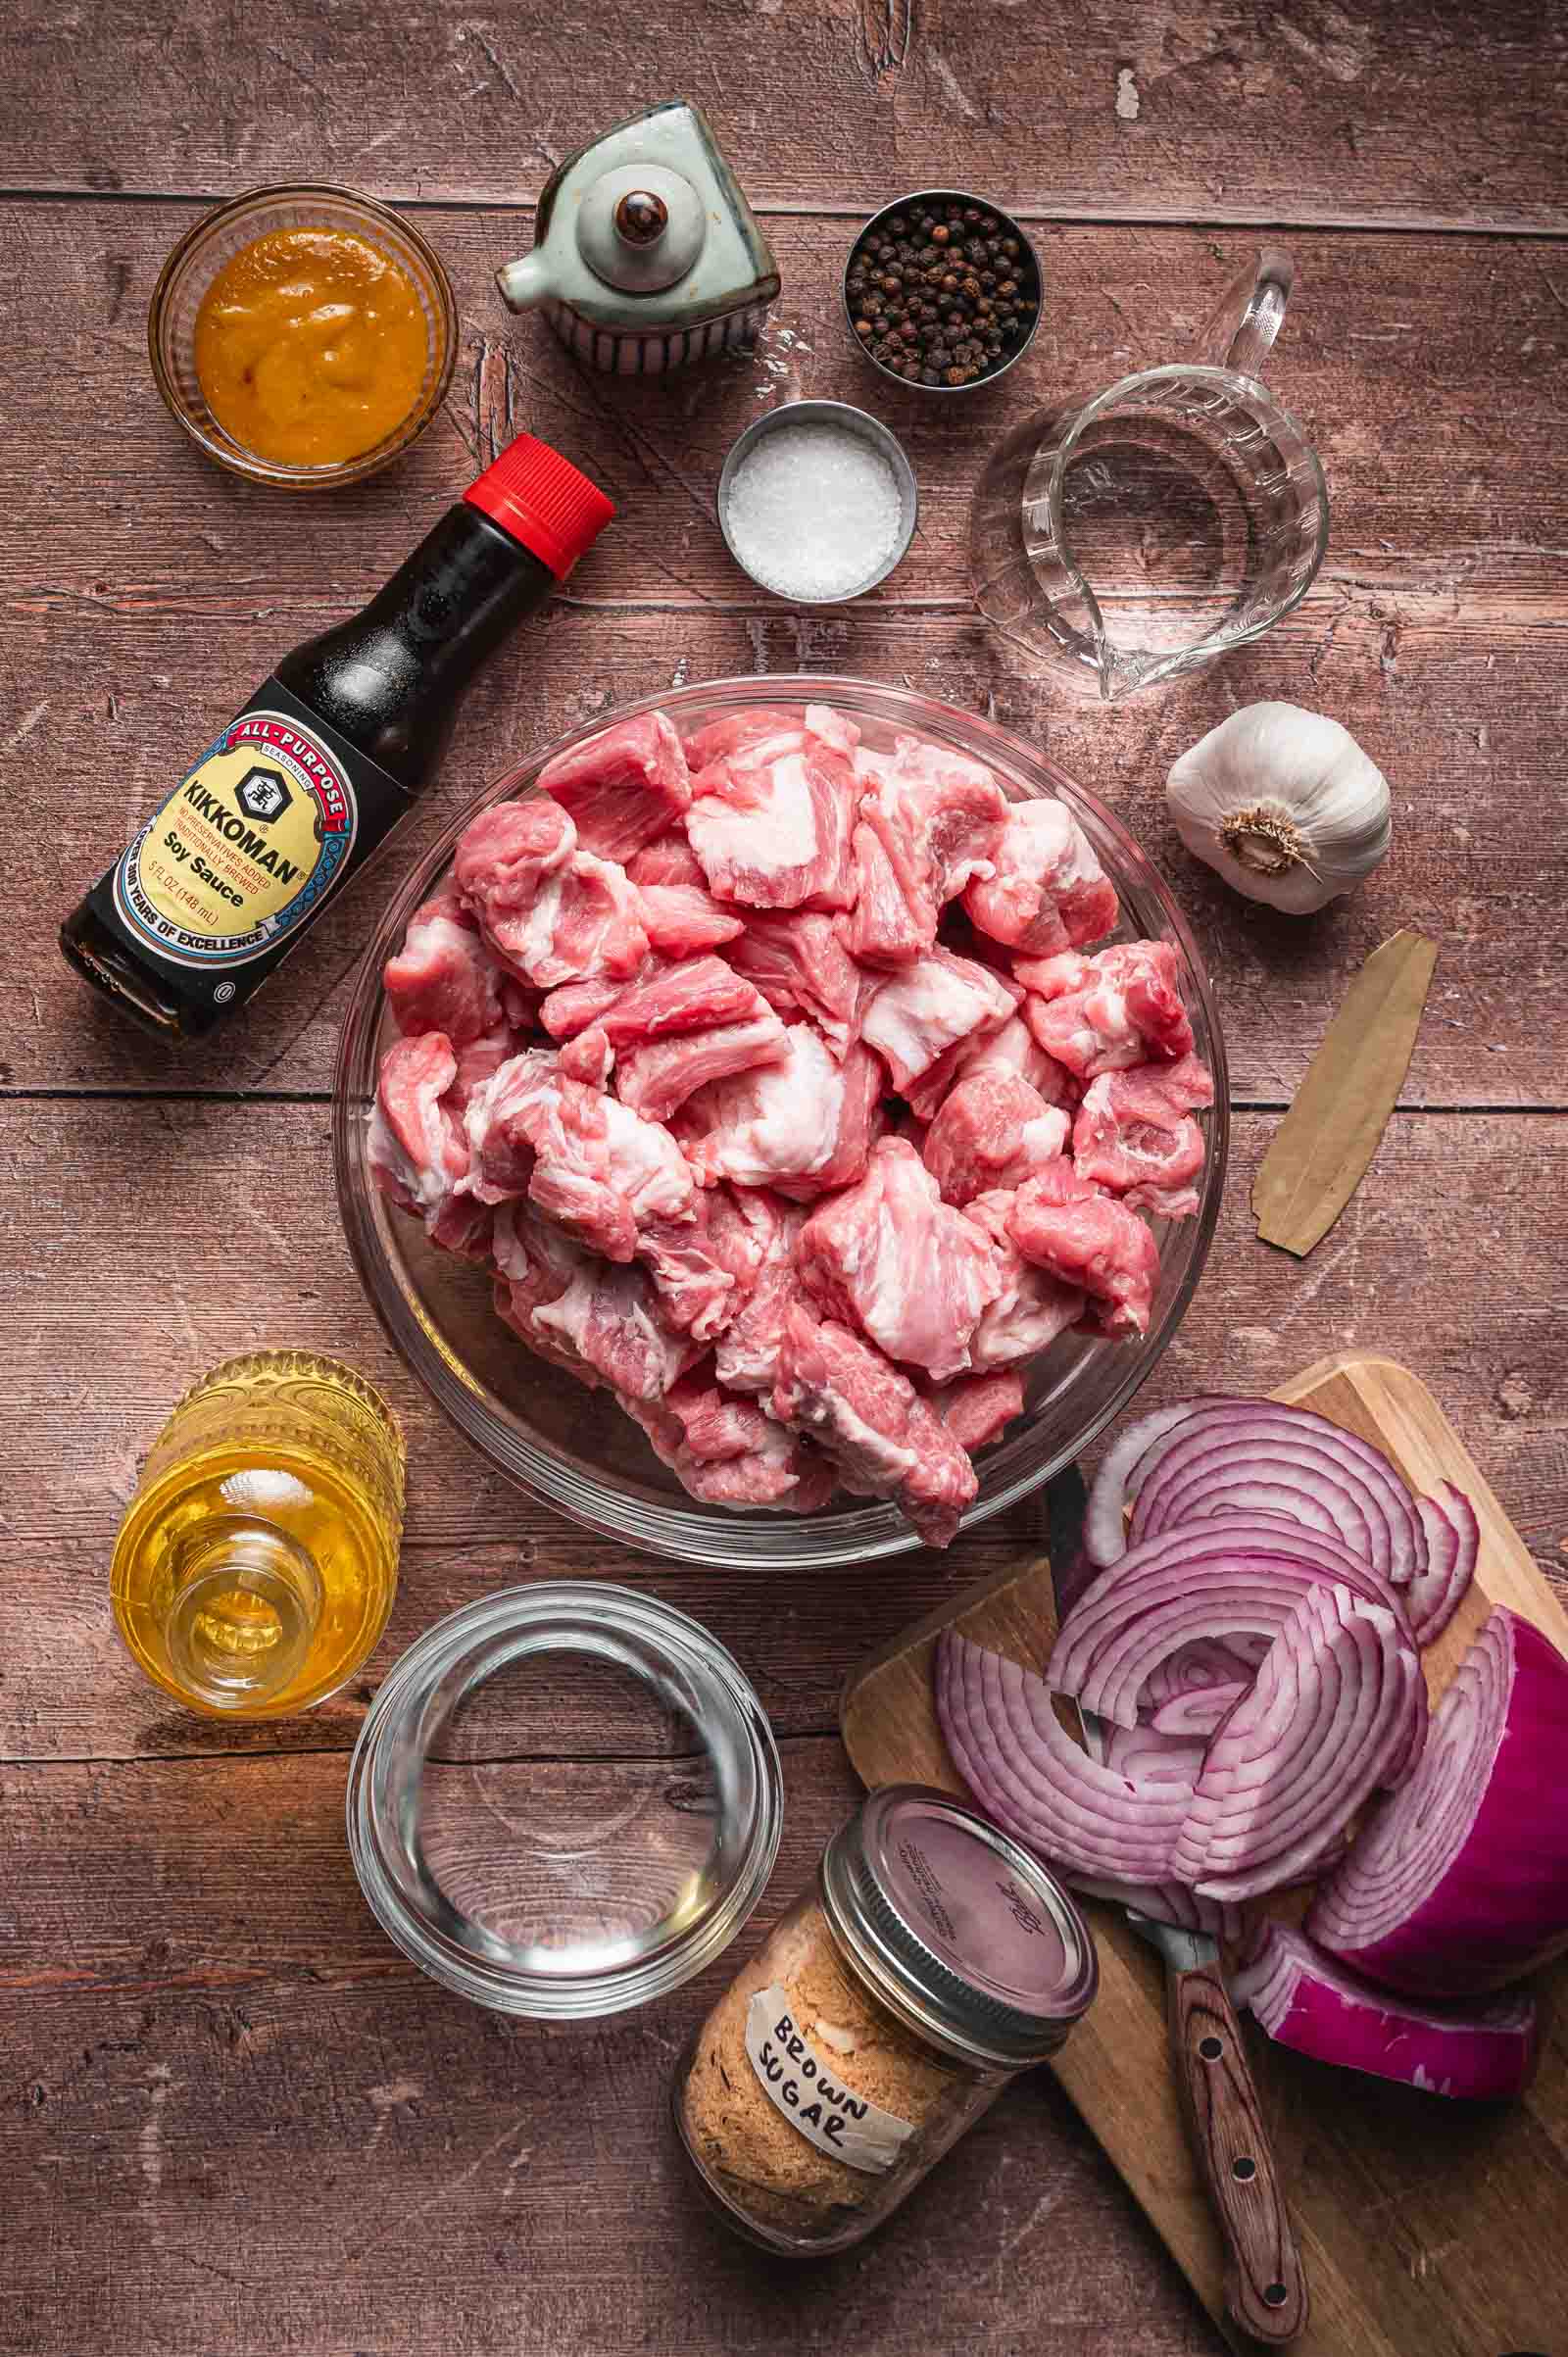
🔪 Ingredients for Pork Adobo
- Boneless pork shoulder: The right cut for this. Enough fat to stay tender through a long braise and then survive the freeze without drying out. Trim the excess fat cap if it’s over 1/4″ thick.
- Avocado oil: High smoke point for the sear. Neutral flavor so it doesn’t compete with the sauce.
- Red onion
- Garlic cloves
- Low-sodium soy sauce
- Dark soy sauce: Just two tablespoons, but they matter. Deeper color, a little body to the sauce, the thing that makes the finished pork look rich and braised rather than poached.
- White vinegar
- Better Than Bouillon chicken paste
- Brown sugar
- Whole black peppercorns: Classic for adobo. They infuse the braise over the long cook. Leave them in the portions for the authentic flavor, or spoon them out if you prefer.
- Bay leaves: Remove before portioning.
Equipment
- Large Dutch oven or heavy-bottomed pot
- 1-cup silicone freezer molds
- Sheet pan for staging the molds
- Freezer-safe bags or containers
- Freezer labels
- Vacuum sealer, optional
Full picks and links for every mold, sealer, and bag in this system: Freezer Meal Prep Equipment Guide.
📝 How to Make Pork Adobo
- Pat the pork dry and season with kosher salt. Dry pork sears. Wet pork steams.
- Heat half the avocado oil in a large Dutch oven over medium-high. Sear the pork in two batches for 4 to 5 minutes per batch, turning as needed, until browned on several sides. Look for: a deep golden crust on several sides before you pull it. Transfer the first batch to a plate before adding the second. Add the remaining oil before the second batch.
- Spoon off excess oil from the pan, leaving a thin coating and all the browned bits. Those bits are the base of the sauce. Don’t wipe the pan.
- Lower the heat to medium. Add the red onion and cook for 3 to 4 minutes, stirring often, until softened and starting to catch color at the edges.
- Add the smashed garlic and cook for 1 minute, stirring so it doesn’t burn.
- Pour in the low-sodium soy sauce, dark soy sauce, white vinegar, water, Better Than Bouillon, and brown sugar. Stir until the paste dissolves and scrape the bottom of the pot to loosen all the browned bits.
- Add the peppercorns and bay leaves. Return the pork and any accumulated juices to the pot. Bring to a simmer, then reduce heat to medium-low. Cover and simmer for 1 hour 15 minutes, stirring once or twice, until the pork is tender enough to break apart with a wooden spoon but still holds its chunk shape.
- Uncover and simmer for 15 to 20 minutes more, until the sauce reduces slightly and turns glossy. Pull it before it gets sticky or dry. The sauce needs to stay fluid for freezing. It thickens more in the mold and again during reheating.
- Remove the bay leaves. Skim excess fat from the surface if there’s a thick layer.
- If you just want dinner tonight, stop here. Serve it over rice while it’s hot and eat it fresh. Everything past this point is for the freezer.
- Let the pork cool in the pot for 20 minutes, then transfer to a shallow container and chill completely before portioning. Do not fill molds while warm.
Portioning and Meal Prep Assembly
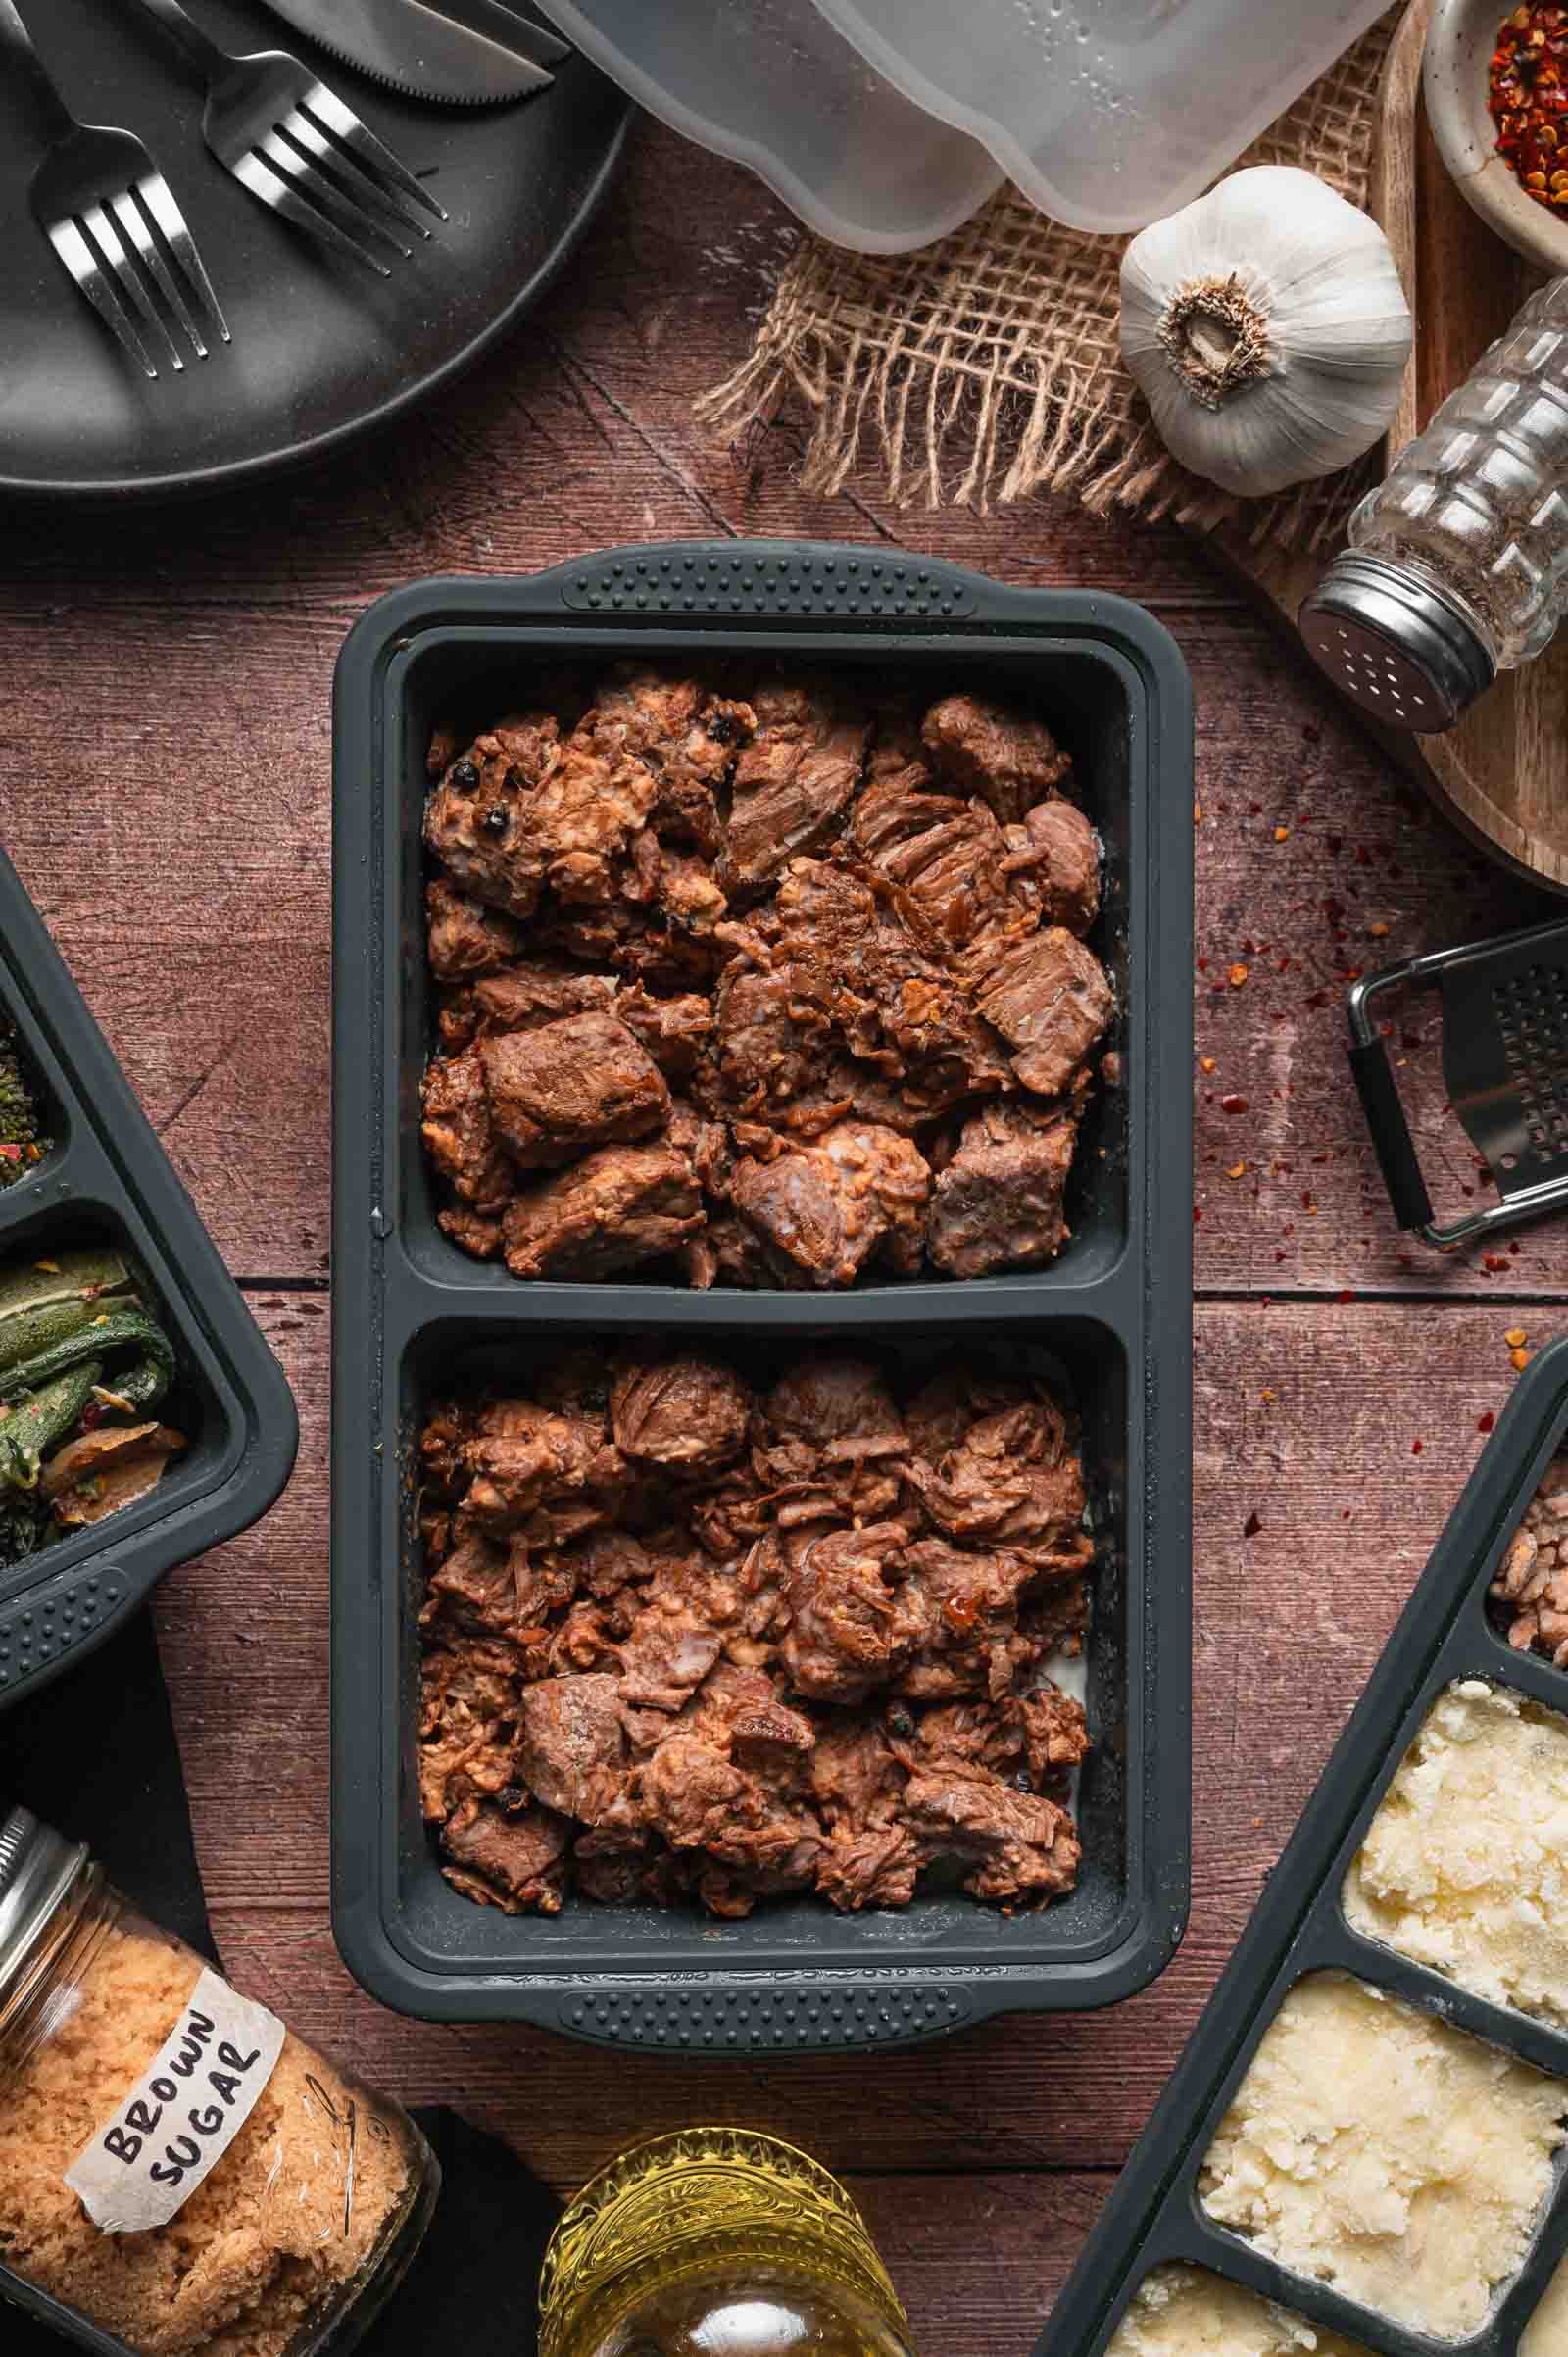
This recipe makes 6 portions. Use 1-cup silicone molds. Each portion should have pork, red onion, garlic, and enough sauce to keep everything moist during reheating.
For the GC Freezer Meal System, the recommended portion size is:
| Mold Size | Portions | Fill Level | Best For |
|---|---|---|---|
| 1-cupRecommended | 6 | ¾ full | Everyday meal prep, mix-and-match with rice + veg |
| 2-cup | 3 | ¾ full | Larger portions or family-style blocks |
| ½-cup | 12 | ¾ full | Smaller cubes for rice bowls, noodles, or quick lunches |
Do not overpack the molds. Leaving a little room helps the portions freeze evenly and reheat better.
For the 1-cup molds, fill each cavity with pork, onion, and garlic, then add enough sauce to keep everything moist during reheating. Spoon sauce over the top until the pork is mostly covered, but leave space at the top for expansion.
Keep the pork in chunks or large broken pieces rather than shredding it.
Fully shredded pork absorbs too much sauce during freezing, which leaves you with dry meat and less sauce when reheated. Larger pieces hold their texture and allow the sauce to surround the pork instead.
Freezing Instructions
Follow this sequence exactly. The order matters for texture.
- Cool the pork for about 20 minutes at room temperature, then chill it in a shallow container until it is no longer warm. Do not put hot pork directly into silicone molds. It traps steam, creates ice crystals, and can make the sauce watery later.
- Place the 1-cup silicone mold on a sheet pan. Fill each cavity with pork, onion, garlic, and sauce.
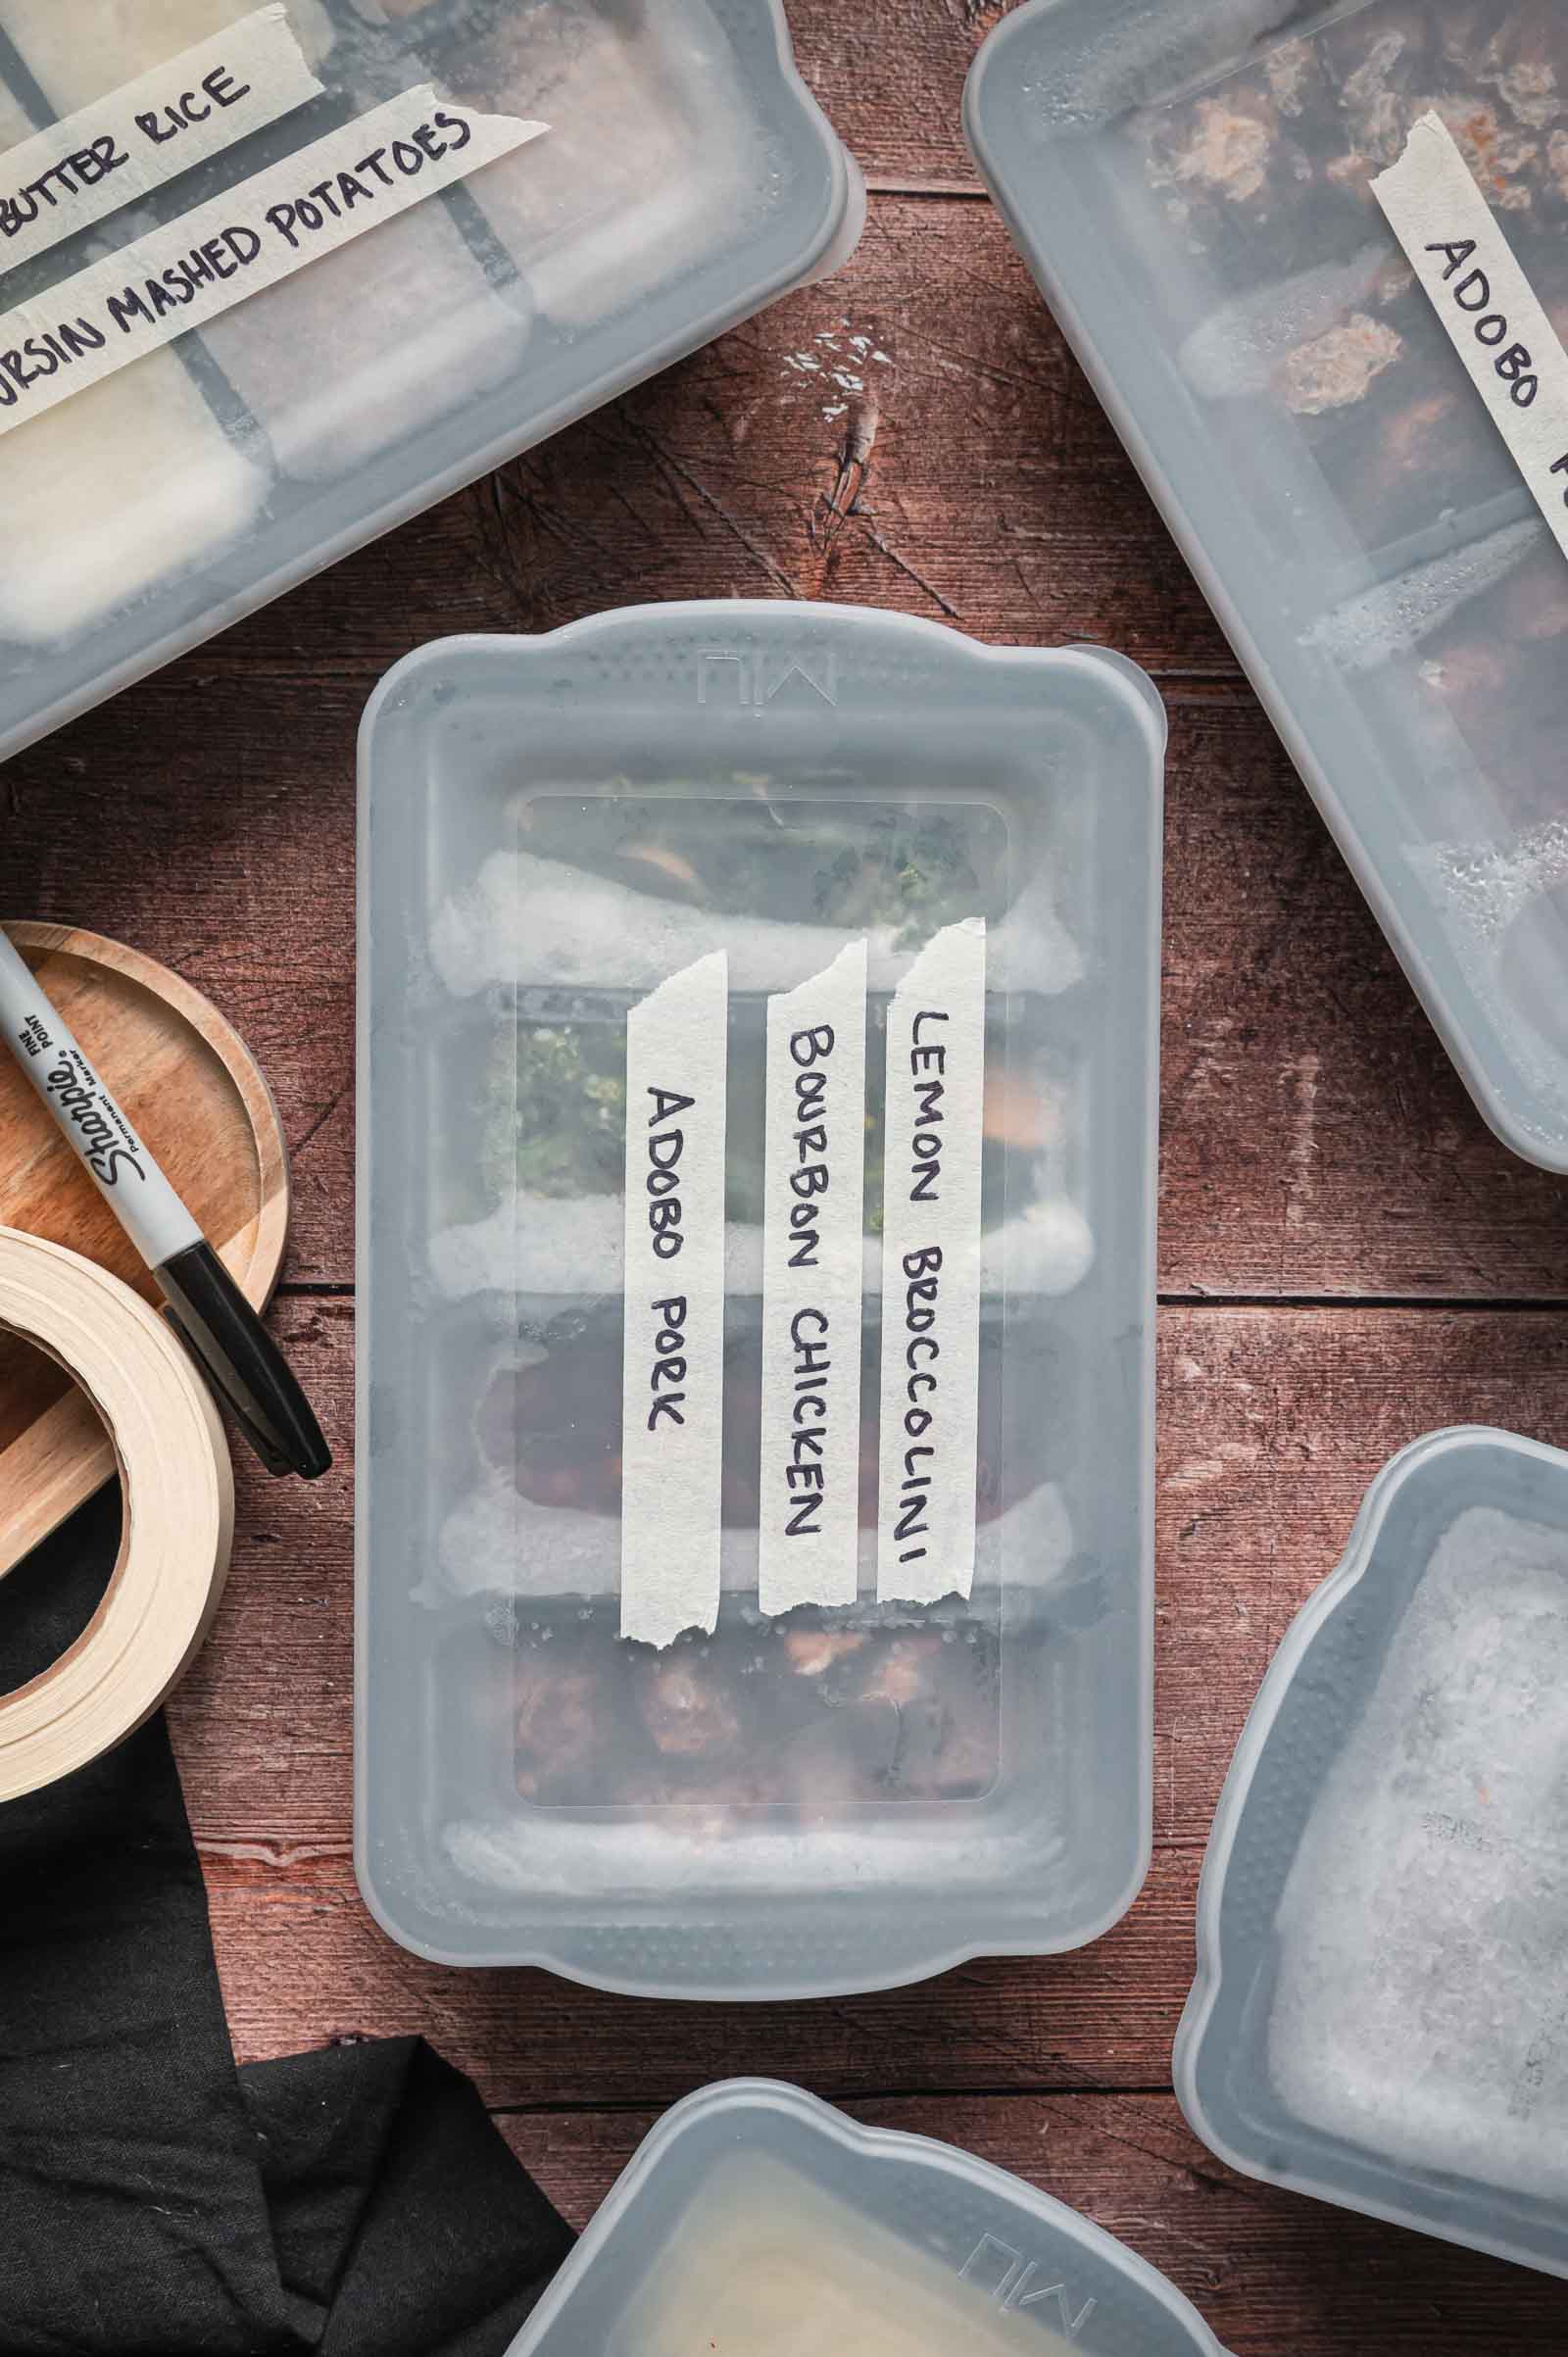
- Freeze until solid, about 8 hours. Pop the frozen portions out of the mold. Transfer them to a freezer-safe bag or container. Press out as much air as possible, label, and freeze for up to 3 months.
For vacuum sealing: freeze the portions solid first. Do not vacuum-seal warm, chilled but unfrozen, or saucy, or unfrozen pork. The liquid can get pulled into the machine, and the pressure can flatten the pork. Once the portions are frozen solid, vacuum-seal them individually or in pairs.
The pork may look slightly firmer after freezing, and the sauce may separate a little as it thaws. Stirring during reheating brings it back together.
Reheating Instructions
- Pop portion into a microwave-safe bowl
- Cover loosely
- Microwave 3 minutes
- Break up pork, stir sauce
- Microwave 2 to 3 minutes more until hot through
- Thaw overnight in the fridge
- Pop into a microwave-safe bowl
- Microwave 2 to 3 min, stirring halfway
- Thaw overnight in the fridge
- Pop into a small saucepan
- Medium-low heat, stirring occasionally
For multiple portions: place frozen portions in a small baking dish, cover tightly with foil, and bake at 350°F for 35 to 45 minutes, or until hot. If the portions are thawed, bake covered at 350°F for 20 to 25 minutes. Stir halfway through if possible.
Troubleshooting
| Problem | Fix |
|---|---|
| Sauce tastes greasy | Too much oil may have been left in the pan after searing. Spoon off the excess before cooking the onions, but keep the browned bits. |
| Sauce turns watery after thawing | Simmer the reheated pork uncovered for 1 to 2 minutes. This tightens the sauce without overcooking the pork. |
🔄 Substitutions
- Apple cider vinegar for white vinegar: The sauce turns noticeably rounder and softer. The sharpness that defines classic adobo fades. Still good, just a different flavor profile.
- Regular soy sauce for low sodium: The dish runs too salty unless you cut the dark soy sauce and the Better Than Bouillon significantly. Not worth the adjustment.
- Cracked black pepper for whole peppercorns: Fine. The flavor integrates fully into the sauce rather than blooming slowly over the braise. The sauce will have a more uniformly peppery edge.
- Chicken thighs for pork shoulder: The cook time drops to 45 minutes covered. The sauce is the same; the protein is lighter and reheats faster from frozen. This is a real option for a faster weeknight version.
- Skip the dark soy sauce: The finished pork looks noticeably lighter and less rich visually. The flavor is mostly unchanged but the presentation reads as less braised and more stewed.
💡 Meat Nerd Tips
- Don’t shred the pork before freezing. Keep it in chunks or rough broken pieces. Fully shredded pork absorbs too much sauce in the mold and dries out during reheating. Chunks reheat with sauce pooled around them, which keeps the texture right.
- Pull the sauce before it looks done. The same rule applies here as with the bourbon chicken. A sauce that looks perfectly reduced in the pot will be too concentrated and sticky after freezing. It should coat the pork but still move when you tilt the pot.
- Skim the fat before portioning. A small amount of fat in the sauce is fine and adds flavor. A thick layer on top will go greasy after reheating. Spoon it off before filling the molds.
- The overnight freeze is longer than the other recipes for a reason. Eight hours minimum for pork adobo because the dense chunks of pork and the sauce together take longer to freeze solid than the shredded or sauced proteins. Rushing to 4 hours and you’ll have partially frozen molds that crack when you try to pop them.
The GC Freezer Meal Formula: Build Your Plate
Freezer meals don’t have to mean eating the same casserole four nights in a row.
The GC Freezer Meal System works differently. Each recipe is built as a component that freezes, reheats, and pairs well with the others.
Think of it like building a plate:
Protein cube + starch cube + vegetable cube = dinner
Each build is designed around matching portions and mold sizes, so you can mix and match straight from the freezer. Make a few components on prep day, then build different dinners throughout the week without starting from scratch every night.
This build combines 5 freezer components designed to work together. Make the full build during one prep session, or choose only the pieces that fit your freezer.
1 pork adobo cube + 1 stick of butter rice cube + 1 broccolini cube = dinner from frozen in under 5 minutes. Or swap the broccolini for a Boursin mashed potato cube. Every component in this batch works with every other component. This one’s part of Cook Set 1: Bold & Saucy — see the full lineup and shopping list on the Cook Set guide.
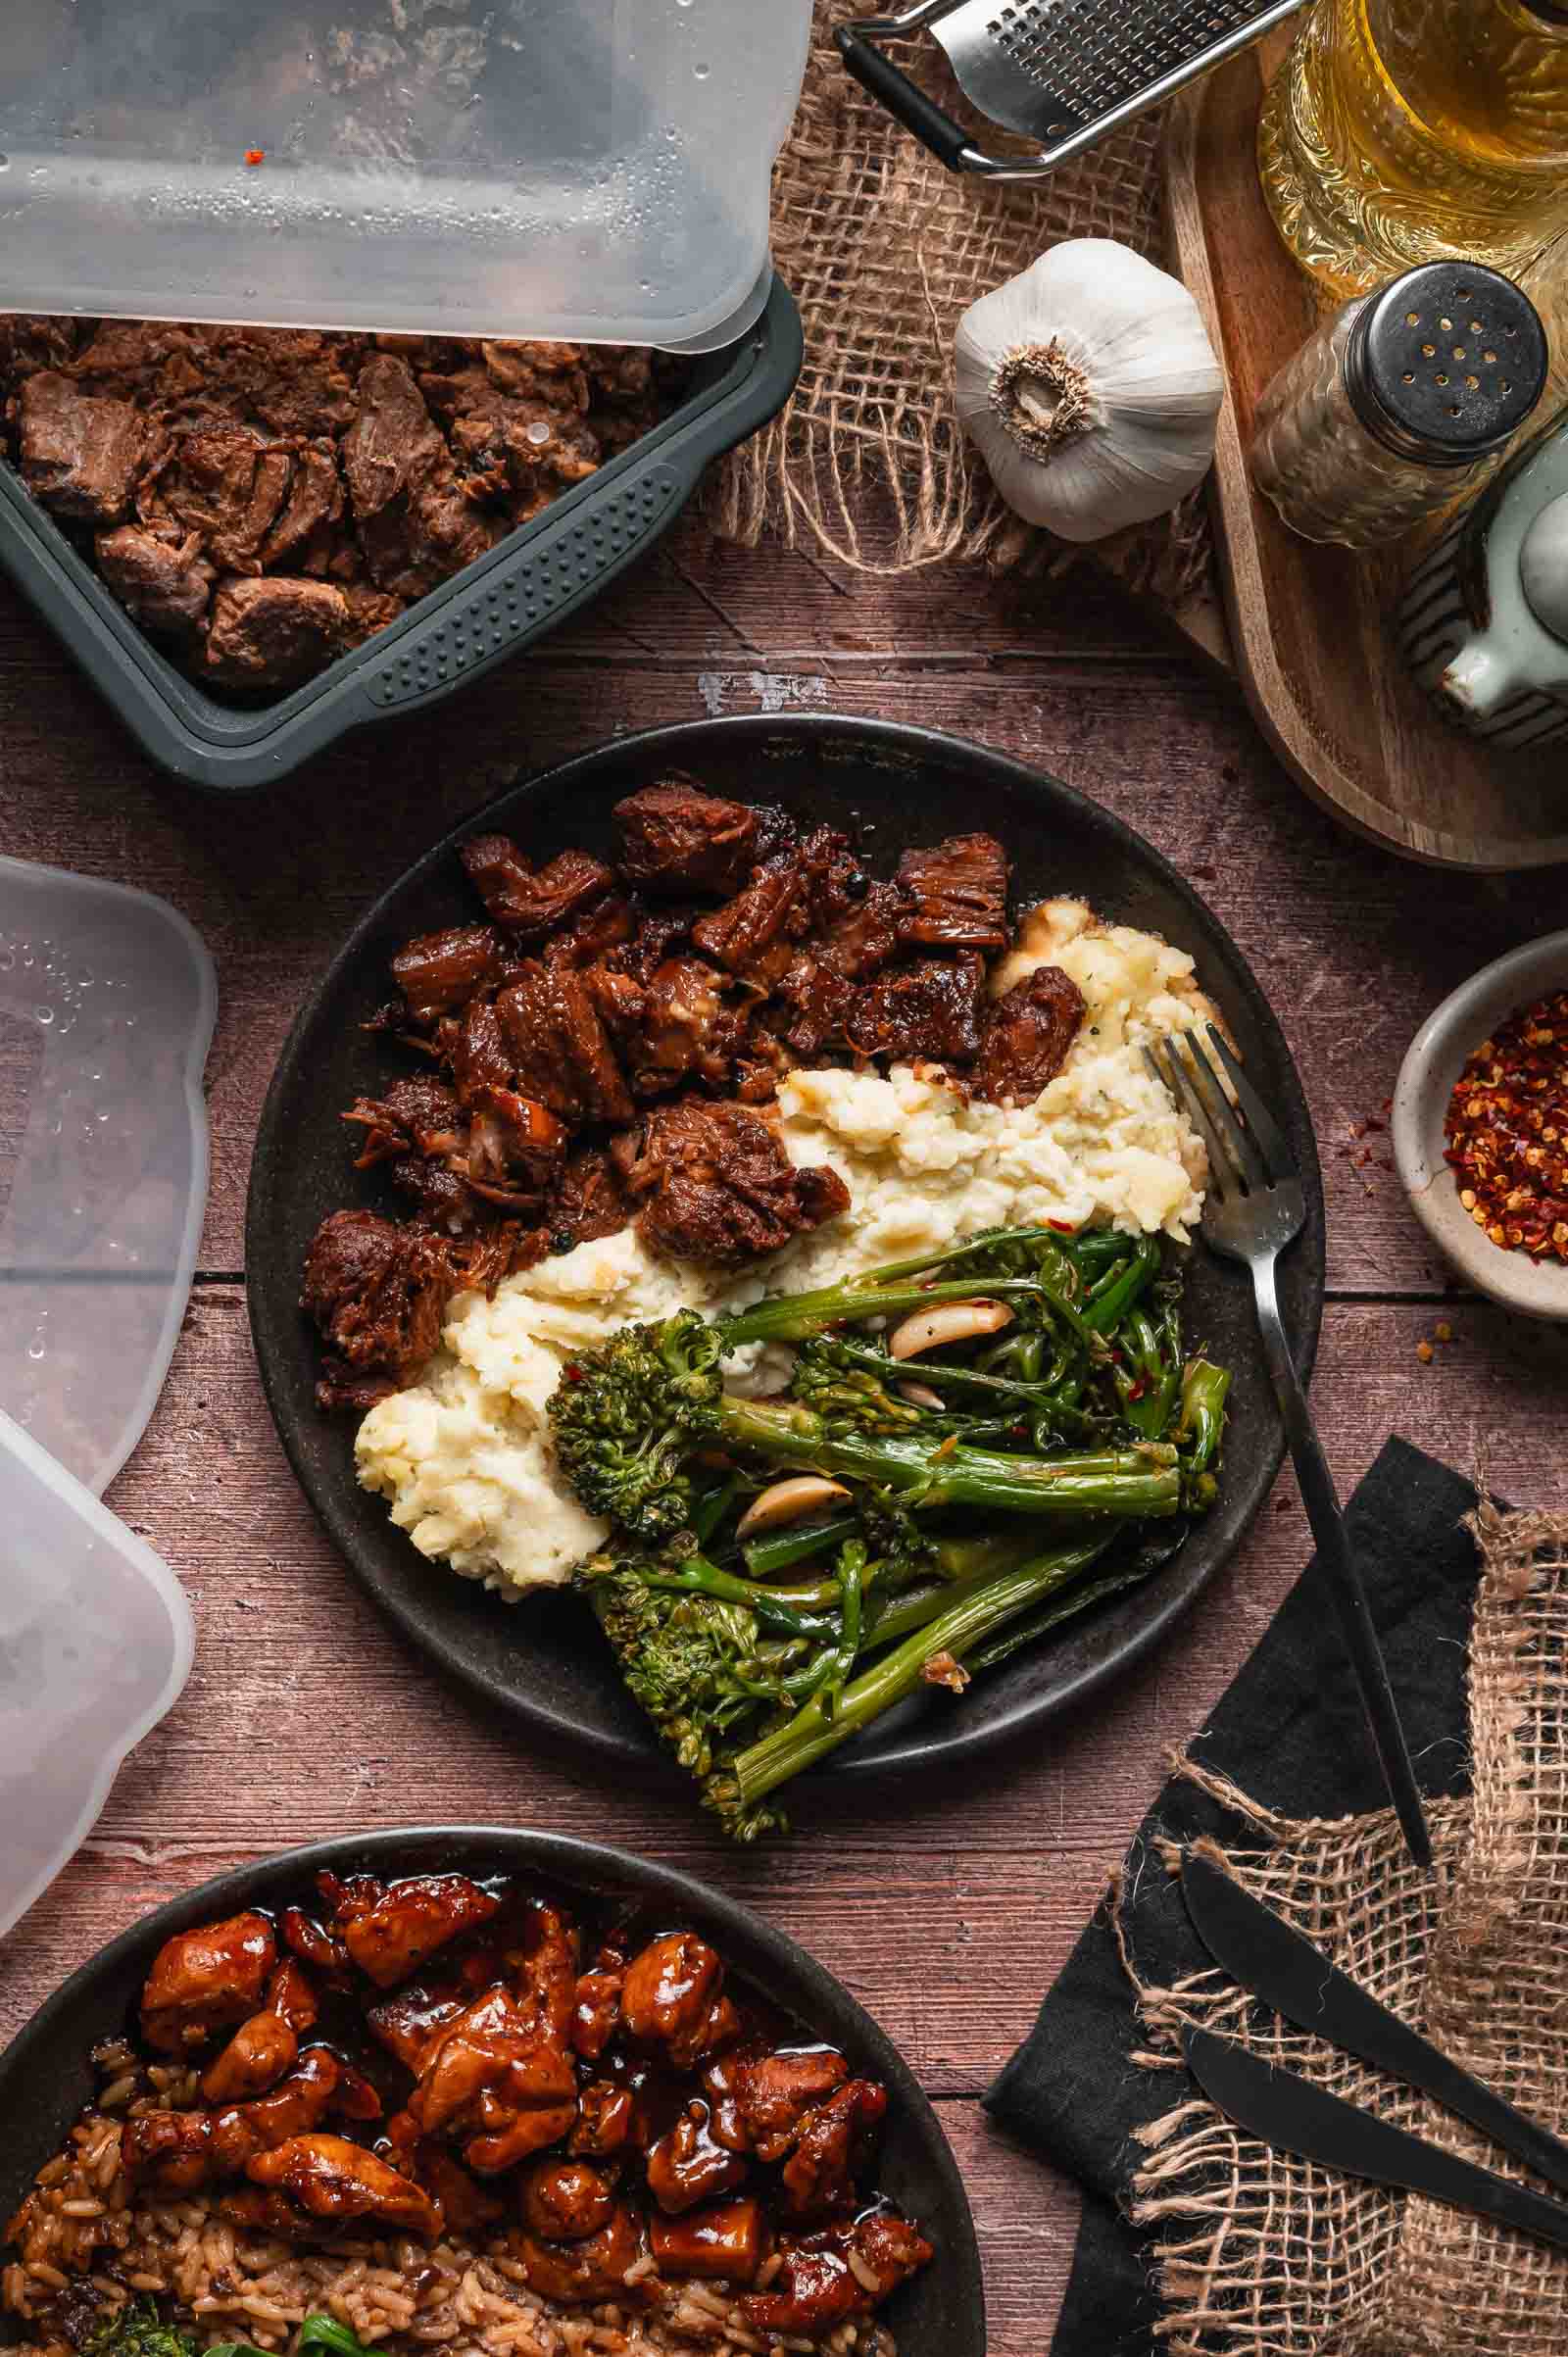
🍽️ What to Serve with Pork Adobo
- Stick of Butter Rice: The buttery, onion-sweet rice soaks up the adobo sauce and the combination is everything you want from a freezer meal. This is the built-for-each-other pairing in this system.
- Boursin Mashed Potatoes: The vinegary adobo sauce pools into the creamy garlic mash in a way that is genuinely unexpected and completely works. Serve together from frozen on a night when you want something that feels like actual cooking.
- Lemon Garlic Broccolini: The brightness of the lemon cuts through the rich, soy-heavy sauce and the whole plate feels balanced.
- Biryani rice: If you want to take the pork adobo in a different direction, the warm spiced biryani rice under the Filipino braise is a mash-up that works surprisingly well.
🧊 Leftovers and Storage
- Thawing overnight in the refrigerator gives the best texture, but the pork can be reheated straight from frozen.
- For the best make-ahead flow, cook the pork first, cool it, chill it, portion it into 1-cup molds, freeze it solid, then move the frozen blocks to bags or vacuum-sealed pouches.
- If the sauce turns watery after thawing, simmer the reheated pork uncovered for 1 to 2 minutes to tighten it back up.
Have you tried this recipe? Do us a favor and rate the recipe card with the ⭐ ⭐ ⭐ ⭐ ⭐ and drop a comment to help out the next reader.
Quick Summary
Pork adobo is the anchor protein in this freezer prep system. The vinegar-soy sauce is built for preservation, the pork shoulder holds its texture through freezing better than most cuts, and the flavor deepens in the freezer the same way it deepens overnight in the fridge. Sear in batches, braise covered for 1 hour 15 minutes, reduce uncovered until glossy but still fluid, chill, portion, freeze solid for 8 hours or overnight. Six generous portions from one cook.
Pork Adobo (Meal Prep + Freezer-Friendly)
Recommended Equipment
- dutch oven or heavy-bottomed pot
- sheet pan for staging the molds
- Freezer-safe bags or containers
- Vacuum Sealer optional
Ingredients
For the Pork
- 3 pounds boneless pork shoulder trimmed and cut into 1½-inch pieces
- 1 teaspoon kosher salt
- 2 tablespoons avocado oil divided
For the Braise
- ½ medium red onion thinly sliced
- 8 garlic cloves smashed
- ¾ cup low sodium soy sauce
- 2 tablespoons dark soy sauce
- ¾ cup white vinegar
- 1 cup water
- 1 teaspoon Better Than Bouillon chicken paste
- 3 tablespoons brown sugar
- 2 teaspoons whole black peppercorns
- 3 bay leaves
Instructions
Season and Sear (Batch One)
- Pat pork dry and season with kosher salt. Heat half the avocado oil in a large Dutch oven over medium-high. Sear the pork in two batches, 4 to 5 minutes per batch, turning as needed, until browned on several sides. Transfer the first batch to a plate.
Sear (Batch Two)
- Add the remaining oil and sear the second batch. Transfer to the plate with the first batch.
Build the Base
- Spoon off excess oil, leaving a thin coating and all browned bits. Lower heat to medium. Add the red onion and cook for 3 to 4 minutes until softened. Add the smashed garlic and cook 1 minute more, stirring so it doesn't burn.
Add the Braising Liquid
- Pour in the soy sauce, dark soy sauce, white vinegar, water, Better Than Bouillon, and brown sugar. Stir until the paste dissolves. Scrape the bottom of the pot to loosen browned bits.
Braise
- Add peppercorns and bay leaves. Return pork and any accumulated juices to the pot. Bring to a simmer, then reduce heat to medium-low. Cover and simmer for 1 hour 15 minutes, stirring once or twice, until pork is tender.
Reduce
- Remove the lid. Simmer uncovered for 15 to 20 minutes until the sauce is slightly reduced and glossy. Do not reduce until sticky. The sauce must stay fluid for freezing.
Serve Fresh or Freeze
- If you're eating tonight, stop here. Serve the pork over rice while it's hot. Everything from this point on is for the freezer.
Cool and Portion
- Remove bay leaves. Skim excess fat if needed. Cool in the pot for 20 minutes, then transfer to a shallow container and refrigerate until cold. Fill each 1-cup mold cavity ¾ full with pork, onion, garlic, and sauce.
Freeze
- Freeze on a sheet pan for 8 hours or overnight until fully solid. Pop cubes out and transfer to freezer bags or containers. Label and freeze for up to 3 months.
Reheat From Frozen
- Pop one frozen portion into a microwave-safe bowl and cover loosely. Microwave 3 minutes, break up the pork and stir the sauce, then microwave 2 to 3 minutes more until hot through.
Reheat From Thawed
- Thaw overnight in the refrigerator. Microwave in a covered bowl for 2 to 3 minutes, stirring halfway through. Or warm in a small saucepan over medium-low heat for 4 to 6 minutes.
Reheating Multiple Portions
- Place frozen portions in a small baking dish, cover tightly with foil, and bake at 350°F for 35 to 45 minutes, or until hot. If thawed, bake covered at 350°F for 20 to 25 minutes.
Video
Notes
- Do not shred the pork before freezing. Keep in chunks so pork reheats with sauce pooled around it, not absorbed into it.
- Skim excess fat from the surface before portioning – a little fat is fine; a thick layer turns greasy when reheated.
- Pork adobo needs 8 hours to freeze (not 4) – the dense chunks take longer to freeze solid than smaller cuts of meat.
- For vacuum sealing: freeze solid first, then seal.
Save this Recipe
Nutrition
Bookmark this recipe now!
Guides Worth Bookmarking
❓ FAQs
No. Keep it in chunks. Shredded pork absorbs too much sauce in the mold, which leaves the pork dry and the sauce nonexistent when you go to reheat. Chunks reheat with sauce around them and the texture stays right.
Dense pork chunks surrounded by liquid take longer to freeze solid than smaller proteins like chicken. Pulling the mold at 4 hours risks partially frozen cubes that crack when you try to pop them out. Eight hours, or overnight, ensures clean solid portions every time.
Yes. Use 2-cup molds for larger portions or family-style blocks, though they take longer to freeze and reheat than the 1-cup size used here. Or go smaller with ½-cup molds for rice bowls, noodles, or quick lunches. Reheat two ½-cup cubes for a standard meal.
Soy sauce seasons the pork. Dark soy sauce adds deeper color and a little body to the sauce. It helps the reheated pork look richer after freezing.
The pork and sauce are complete after reheating. Add fresh rice, herbs, sliced scallions, or a fresh vegetable component after warming for more freshness.
Yes, but in a positive way. Like many braised dishes, Pork Adobo often tastes deeper after freezing because the sauce has more time to settle and the flavors continue to blend.