Freezer Meals Series · Starch
Cuban Black Beans are the sort of side dish that often gets overlooked… but never goes uneaten. We’re keeping it simple, the kind of beans you scoop over rice with a cracked egg on top. Basic canned beans with a few smart additions for incredible flavor. Sofrito, bay leaf, a slow simmer, and a splash of vinegar at the end transform them into a rich, savory side that pairs perfectly with rice, chicken, pork, and grilled vegetables.
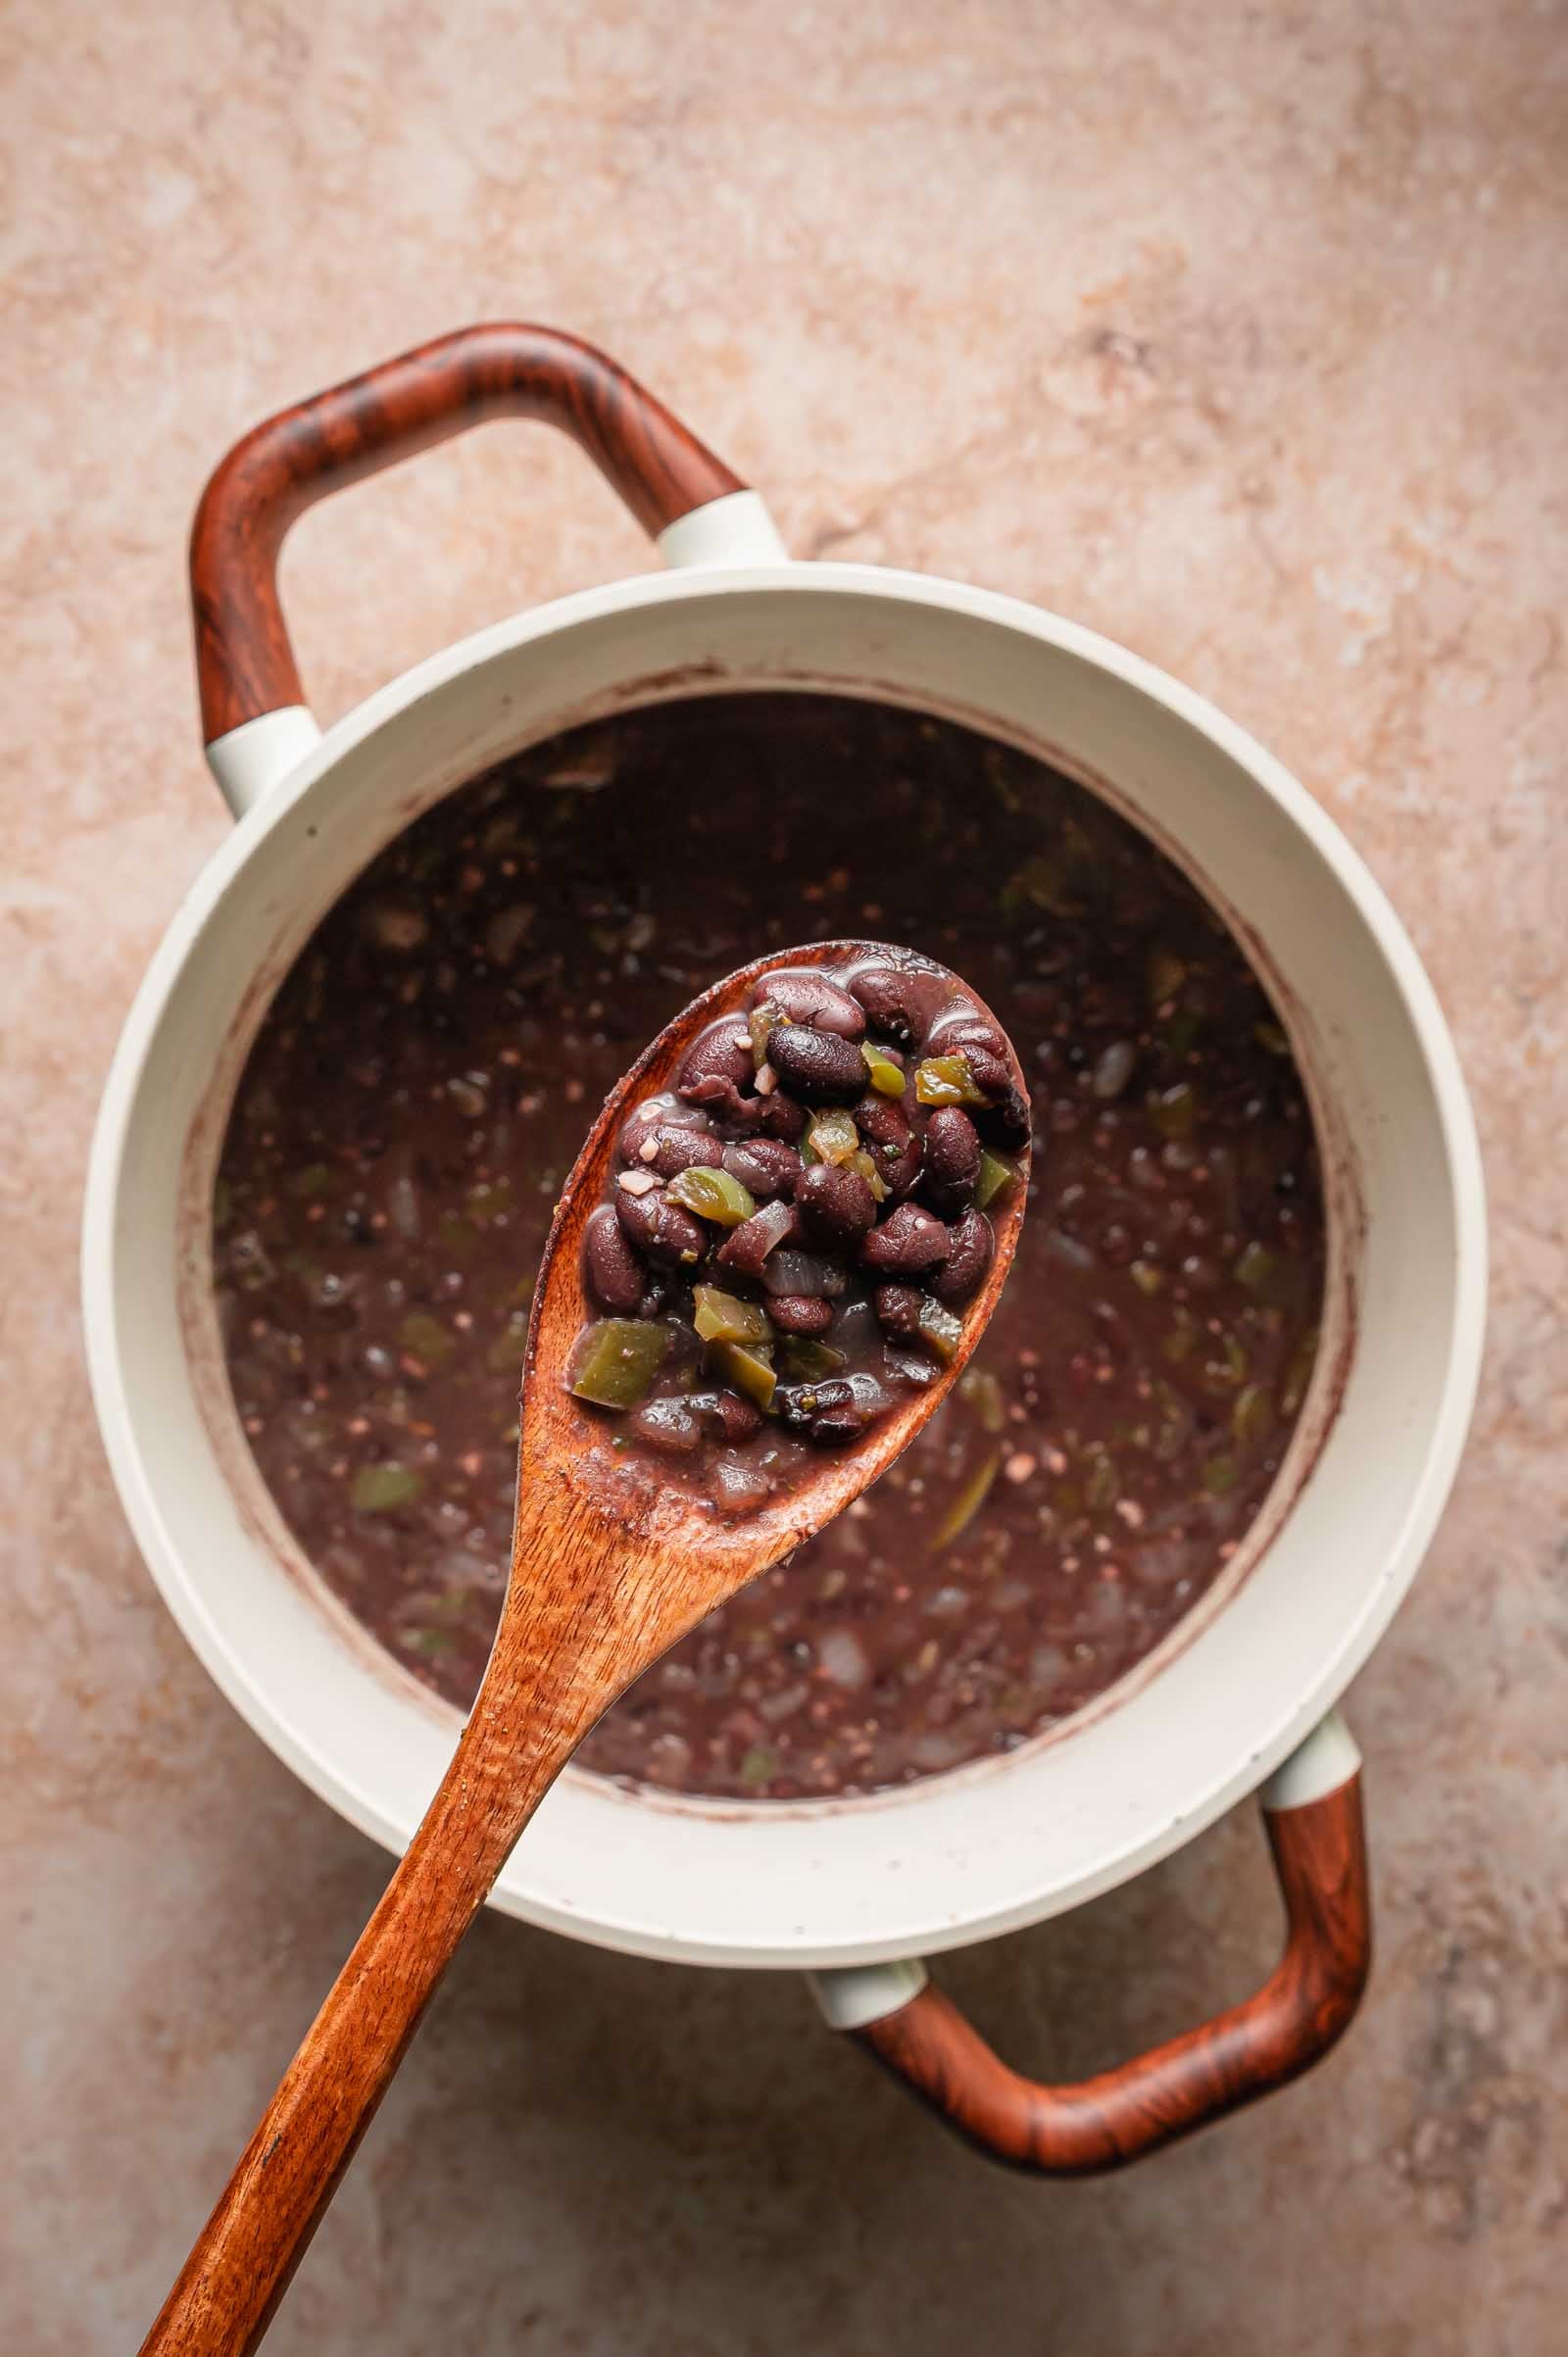
We tested this specifically for the GC Freezer Meal System, where vegetables, proteins, and starches are portioned separately and mixed together for quick dinners later. The move that makes this freeze well is mashing a scoop of beans against the side of the pot and stirring it back in. That gives the broth a creamy body without any added starch, and it’s exactly the texture that survives a freeze-thaw cycle instead of turning watery or separating.
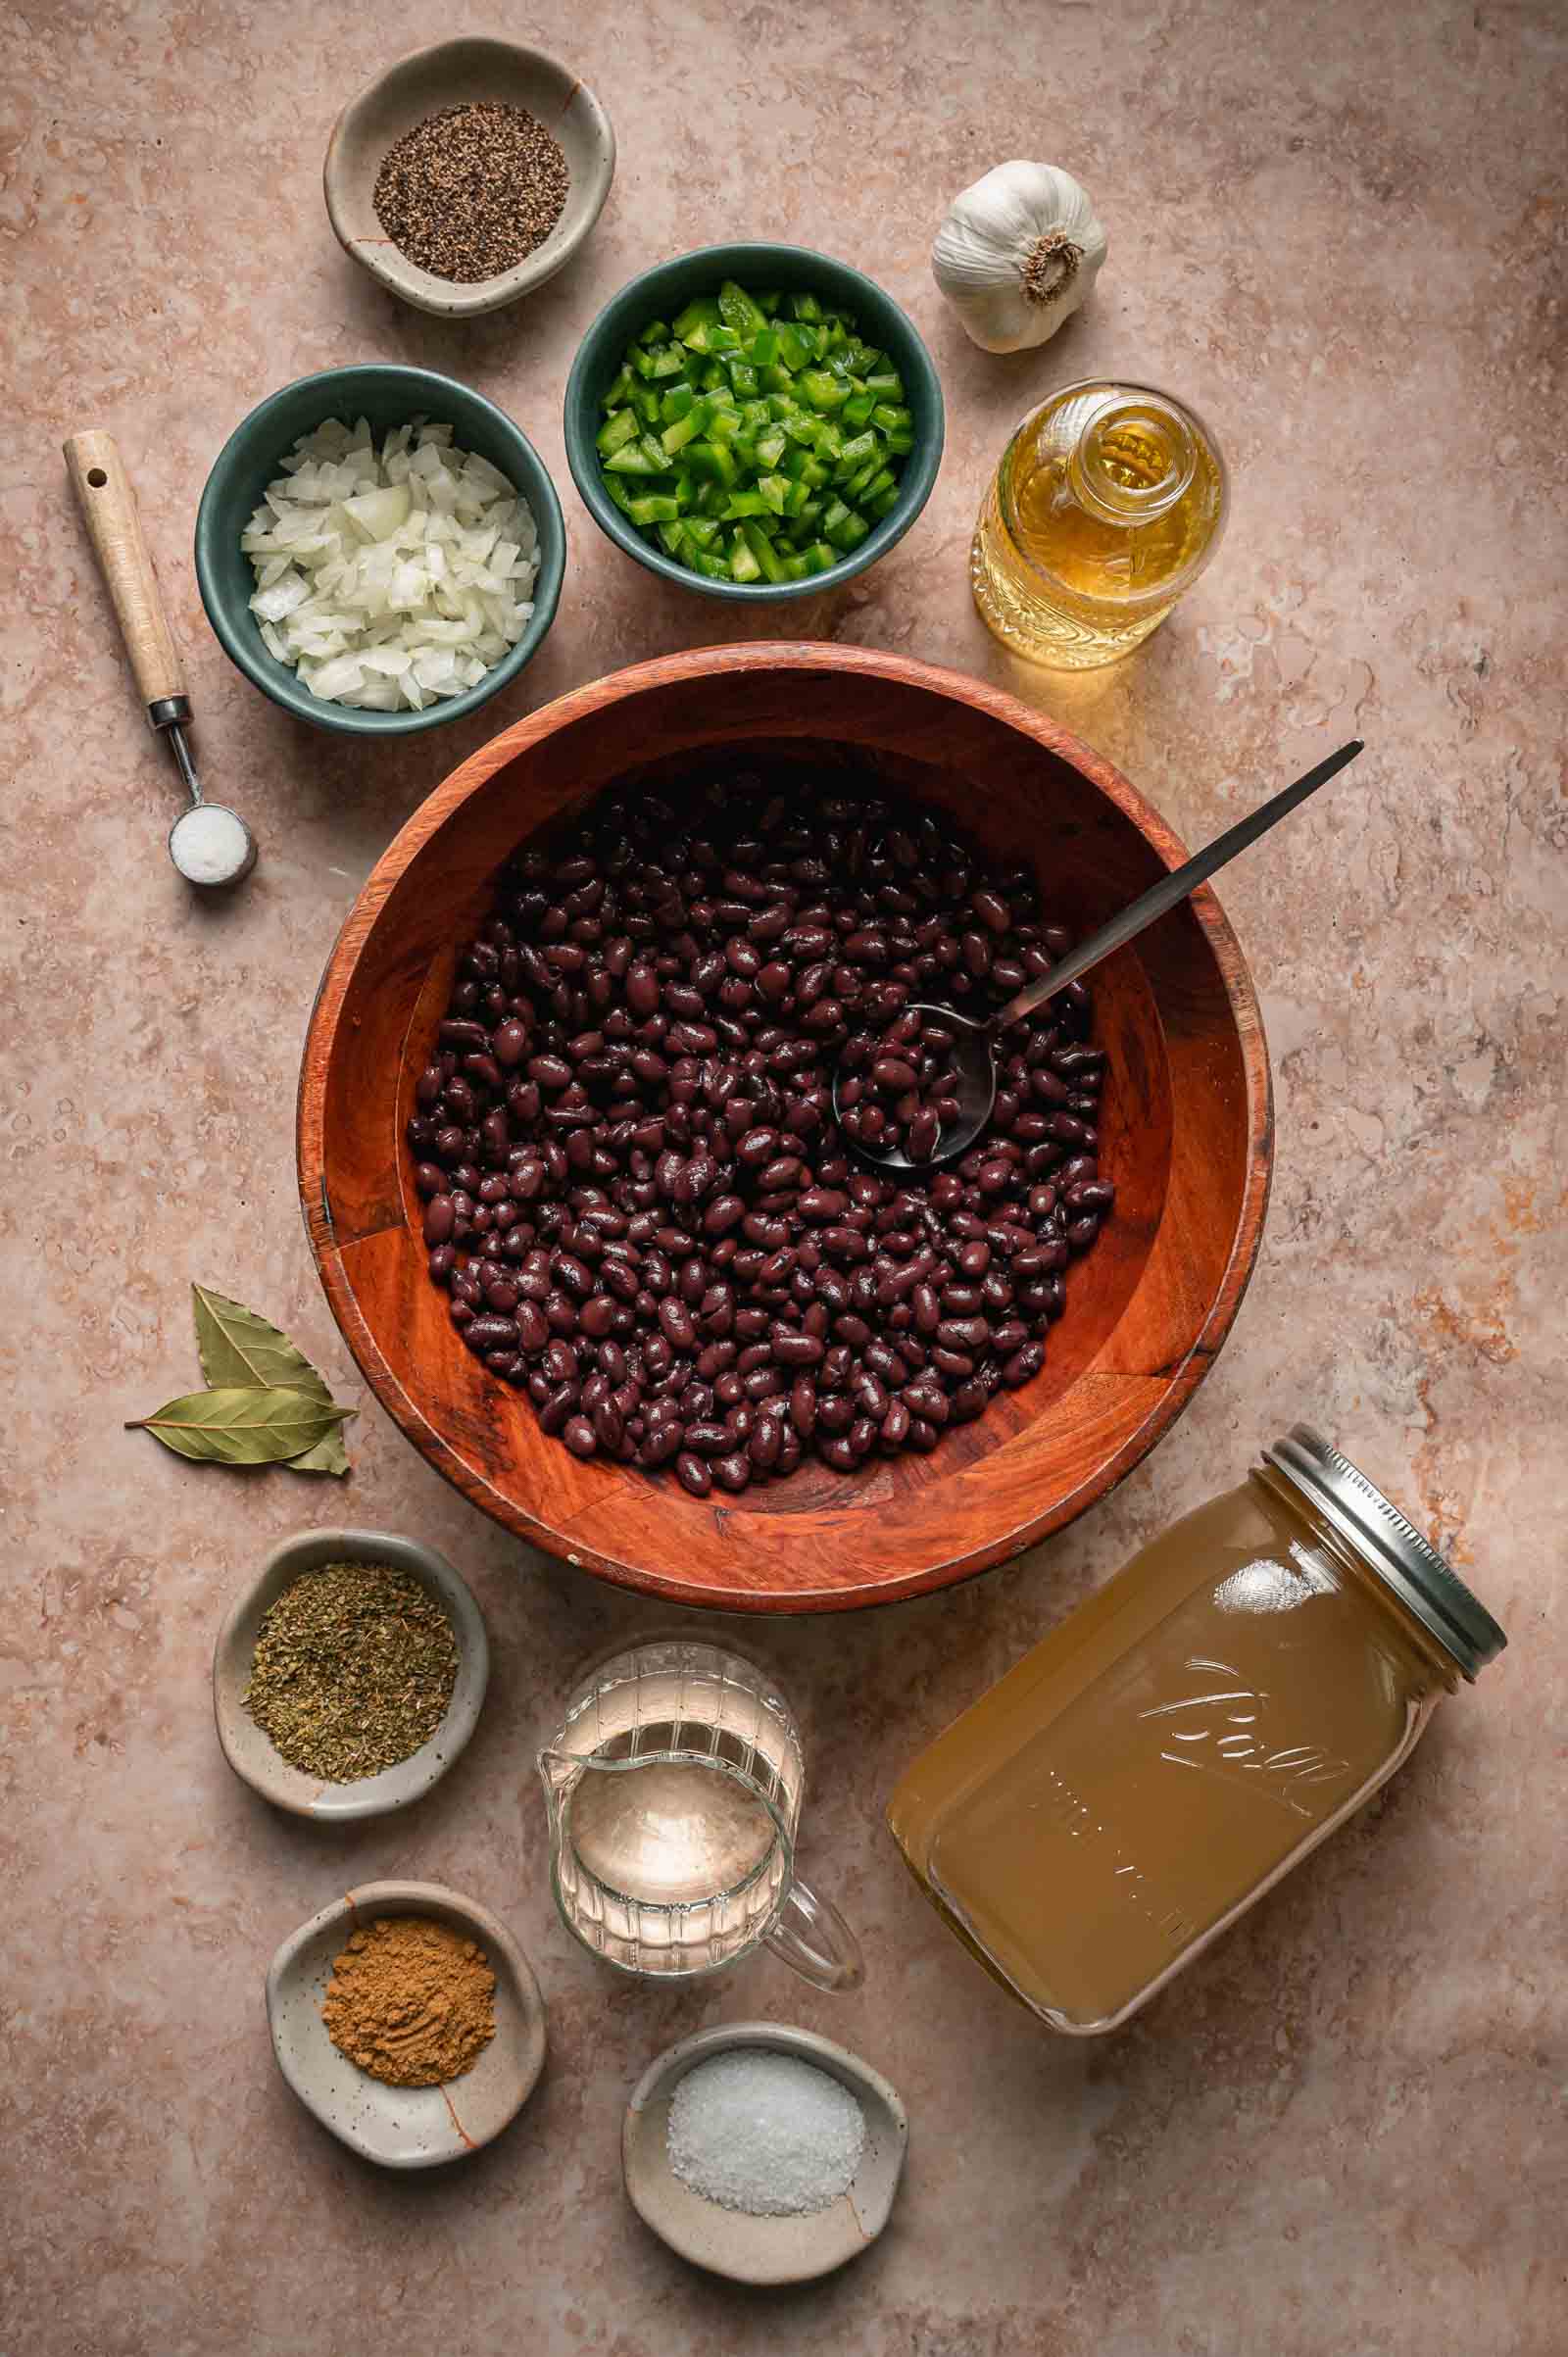
🔪 Ingredients for Cuban Black Beans
- Canned low-sodium black beans: Two cans drained, one left undrained. That undrained can is what builds the creamy broth without needing extra liquid.
- Yellow onion and green bell pepper: The sofrito base. Cook them until fully softened so they melt into the broth.
- Chicken broth
- Bay leaves
- White vinegar: Stirred in off the heat at the very end. This is the brightness that keeps the beans from tasting flat, especially after freezing.
- Granulated sugar
- Garlic, oregano, cumin, black pepper
Equipment
- 1-cup silicone molds
- Rimmed sheet pan
- Freezer-safe bags or containers
- Freezer tape or labels
- Vacuum sealer, optional
Full picks and links for every mold, sealer, and bag in this system: Freezer Meal Prep Equipment Guide.
📝 How to Make Cuban Black Beans
- Heat the canola oil in a large pot or Dutch oven over medium heat. Add the onion, bell pepper, and kosher salt. Cook for 6 to 8 minutes, stirring often, until the vegetables soften.
- Add the garlic, oregano, cumin, and black pepper. Cook for 30 seconds, stirring often, until fragrant.
- Add the black beans and sugar. Stir well, scraping the bottom of the pot.
- Add the bay leaves and bring to a simmer over medium heat. Reduce to medium-low and simmer uncovered for 20 to 25 minutes, stirring every few minutes, until the broth thickens slightly.
- Mash a small scoop of beans against the side of the pot and stir them back in. This gives the beans a creamier texture without adding starch, which helps them freeze and reheat better.
- Stir in the white vinegar off the heat. Taste and adjust the salt if needed. The beans should be saucy, not dry, since the broth protects them in the freezer.
- If you just want dinner tonight, stop here. Serve the beans hot as your side dish and eat them fresh. Everything past this point is for the freezer.
- Cool the beans uncovered for 20 to 30 minutes, stirring once or twice so steam can escape.
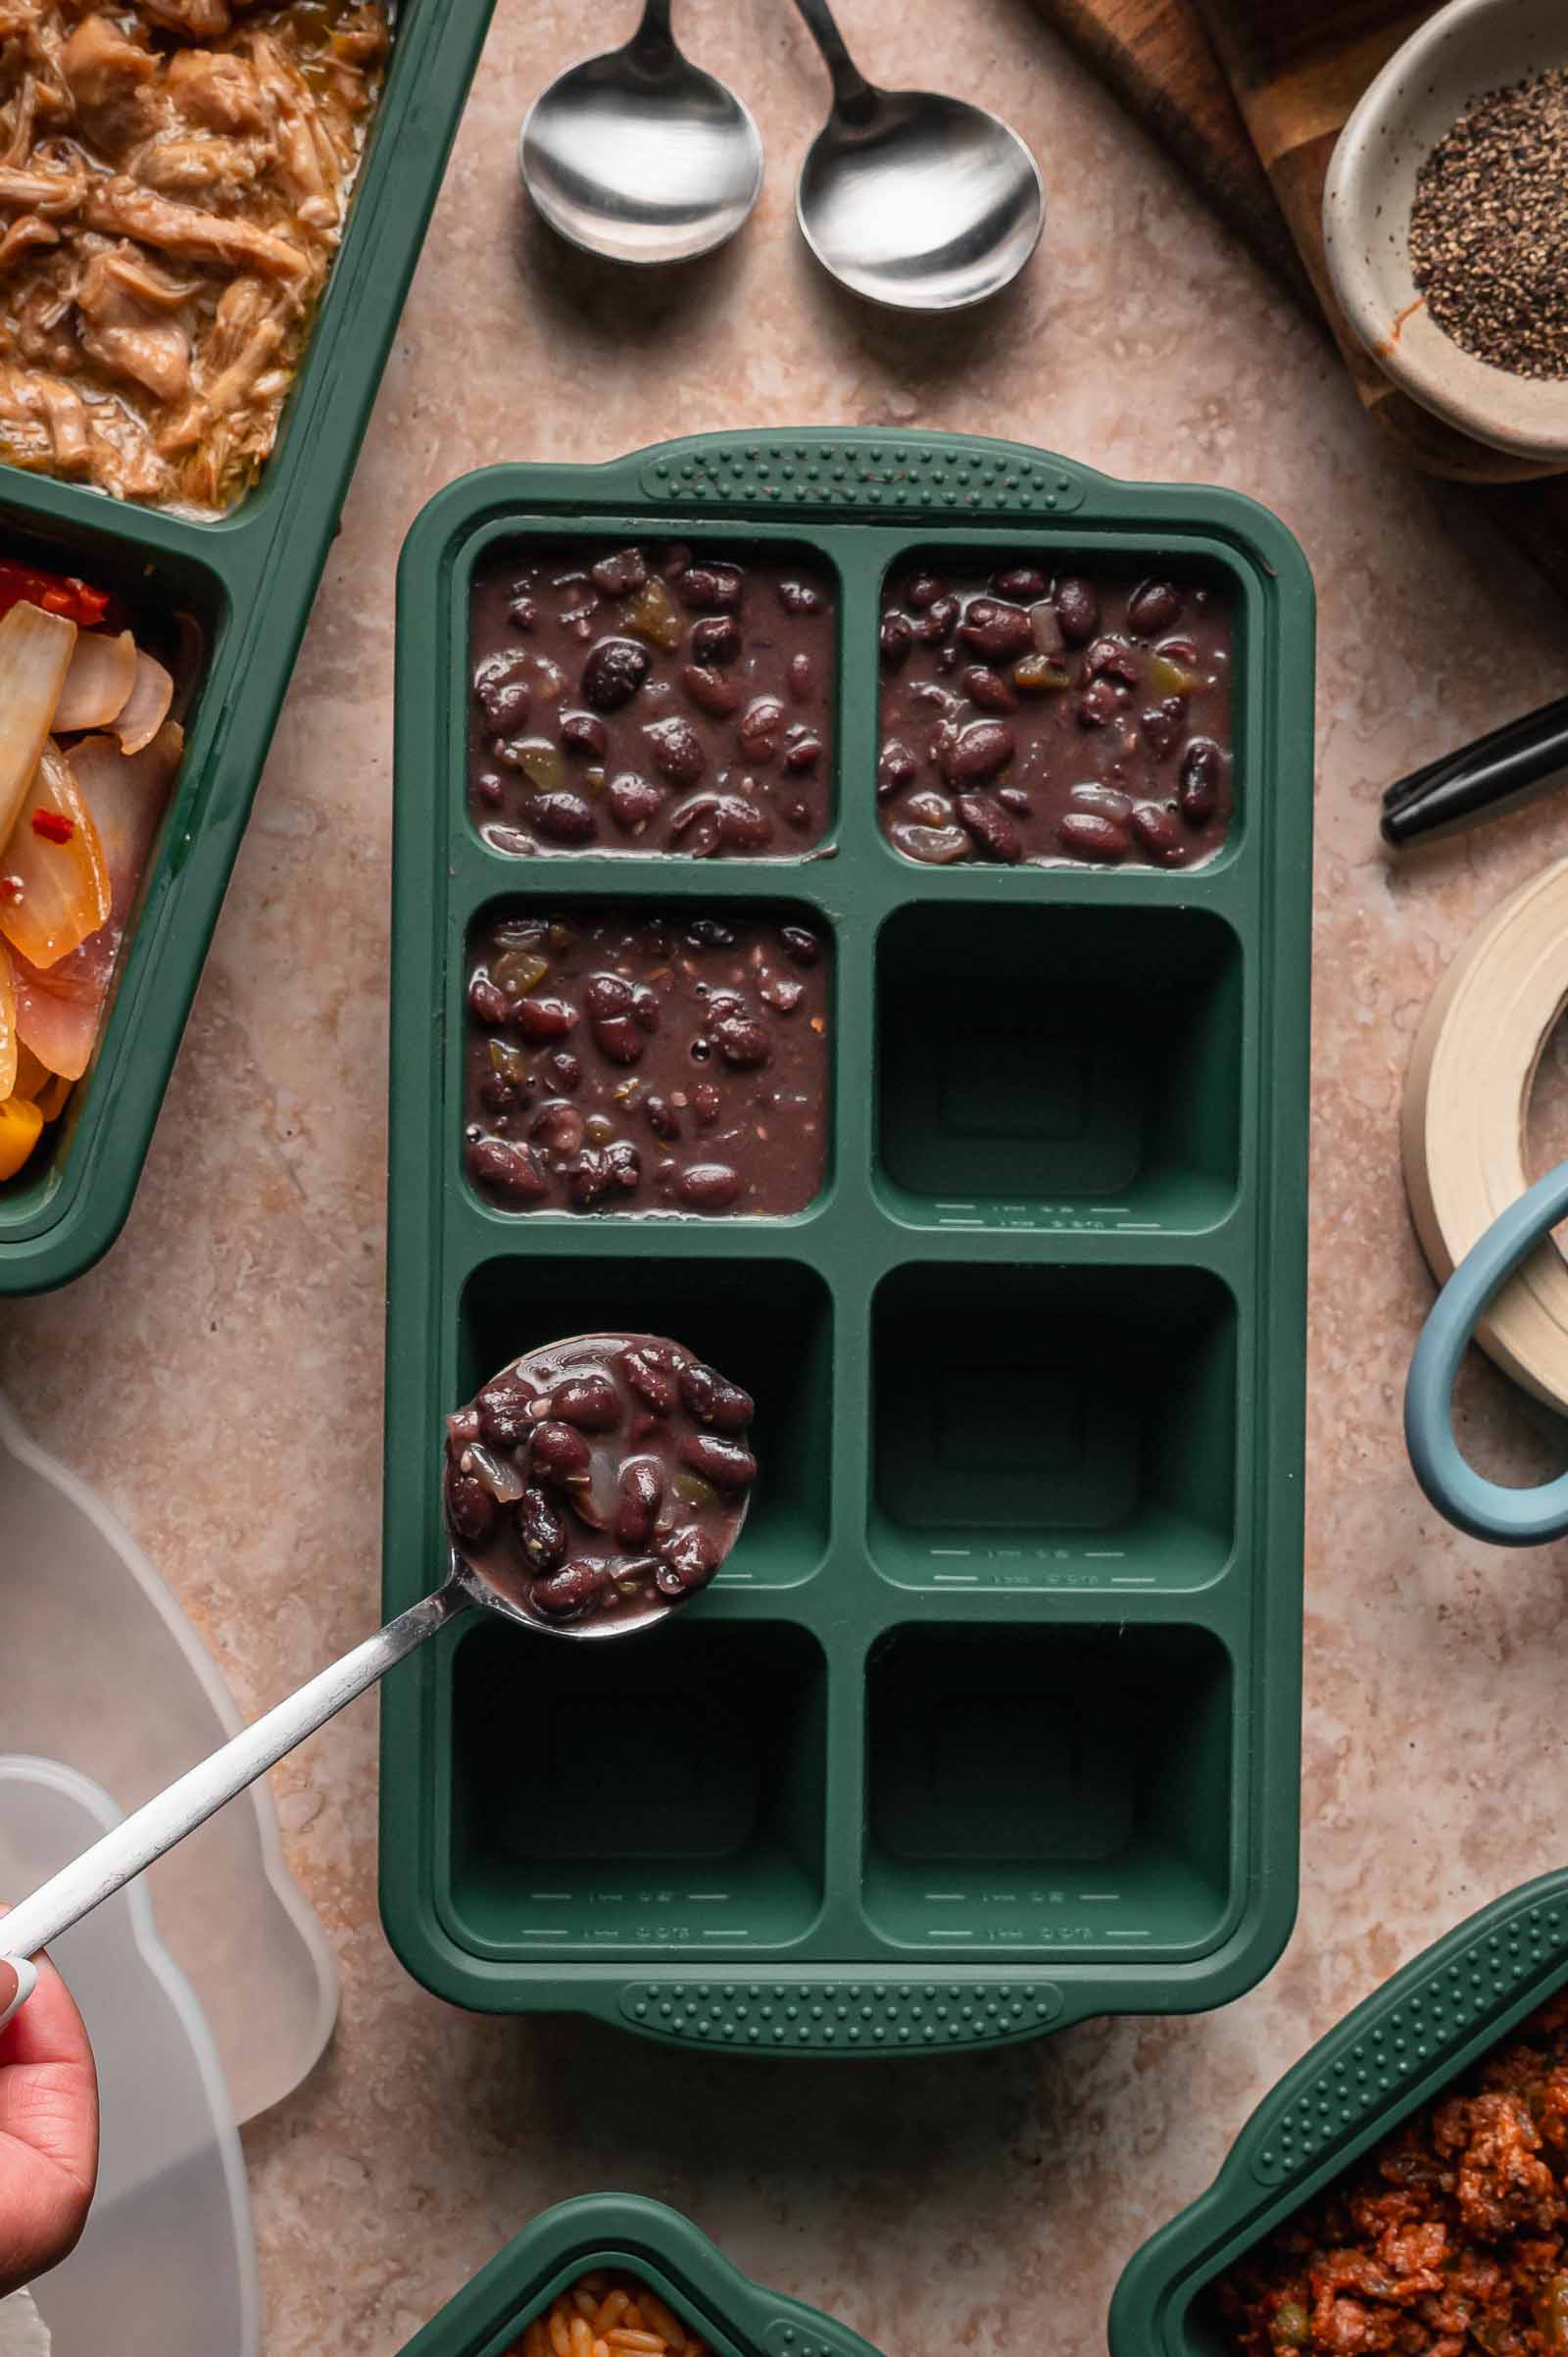
Portioning and Meal Prep Assembly
This recipe makes 6 portions. Use 1-cup silicone molds for the best freezer meal prep portions, filling each mold almost to the top and leaving about ¼ inch of space for expansion. Do not overpack the molds. Leaving a little room helps the portions freeze evenly and reheat better.
| Mold Size | Portions | Fill Level | Best For |
|---|---|---|---|
| 1-cupRecommended | 6 | Almost full | Standard side-dish portion, mix-and-match with protein + rice |
| 2-cup | ~3 | Almost full | Larger bowl-style portions |
| ½-cup | ~12 | Almost full | Smaller side portions, rice toppers, taco bowl add-ins |
Freezing Instructions
Follow this sequence exactly. The order matters for texture.
Pop the frozen bean cubes out of the molds and transfer them to a freezer-safe bag or container. Press out as much air as possible, label, and freeze for up to 3 months for the best flavor and texture. The beans may thicken after freezing. Add a splash of water or broth when reheating if you want them looser.
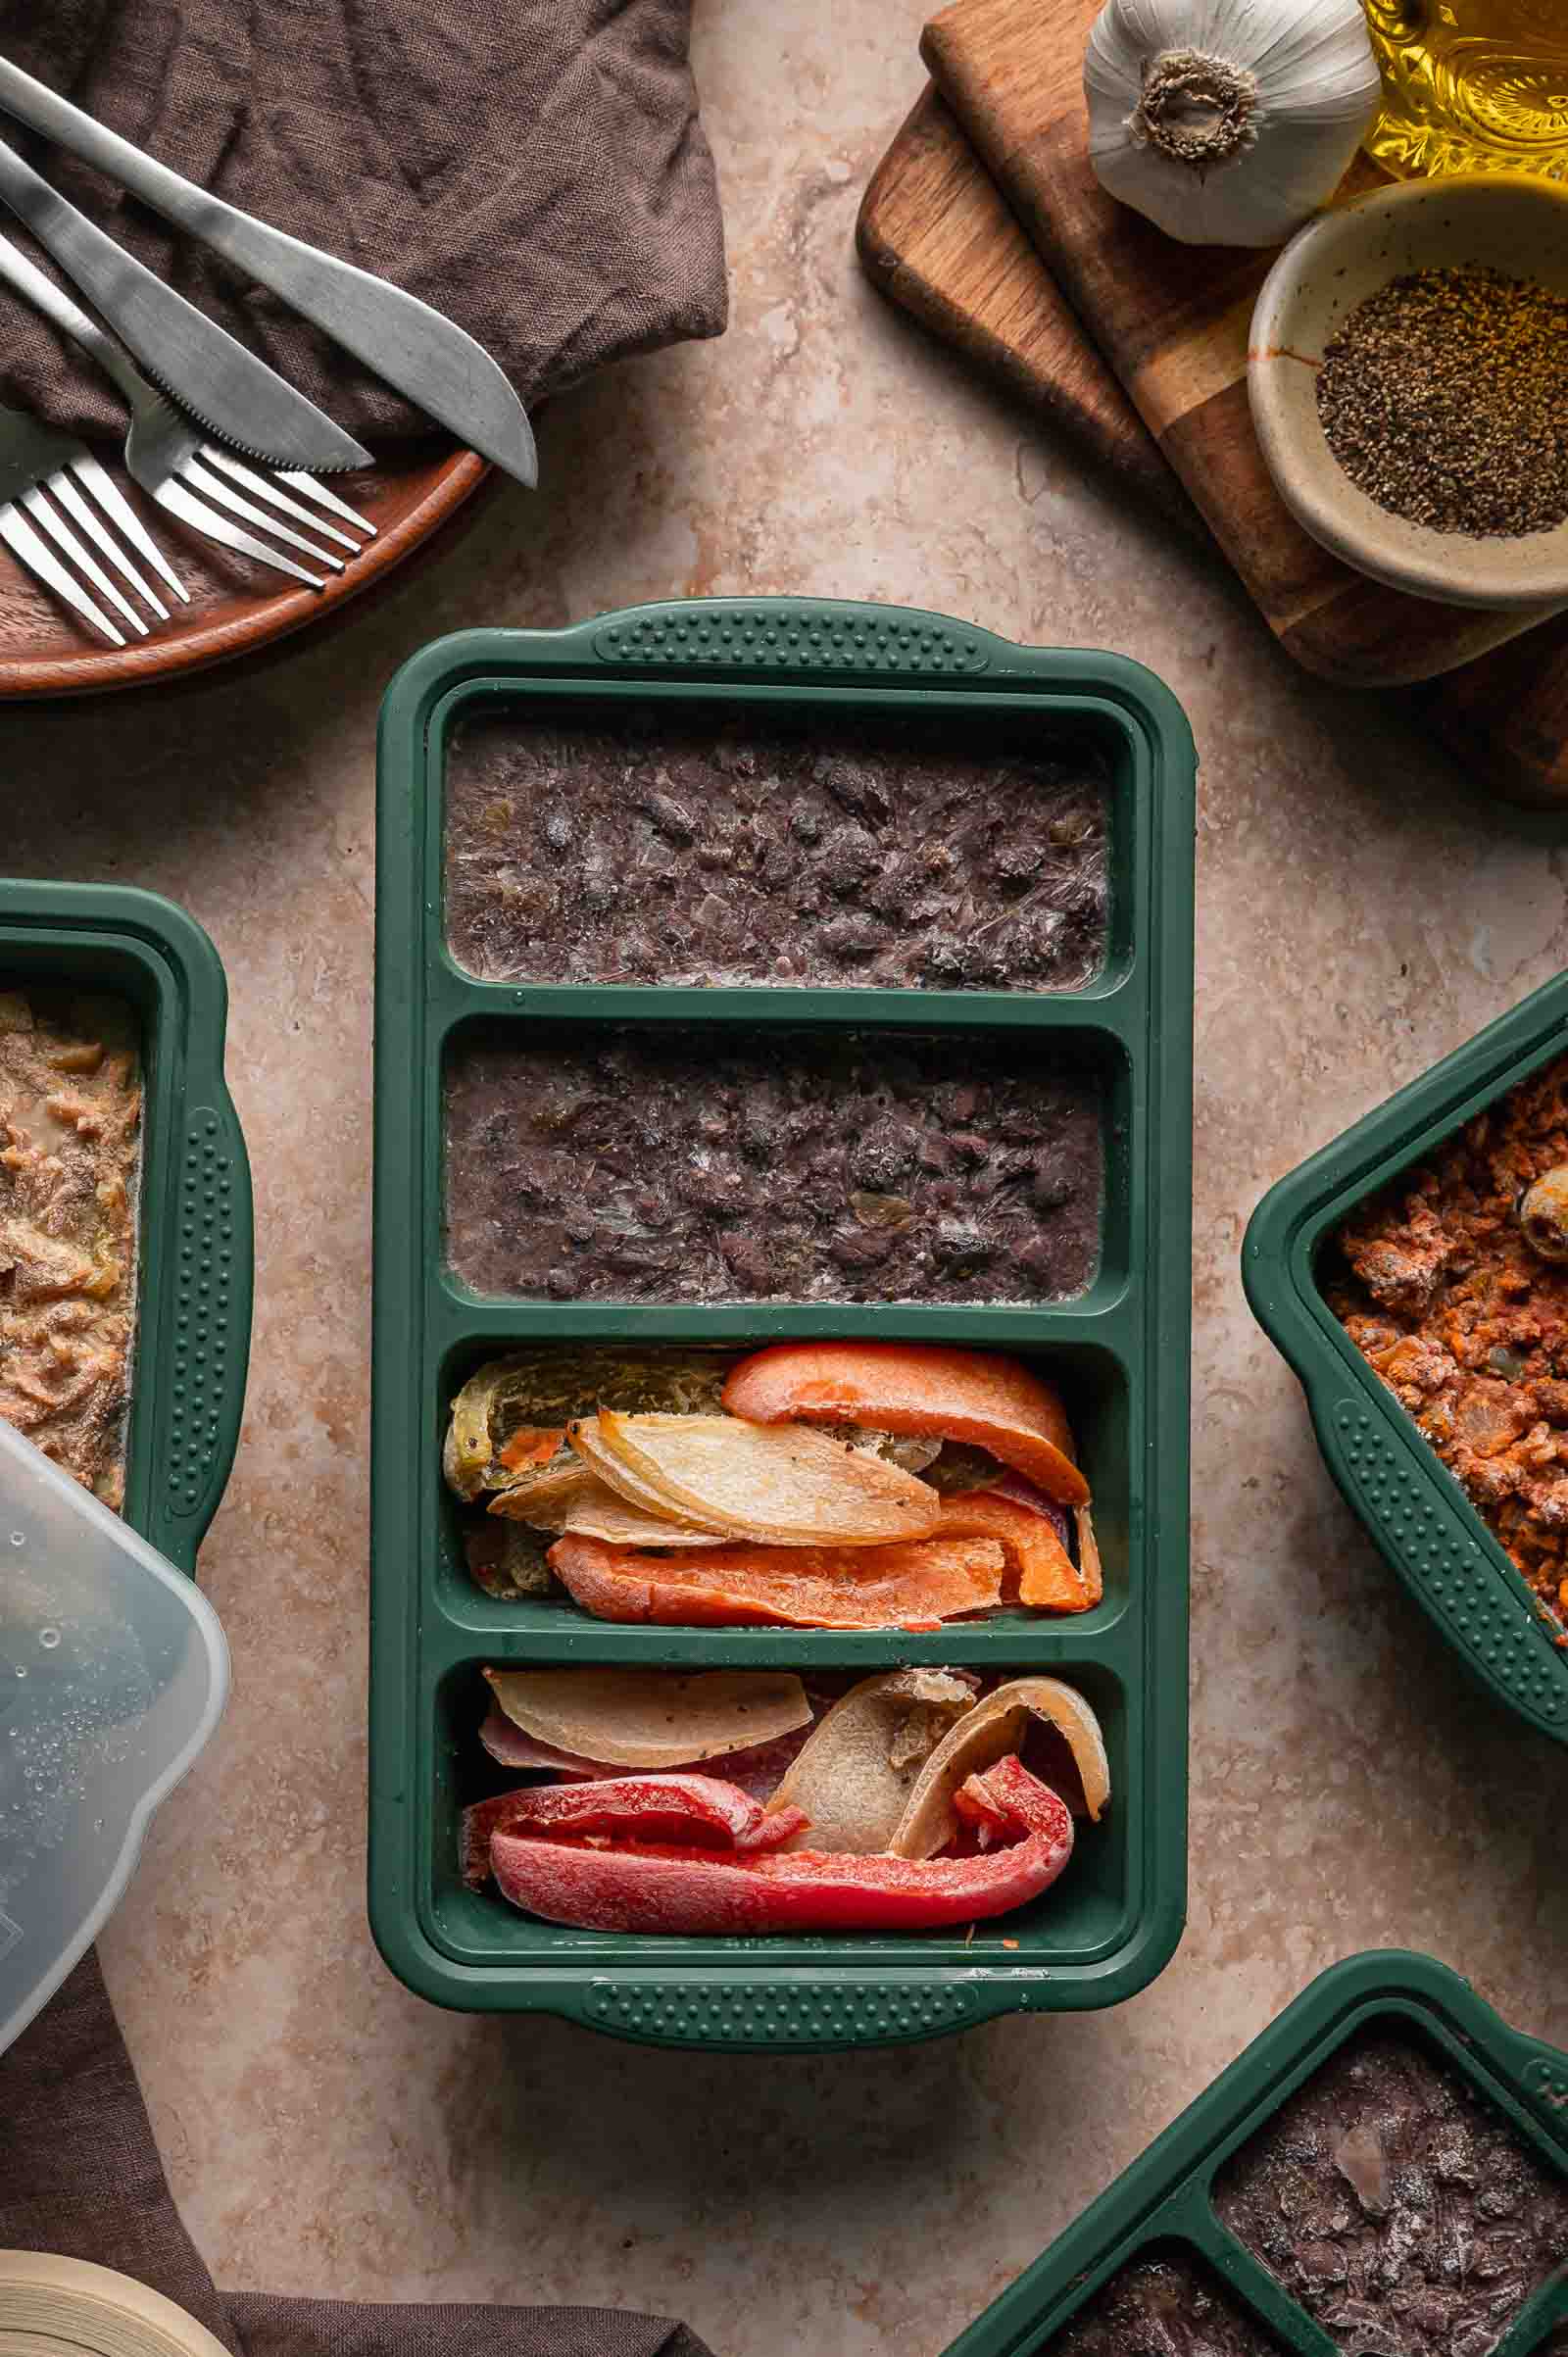
Reheating Instructions
- Cover loosely, microwave 2 minutes
- Stir, then 1–2 minutes more until hot
- Rest 1 min. Stir in water/broth if thick.
- Thaw overnight in the fridge
- Microwave, stirring halfway through
- Saucepan, splash of water or broth
- Cover, medium-low, stir every few min
- Uncover last 1–2 min if too much liquid
- Medium-low heat, stirring often
- Cook until hot and creamy
Troubleshooting
| Problem | Fix |
|---|---|
| Beans are watery | Simmer uncovered 5 to 10 more minutes before cooling. The broth should be creamy but not dry. |
| Beans are too thick after reheating | Stir in a splash of water or broth. Beans continue to absorb liquid as they cool and freeze. |
| Beans taste flat after reheating | Add a squeeze of lime or a small splash of vinegar after warming. Acid tastes fresher added at the end. |
🔄 Substitutions
- Regular canned black beans: Works fine if that’s what you have, but taste before adding more salt since canned beans vary in saltiness.
- Red bell pepper: Gives a sweeter flavor. Green bell pepper gives a more classic Cuban-style flavor.
- Apple cider vinegar instead of white vinegar works, though the flavor runs a little softer.
💡 Meat Nerd Tips
- Don’t over-reduce the beans before freezing. The broth should coat the spoon but still move when stirred. Over-thickened broth turns gluey once frozen and thawed.
- Cool completely before portioning for cleaner cubes. Hot beans release steam, which creates icy patches in the freezer.
- Label the bag with the portion size. A 1-cup Cuban Black Bean cube is designed to pair with one protein cube and one vegetable cube.
- Mashing a scoop of beans is a starch-free thickener. It builds creaminess without adding anything that could break down oddly after a freeze-thaw cycle.
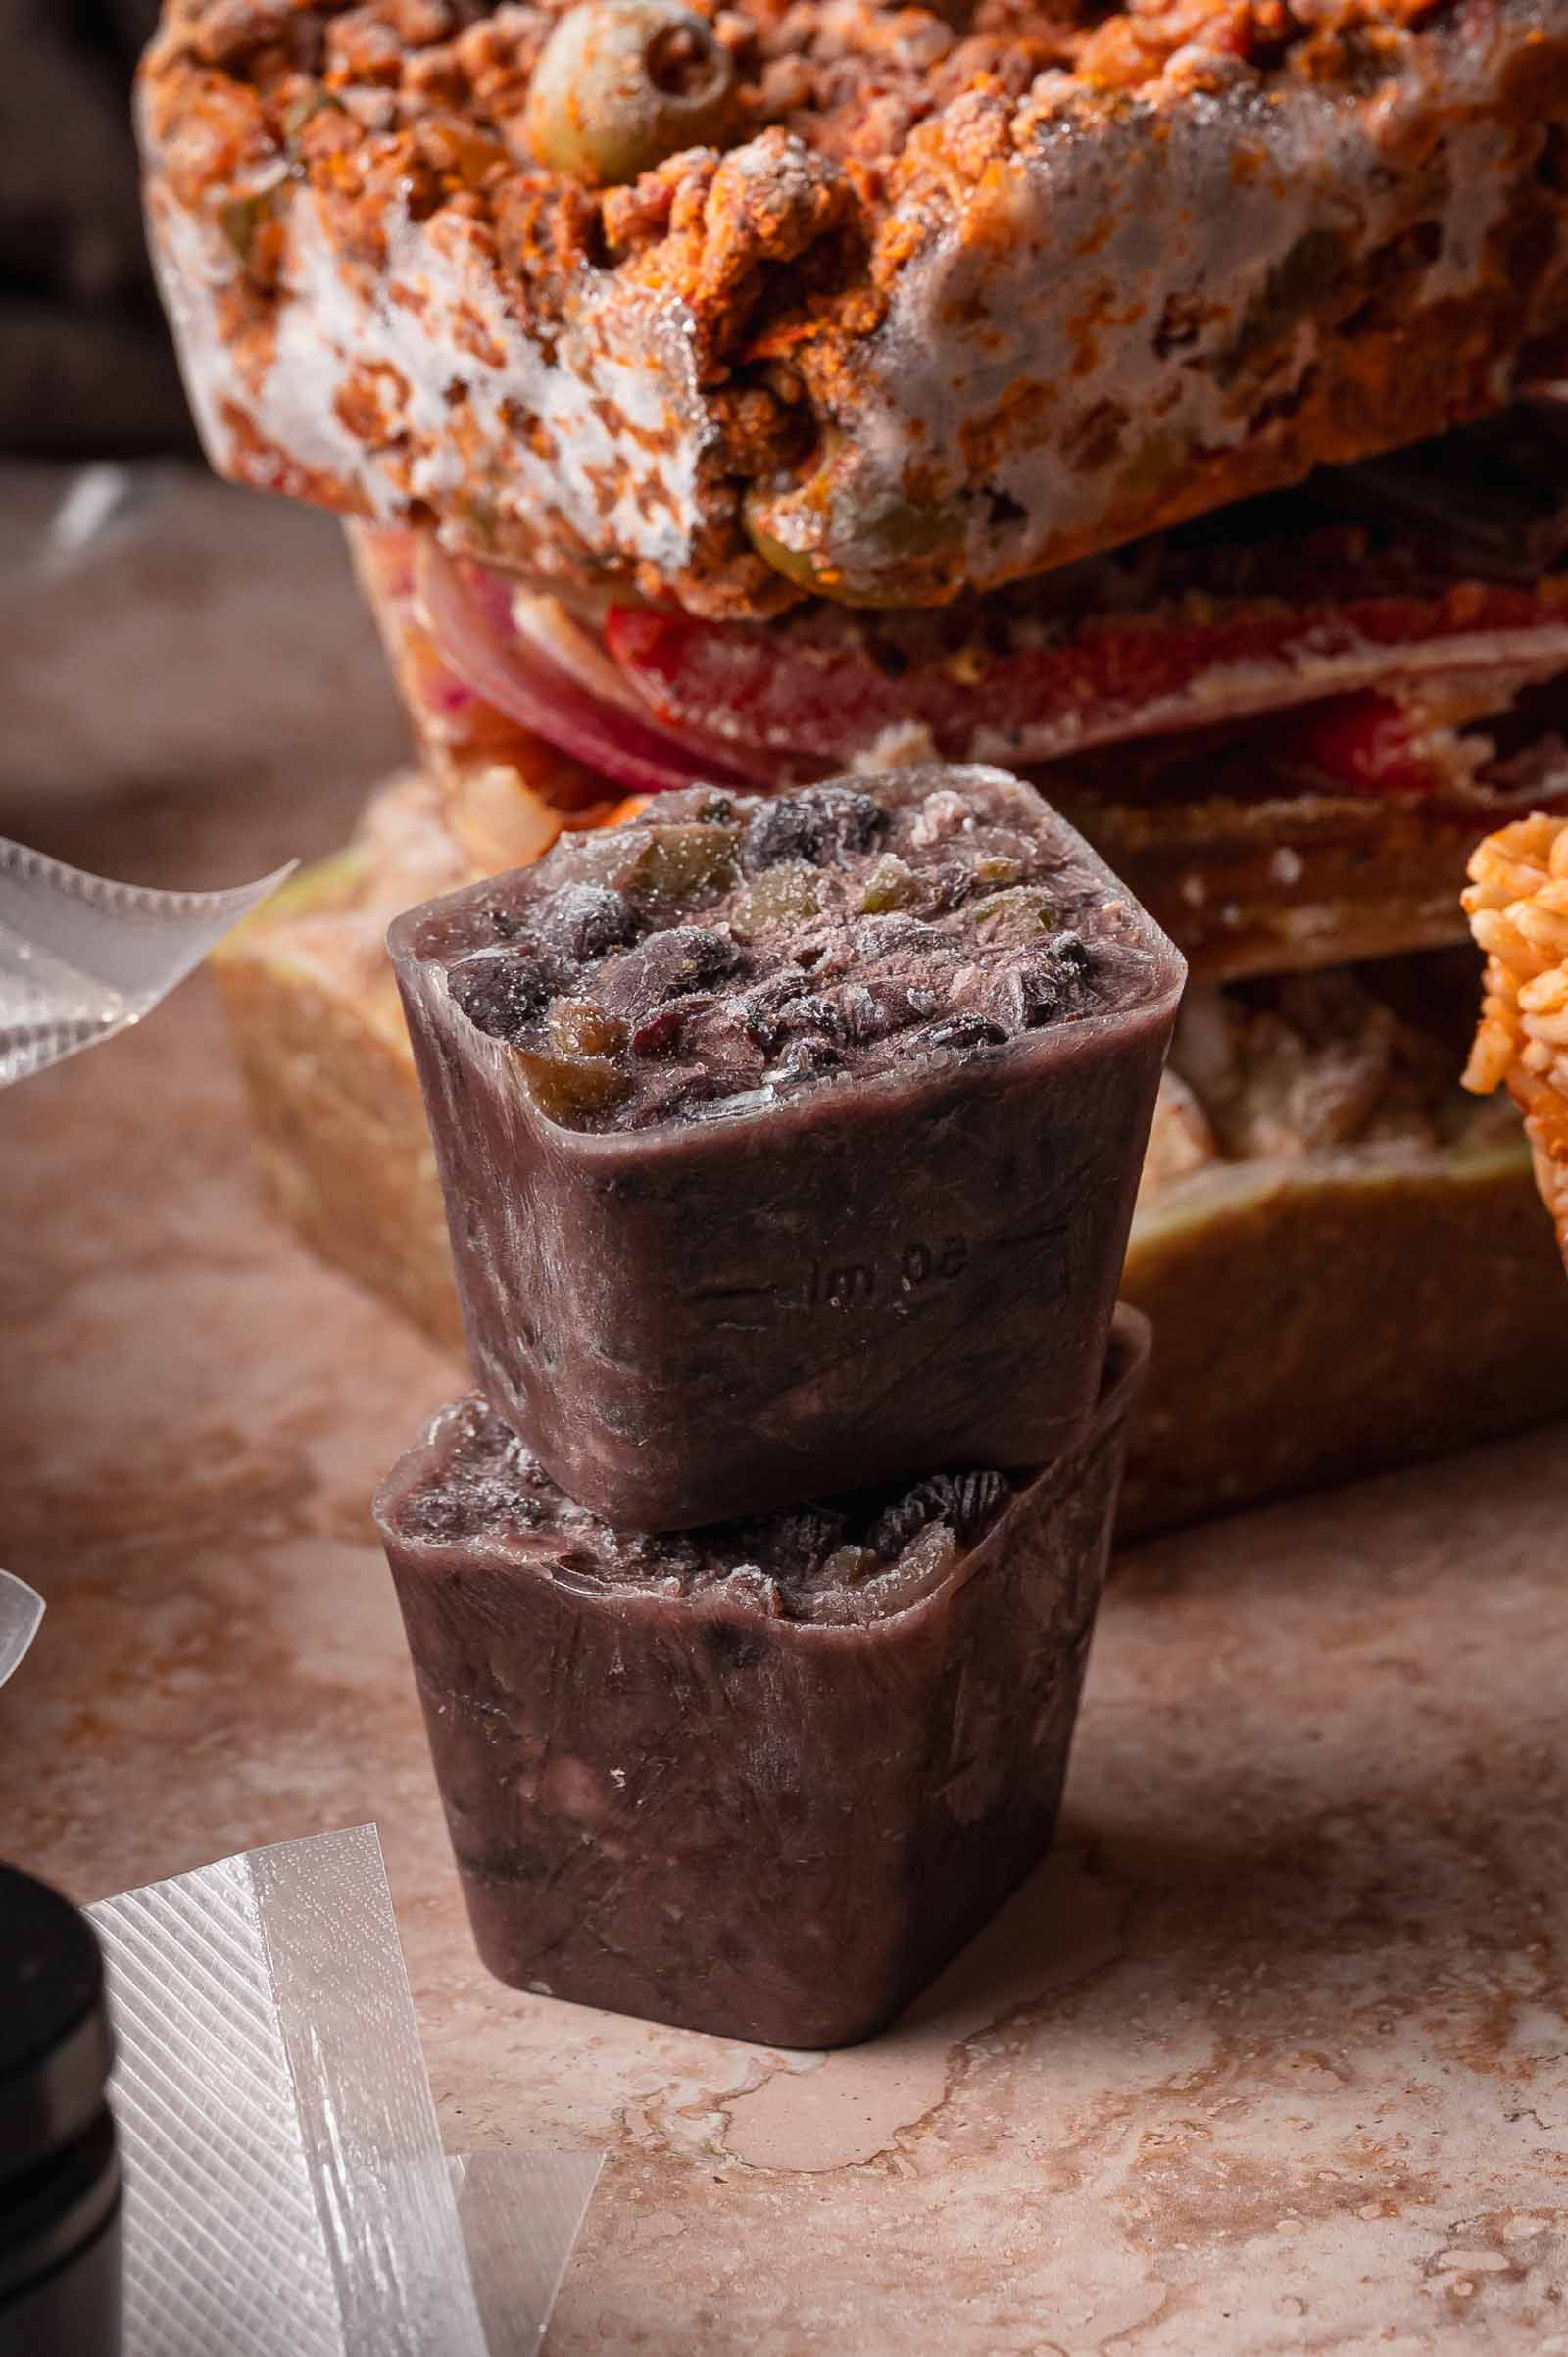
The GC Freezer Meal Formula: Build Your Plate
Freezer meals don’t have to mean eating the same casserole four nights in a row.
The GC Freezer Meal System works differently. Each recipe is built as a component that freezes, reheats, and pairs well with the others.
Think of it like building a plate: Protein cube + starch cube + vegetable cube = dinner
Each build is designed around matching portions and mold sizes, so you can mix and match straight from the freezer. Make a few components on prep day, then build different dinners throughout the week without starting from scratch every night.
This build combines 5 freezer components designed to work together. Make the full build during one prep session, or choose only the pieces that fit your freezer.
Cuban black beans cube + any protein cube + any vegetable cube = dinner from frozen in under 5 minutes. Pair it with Spanish Rice for the classic rice-and-beans combo. Each recipe is designed to mix and match across the system.
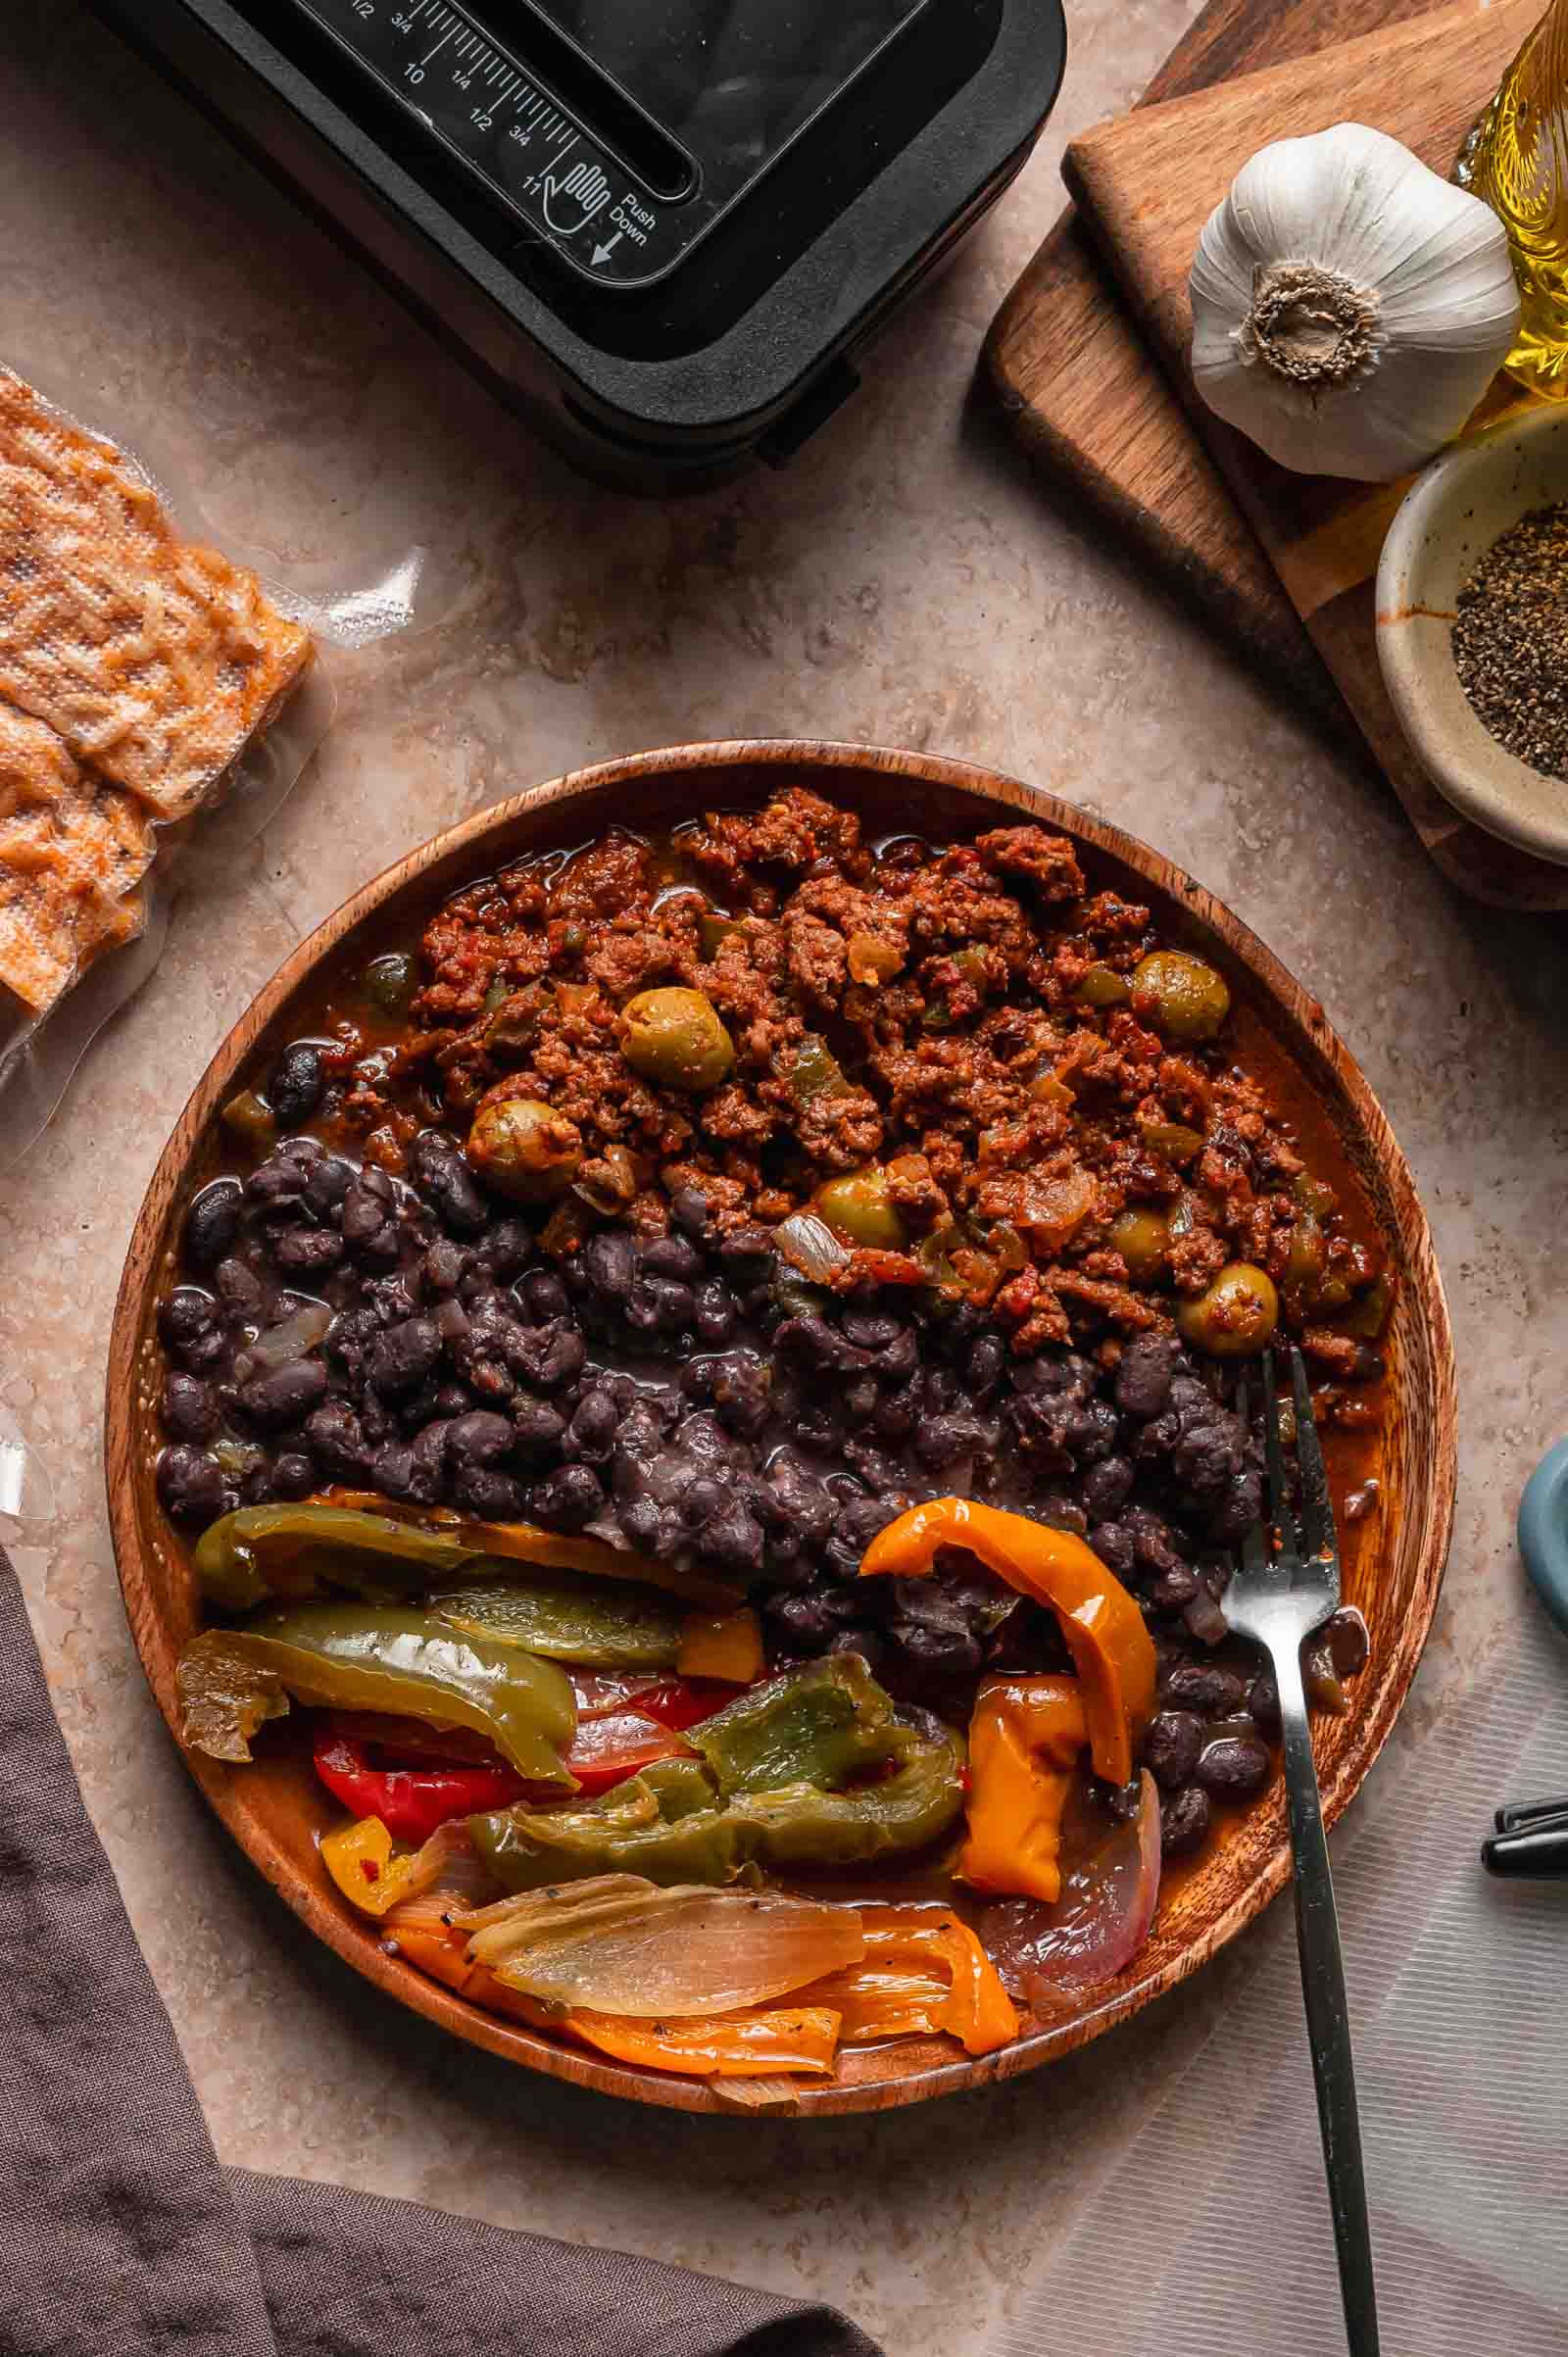
🍽️ What to Serve with Cuban Black Beans
- Spanish Rice: The classic combo. One portion of beans plus one rice portion makes the traditional rice-and-beans pairing.
- Cuban Picadillo: Round out a full Cuban-inspired plate with beans, rice, and picadillo together.
- Mississippi Chicken: A heartier, two-protein-adjacent plate when you want more substance without more cooking.
- Eggs or tostadas: Use ½-cup portions as a topper for breakfast or a quick lunch.
- Fried or grilled plantains: The sweetness balances the savory, tangy beans.
🧊 Leftovers and Storage
- Repurpose reheated beans in rice bowls, burritos, taco bowls, eggs, soups, or as a side for pork, chicken, shrimp, or plantains.
- Add lime juice or a splash of vinegar after reheating, never before freezing.
Have you tried this recipe? Do us a favor and rate the recipe card with the ⭐ ⭐ ⭐ ⭐ ⭐ and drop a comment to help out the next reader.
Quick Summary
Cuban Black Beans turn a can of beans into a rich, creamy side dish that freezes into six ready-to-go portions. Mash a scoop of beans back into the pot for starch-free creaminess, chill fully before portioning, and finish with a splash of vinegar after reheating to bring back any brightness the freezer dulled.
Cuban Black Beans (Meal Prep + Freezer-Friendly)
Ingredients
Black Beans
- 2 tablespoons canola oil or Avocado oil
- 1 medium yellow onion finely diced
- 1 medium green bell pepper finely diced
- 6 garlic cloves minced
- 1 teaspoon dried oregano
- 2 teaspoons ground cumin
- ½ teaspoon black pepper
- 1 teaspoon kosher salt
- 3 (15-ounce) cans low-sodium black beans two cans drained, one can undrained
- 1½ cups chicken broth
- 2 bay leaves
- 1 teaspoon granulated sugar
- 2 tablespoons white vinegar
Instructions
Cook the Vegetables
- Heat the canola oil in a large pot or Dutch oven over medium heat. Add the onion, green bell pepper, and kosher salt. Cook 6 to 8 minutes, stirring often, until the vegetables soften.
Bloom the Garlic and Spices
- Add the garlic, oregano, cumin, and black pepper. Cook 30 seconds, stirring often, until fragrant.
Add the Beans
- Add the black beans and sugar. Stir well, scraping the bottom of the pot.
Simmer
- Add the bay leaves and bring to a simmer over medium heat. Reduce to medium-low and simmer uncovered 20 to 25 minutes, stirring every few minutes, until the broth thickens slightly.
Mash for Creaminess
- Mash a small scoop of beans against the side of the pot and stir back in. This gives a creamier texture without adding starch, which helps them freeze and reheat better.
Finish with Vinegar
- Stir in the white vinegar off the heat. Taste and adjust the salt. The beans should be saucy, not dry. The broth protects them in the freezer.
Cool
- Cool uncovered for 20 to 30 minutes, stirring once or twice so steam can escape.
Serve Fresh or Freeze
- If you're eating tonight, stop here. Serve the beans hot as your side dish. Everything from this point on is for the freezer.
Chill and Portion
- Cool at room temperature, then refrigerate until fully chilled. This reduces ice crystals and keeps the broth from getting watery. Use 1-cup silicone molds for the best portions (2-cup for larger bowl-style portions, about 3; ½-cup for smaller side or rice-topper portions, about 12). Place molds on a rimmed sheet pan. Ladle in the chilled beans, leaving a little space at the top for expansion.
Freeze
- Freeze for at least 6 hours, or until solid.
Bag and Label
- Pop the frozen cubes out of the molds. Transfer to a freezer-safe bag or container. Press out as much air as possible, label with the recipe name and date, and freeze for up to 3 months.
Reheat From Frozen
- Microwave: Place 1 frozen 1-cup portion in a microwave-safe bowl. Cover loosely with a lid or damp paper towel. Microwave 2 minutes, then stir. Microwave 1 to 2 more minutes, until hot all the way through. Rest 1 minute before serving. Stir in a splash of water or broth if thicker than you like.
- Stovetop: place 1 to 2 frozen portions in a small saucepan with a splash of water or broth. Cover and warm over medium-low heat 8 to 12 minutes, stirring every few minutes, until hot and creamy. Uncover the last 1 to 2 minutes if there's too much liquid.
Reheat From Thawed
- Thaw overnight in the refrigerator for the best texture.
- Microwave a thawed 1-cup portion 1½ to 2 minutes, stirring halfway through. Or warm on the stovetop over medium-low heat 5 to 7 minutes, stirring often.
Notes
- The beans may thicken after freezing. Add a splash of water or broth when reheating if you want them looser.
- Don’t over-reduce before freezing. The broth should coat the spoon but still move when stirred.
- Label the bag with the portion size. A 1-cup cube works as a side; a 2-cup cube works better for a full rice bowl.
- If flat after reheating, add a squeeze of lime or a splash of vinegar at the end. Acid tastes fresher added last.
- Repurpose in rice bowls, burritos, taco bowls, eggs, soups, or as a side for pork, chicken, shrimp, or plantains.
Save this Recipe
Nutrition
Bookmark this recipe now!
The Gear Behind our Lego Lunch Recipes
Every step above assumes you have got the right sealer and the right molds. See the exact FoodSaver sealer and Souper Cubes mold set GC runs this whole system on, plus the budget-friendly swap, in one place.
See the Full Equipment Guide →Guides Worth Bookmarking
❓ FAQs
Yes. Microwave or stovetop reheating both work from frozen. Thawing overnight gives a smoother texture, but it is not required.
Yes. Red bell pepper gives a sweeter flavor, while green bell pepper gives a more classic Cuban-style flavor.
No. Apple cider vinegar works as a substitute, though the flavor runs a little softer than white vinegar.
Use 2-cup molds for full rice bowl portions and 1-cup molds for a standard side. ½-cup molds work well for rice toppers or taco bowl add-ins.