Freezer Meals Series · Starch
We challenge you to find a side dish that everyone loves as much as extra cheese stovetop mac and cheese. We’ll wait. When the craving hits, you’ve got to give and it turns out this one works both fresh, and as part of our Lego lunch system.
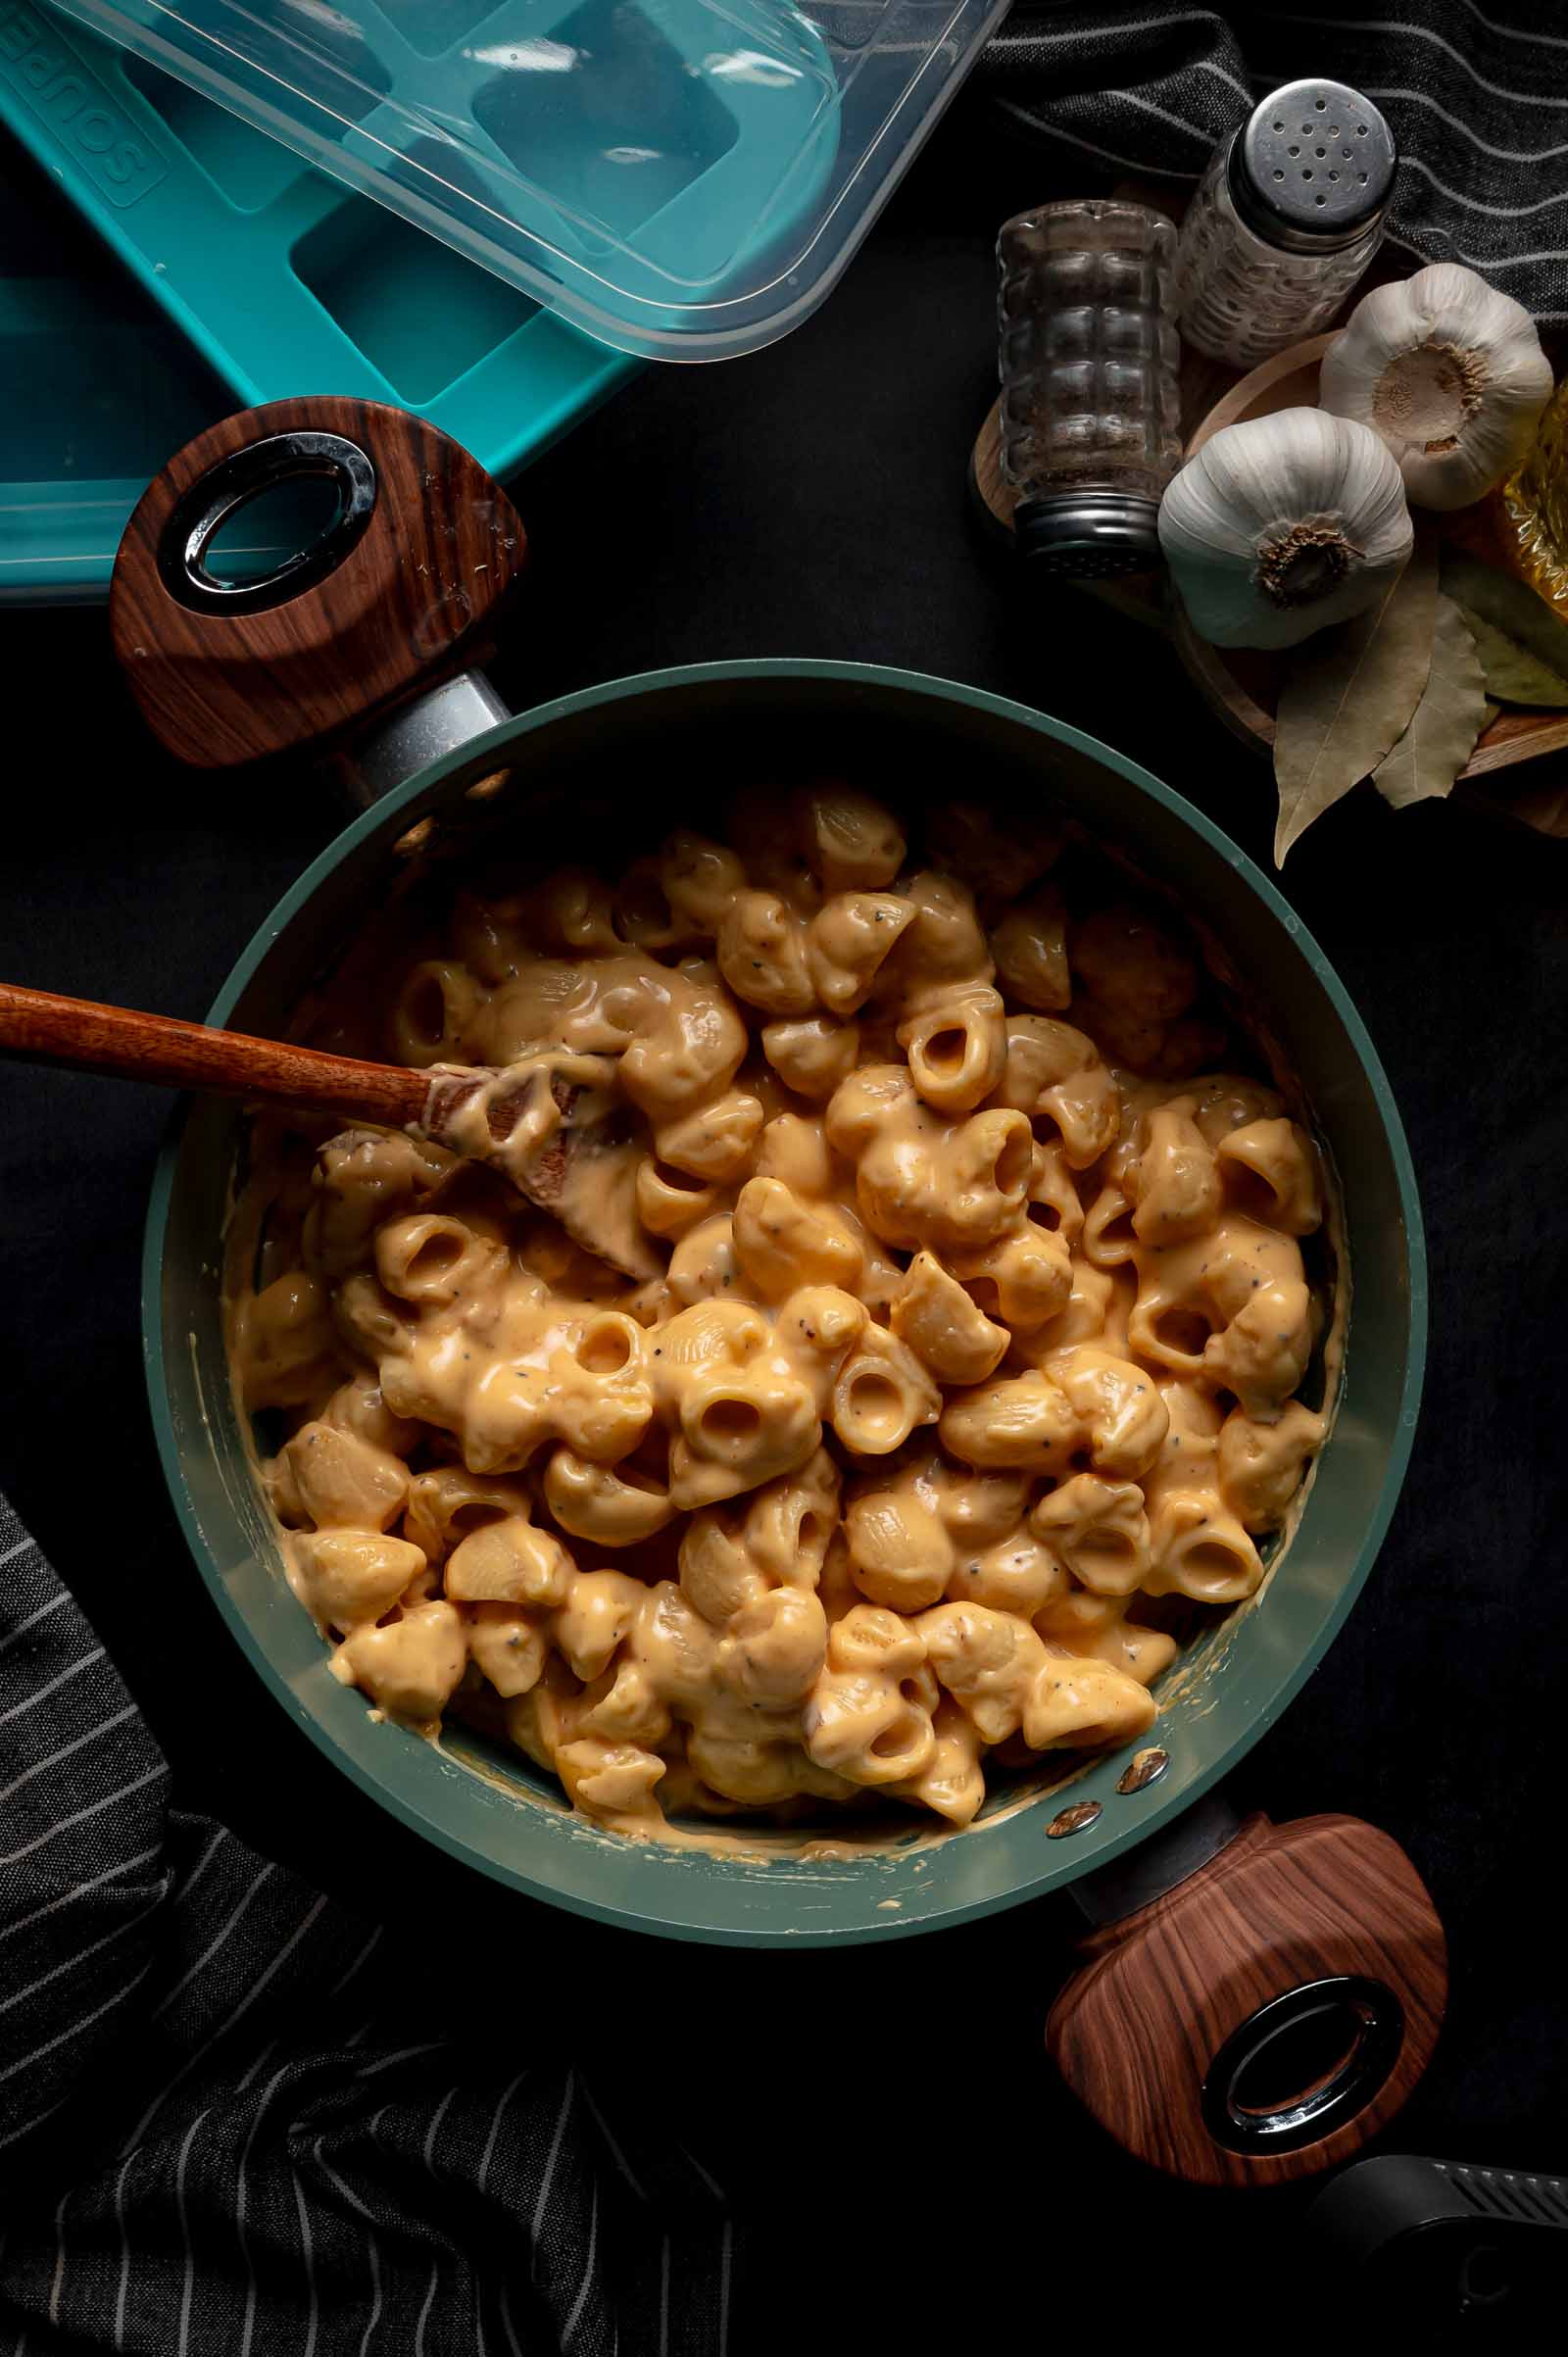
The trick to the smoothest and creamiest mac and cheese is evaporated milk and American cheese. Evaporated milk carries more body than regular milk, so the sauce doesn’t split into a watery mess once it thaws. American cheese is the glue that keeps the cheddar and Colby Jack from breaking into grease pools in the microwave.
We tested this specifically for the GC Freezer Meal System, where vegetables, proteins, and starches are portioned separately and mixed together for quick dinners later. So, if you’re batch cooking for meal prep, cook the pasta two minutes short of the package time, portion everything warm, and you get a cube that tastes freshly made instead of a month old.
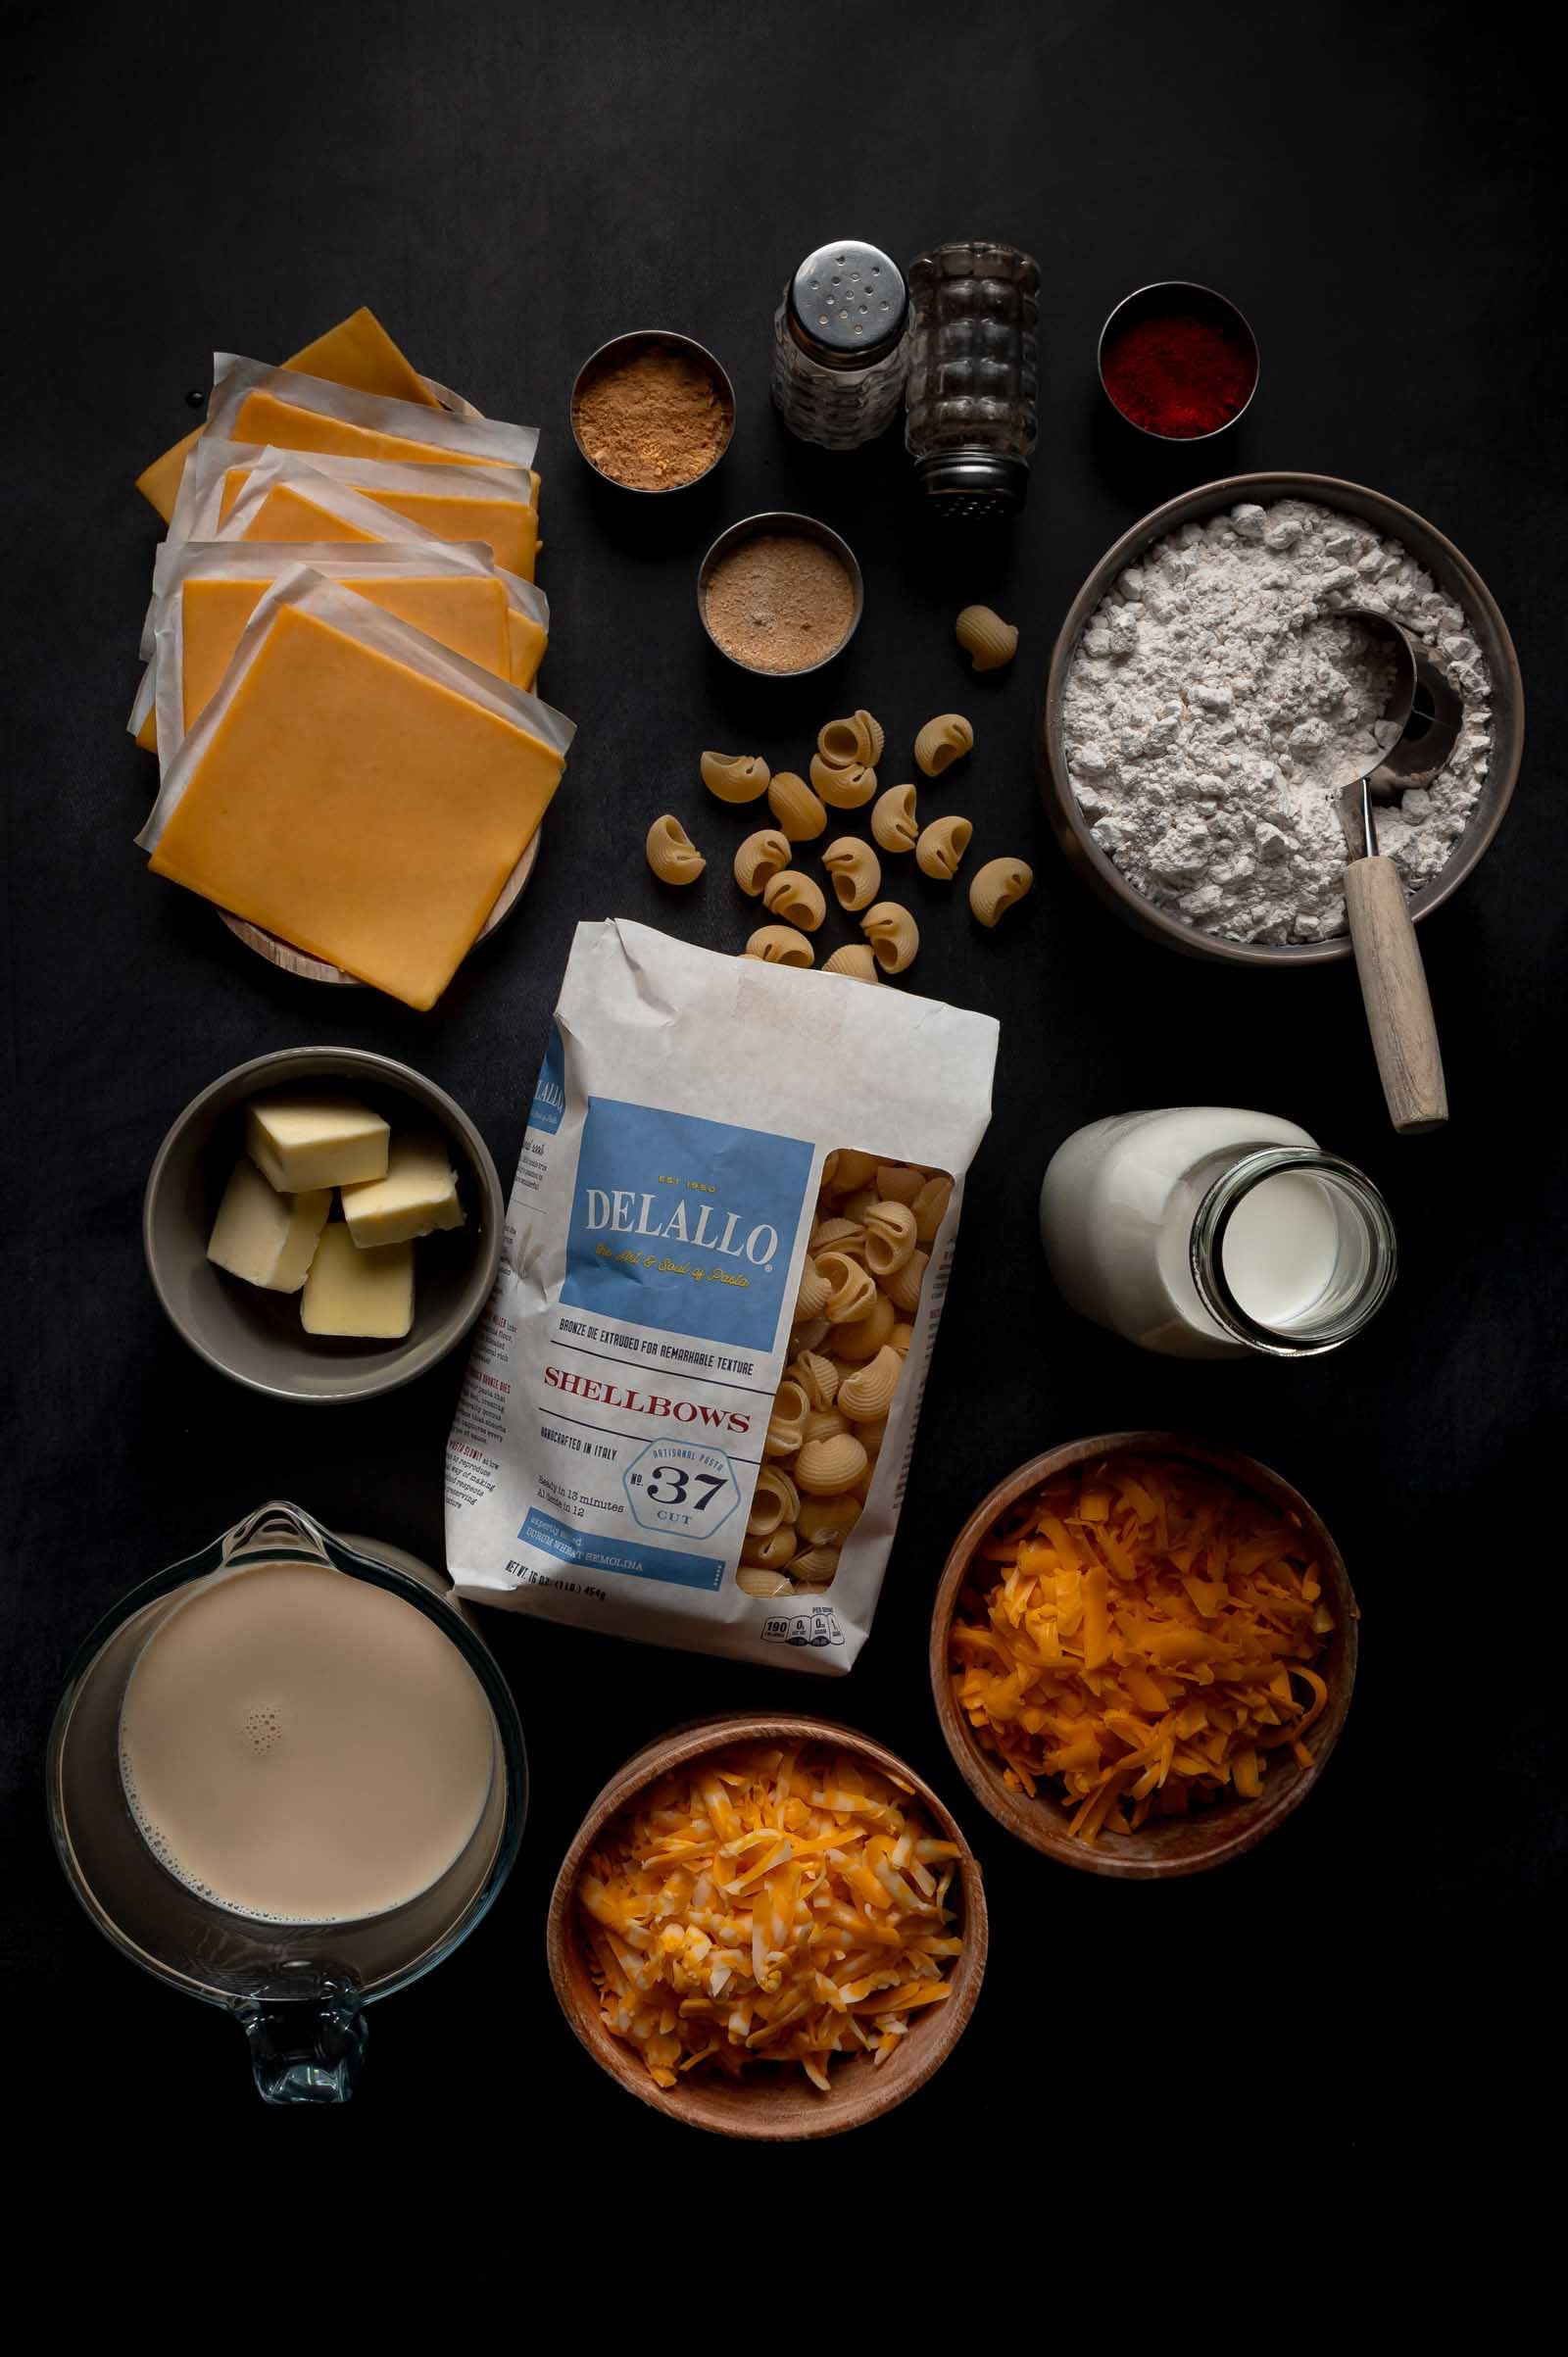
🔪 Ingredients for Stovetop Mac and Cheese
Quantities are in the recipe card below. Here’s what each ingredient is doing and why it matters once this goes into the freezer. This one’s part of our full freezer meal prep lineup, built to stack next to proteins and vegetables from the same cook day.
- Shellbow pasta: its curled shape holds sauce well, and the sturdy structure survives a freeze, thaw, and reheat cycle better than a delicate noodle would. Elbow macaroni, small shells, or cavatappi all work if shellbow isn’t on the shelf.
- Butter and flour: the roux base that thickens the sauce enough to coat the pasta without turning gluey.
- Evaporated milk: the backbone of a freezer-stable sauce. It has more body than regular milk, which keeps it from breaking watery after a freeze and reheat.
- Half-and-half: rounds out the richness without tipping the sauce too heavy.
- Kosher salt, garlic powder, mustard powder, black pepper, paprika: a savory base that doesn’t fade after freezing. Freezer meals mute flavor, so this seasoning does some of that work in advance.
- American cheese: not optional here. It melts smooth and keeps the sharp cheeses from separating once this thaws.
- Sharp cheddar cheese: brings the flavor punch.
- Colby Jack cheese: melts smoother than cheddar alone and softens the final texture.
Equipment
- 1-cup silicone molds: portion and freeze the mac and cheese into stackable cubes.
- Sheet pan: keeps the molds steady while filling and gives you one surface to move between the fridge and freezer.
- Freezer-safe bags or containers: house the popped-out portions long term.
- Labels and marker: mark the recipe name, portion size, and date. Don’t skip this step three weeks in.
- Vacuum sealer (optional): extends the good-texture window when you freeze the portions solid first.
Full picks and links for every mold, sealer, and bag in this system: Freezer Meal Prep Equipment Guide.
📝 How to Make Stovetop Mac and Cheese
- Cook the pasta short. Bring a large pot of salted water to a boil and cook the shellbow pasta 2 minutes less than the package directs. It should still have some bite at the center, not be fully tender, since it finishes cooking during reheating.
- Rinse to stop the cooking. Drain the pasta and rinse it briefly under cool water. This halts the cooking immediately so the noodles don’t keep softening while they wait on the sauce.
- Build the roux. Melt the butter in a large saucepan or Dutch oven over medium heat, then whisk in the flour. Cook 1 to 2 minutes, whisking constantly, until the mixture looks smooth with no raw flour streaks left.
- Add the evaporated milk. Slowly whisk in the evaporated milk until smooth, then whisk in the half-and-half. Cook 4 to 6 minutes, stirring often, until the sauce lightly coats the back of a spoon. That thickness matters more for a freezer batch than a same-night one. Too thin, and it goes watery in the microwave later.
- Season on low heat. Drop the heat to low and stir in the salt, garlic powder, mustard powder, black pepper, and paprika until the color turns lightly golden and the seasoning disappears into the sauce.
- Melt the American cheese first. Stir in the American cheese until fully melted, then pull the pot off the heat. Add the cheddar and Colby Jack a handful at a time, stirring slowly after each addition until the sauce turns glossy and smooth. Melting the American cheese while the pot’s still warm, then finishing the sharp cheeses off the heat, is what keeps this sauce from turning grainy.
- Fold in the pasta. Add the shellbow pasta and stir until every piece is coated. The mixture should look loose enough to spoon easily, saucier than you’d want for serving tonight. That extra sauce is what keeps the pasta creamy after time in the freezer.
- Taste while it’s warm. Adjust the salt now, while the mac and cheese is still hot. Once it’s chilled and frozen, you lose your best shot at fixing the seasoning.
If dinner’s tonight, stop here and serve it warm, straight from the pot. Everything from this point forward is for the freezer stash.
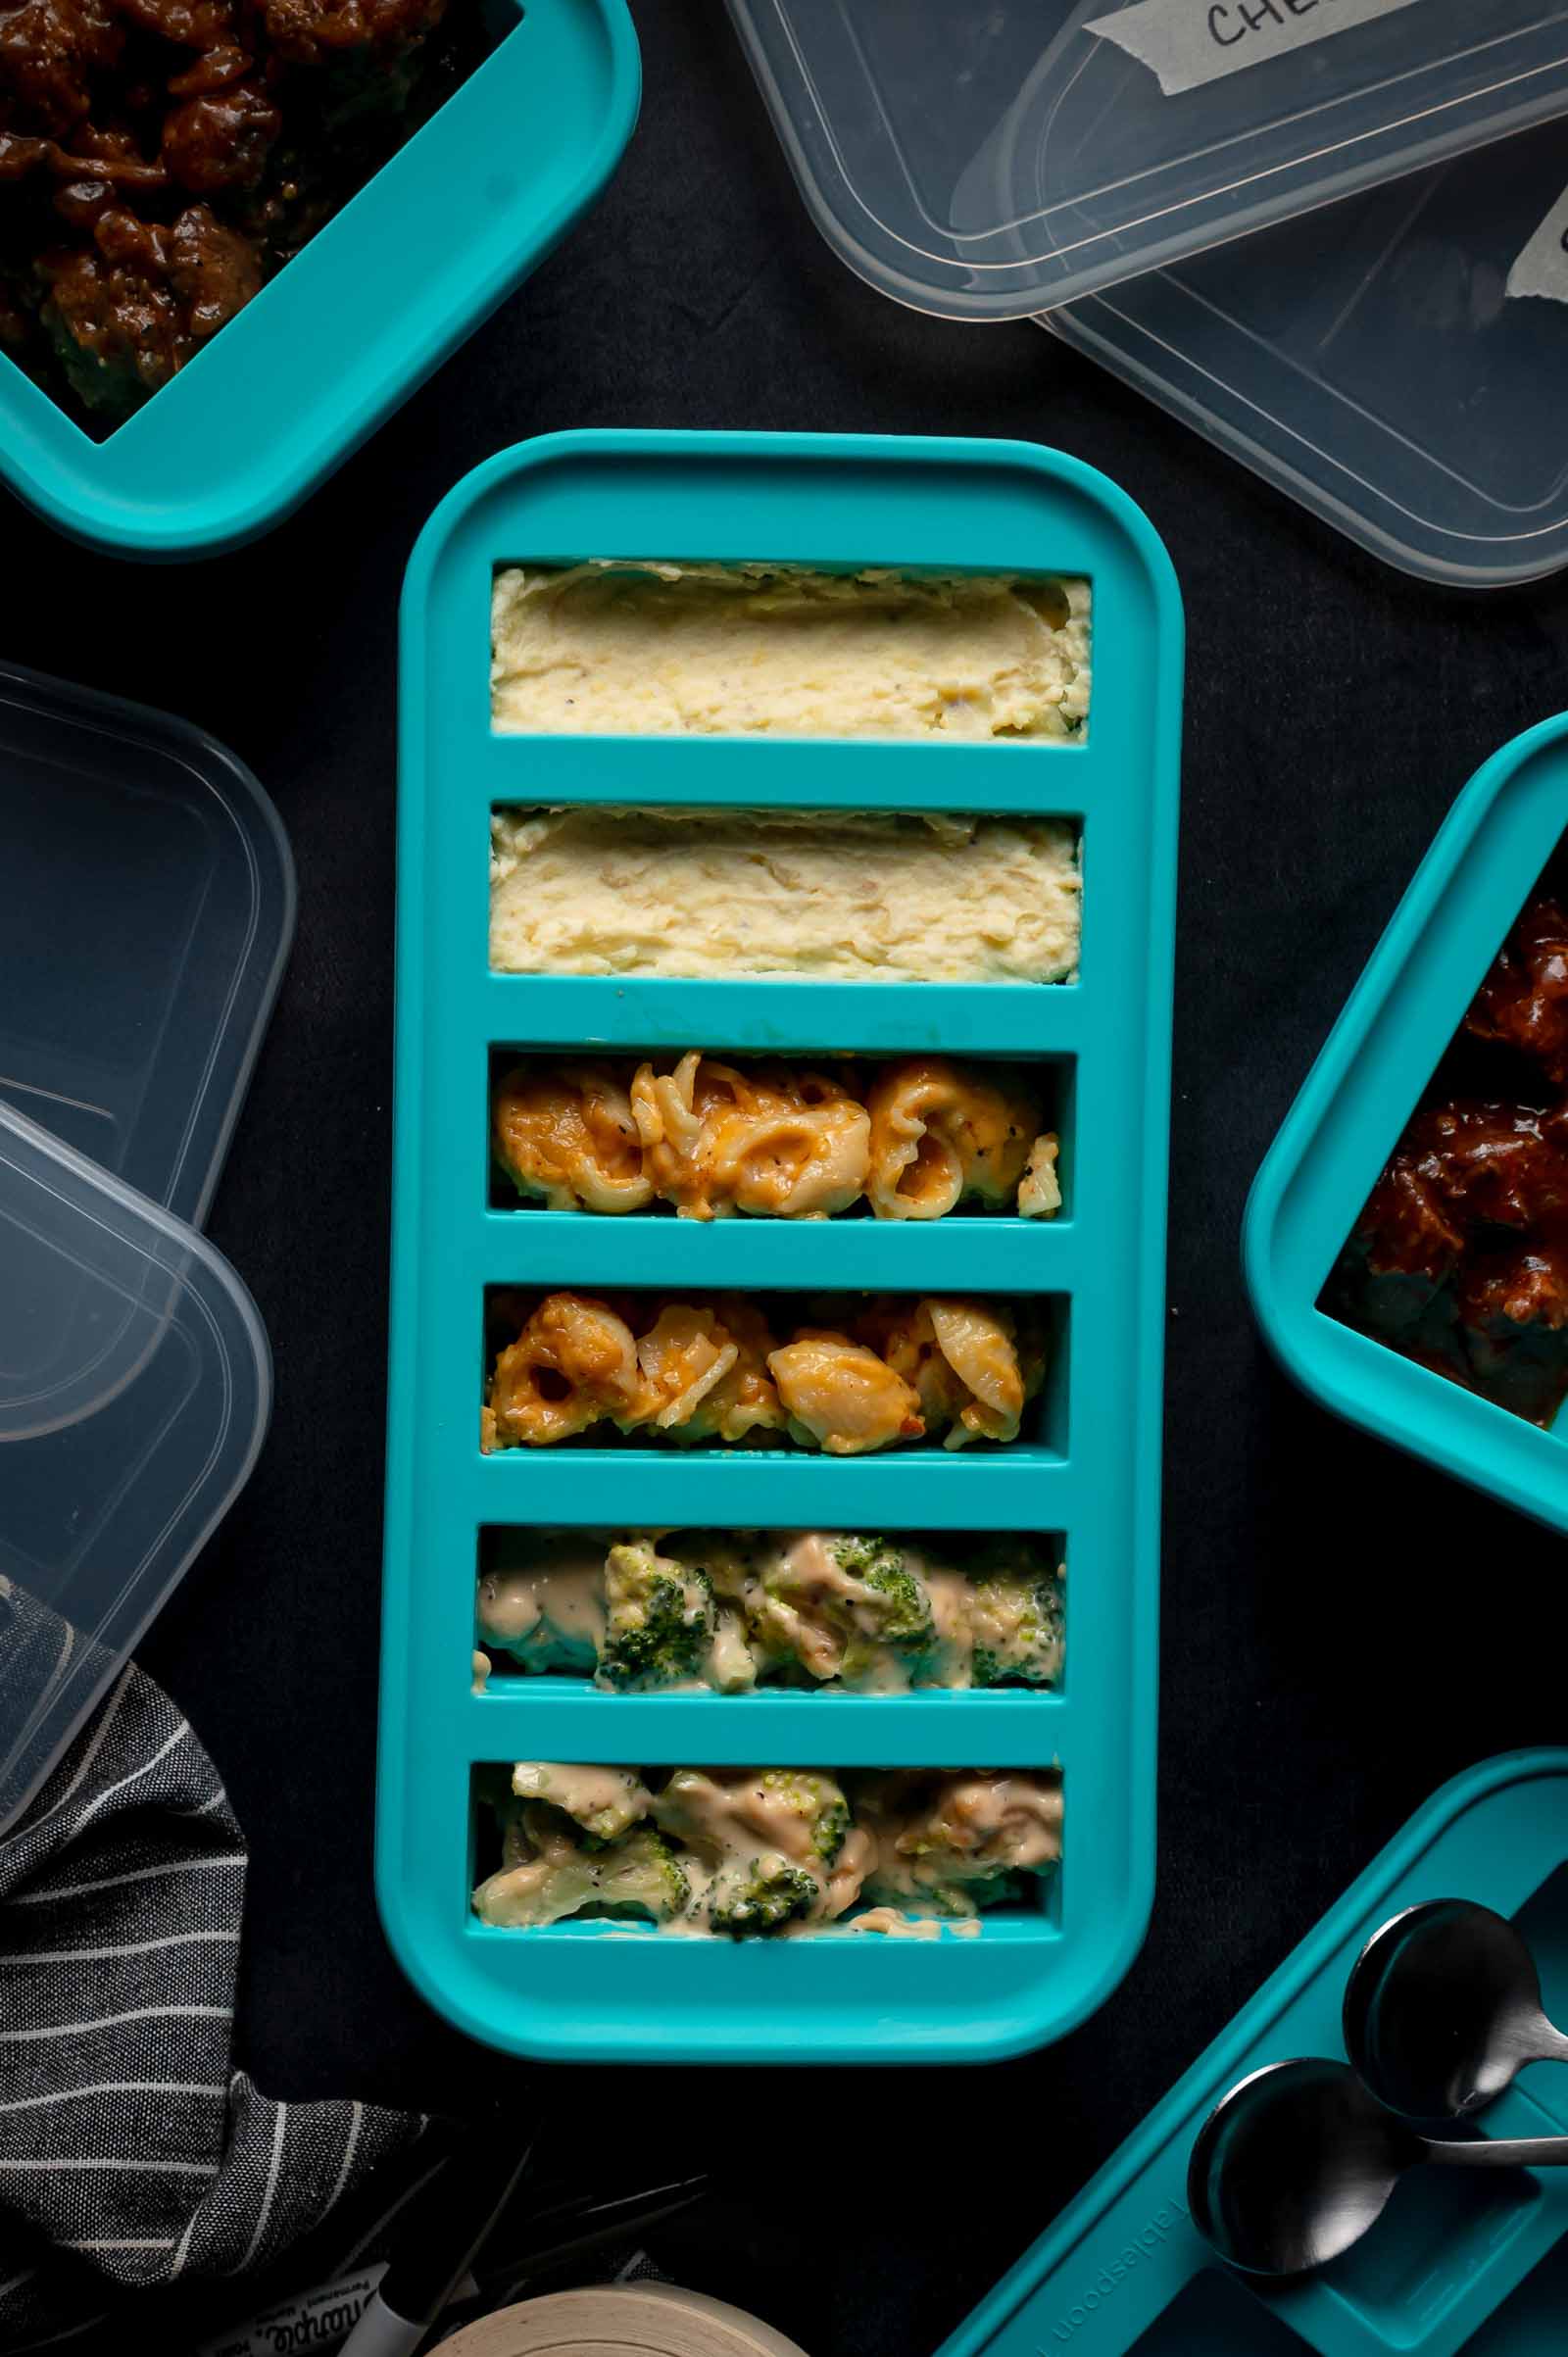
Portioning and Meal Prep Assembly
Place the 1-cup silicone molds on a sheet pan before filling them. This keeps the molds steady and makes them easier to move once loaded. Spoon the mac and cheese into the molds while it’s still warm and flowable, that’s the window when it moves easily into the corners. Fill each cavity level with the top, then tap the mold gently on the counter to settle the pasta and sauce into place. Smooth the tops with a spoon or spatula.
Keep the portions flat instead of mounded. Flat portions freeze faster, stack better, and reheat more evenly. Let the filled molds cool at room temperature for 20 minutes, then move them to the refrigerator and chill for 1 hour before freezing. That chill time firms the portions up and cuts down on steam once they hit the freezer.
| Mold Size | Portions | Fill Level | Best For |
|---|---|---|---|
| 1-cupRecommended | 8 | Level with the top, flat not mounded | Standard side dish portion, mix-and-match with a protein + veg |
Freezing Instructions
- Move to the freezer. Transfer the chilled molds to the freezer, still on the sheet pan.
- Freeze solid. Freeze for at least 4 hours, until the portions are solid all the way through.
- Pop out and bag. Pop the frozen portions out of the molds and transfer them to freezer-safe bags or containers.
- Press out the air and label. Press out as much air as possible before sealing, then label with the recipe name, portion size, and date.
- Freeze up to 3 months. Use within that window for the best texture.
- Vacuum sealing. If you’re vacuum sealing, freeze the portions solid first and arrange them in a single layer before sealing, so the pressure doesn’t flatten the mac and cheese or pull sauce into the seal.
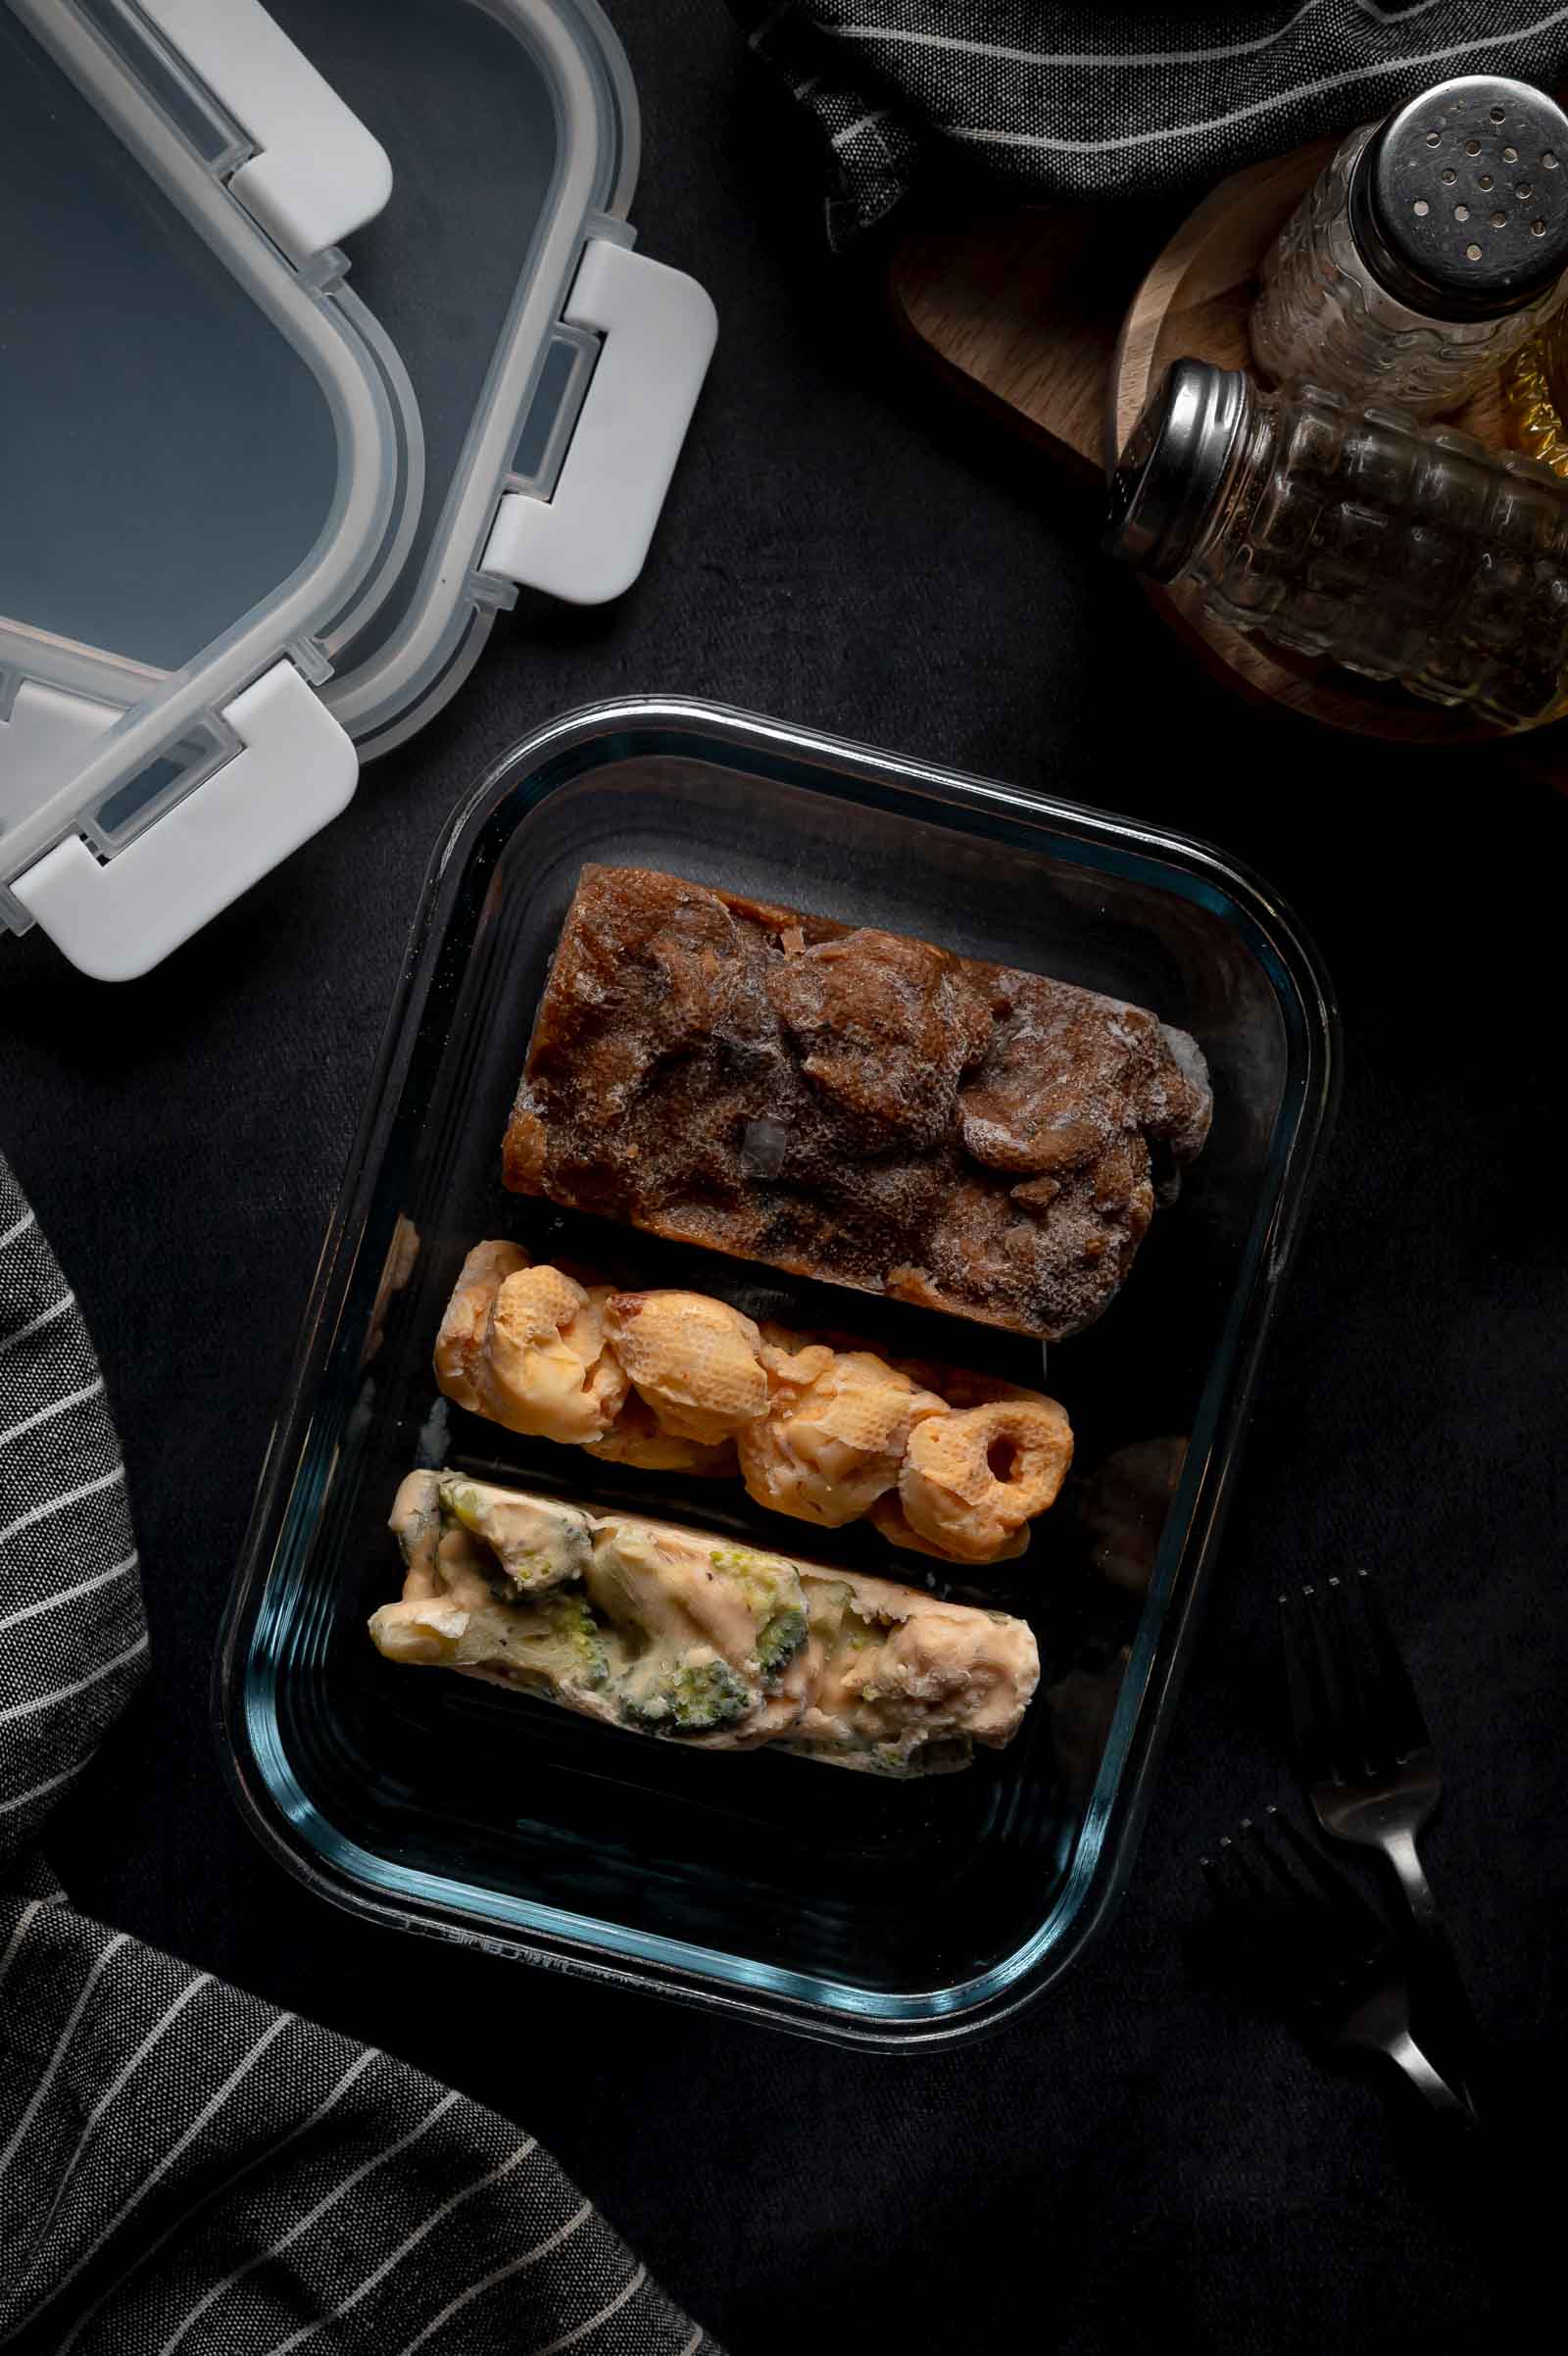
Reheating Instruction
- Cover loosely
- 50% power 3 minutes
- Stir well, then high 45-90 seconds
- Stir again until creamy
- Thaw overnight in the fridge
- Cover loosely
- Stir halfway through, until hot and creamy
- Thaw overnight in the fridge
- Low heat, stirring often
- Splash of half-and-half as needed
Troubleshooting
| Problem | Fix |
|---|---|
| Sauce turns grainy | Keep the heat low for the American cheese, then pull the pot off heat completely before adding the shredded cheddar and Colby Jack. |
| Sauce is thick after reheating | Stir in a small splash of half-and-half. The pasta keeps absorbing liquid as it sits. |
| Pasta went soft after freezing | Cook it 2 minutes under package time and rinse right after. Both stop the carryover cooking that turns freezer pasta mushy. |
| Flavor tastes muted after reheating | Add a small pinch of salt once it’s hot. Freezing dulls seasoning more than you’d expect. |
🔄 Substitutions
- Elbow macaroni, small shells, or cavatappi swap in for shellbow pasta with no real change to the method.
- Mild cheddar works instead of sharp cheddar, though you’ll lose some of the bite in the final flavor.
- Monterey Jack swaps for Colby Jack for a smoother, milder melt.
- Heavy cream in place of half-and-half makes a richer sauce, though it also freezes a touch heavier.
- Skipping the American cheese doesn’t work for the freezer version. The sauce is far more likely to break or separate once it thaws and reheats.
💡 Meat Nerd Tips
- Evaporated milk carries more body than regular milk. It’s the reason this sauce holds together through a freeze and thaw instead of turning watery.
- American cheese isn’t a shortcut here, it’s structural. It melts smooth and gives the cheddar and Colby Jack something to bind to instead of separating into grease pools.
- Warm mac and cheese pours. Cold mac and cheese doesn’t. Once it cools, the sauce thickens and the pasta sets, turning portioning into molds into a fight instead of a five-minute job.
- Cooking the pasta 2 minutes under isn’t optional. It’s the buffer that keeps the noodles from turning to mush through two more rounds of heat, the initial cook plus the reheat.
- A flat portion beats a mounded one. Flat cubes freeze faster, stack tighter in a freezer bag, and heat through more evenly than a lump would.
The GC Freezer Meal Formula: Build Your Plate
Freezer meals don’t have to mean eating the same casserole four nights in a row.
The GC Freezer Meal System works differently. Each recipe is built as a component that freezes, reheats, and pairs well with the others.
Think of it like building a plate: Protein cube + starch cube + vegetable cube = dinner
Each build is designed around matching portions and mold sizes, so you can mix and match straight from the freezer. Make a few components on prep day, then build different dinners throughout the week without starting from scratch every night.
This build combines 5 freezer components designed to work together. Make the full build during one prep session, or choose only the pieces that fit your freezer.
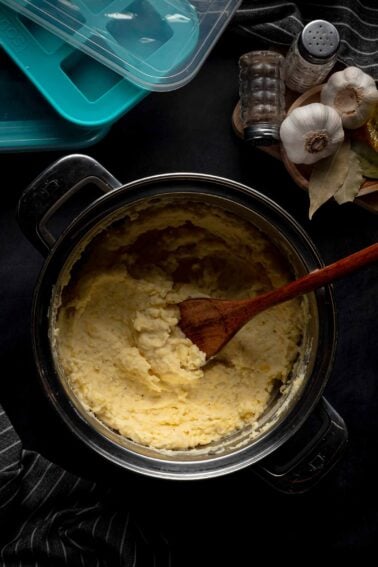
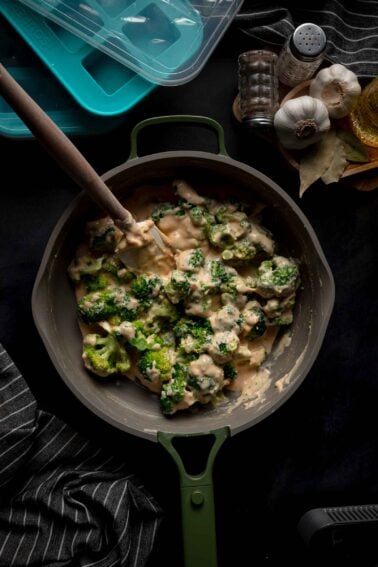
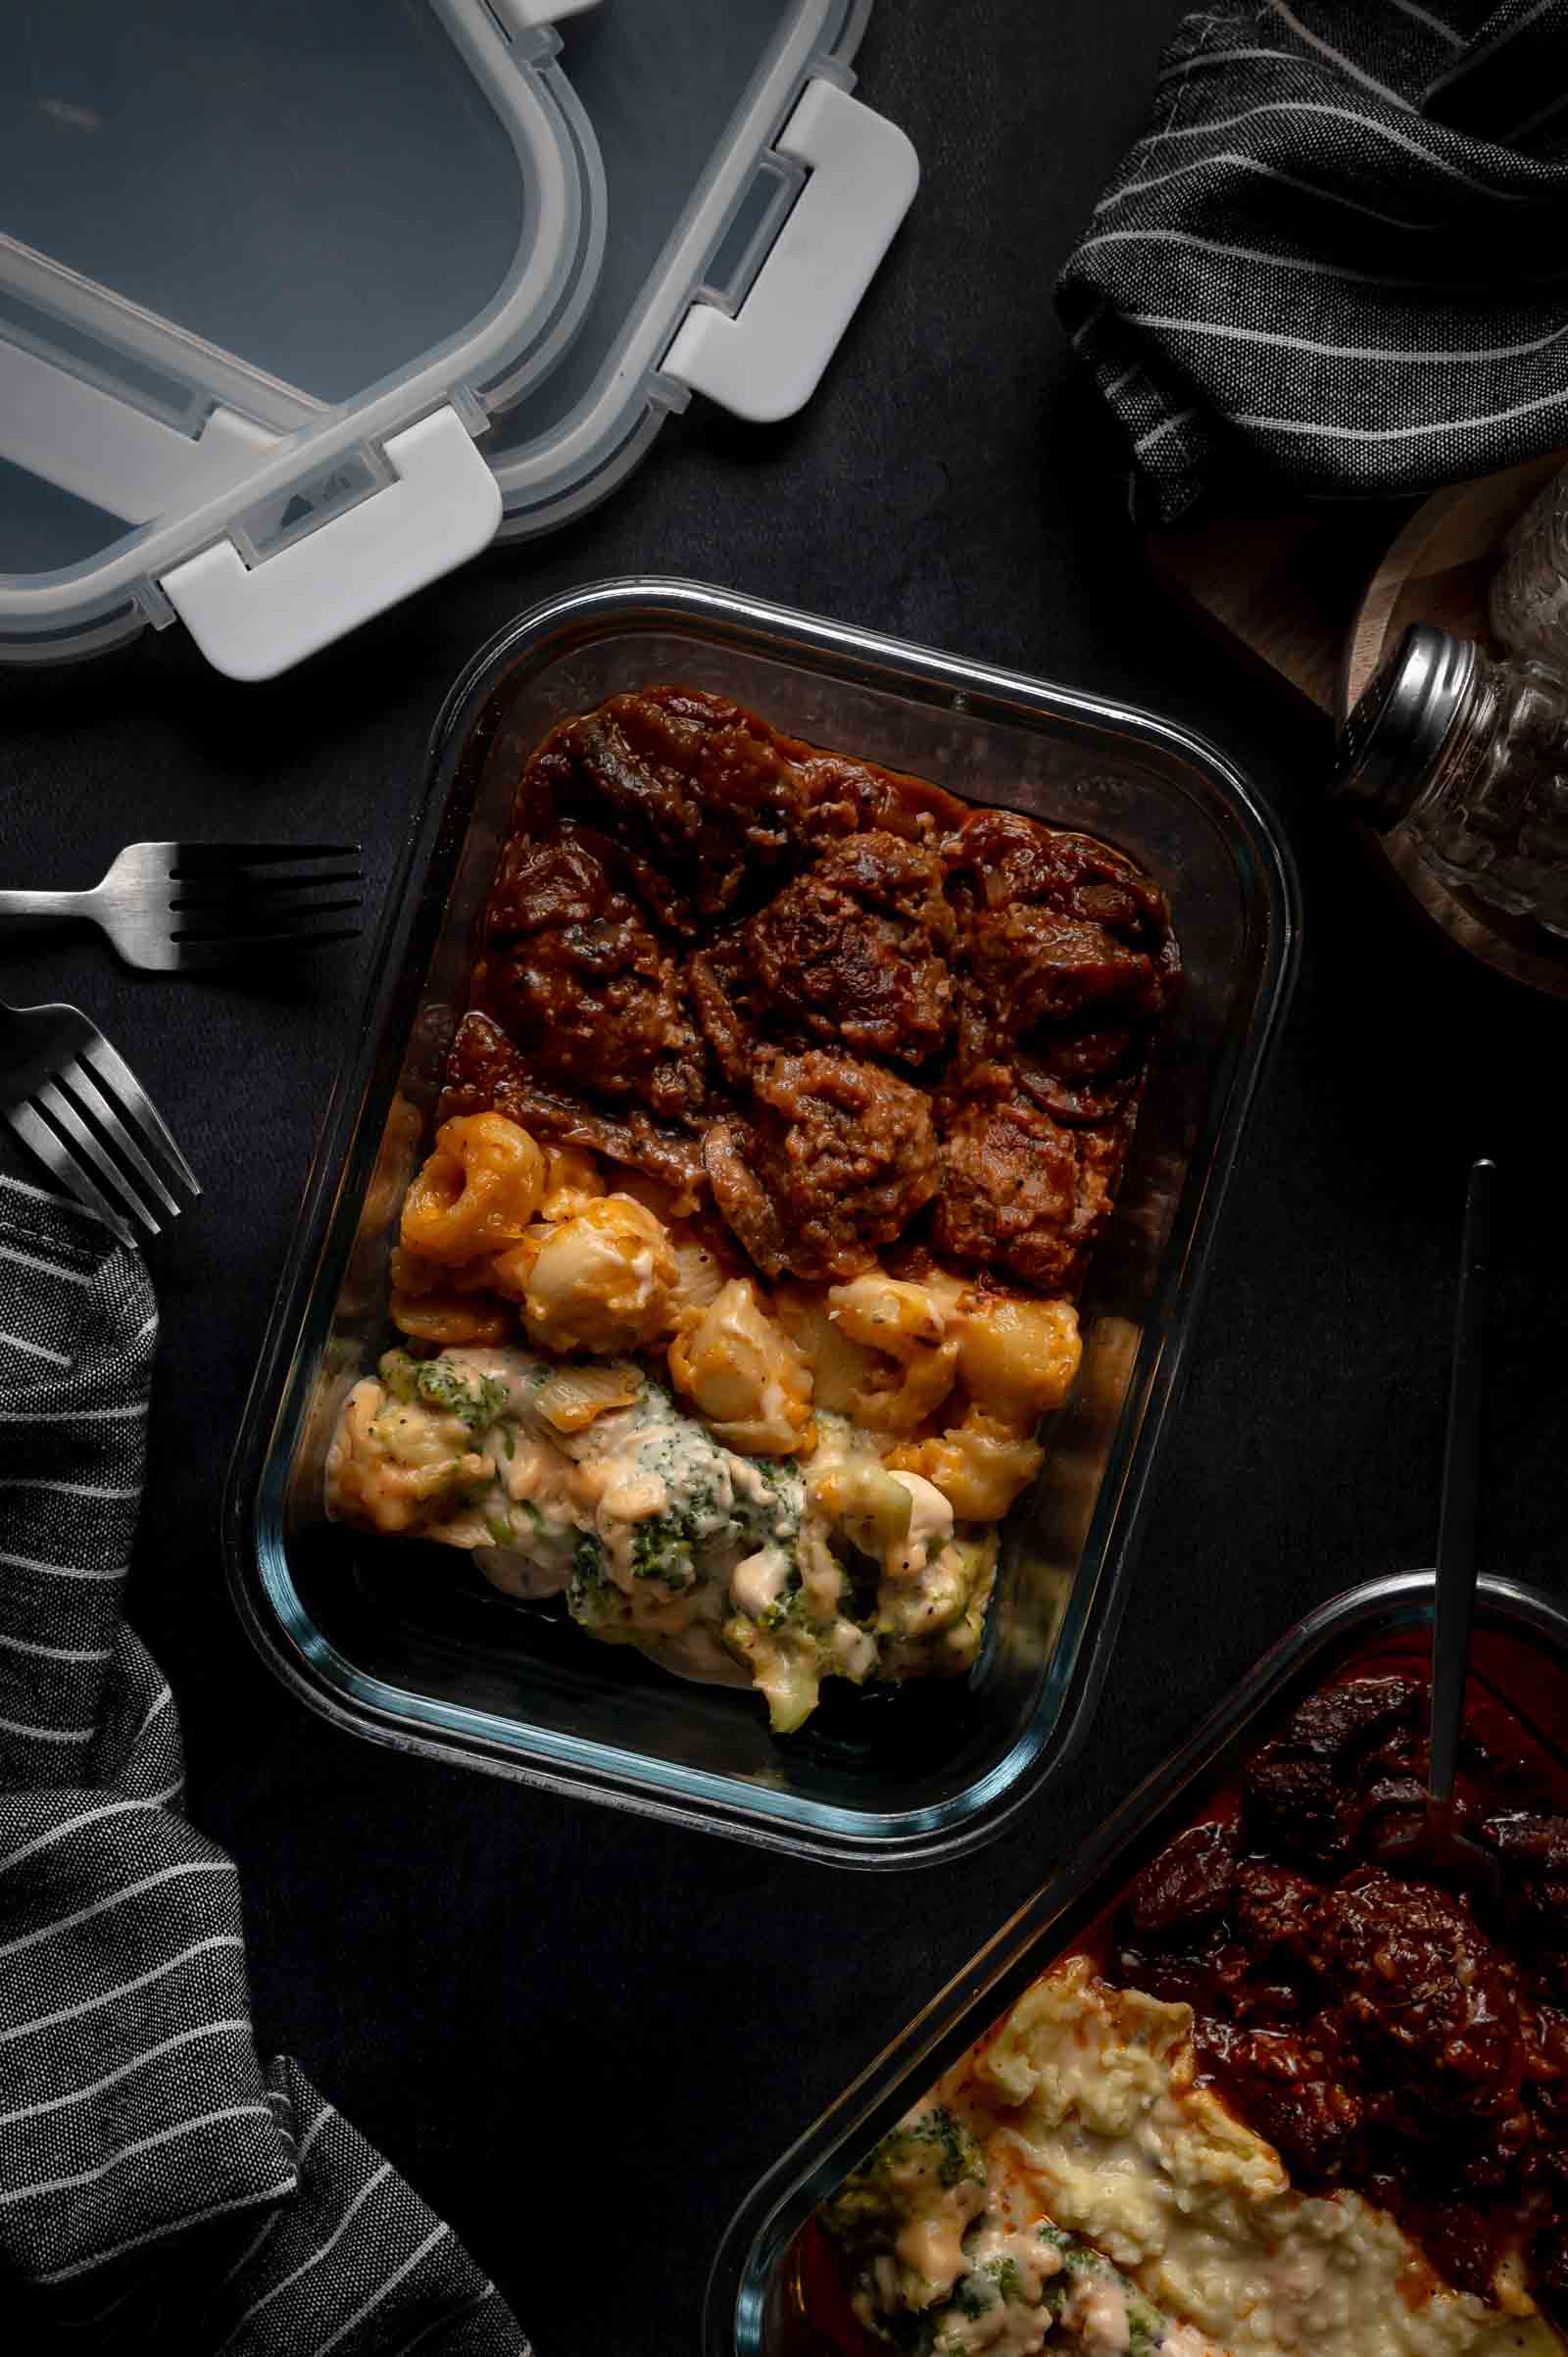
Braised Beef Tips cube + Cream Cheese Mashed Potatoes cube + Cheesy Broccoli cube = dinner from frozen in under 5 minutes. Or swap in the Salisbury Steak Meatballs or Stovetop Mac and Cheese for a different combo. Each recipe is designed to mix and match across the system.
- Braised Beef Tips in Gravy — 1-cup molds, 6 portions, 6-hour freeze
- Salisbury Steak Meatballs — 1-cup molds, 4 portions, 4-hour freeze
- Cream Cheese Mashed Potatoes — ½-cup molds, 8 portions, 4-hour freeze
- Stovetop Mac and Cheese — 1-cup molds, 8 portions, 4-hour freeze
- Cheesy Broccoli — 1-cup molds, 6 portions, 4 to 6-hour freeze
🍽️ What to Serve with Stovetop Mac and Cheese
- Braised Beef Tips in Gravy, the protein cube from this same batch. Pull one of each straight from the freezer for a full plate in one microwave run.
- Salisbury Steak Meatballs, another batch protein that plays well against this creamy sauce.
- Cheesy Broccoli, the vegetable cube from the batch, rounds the plate out without turning on the oven.
- Lobster Mac and Cheese: dress this up and mix in some lobster if you’re feeling flush.
🧊 Leftovers and Storage
- Fridge: store fresh mac and cheese in an airtight container for up to 4 days.
- Freezer: portioned in bags or containers, it holds for up to 3 months. Vacuum-sealed portions can stretch to 3 to 4 months, though texture is best within the first 3.
- Reheat: best after an overnight thaw in the fridge, but you can go straight from frozen in the microwave when you’re short on time.
Quick Summary
This is a stovetop mac and cheese built to survive the freezer, not just dinner tonight. Evaporated milk and American cheese keep the sauce creamy through a freeze and reheat, and portioning it warm into flat, level cubes is what keeps eight servings ready to go in under 5 minutes. Get the pasta timing and the warm portioning right, and the rest takes care of itself.
Stovetop Mac and Cheese (Freezer-Friendly + Meal Prep)
Recommended Equipment
- dutch oven or Large pot for the pasta and cheese sauce
- Whisk
- Freezer-safe bags or freezer-safe containers
- Labels and marker
- Vacuum Sealer optional
Ingredients
Pasta
- 1 pound shellbow pasta
- 1 tablespoon kosher salt (for the pasta water)
Cheese Sauce
- 4 tablespoons butter
- 3 tablespoons all-purpose flour
- 2 (12-ounce) cans evaporated milk
- ½ cup half-and-half
- 1½ teaspoons kosher salt
- 1½ teaspoons garlic powder
- 1 teaspoon mustard powder
- 1 teaspoon black pepper
- ½ teaspoon paprika
- 4 ounces American cheese , chopped or torn
- 8 ounces sharp cheddar cheese , shredded
- 8 ounces Colby Jack cheese , shredded
Instructions
Cook the Pasta
- Bring a large pot of water to a boil and stir in the salt. Add the shellbow pasta and cook it 2 minutes less than the package directions. The pasta should be flexible but still firm in the center so it can handle freezing and reheating.
Rinse the Pasta
- Drain the pasta, then rinse it briefly under cool water to stop the cooking process.
Build the Roux
- Melt the butter in a large saucepan or Dutch oven over medium heat. Sprinkle in the flour and whisk for 1 to 2 minutes, until the mixture looks smooth and no dry flour remains.
Add the Milk
- Slowly whisk in the evaporated milk until the sauce is smooth. Whisk in the half-and-half, then cook for 4 to 6 minutes, stirring often, until the sauce lightly coats the back of a spoon.
Season the Sauce
- Reduce the heat to low. Stir in the salt, garlic powder, mustard powder, black pepper, and paprika until the seasoning is evenly mixed and the sauce looks lightly golden.
Melt in the Cheese
- Add the American cheese and stir until melted. Remove the pot from the heat, then add the cheddar and Colby Jack a handful at a time. Stir slowly after each addition until the sauce is glossy and smooth.
Fold in the Pasta
- Fold in the shellbow pasta until every piece is coated. The mac and cheese should look saucy and loose enough to spoon easily into the molds. This extra sauce helps the pasta stay creamy after freezing.
Taste and Adjust
- Taste and adjust the seasoning while the mac and cheese is still warm.
Serve Fresh or Freeze
- If you're eating tonight, stop here. Serve the mac and cheese warm, straight from the pot. Everything from this point on is for the freezer.
Cool and Portion
- Place the 1-cup silicone molds on a sheet pan before filling. Spoon the mac and cheese into the molds while it is still warm and flowable. Fill each cavity level with the top, then tap the mold gently on the counter to settle the pasta and sauce into the corners. Smooth the tops with a spoon or spatula. Keep the portions flat instead of mounded so they freeze faster, stack better, and reheat evenly. Let the filled molds cool at room temperature for 20 minutes, then transfer them to the refrigerator and chill for 1 hour before freezing.
Freeze
- Move the chilled molds to the freezer while still on the sheet pan. Freeze for at least 4 hours, or until the mac and cheese portions are solid all the way through.
Bag and Label
- Pop the frozen portions out of the molds and transfer them to freezer-safe bags or freezer-safe containers. Press out as much air as possible before sealing. Label with the recipe name, portion size, and date. Freeze for up to 3 months for the best texture. For vacuum sealing, freeze the portions solid first and arrange the frozen cubes in a single layer before sealing so the pressure does not flatten the mac and cheese or pull sauce into the seal.
Reheat From Frozen
- Place 1 frozen 1-cup portion in a microwave-safe bowl. Cover loosely and microwave at 50 percent power for 3 minutes. Stir well, then microwave on high for 45 to 90 seconds, or until hot in the center. Stir again until the sauce looks creamy.
Reheat From Thawed
- Microwave (Best Texture): Thaw the portion overnight in the refrigerator. Place it in a microwave-safe bowl and cover loosely. Microwave for 1½ to 2½ minutes, stirring halfway through, until hot and creamy.
- Stovetop: Thaw the mac and cheese overnight in the refrigerator. Place 1 or more portions in a small saucepan over low heat. Warm for 5 to 7 minutes, stirring often, until the pasta is hot and the sauce loosens. Add a splash of half-and-half as needed to bring the sauce back together.
Notes
- Use elbow macaroni, small shells, or cavatappi when shellbow pasta is not available.
- Use mild cheddar instead of sharp cheddar for a softer classic flavor.
- Use Monterey Jack instead of Colby Jack for a smoother, milder sauce.
- Use heavy cream instead of half-and-half for a richer sauce.
- Store in the Fridge: up to 4 days.
- Freeze for up to 3 months (3 to 4 months vacuum sealed, best texture within the first 3).
Save this Recipe
Nutrition
Bookmark this recipe now!
Guides Worth Bookmarking
The Gear Behind our Lego Lunch Recipes
Every step above assumes you have got the right sealer and the right molds. See the exact FoodSaver sealer and Souper Cubes mold set GC runs this whole system on, plus the budget-friendly swap, in one place.
See the Full Equipment Guide →❓ FAQs
The pasta keeps softening in the warm cheese sauce, then again during reheating. Cooking it 2 minutes under holds it at tender instead of mushy through both rounds of heat.
Rinsing stops the cooking fast. That matters here because you’re portioning the pasta while it’s warm, and it needs to stay firm enough to handle a second reheat later.
Warm mac and cheese is loose enough to flow into the molds. Once it cools, the sauce thickens and the pasta sets, which makes it much harder to fill the cavities evenly.
Evaporated milk gives the sauce more body and helps it stay creamy after freezing. It’s less watery than regular milk, which matters once the sauce goes through a freeze and reheat.
It’s recommended for this freezer version. It smooths out the sauce and cuts down on separation after freezing and reheating.
You can, but expect a sharper, less creamy result after freezing. Cheddar carries the flavor, Colby Jack gives it a smoother melt, and American cheese is what keeps the sauce from breaking.