Trimming meat at home isn’t just for butchers. With a sharp knife and a little know-how, you can save serious money and improve the quality of your meals. This guide breaks down the tools, basic techniques, and practical tips you need to master trimming everything from steaks to poultry with confidence.

Essential Tools for Meat Trimming
Before you begin trimming, ensure you have these fundamental tools:
Knives
- Boning Knife/Filet Knife: The most essential tool with a narrow, flexible blade designed to work around bones and joints (6-inch blade is most versatile)
- Chef’s Knife: For larger cutting tasks and portioning
- Pairing Knife: For getting under silverskin
Quality matters, but you don’t need to spend a fortune. A sharp $40 boning knife outperforms a dull $200 one every time. Focus on keeping your knives razor-sharp rather than buying the most expensive options.
Cutting Surfaces
- Wood Cutting Board: Ideally end-grain hardwood, which is gentler on knife edges
- Dedicated Meat Board: Consider having a separate board for meat preparation that can go through the dishwasher
- Damp Kitchen Towel: Place under your board to prevent slipping
Additional Equipment
- Kitchen Shears: For snipping through small bones, cartilage, and trimming fat
- Butcher Twine: For trussing and tying roasts after trimming
- Paper Towels: Keep plenty on hand for patting meat dry and cleanup
Safety First
- Cut-Resistant Gloves: Highly recommended, especially for beginners – order the right size to avoid frustration.
- Proper Technique: Always cut away from yourself
- Cross-Contamination Prevention: Sanitize all surfaces before and after trimming
Understanding Meat Structure
Good trimming requires basic knowledge of meat composition:
Muscle and Grain
- Muscle Fibers: Always identify the direction of the grain before trimming
- Grain Direction: Affects how you’ll eventually slice the meat after cooking (perpendicular to grain)
- Muscle Groups: Different muscles within the same cut may have different grain directions
Fat Types
- Subcutaneous Fat: The fat layer just under the skin or outside surface
- Intramuscular Fat: Marbling throughout the meat (generally desirable)
- Intermuscular Fat: Fat between different muscle groups (often removed)
Connective Tissue
- Silver Skin: Pearlescent, tough membrane that doesn’t break down during cooking
- Tendons: Attach muscles to bones, tough and inedible
- Fascia: Thin membranes between muscle groups
Knowing what to remove and what to leave makes all the difference in your final dish. Most cooking failures result from improper trimming, not cooking technique.
Join thousands of readers who trust us for expert tips, mouthwatering recipes, and step-by-step guides that help you to cook like a pro. Subscribe to Girl Carnivore here.
Basic Beef Trimming Techniques
- Whole Cuts: Trim ribeyes, strip loins, and tenderloins for steaks.
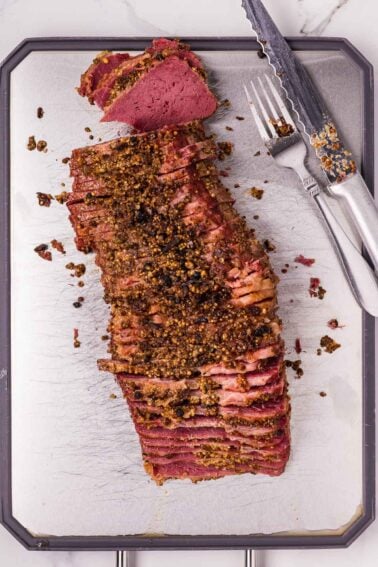
- Roasts: Clean up chuck roasts and briskets by removing excess fat and silver skin.
- Steaks: Remove the chain meat and trim edges for clean presentation.
- Ground Beef: Control fat-to-lean ratio by blending trim from other cuts.
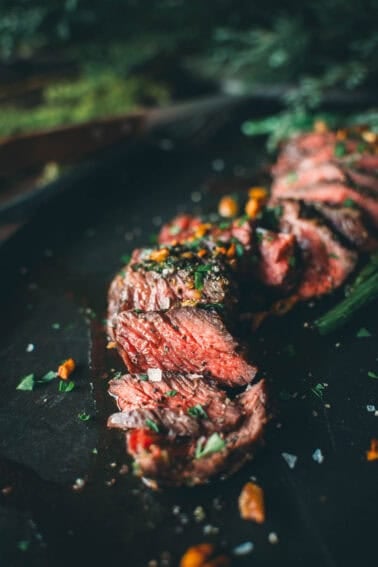
Remember: For steaks, less trimming is often better. The fat equals flavor rule applies heavily here.
Whole Cuts
When working with larger subprimals like ribeye, strip loin, or tenderloin:
- Initial Assessment: Examine the cut to identify fat caps, silver skin, and unwanted portions
- External Fat: Trim to 1/4-inch thickness for most types of cooking (this provides flavor while preventing excessive flare-ups)
- Silver Skin Removal: Slip your knife tip under the edge, angle the blade slightly upward, and draw the knife along while pulling the silver skin taut to peel it off
Pork Trimming Basics
- Whole Cuts: Score fat caps on Boston butts and clean pork bellies for even cooking.
- Chops: French pork chops for better presentation and caramelization.
- Ribs: Remove the membrane on the bone side for tender bites.
- Tenderloin: Remove the silver skin with shallow, gentle strokes.
Whole Cuts
When working with pork shoulder, loin, or belly:
- Skin Removal: If your cut has skin, decide whether to remove it or score it for crackling
- Fat Cap: For shoulder (Boston butt), trim to a 1/4-inch thickness
Quick Poultry Breakdown
- Whole Chicken: Learn how to spatchcock or fully break down into parts.
- Turkey: Portion for roasting or smoking with ease.
- Duck: Manage thick fat layers for crispy skin.
- Spatchcocking: Remove the backbone to flatten the poultry for even cooking.
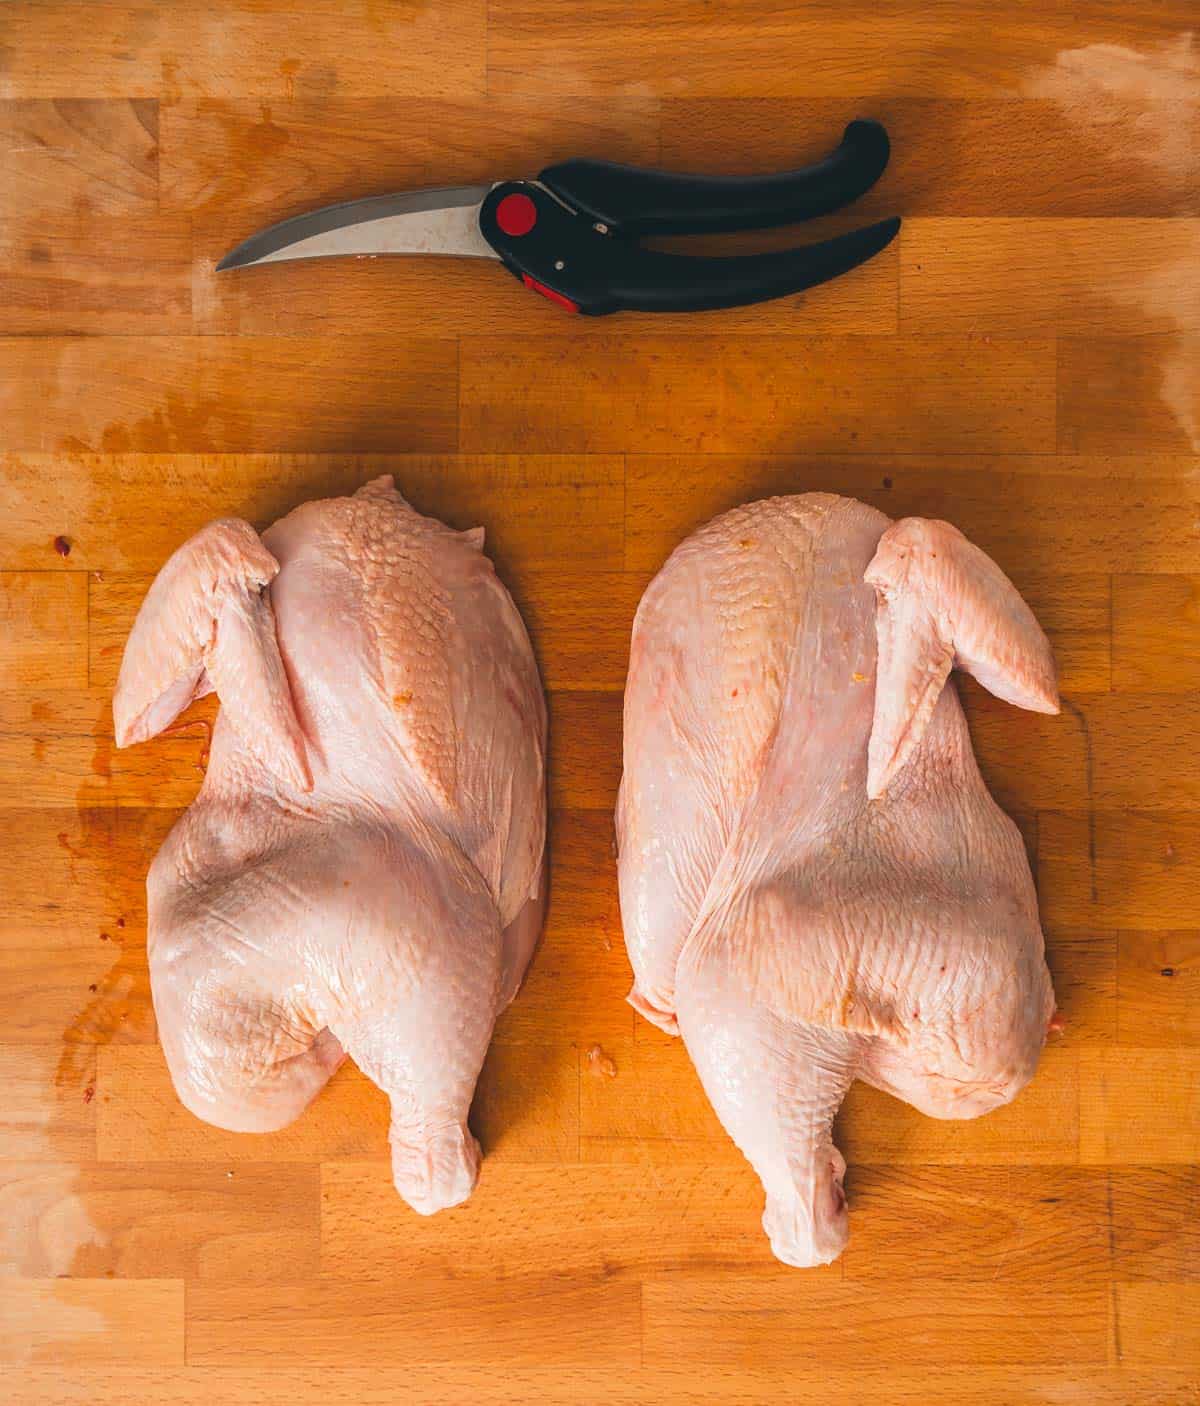
Whole Chicken
The most economical way to buy chicken is whole:
- Initial Preparation: Remove giblets, trim excess fat around cavity
- Wing Tips: Remove and save for stock
- Breaking Down:
- Remove legs by cutting through joint
- Separate the thigh from the drumstick at the joint
- Remove backbone with kitchen shears
- Split breast by cutting through breastbone
- Remove the wishbone for easier carving
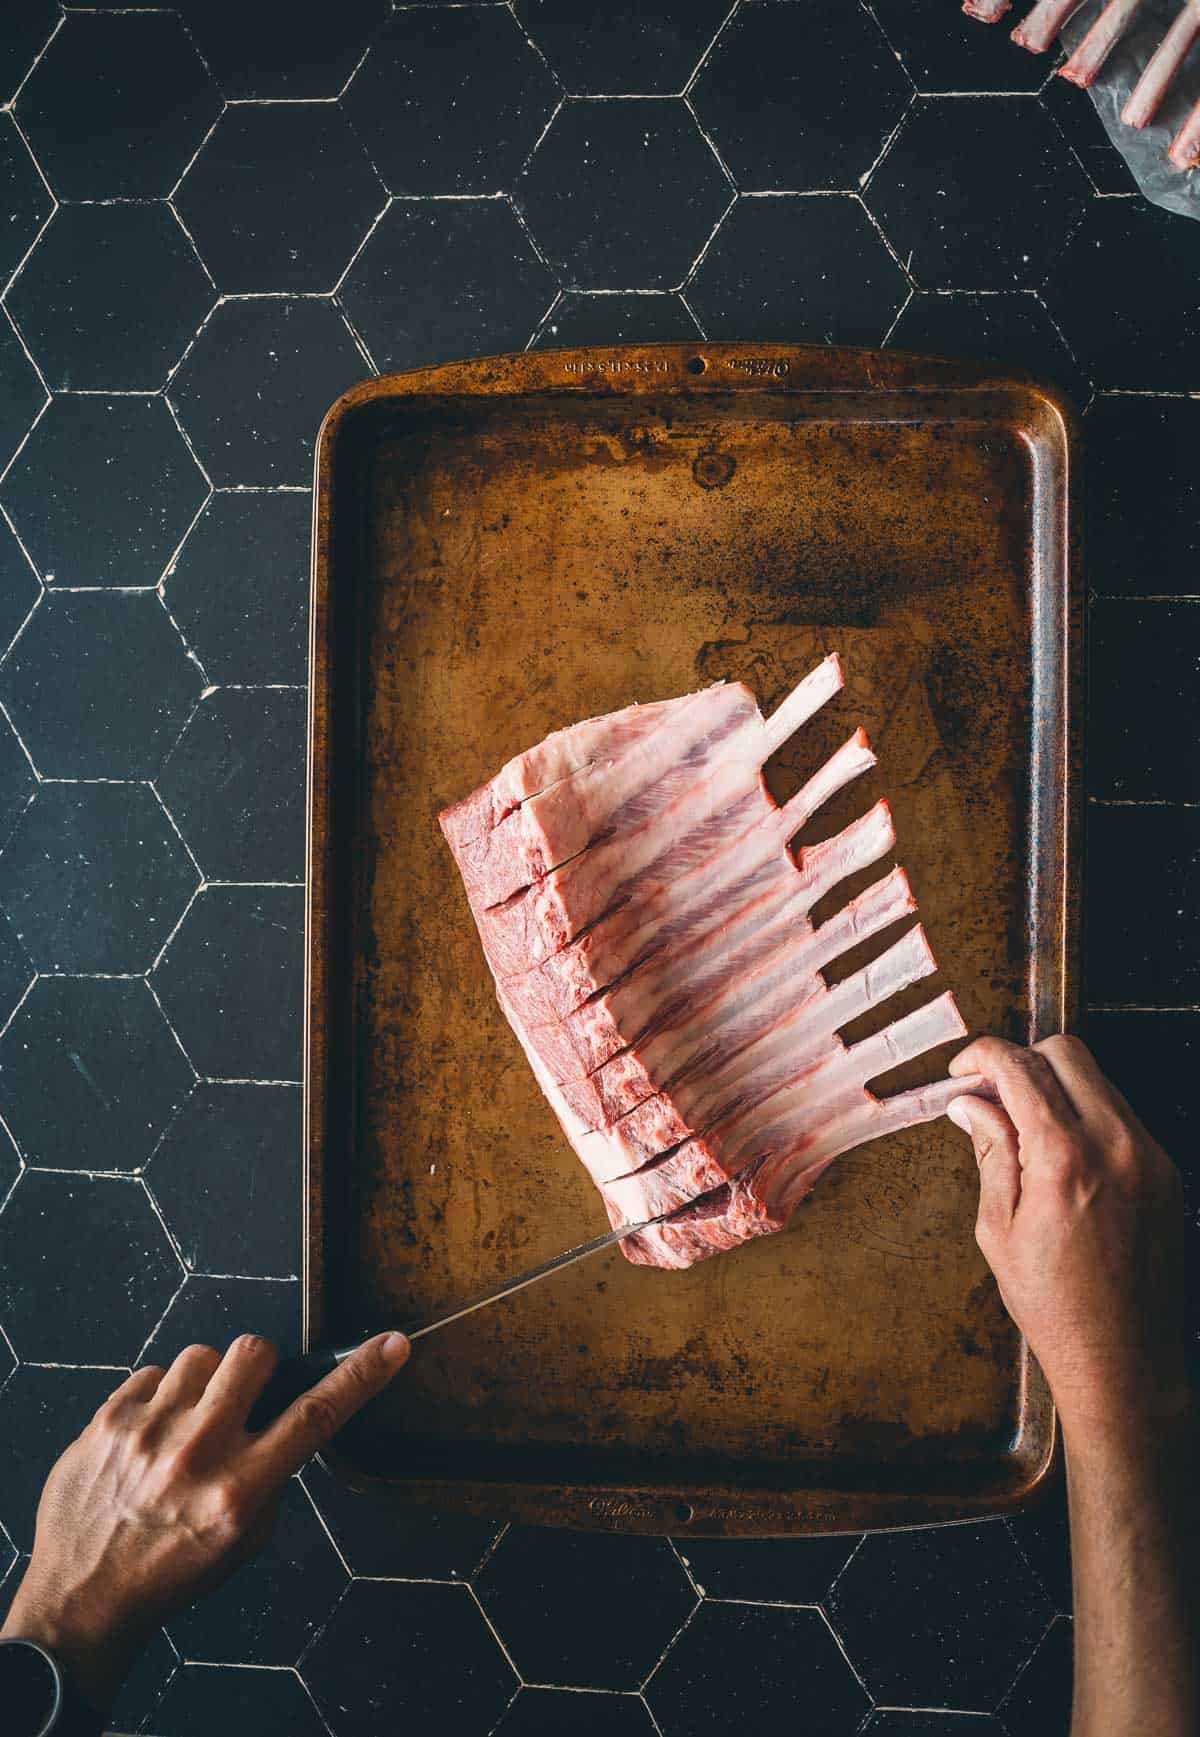
Quick Lamb Trimming Guide
- Rack of Lamb: French bones for elegant presentation.
- Leg of Lamb: Butterfly for stuffing or even cooking.
- Shoulder: Trim excess fat and prep for low and slow cooking.
- Fat Management: Keep just enough fat for moisture and flavor.
Maximizing Yield and Reducing Waste
- Save Trim: Use meat scraps and bones for broths and stocks.
- Freezing Trim: Label and freeze in dated portions.
- Render Fat: Use pork or duck fat for roasting vegetables or confit.
- Ground Meat: Blend leftovers, scraps, and offcuts for sausage or burger grind.
Troubleshooting Common Trimming Challenges
Working with Cold Meat
- Partially frozen meat is sometimes easier to trim precisely
- Let meat thaw enough to be pliable but still firm
- Work in small sections, keeping the rest refrigerated
Dealing with Tough Membranes
- Use the “lift and pull” technique: lift with knife tip, pull membrane taut
- A paper towel provides a better grip on slippery membranes
- Kitchen shears can help with particularly stubborn sections
When to Trim
- Before Cooking: Most silver skin, excess fat, and portioning
- After Cooking: Final fat trimming on some cuts, like brisket
Meat trimming is both an art and a science—one that saves money while improving your cooking results. Start with less expensive cuts as you build confidence, and remember that each trim makes you more proficient.
With practice, you’ll develop an intuitive understanding of different cuts and their unique requirements. You’ll know exactly how much fat to leave for flavor, which connective tissues must be removed, and how to maximize yield from every purchase.