When someone asks what our favorite cut is, it’s this. Every time. Beef cheeks are what your butcher takes home for dinner… and most people have never even tasted them. Dense, collagen-packed, and criminally underpriced, they’re built for a low, slow braise that turns a tough muscle into something that falls apart at the nudge of a fork and pools into a sauce so rich you’ll want to eat it with a spoon.
The real problem? Most people have never cooked them. Beef cheeks aren’t at most grocery stores, they’re not in most recipe rotations, and somehow that’s kept them off home menus for years. That ends now, because once you taste these, you’ll understand why they are our top pick.
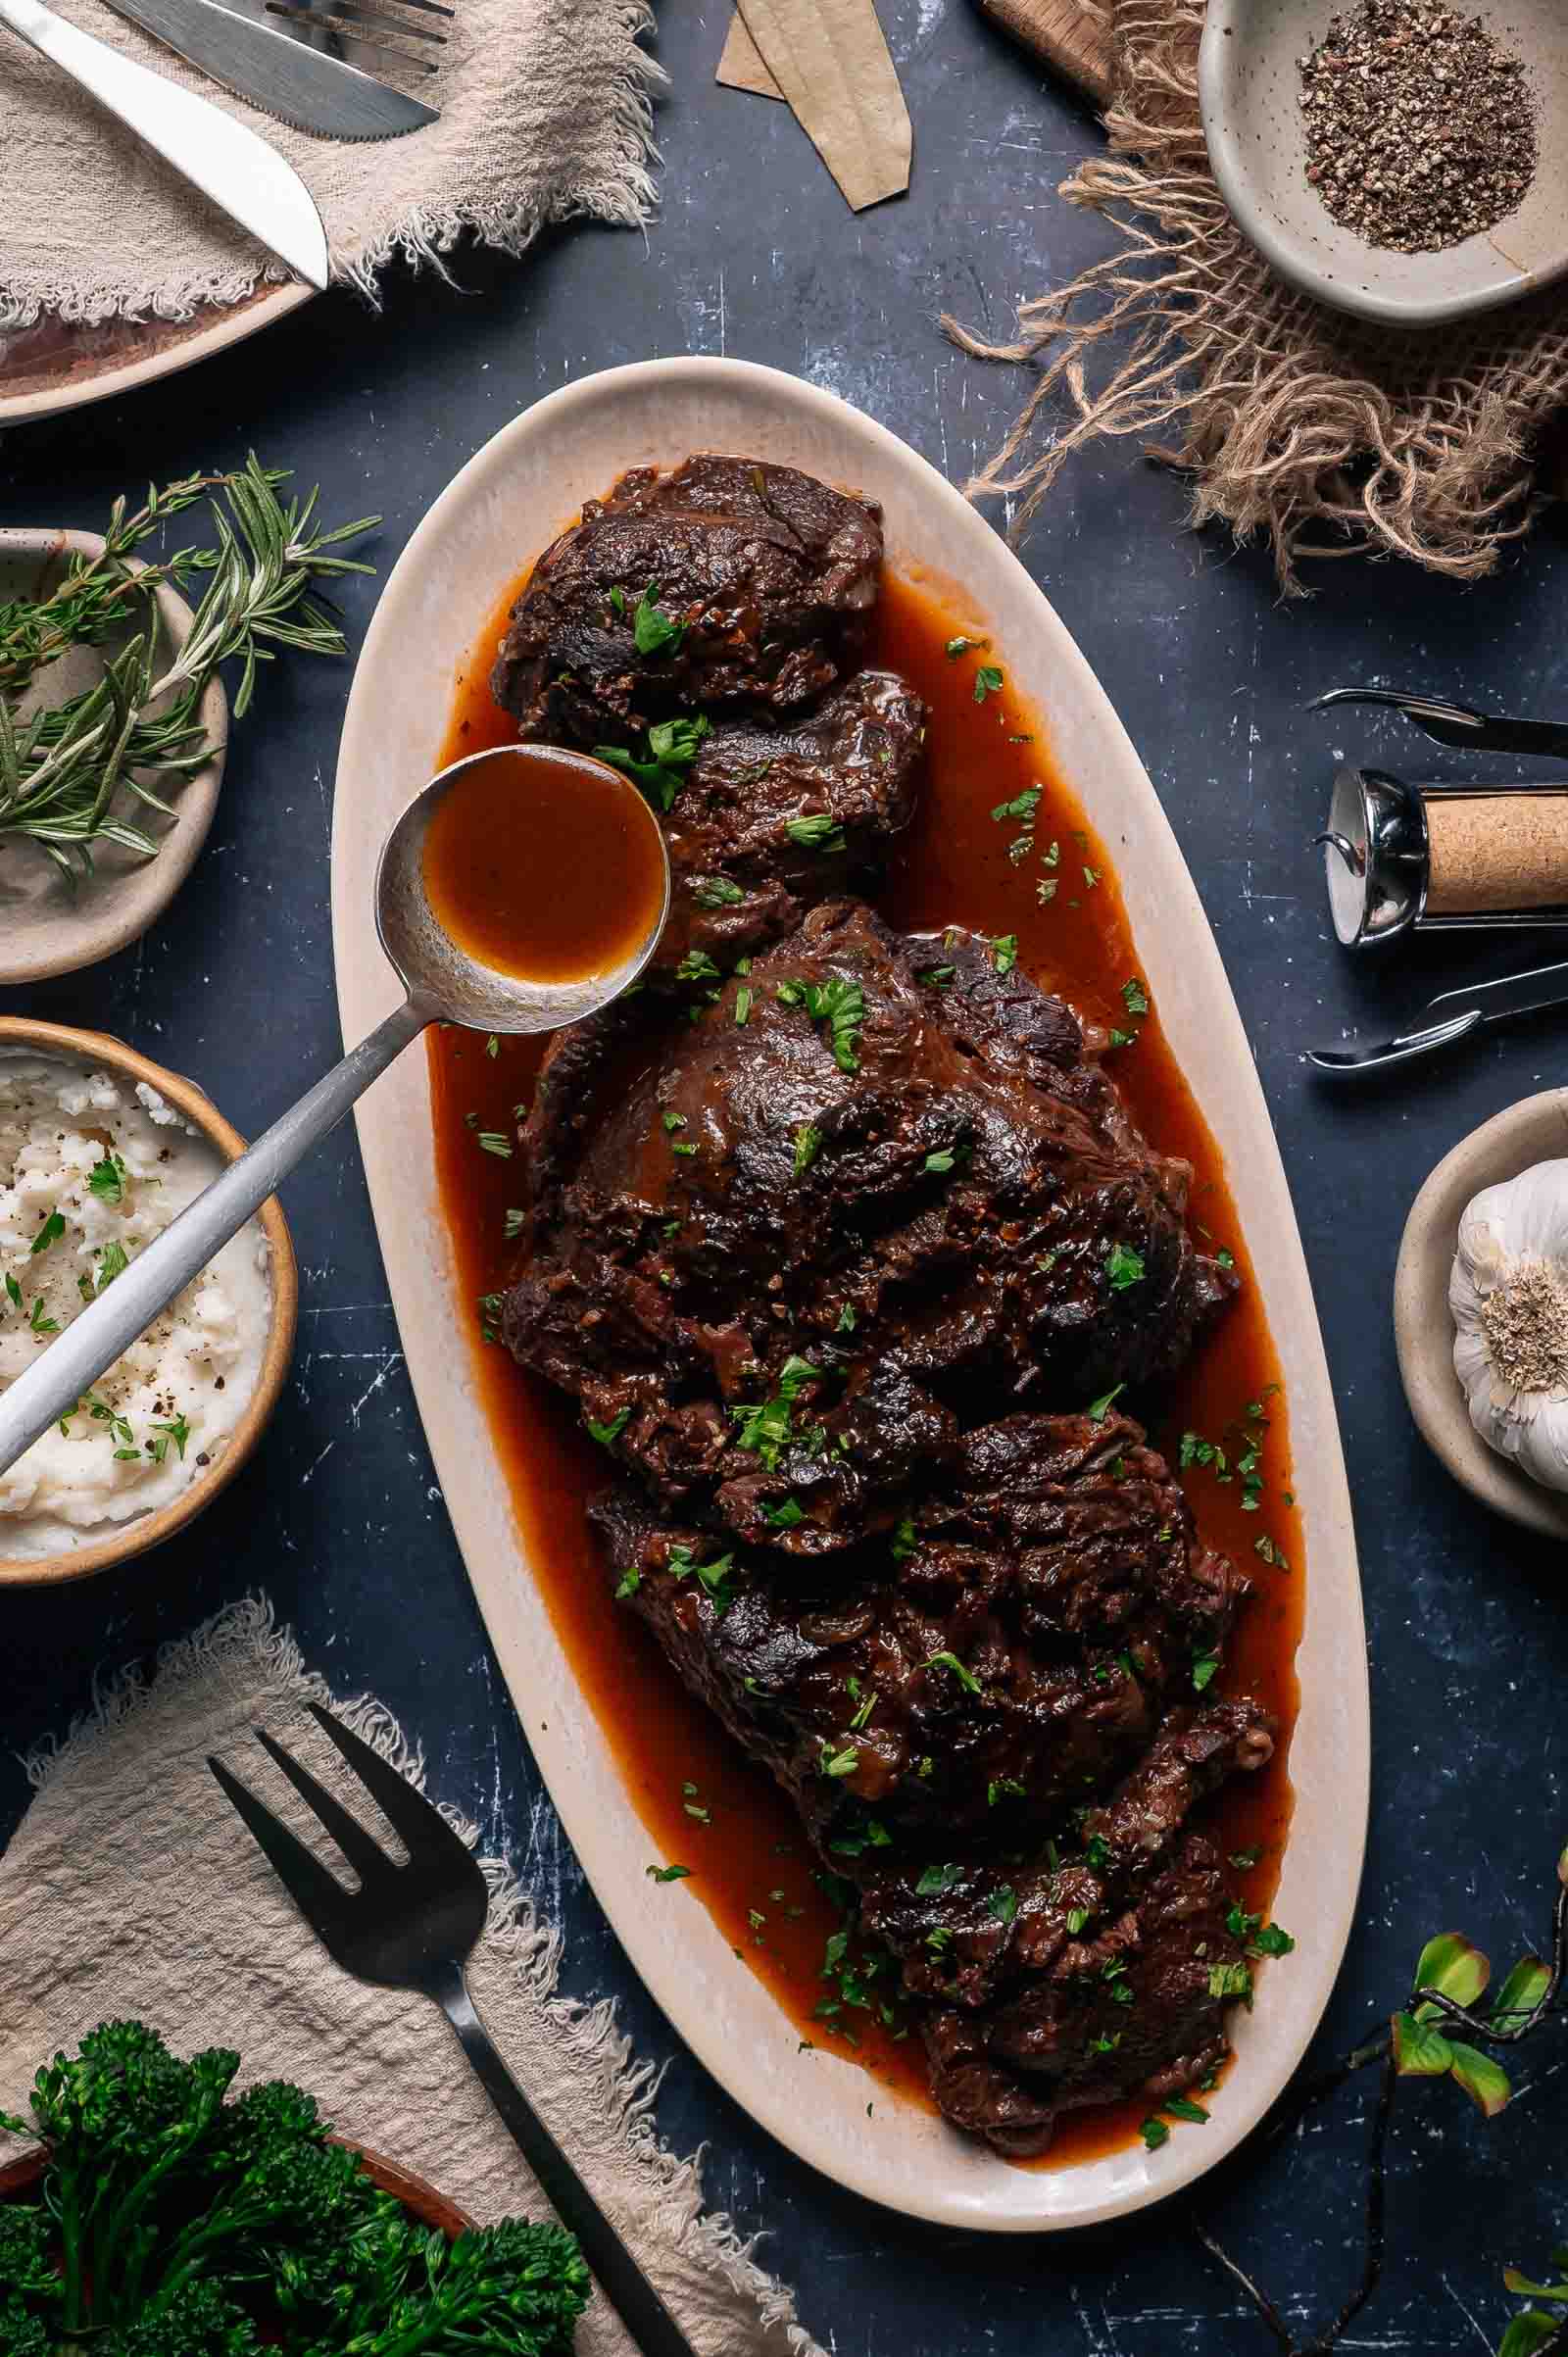
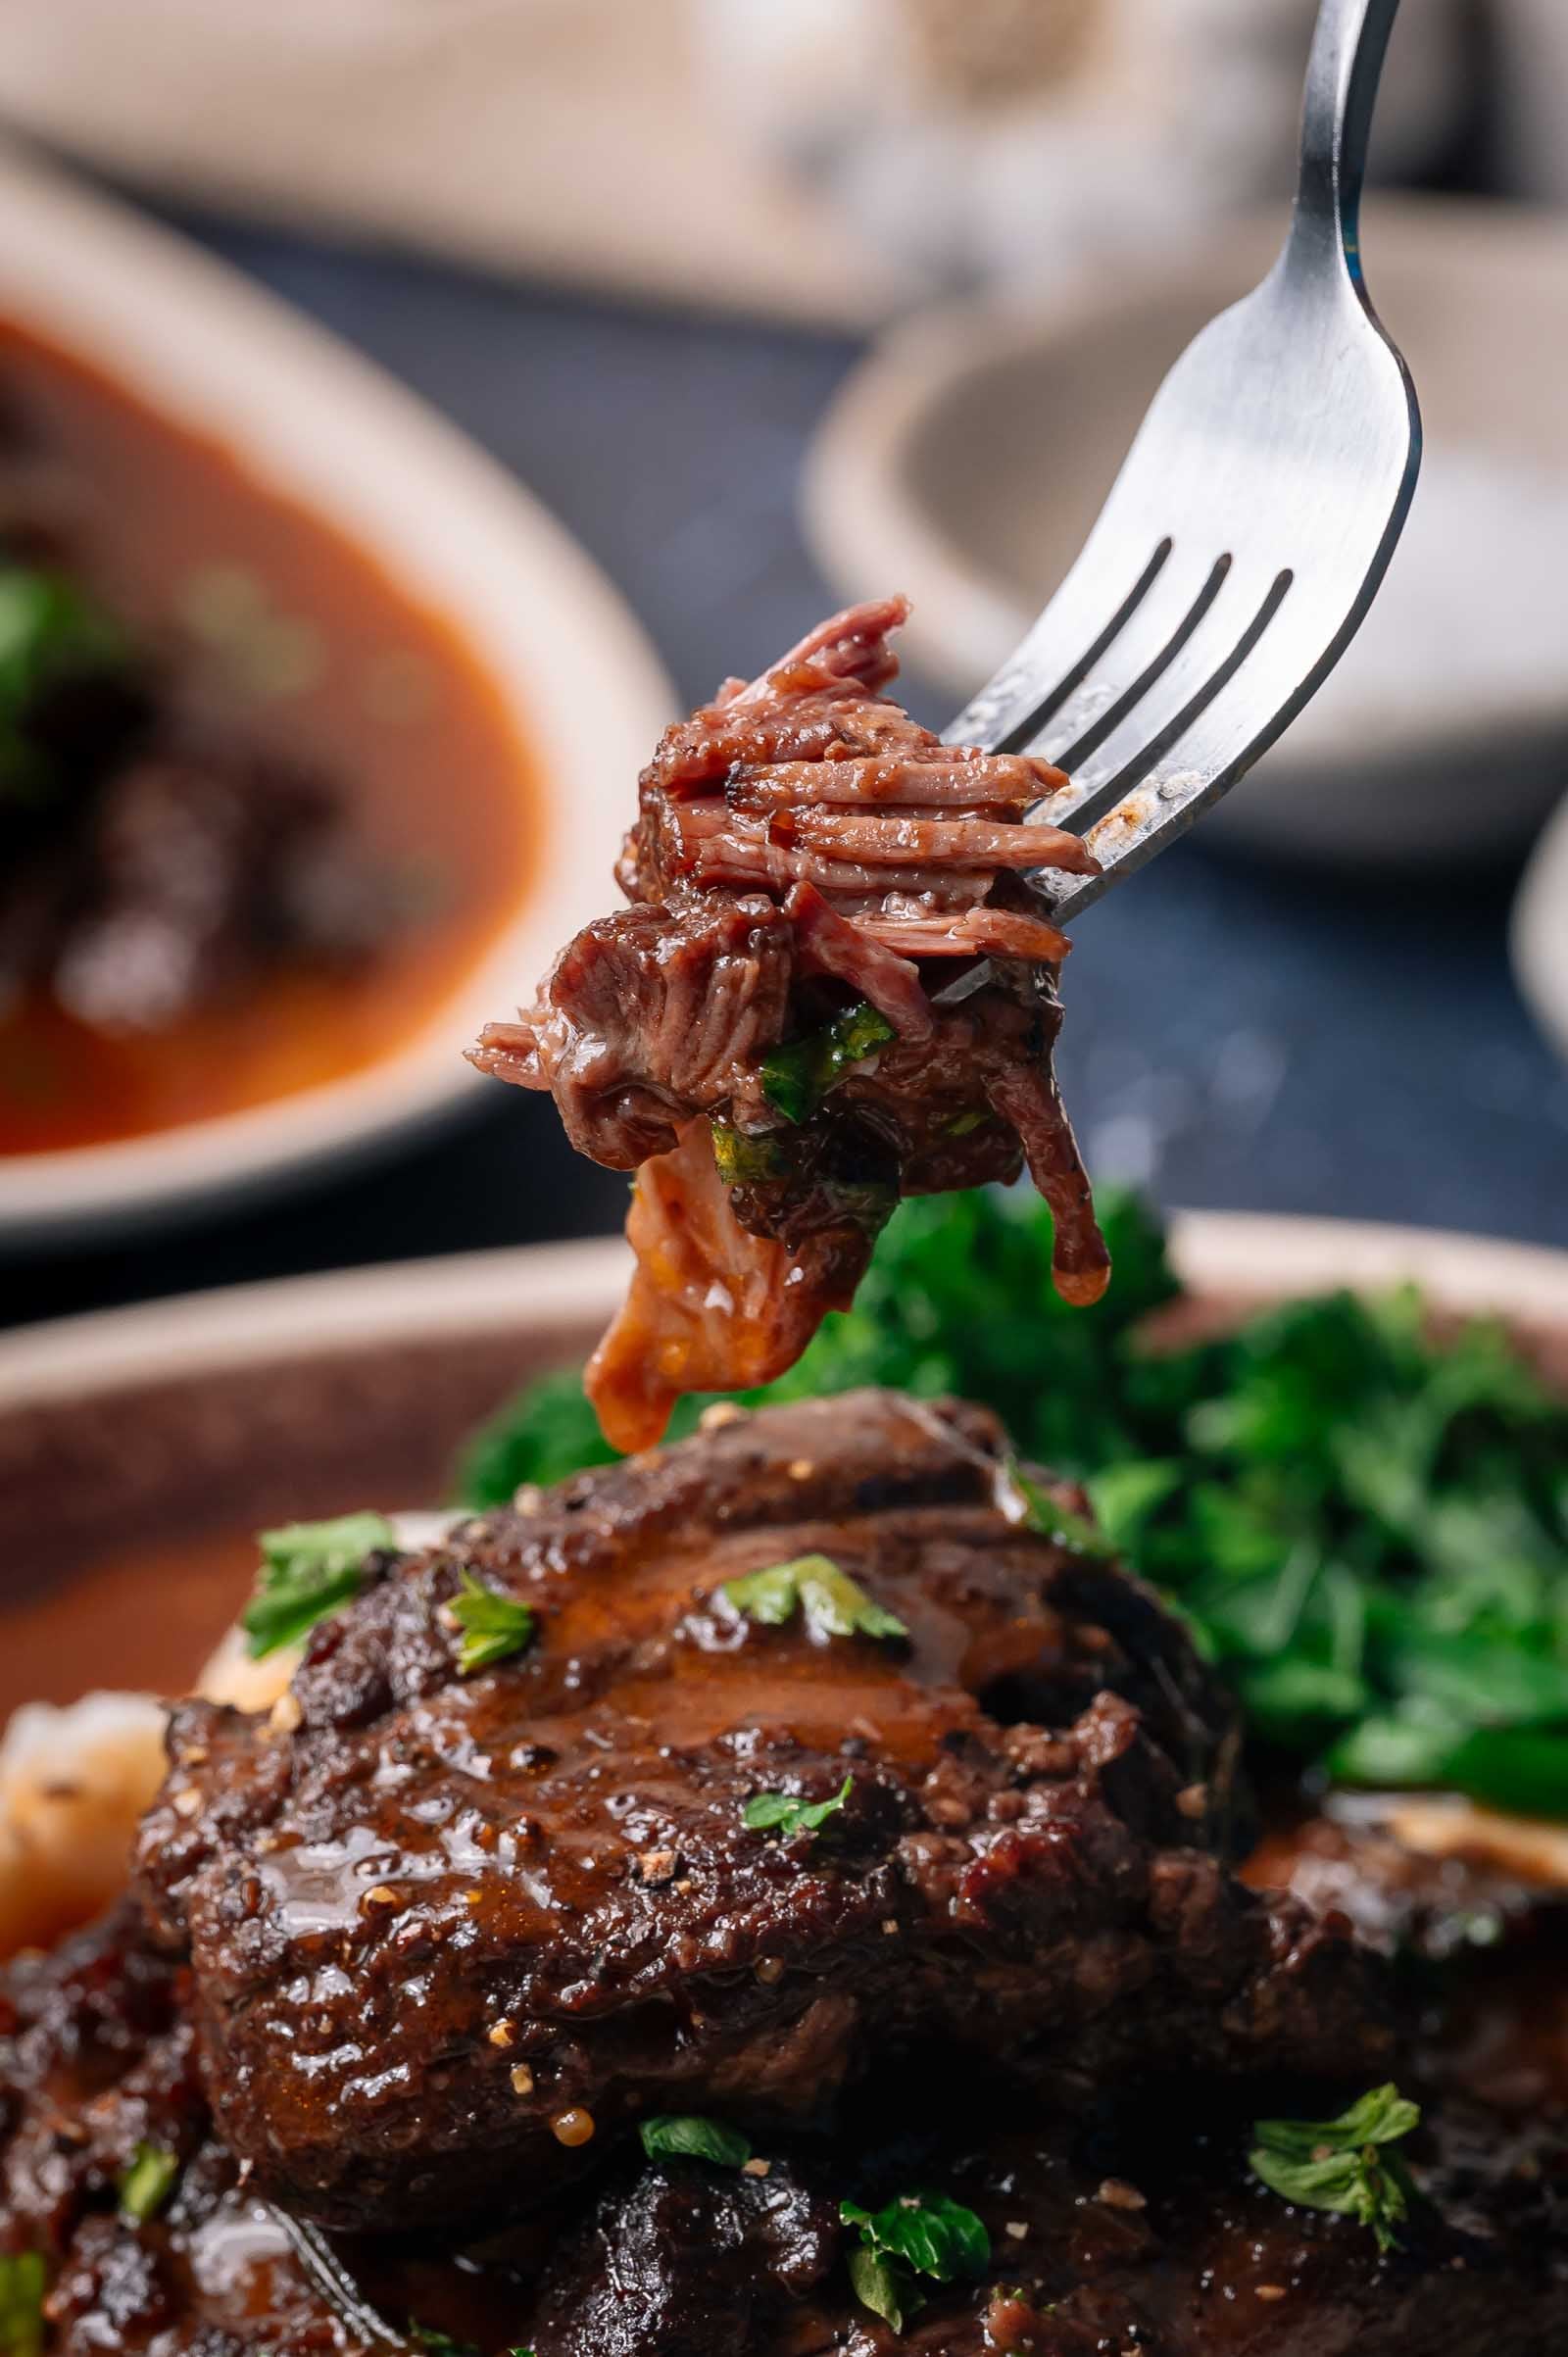
Braised beef cheeks are one of those cuts that reward patience in a big way. Cooked low and slow, they turn from tough and sinewy into rich, fork-tender beef with a sauce that tastes like you worked much harder than you actually did.
Three and a half hours from now… dinner is going to be exceptional. Short ribs get the hype, but beef cheeks deliver even more flavor.
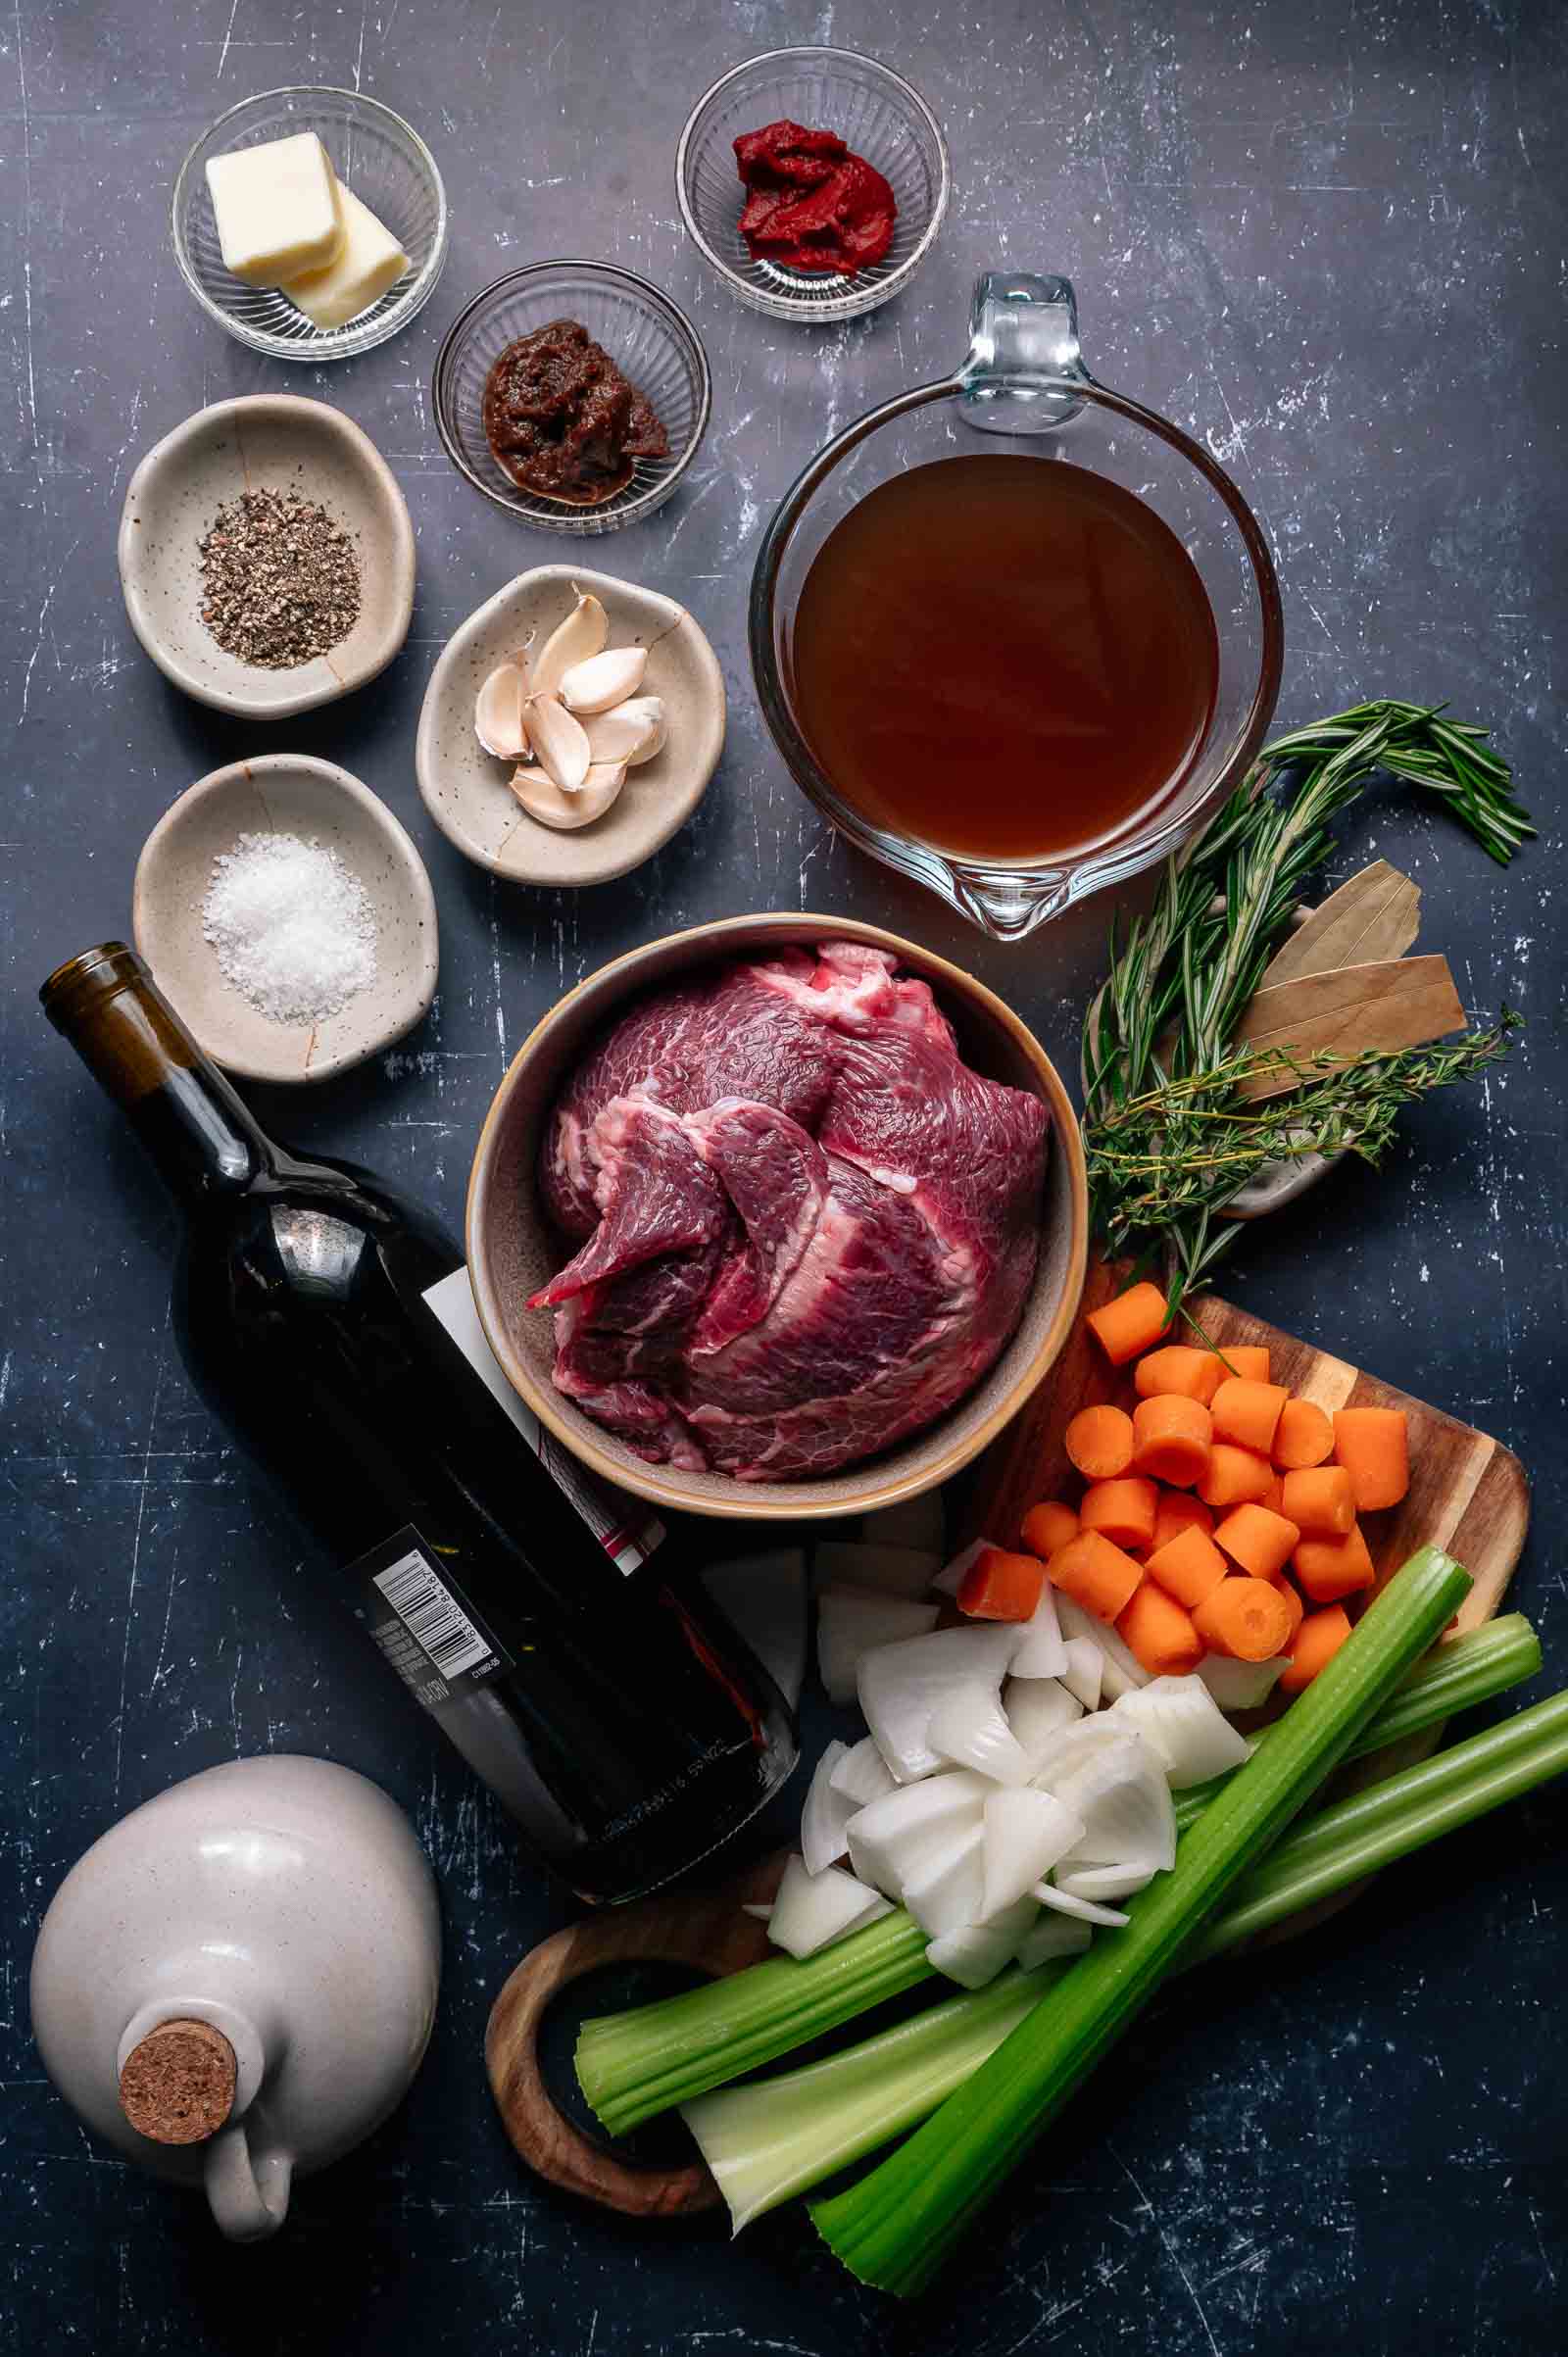
🔪 Ingredients for Red Wine Braised Beef Cheeks
For the beef cheeks
- Beef cheeks, trimmed of thick membrane and excess gristle
- Kosher salt
- Black pepper
- Avocado oil
For the braising base
- Yellow onion, roughly chopped
- Celery stalks, roughly chopped
- Carrots, roughly chopped
- Garlic cloves, minced
- Tomato paste
- Better Than Bouillon beef base
- Red wine
- Reduced-sodium beef broth
- Fresh thyme sprigs
- Fresh rosemary sprigs
- Bay leaves
To finish the sauce
- Cold butter, cubed – this is a MUST.
Equipment
- Dutch oven or heavy oven-safe braiser with lid
- Tongs
- Fine-mesh strainer
- Saucepan
- Chef’s knife
- Cutting board
📝 How to Make Braised Beef Cheeks
- Prep the cheeks.
Preheat the oven to 325°F. Trim away any thick silver skin or hard gristle from the beef cheeks, then pat them very dry with paper towels. Season all over with the salt and pepper. - Sear the beef.
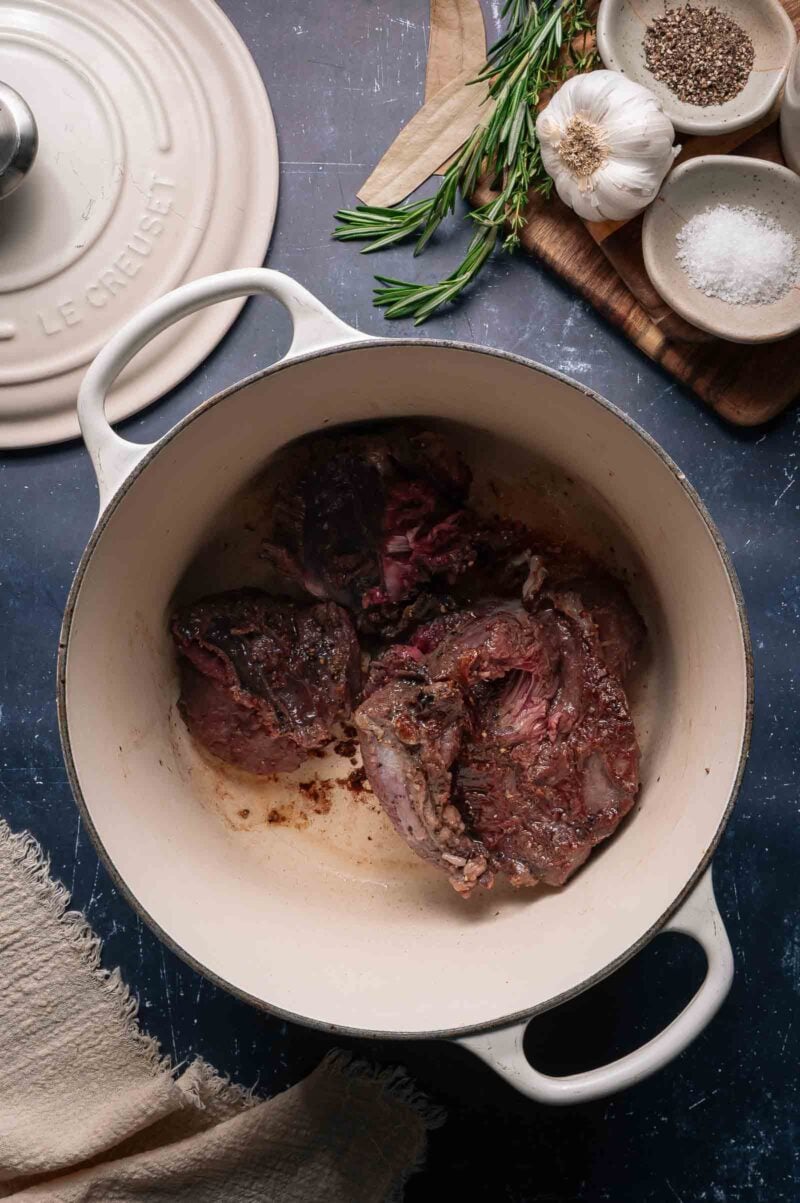
Heat the avocado oil in a Dutch oven over medium-high heat. Sear the cheeks for 3 to 4 minutes per side until deeply browned. Work in batches if needed so you don’t crowd the pot. Transfer the browned cheeks to a plate. - Build the braising base.
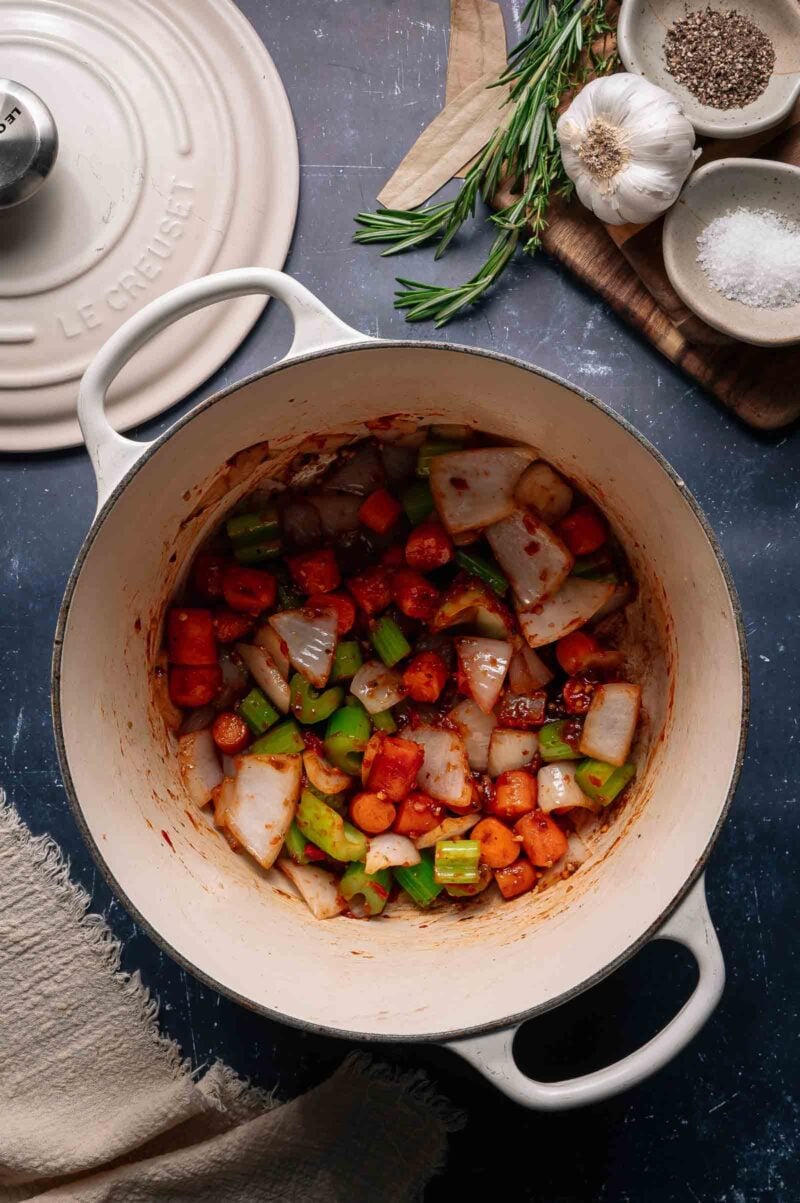
Reduce the heat to medium. Add the onion, celery, and carrots and cook for 3 to 4 minutes, stirring and scraping up the browned bits, until the vegetables start to soften. - Add the aromatics.
Stir in the garlic and cook for about 30 seconds, just until fragrant. Add the tomato paste and cook for another 30 seconds to deepen the flavor. - Deglaze the pot.
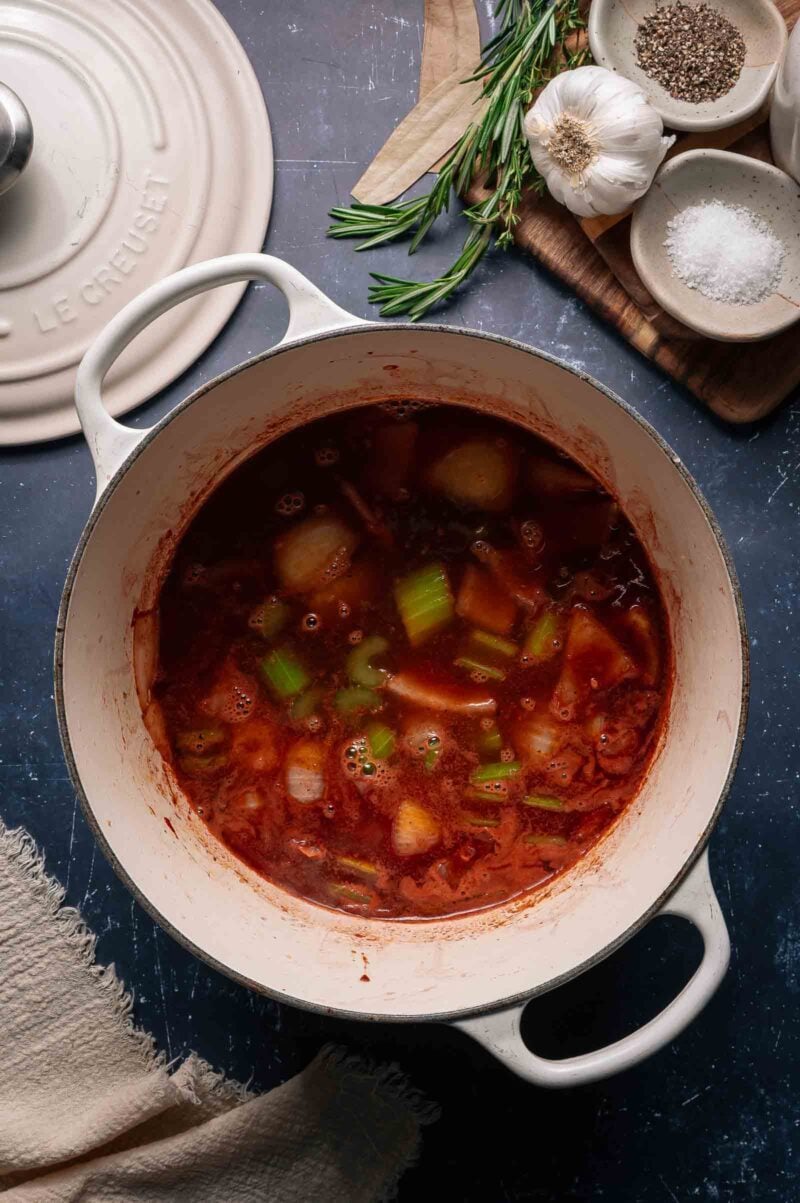
Stir in the beef base, then pour in the red wine. Scrape the bottom of the pot well to loosen every browned bit. Simmer for 2 to 3 minutes, until the wine smells less sharp. - Add the liquid and herbs.
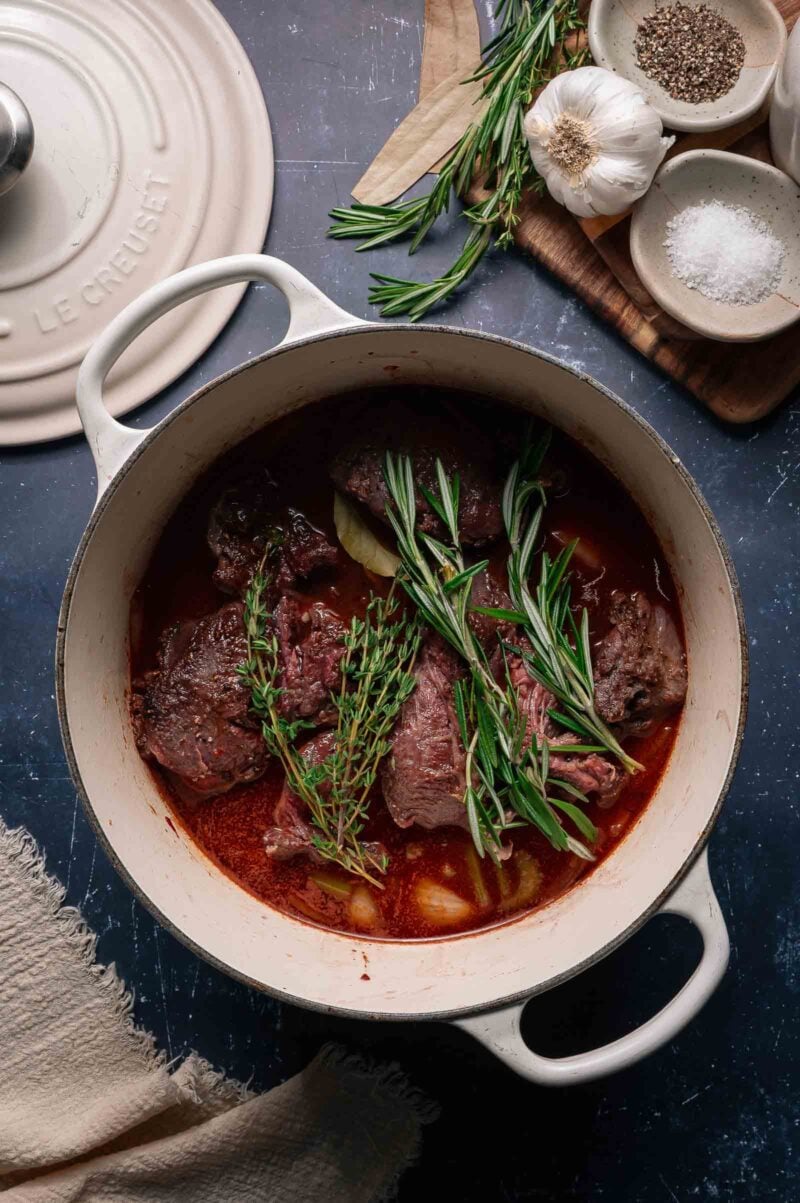
Pour in the beef broth and bring the liquid to a gentle simmer. Return the beef cheeks to the pot and tuck in the thyme, rosemary, and bay leaves. - Braise until fork-tender.
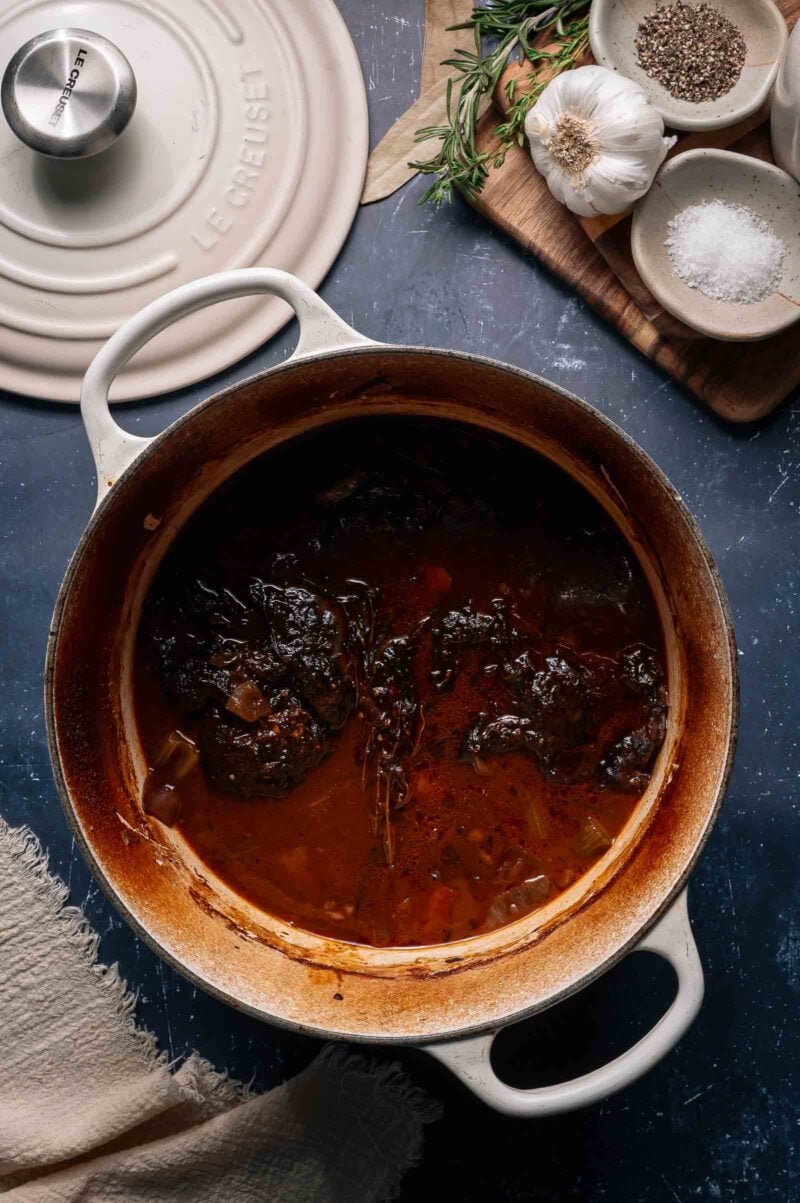
Cover the pot and transfer it to the oven. Braise for 3 to 3 1/2 hours, checking around the 3-hour mark. The cheeks are done when a fork slides in easily and the meat feels yielding, not tight. - Reduce the sauce.
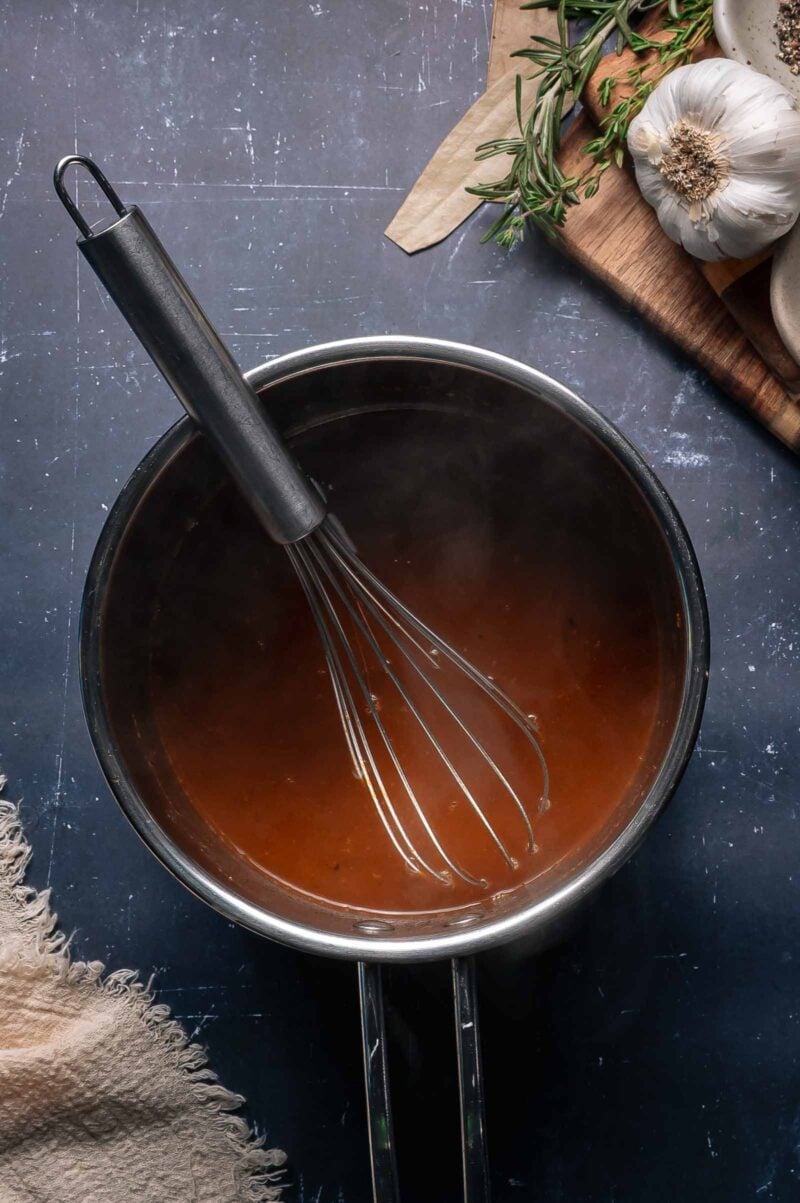
Transfer the beef cheeks to a plate. Strain the braising liquid into a saucepan and simmer until slightly thickened. - Finish the sauce.
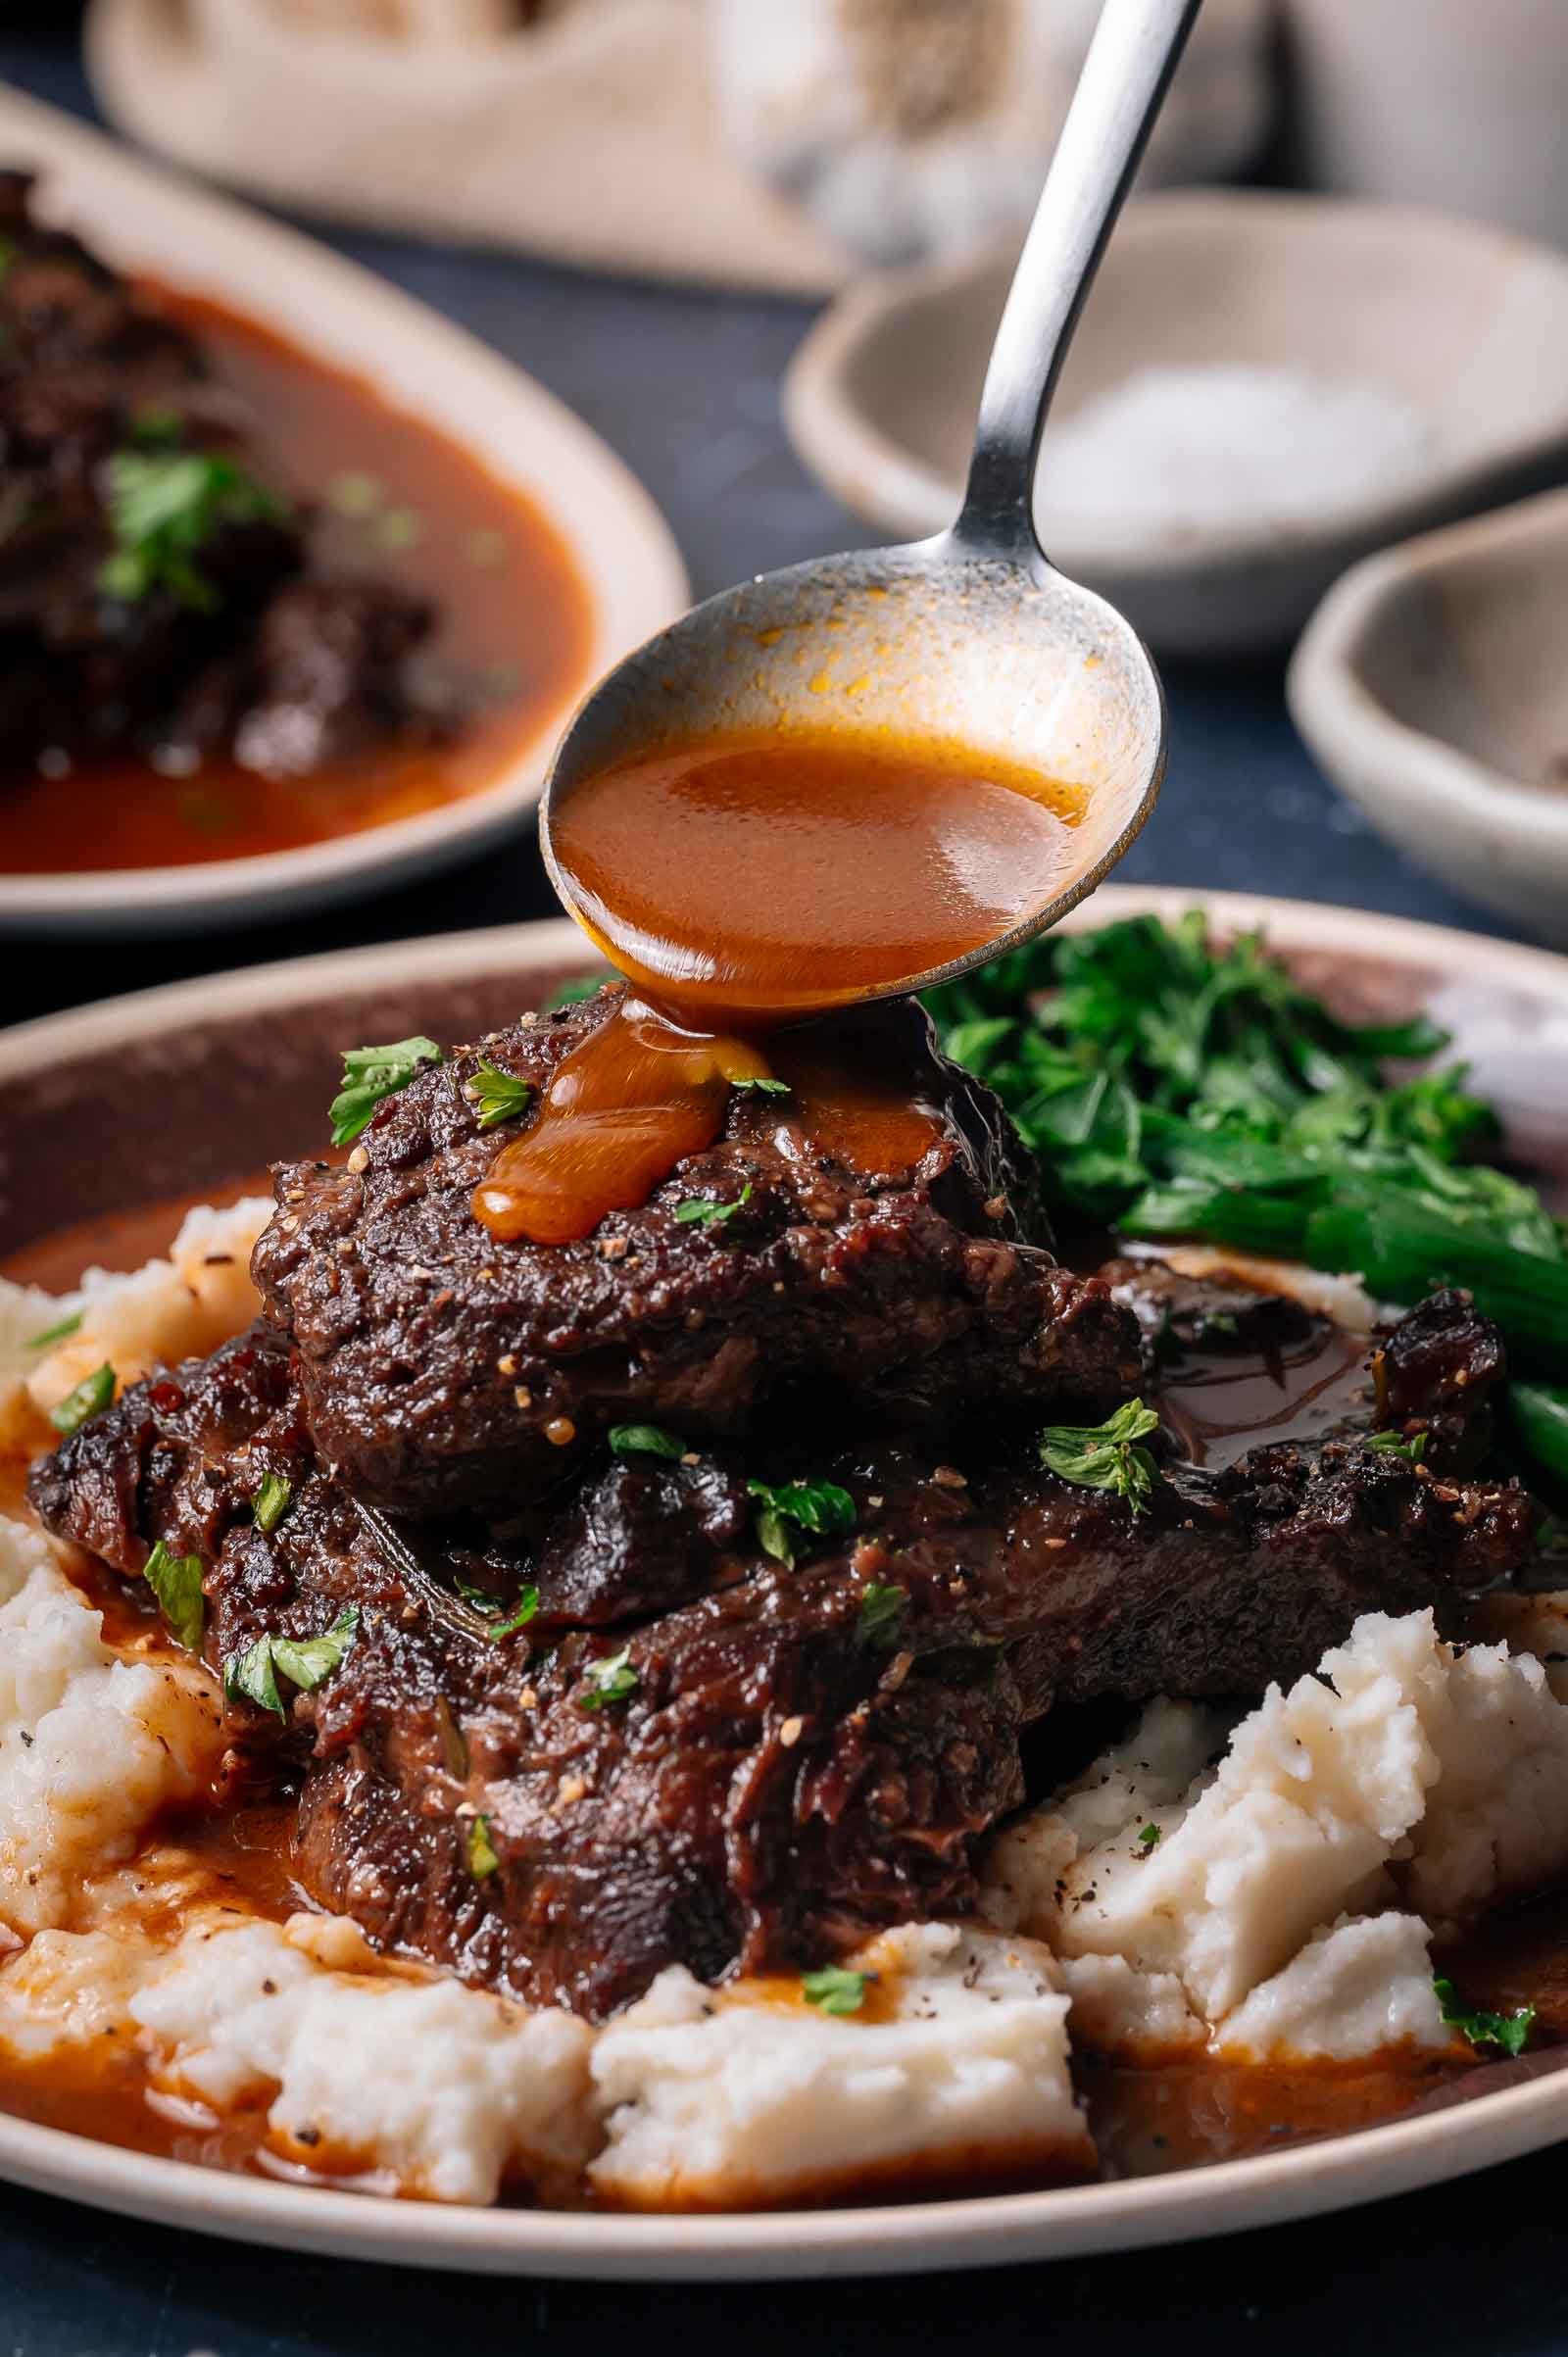
Remove the pan from the heat and whisk in the cold butter a few cubes at a time until the sauce is glossy. - Serve.
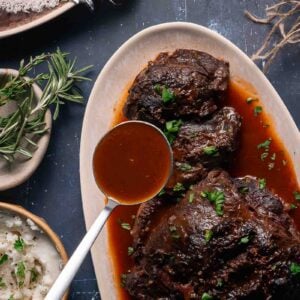
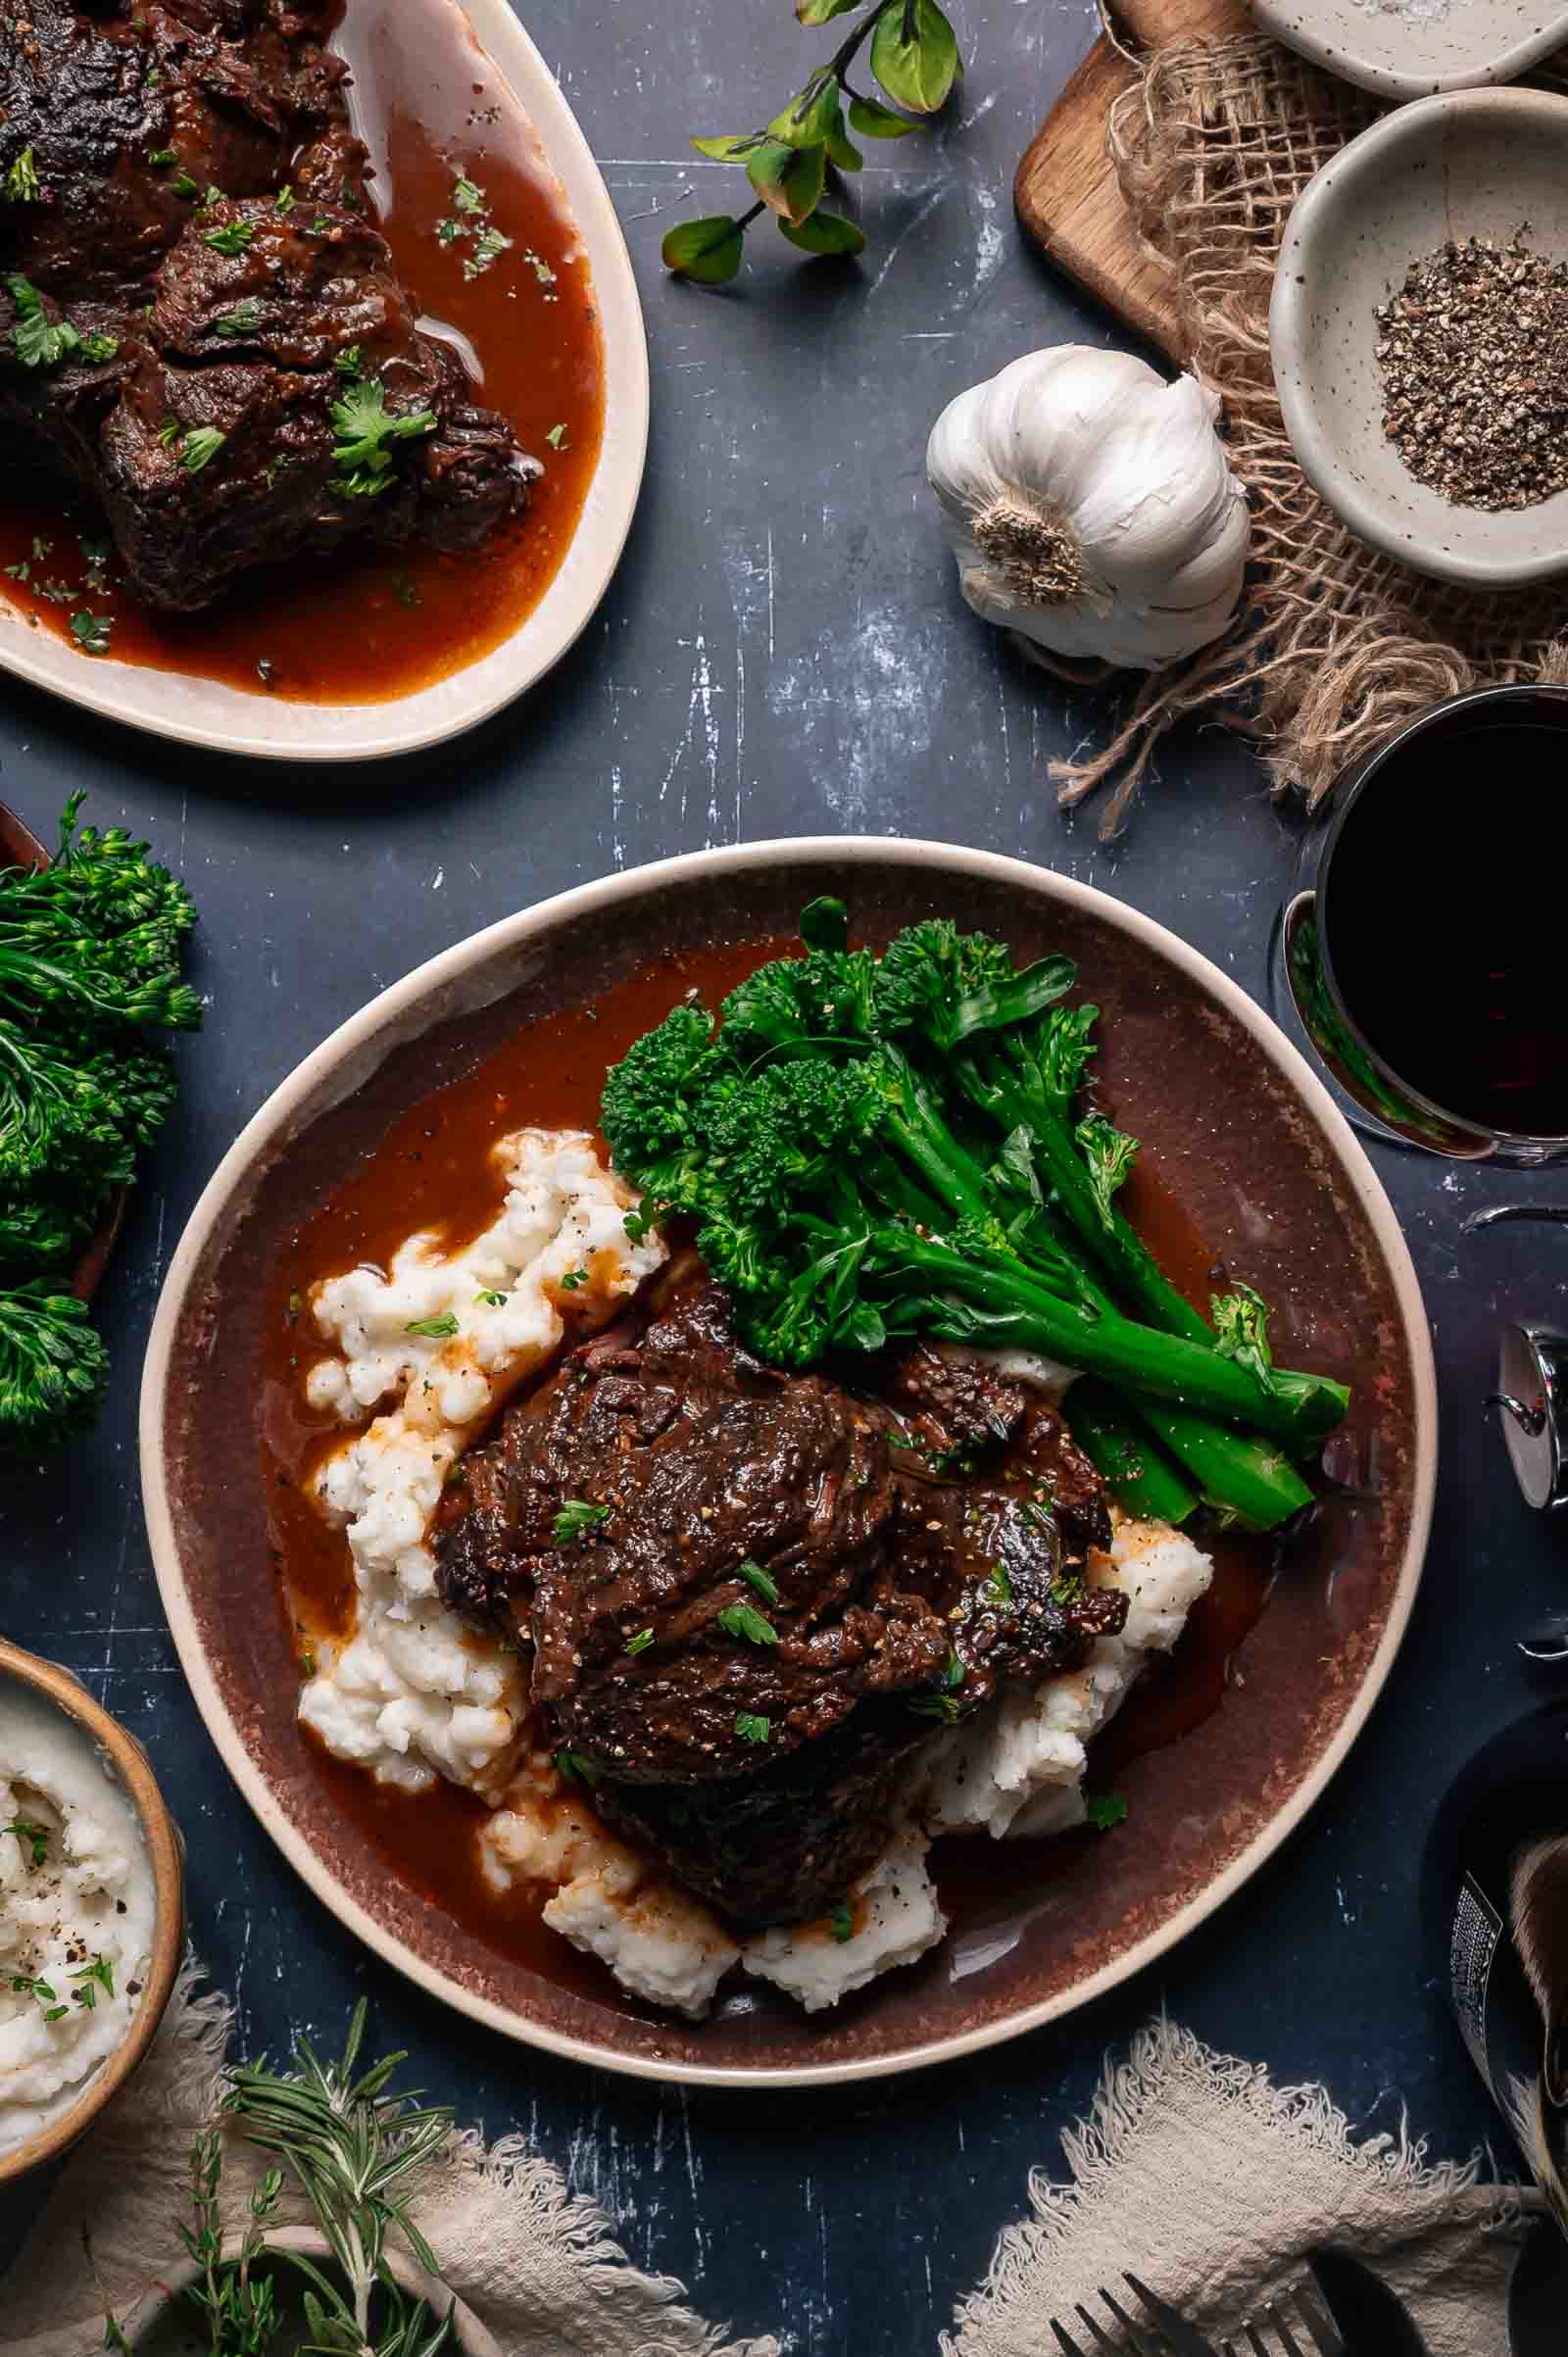
Spoon the sauce over the beef cheeks and serve hot.
🔄 Substitutions and Variations
- No wine? Swap in more beef broth and add a small splash of red wine vinegar or sherry vinegar at the end if the sauce needs brightness.
- No beef broth? Chicken broth works in a pinch, but keep the beef base for depth.
- Want a more rustic sauce? Skip straining and blend the vegetables with an immersion blender.
- Want extra earthiness? Add mushrooms with the onion, celery, and carrots.
- Stovetop option: Keep the pot at the lowest possible simmer and check every 25 to 30 minutes so nothing catches on the bottom.
💡 Meat Nerd Tips
- Ask your butcher. Beef cheeks aren’t in regular markets, but it’s one of the best braising cuts you can buy.
- Trim aggressively. Leave some connective tissue, but remove any thick outer membrane, or it will stay chewy. This cut is collagen-heavy. That’s why it transforms from tough to silky when cooked properly.
- Pat completely dry before searing. Moisture blocks browning, and browning builds the foundation of the sauce.
- Braise low and slow, covered. You want a steady, moist environment, not a rolling boil.
- Cook until fork-tender, not by time. If the beef resists being shred with a fork, it’s not ready. Keep going.
- Pull the cheeks before reducing the sauce. This keeps them from overcooking while you dial in the texture.
- Strain for a smooth, refined sauce – or blend the veggies for a thicker, rustic finish.
🍽️ What to Serve with Braised Beef Cheeks
- Creamy mashed potatoes
- Polenta
- Buttered egg noodles
- Roasted root vegetables
- Crusty bread for dragging through the sauce
🧊 Storage and Reheating
- Store leftover beef cheeks with the sauce in an airtight container in the fridge for up to 4 days. Turn leftovers into this rich beef cheek ragu.
- Freeze for up to 3 months.
- Reheat gently on the stovetop over low heat or in a covered dish in a 300°F oven until warmed through.
- The flavor is even better the next day, which is one of the few nice things braised meat does without being asked.
Have you tried this recipe? Do us a favor and rate the recipe card with the ⭐ ⭐ ⭐ ⭐ ⭐ and drop a comment to help out the next reader.
Braised Beef Cheeks Recipe
Ingredients
- 3 pounds beef cheeks trimmed
- 2 teaspoons kosher salt
- 1 teaspoon black pepper
- 2 tablespoons avocado oil
- 1 medium yellow onion roughly chopped
- 2 celery stalks roughly chopped
- 2 carrots roughly chopped
- 4 garlic cloves minced
- 2 tablespoons tomato paste
- 1 tablespoon Better Than Bouillon beef base
- 1 cup red wine
- 2 cups reduced sodium beef broth
- 4 fresh thyme sprigs
- 2 fresh rosemary sprigs
- 2 bay leaves
- 2 tablespoons cold butter cubed
Instructions
Sear the Beef Cheeks
- Preheat the oven to 325°F.
- Trim any thick membrane and excess gristle from the beef cheeks, then pat them dry. Season them with salt and pepper.
- Heat the avocado oil in a Dutch oven over medium high heat. Sear the cheeks until browned, about 3 to 4 minutes per side, working in batches if needed, then transfer them to a plate.

Saute the Veg
- Lower the heat to medium and add the onion, celery, and carrots. Cook until the vegetables start to soften, about 3 to 4 minutes, stirring and scraping as needed.
- Stir in the garlic and cook until fragrant, about 30 seconds.
- Add the tomato paste and cook for another 30 seconds.
Make the Braising Base
- Stir in the beef base and pour in the red wine and scrape up the browned bits until the bottom of the pot. Simmer until the wine reduces slightly and smells less sharp, about 2 to 3 minutes.
- Pour in the beef broth and bring the liquid to a gentle simmer.
Braise
- Nestle the beef cheeks back into the pot, then tuck in the thyme, rosemary, and bay leaves.
- Cover with the lid and transfer to the oven. Braise until the cheeks are very tender, about 3 hours to 3 hours 30 minutes, checking at the 3 hour mark for tenderness.
- Transfer the cheeks to a plate.
Reduce the sauce
- Strain the liquid into a saucepan, then simmer until it thickens slightly. Remove from the heat.
- Whisk in the cold butter a few cubes at a time until melted and the sauce looks glossy.
Serve
- Serve the beef cheeks with the sauce spooned over the top.
Notes
- Beef cheeks are done when a fork slides in easily with almost no resistance—not when the timer ends.
- If the sauce tastes flat, add a small splash of vinegar before serving to wake it up.
- For a thicker, rustic sauce, blend the cooked vegetables instead of straining.
- Leftovers are even better the next day as the sauce continues to develop.
Nutrition
Bookmark this recipe now!
Quick Answer
If you’ve never cooked beef cheeks before, think of them as one of the best braising cuts in the butcher case. They need time, not tricks. A hard sear, a flavorful pot of broth and wine, and a long, gentle oven braise turn them into deeply savory, fall-apart beef with a glossy sauce that feels like restaurant food without the nonsense.
❓ Braised Beef Cheeks FAQs
Beef cheeks have a rich, beefy flavor similar to short ribs or chuck roast, but with an even silkier texture when braised properly.
They need more time. Beef cheeks stay tough until the collagen fully breaks down, so keep braising until they are fork-tender.
Yes. They reheat beautifully and often taste better the next day after the flavors settle into the sauce.
No. Straining gives you a smoother, more refined sauce, but you can leave it rustic or blend the vegetables in for a thicker finish.
Yes. Replace the wine with more broth, then add a small splash of vinegar at the end if the sauce needs more balance.
Forget temperature here. The best cue is texture. A fork should slide in with very little resistance.